
Strawberry Cheesecake Danish
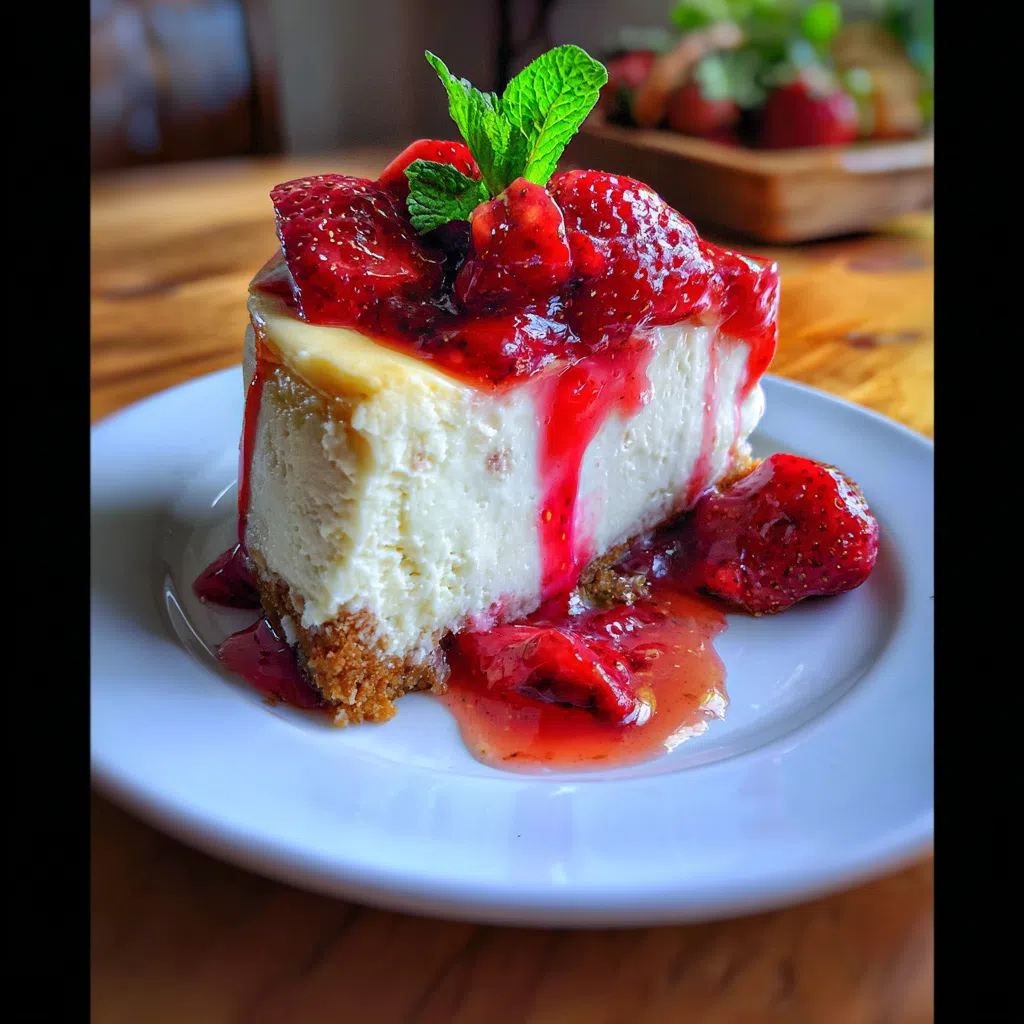
The moment I took a bite of this Strawberry Cheesecake Danish, I knew I was in for a treat, with its flaky crust, sweet strawberries, and creamy cheesecake filling.
I remember it was a sunny Sunday morning when I first made this recipe, and the smell of freshly baked pastry wafting from the oven was incredible, with the sweetness of strawberries and the richness of cream cheese.
As I watched my family enjoy this Strawberry Cheesecake Danish, I knew it was a winner, and it quickly became a cherished family favorite.
Why You’ll Love This Strawberry Cheesecake Danish
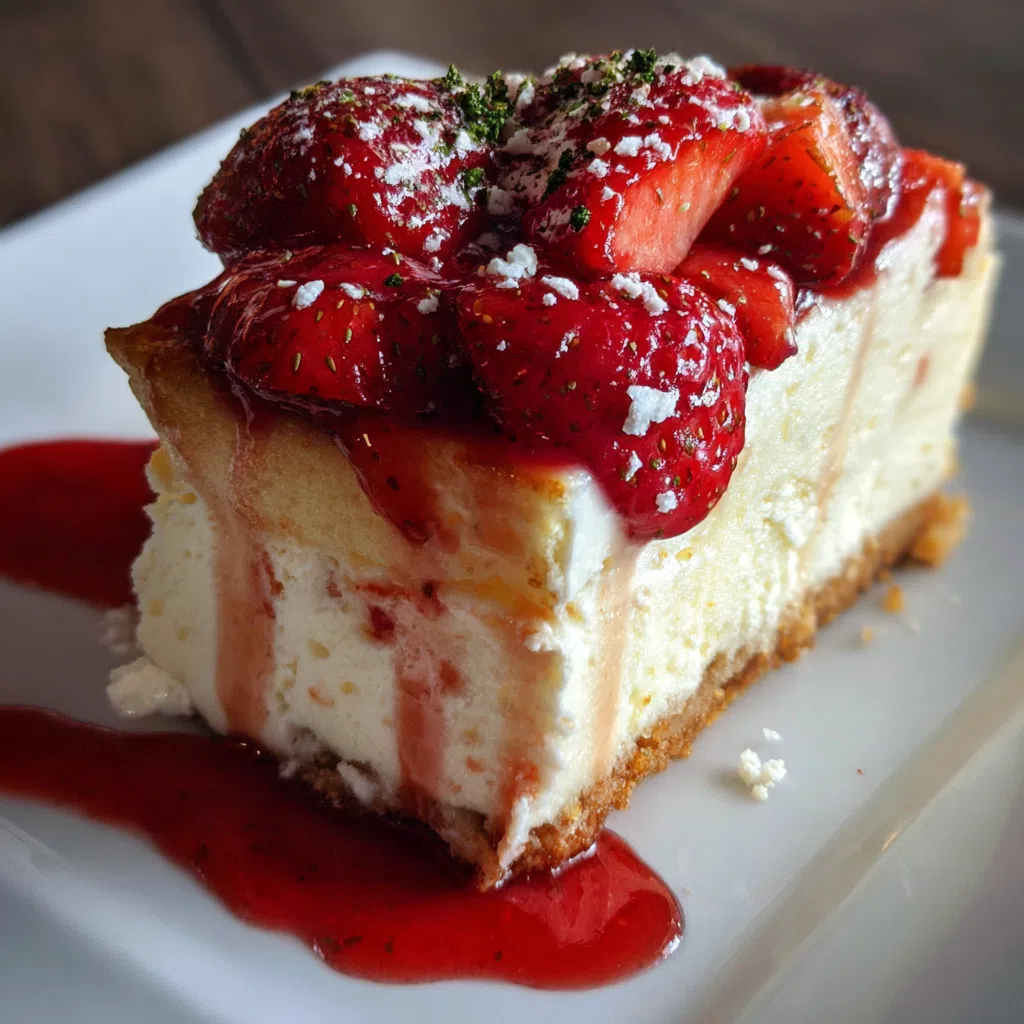
- The combination of textures, from the crunch of the pastry to the creaminess of the cheesecake, is absolute perfection.
- The flavor profile is a beautiful balance of sweet and tangy, with the strawberries adding a burst of freshness.
- It takes just 45 minutes to prepare, making it a great option for a quick breakfast or brunch.
- This recipe is foolproof, with a simple and straightforward instructions that guarantee success.
- It’s perfect for any occasion, whether it’s a special treat for the family or a dessert to impress your friends.
Ingredients You’ll Need
- 1 package of puff pastry, thawed
- 1/2 cup granulated sugar
- 1/2 cup confectioners’ sugar
- 1/4 cup all-purpose flour
- 1/2 cup unsalted butter, softened
- 2 large eggs
- 1/2 cup sour cream
- 1 teaspoon vanilla extract
- 1 cup sliced strawberries
- 1 cup cheesecake batter (see below)
- Cheesecake Batter: 12 oz cream cheese, softened
- 1/2 cup granulated sugar
- 2 large eggs
- 1/2 cup sour cream
- 1 teaspoon vanilla extract
The star ingredients in this recipe are the fresh strawberries and the cream cheese, which provide a rich and creamy flavor, and the flaky pastry, which adds a delightful texture.
Expert Tips for the Best Strawberry Cheesecake Danish
- The key to a flaky pastry is to keep the butter cold, so make sure to chill it in the fridge before using.
- A common mistake is to overmix the cheesecake batter, which can result in a dense and tough texture, so mix just until combined.
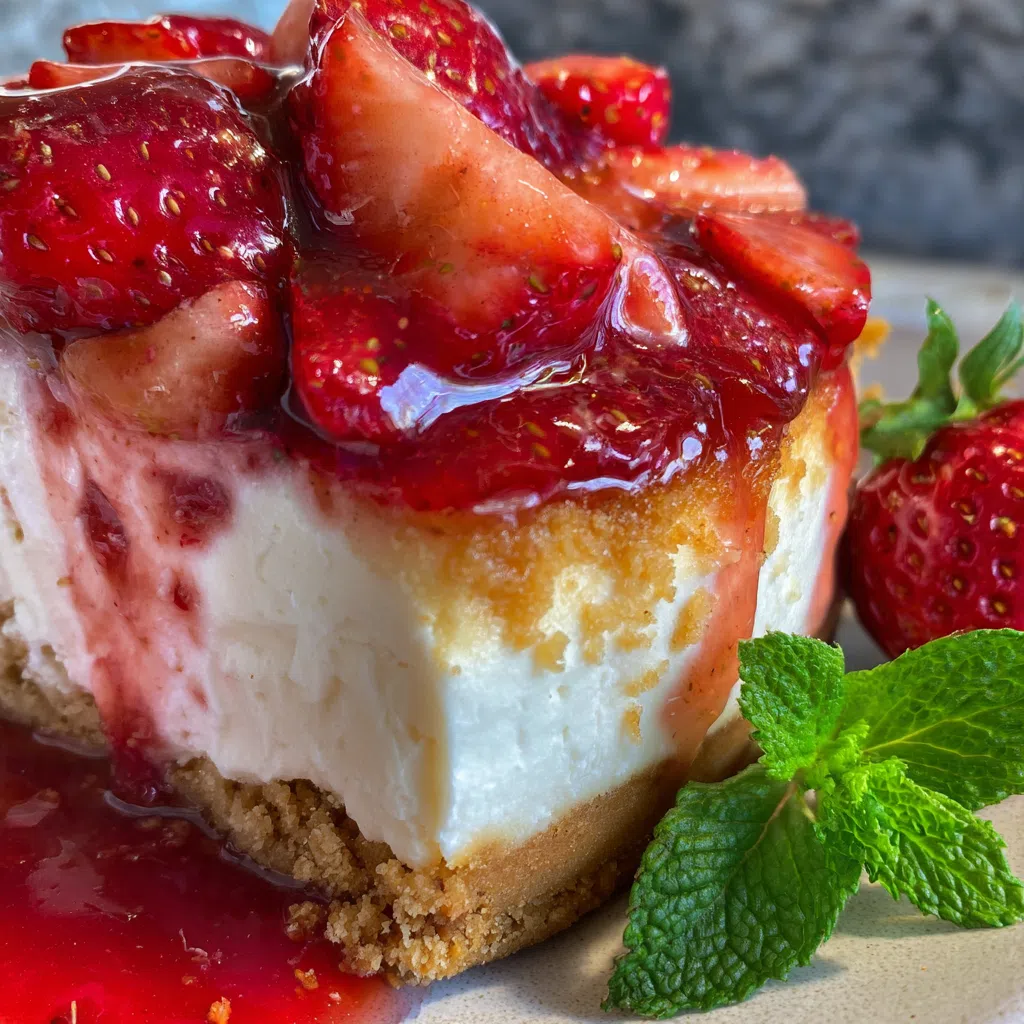
- To take this recipe to the next level, try adding a layer of caramelized strawberries on top of the cheesecake.
- The danish is done when the pastry is golden brown and the cheesecake is set, with just a slight jiggle in the center.
- You can make this recipe ahead of time and store it in the fridge for up to 24 hours, or freeze it for up to 2 months.
Variations and Substitutions
To make this recipe gluten-free, simply substitute the all-purpose flour with a gluten-free flour blend, and for a protein swap, try using Greek yogurt instead of cream cheese, and for a bold flavor twist, add a teaspoon of vanilla extract to the cheesecake batter.
How to Store and Reheat
This Strawberry Cheesecake Danish will keep in the fridge for up to 3 days, and can be reheated in the microwave or oven, and to freeze, simply wrap it tightly in plastic wrap and thaw overnight in the fridge.
Frequently Asked Questions
Can I make this recipe ahead of time?
Yes, you can make this recipe ahead of time and store it in the fridge for up to 24 hours, or freeze it for up to 2 months.
How do I prevent the pastry from becoming too brown?
To prevent the pastry from becoming too brown, make sure to keep an eye on it while it’s baking, and cover it with foil if necessary.
Can I use frozen strawberries instead of fresh?
While frozen strawberries will work in a pinch, fresh strawberries provide the best flavor and texture, so try to use them if possible.
I hope you enjoy making and eating this Strawberry Cheesecake Danish as much as I do, and don’t hesitate to reach out if you have any questions or if you’d like any variations or substitutions.
Strawberry Cheesecake Danish
🧂 Ingredients
👩🍳 Instructions
-
1Preheat oven to 375°F (190°C).
-
2Roll out puff pastry to a 1/4-inch thickness.
-
3Cut into a large rectangle, leaving a 1-inch border around the edges.
-
4Spread sugar mixture evenly over the center of the rectangle.
-
5Arrange sliced strawberries on top of the sugar mixture.
-
6Pour cheesecake batter over the strawberries.
-
7Fold the edges of the pastry up over the filling to create a crust.
-
8Bake for 25-30 minutes, or until golden brown.
-
9Allow to cool completely before serving.
