
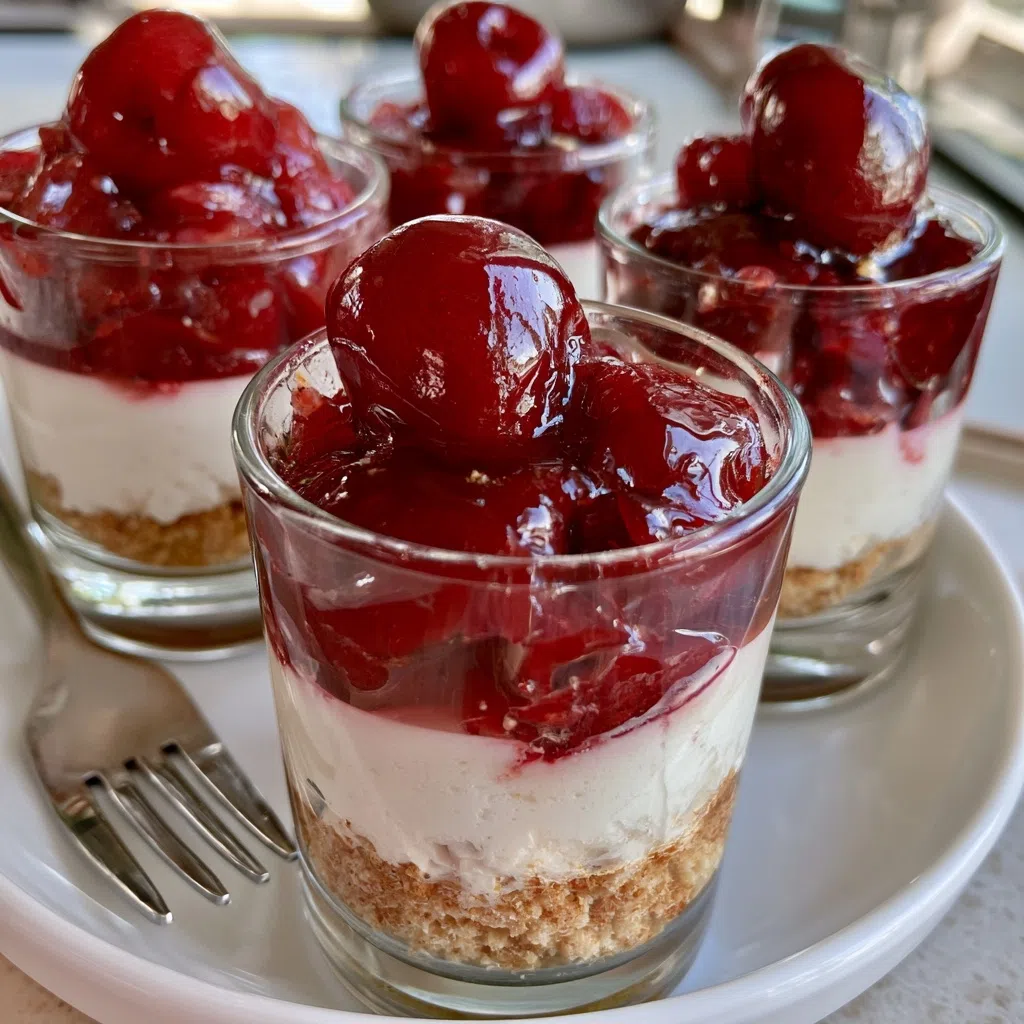
No-Bake Cherry Cheesecake Dessert Cups
Imagine the silky swirl of cream cheese meeting the bright burst of sweet cherries, all chilled in a pretty cup—this No-Bake Cherry Cheesecake Dessert Cups is pure comfort.
I first made these on a rainy Saturday afternoon in my tiny kitchen, the scent of fresh cherries from the farmer’s market mixing with the buttery graham crust, and my niece’s giggle as she helped sprinkle the topping.
When the first spoonful hit my tongue, I knew this would become a family favorite. This No-Bake Cherry Cheesecake Dessert Cups quickly became a cherished family favorite.
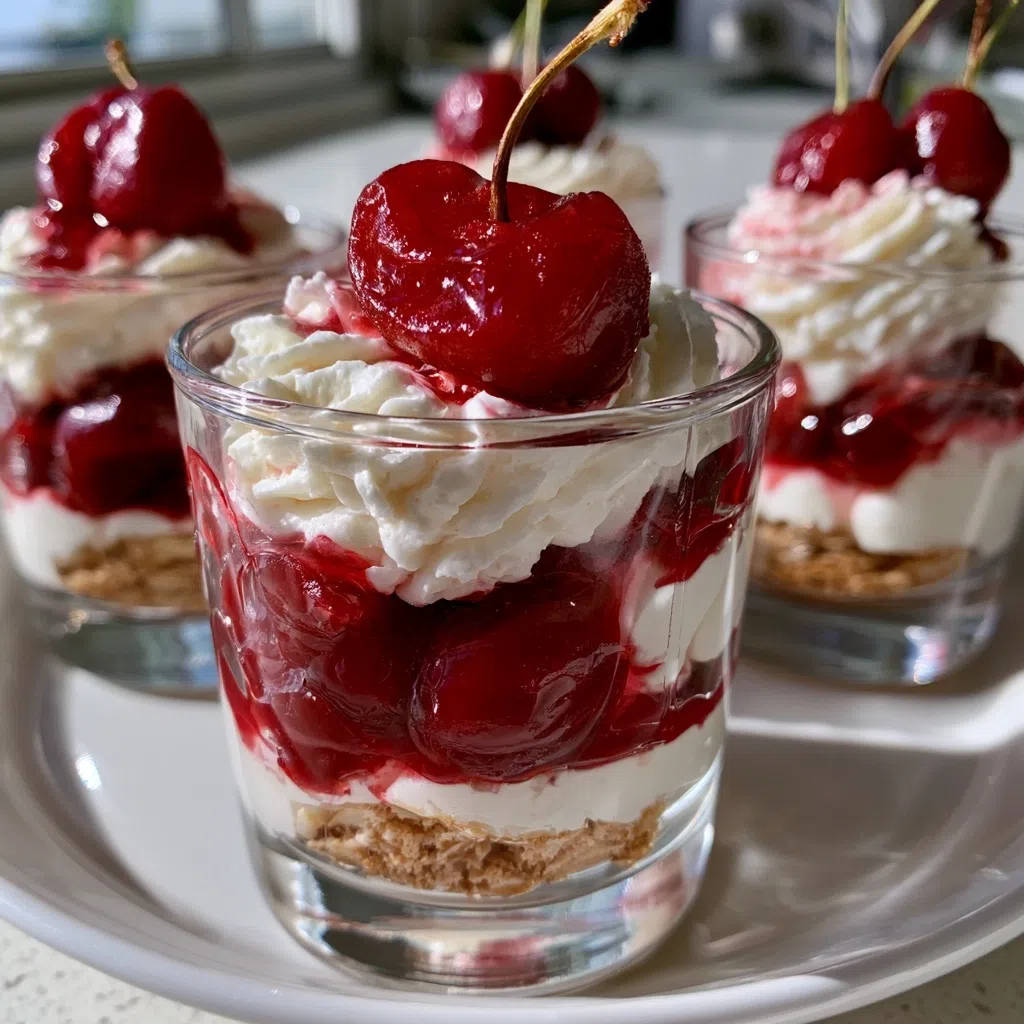
Why You’ll Love This No-Bake Cherry Cheesecake Dessert Cups
- A velvety texture that melts in your mouth
- Sweet‑tart cherry flavor balanced by creamy cheese
- Ready in just 15 minutes total
- Foolproof no‑bake method—no cracking crusts
- Perfect for brunches, picnics, or a quick dessert
Ingredients You’ll Need
- 1 cup graham cracker crumbs
- 3 tbsp melted butter
- 1/4 cup powdered sugar
- 8 oz cream cheese, softened
- 1 cup heavy cream
- 1 cup sweetened condensed milk
- 1 tsp vanilla extract
- 1 cup fresh or frozen cherries, pitted and chopped
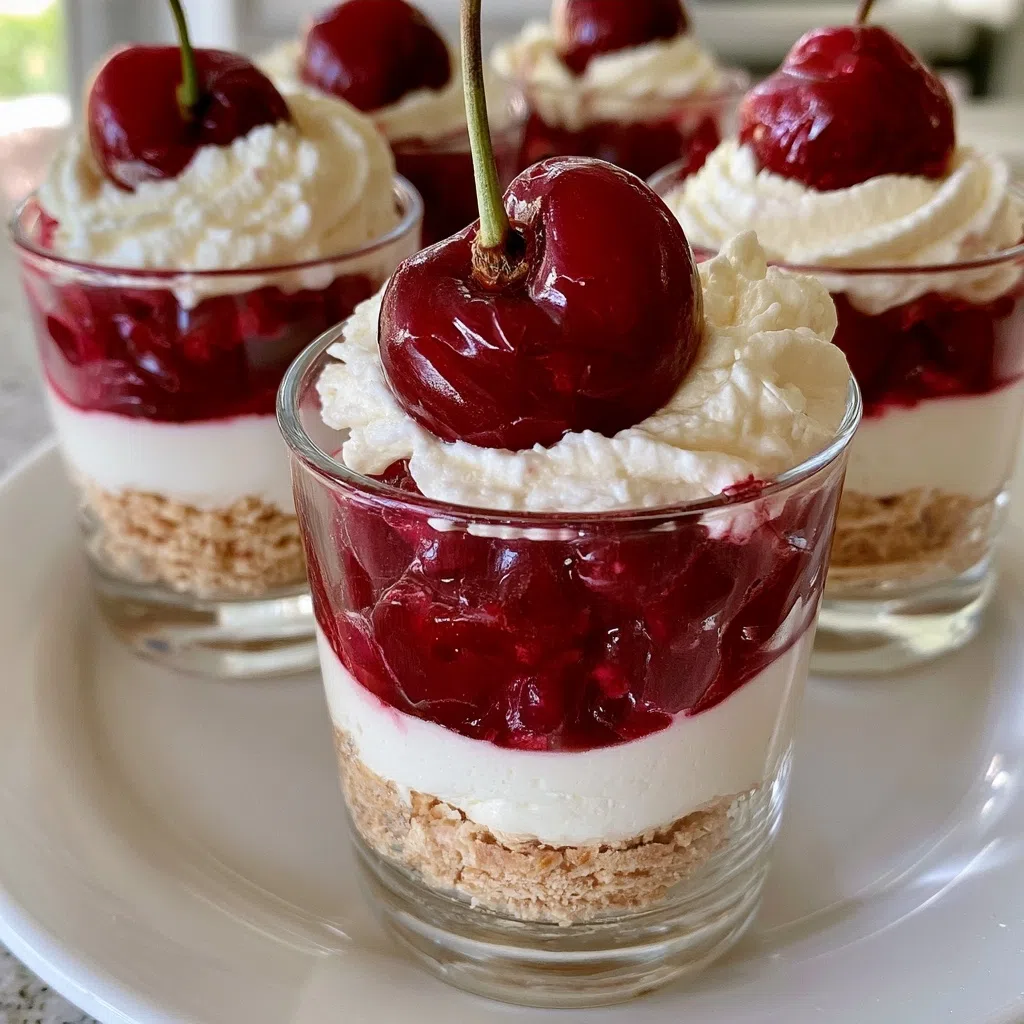
The ripe, ruby‑red cherries bring a burst of sunshine, while the cream cheese adds that luxurious, tangy richness you crave.
Expert Tips for the Best No-Bake Cherry Cheesecake Dessert Cups
- Use room‑temperature cream cheese to avoid lumps—gives a silky base
- Don’t over‑mix the cherry compote or it becomes watery—mix just until combined
- Top with toasted almond slivers for an extra crunch
- Set the cups for at least 2 hours; the edges firm up beautifully
- Prepare the crust a day ahead and store in the fridge for quicker assembly
Variations and Substitutions
Swap the graham crust for gluten‑free oat crumbs, blend in vanilla protein powder for a boost, or swirl in a hint of dark chocolate for a bold twist.
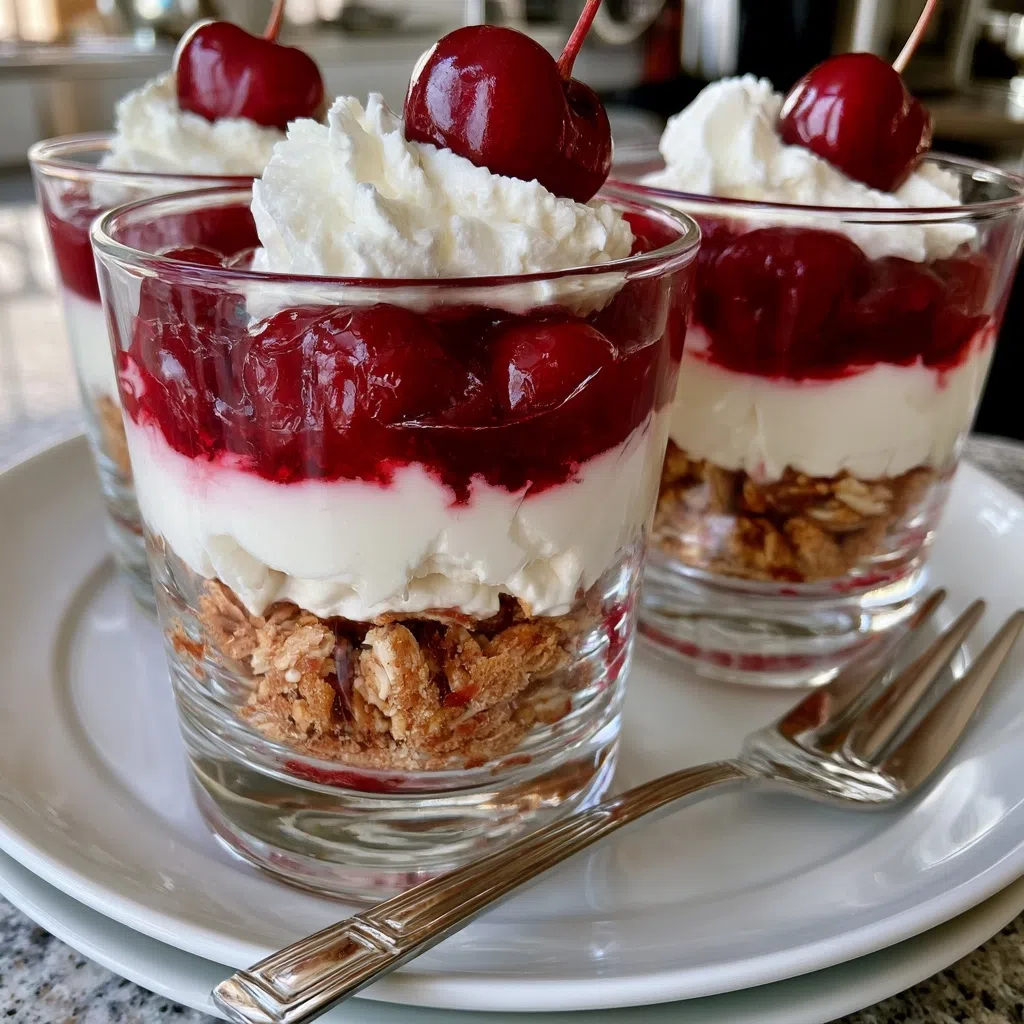
How to Store and Reheat
Keep the cups sealed in the fridge for up to 3 days; serve chilled. If you’d like a warm touch, microwave for 10‑15 seconds—no need to freeze, but you can freeze for up to a month and thaw overnight.
Frequently Asked Questions
Can I use frozen cherries?
Yes—thaw them and pat dry before folding into the compote; this keeps the texture from getting soggy.
What if the cheesecake layer is too runny?
Add a tablespoon of powdered sugar and beat a bit longer; the extra sugar helps thicken it without altering flavor.
How long can I keep them in the freezer?
Up to 2 months; wrap each cup tightly in plastic wrap and place in a freezer bag. Thaw in the fridge before serving.
I can’t wait for you to try these—grab a cup, dive in, and share the love with your loved ones!
No-Bake Cherry Cheesecake Cups
🧂 Ingredients
👩🍳 Instructions
-
1In a bowl mix graham cracker crumbs, melted butter, and powdered sugar until crumbly. Press mixture into the bottom of a muffin tin to form crusts. Chill in the fridge for 10 minutes to set.
-
2In a separate bowl beat cream cheese until smooth. Add heavy cream, sweetened condensed milk, and vanilla extract, and beat until thick and creamy.
-
3Fold in chopped cherries into the cream cheese mixture.
-
4Spoon the cheesecake filling over each crust in the muffin tin, filling each cup about 3/4 full.
-
5Refrigerate the cups for at least 2 hours, or until firm. Serve chilled.