
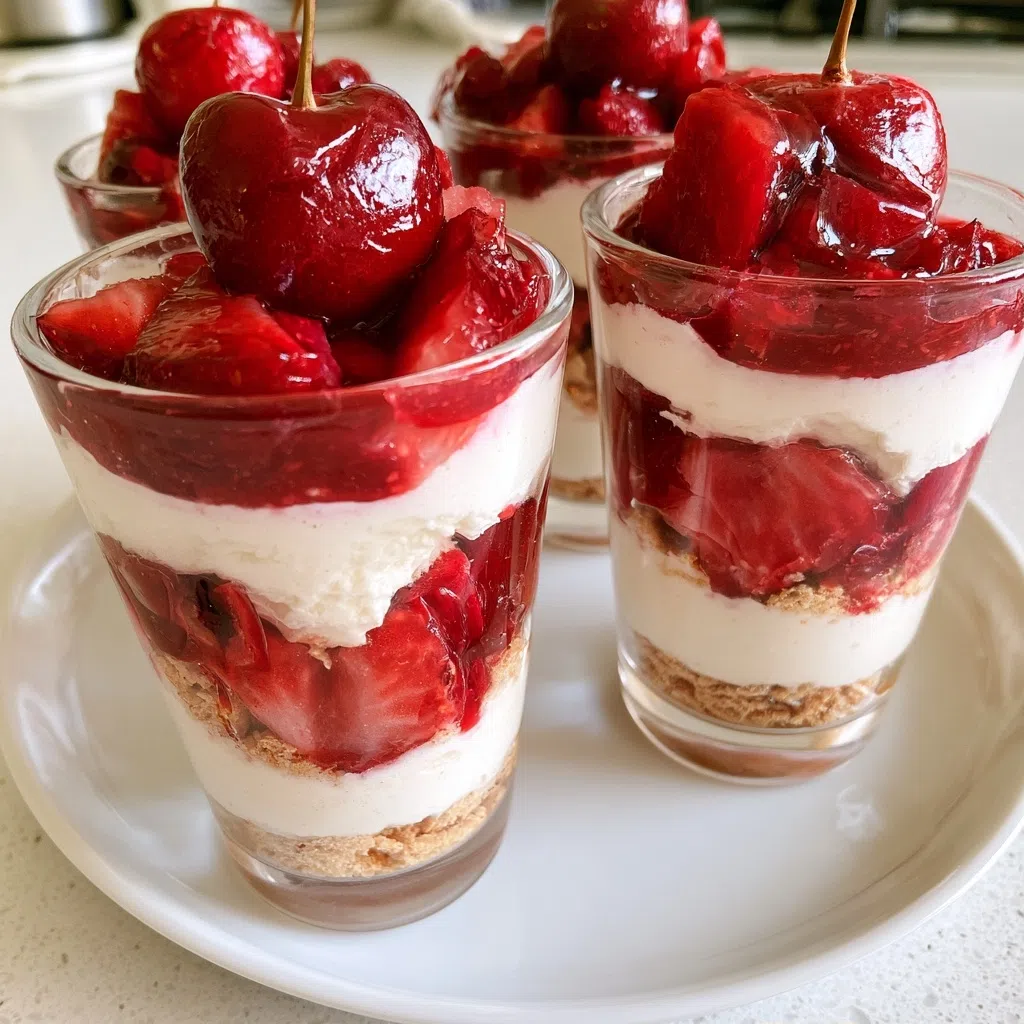
No-Bake Cherry Cheesecake Dessert Cups
Imagine the velvety swirl of creamy cheesecake meeting the bright burst of sweet‑tart cherries in a handheld cup that melts on your tongue.
I first whipped up these little delights on a breezy Saturday afternoon in my tiny kitchen, the scent of fresh cherries from the farmer’s market drifting through the open window as I folded the silky cream cheese.
When the first cup set, the whole family gathered around, and that moment turned into a beloved tradition. This No-Bake Cherry Cheesecake Dessert Cups quickly became a cherished family favorite.
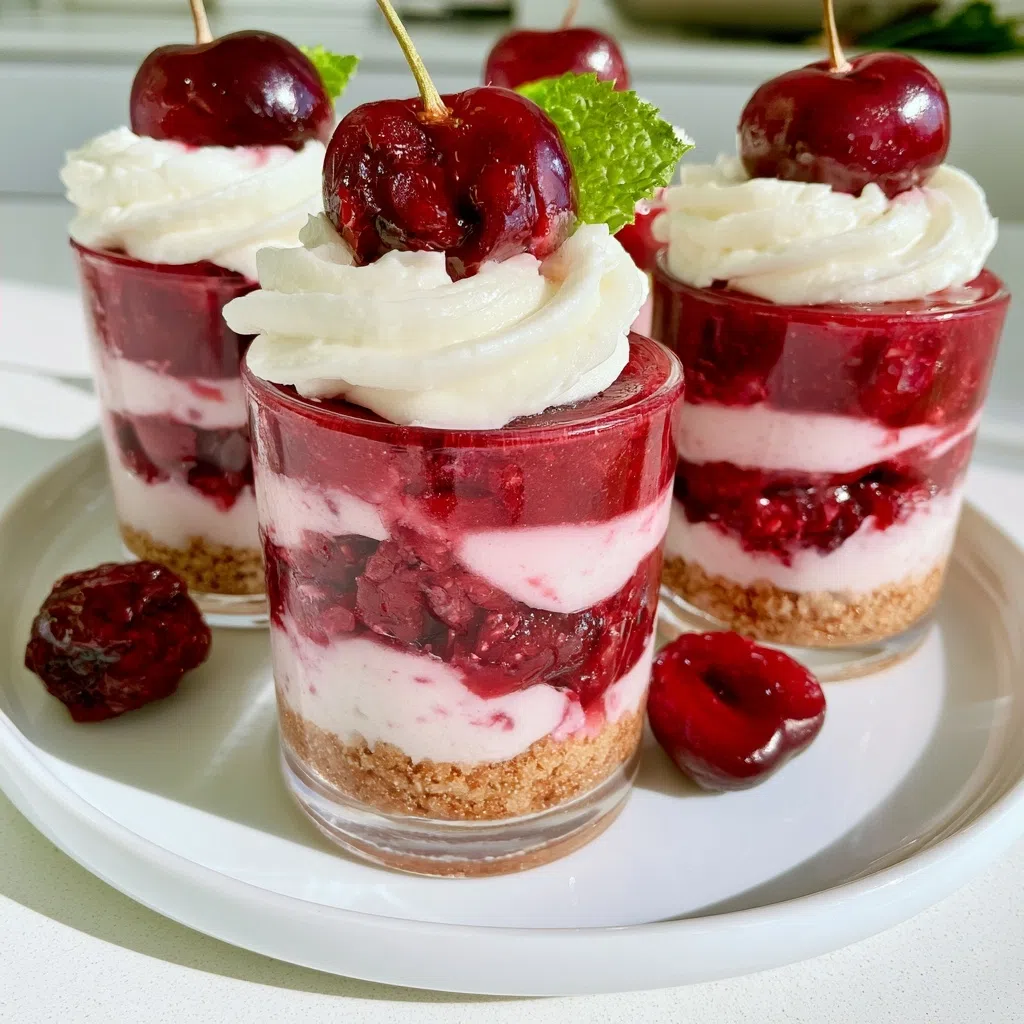
Why You’ll Love This No-Bake Cherry Cheesecake Dessert Cups
- Silky smooth texture with a glossy cherry topping
- Rich, tangy cream cheese balanced by sweet cherries
- Ready in under 30 minutes
- Foolproof: no oven, no mess
- Perfect for brunches, picnics, or after‑dinner treats
Ingredients You’ll Need
- 1 cup graham cracker crumbs
- 2 tbsp melted butter
- 1 tbsp sugar
- 8 oz cream cheese, softened
- 1/2 cup powdered sugar
- 1 tsp vanilla extract
- 1 cup heavy cream, whipped
- 1 cup fresh or frozen cherries, chopped
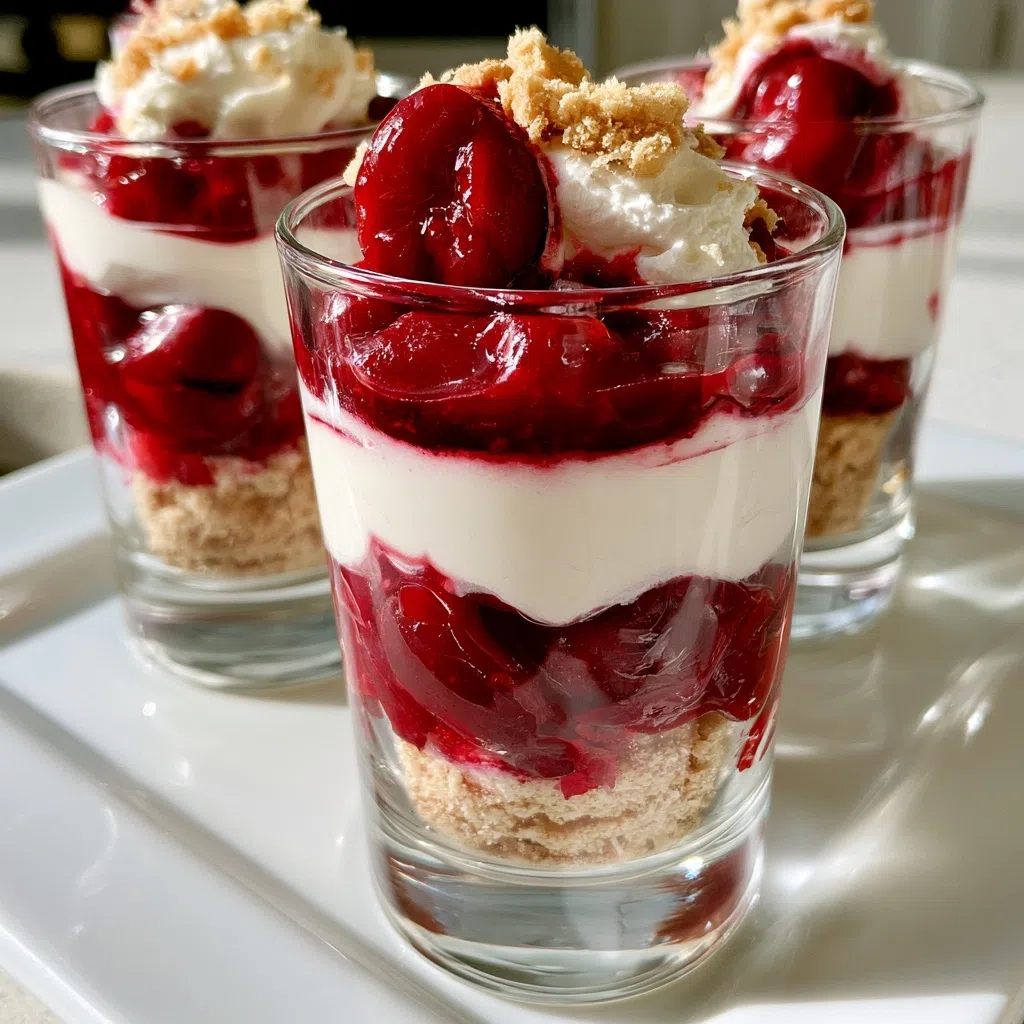
The buttery graham cracker crust provides a crunchy base, while the cherries add a burst of summer sunshine in every bite.
Expert Tips for the Best No-Bake Cherry Cheesecake Dessert Cups
- Chill the bowl and beaters before mixing cream cheese – it helps achieve a lump‑free filling.
- Don’t over‑mix the crust; too much moisture makes it soggy. Press firmly and refrigerate.
- For extra elegance, swirl a bit of melted white chocolate into the topping.
- The filling is set when it no longer jiggles when the cup is gently shaken.
- Assemble the cups a few hours ahead and keep them chilled for best texture.
Variations and Substitutions
Swap graham crackers for gluten‑free oat cookies, use Greek yogurt for a protein boost, or drizzle a hint of balsamic reduction for a bold, sophisticated twist.
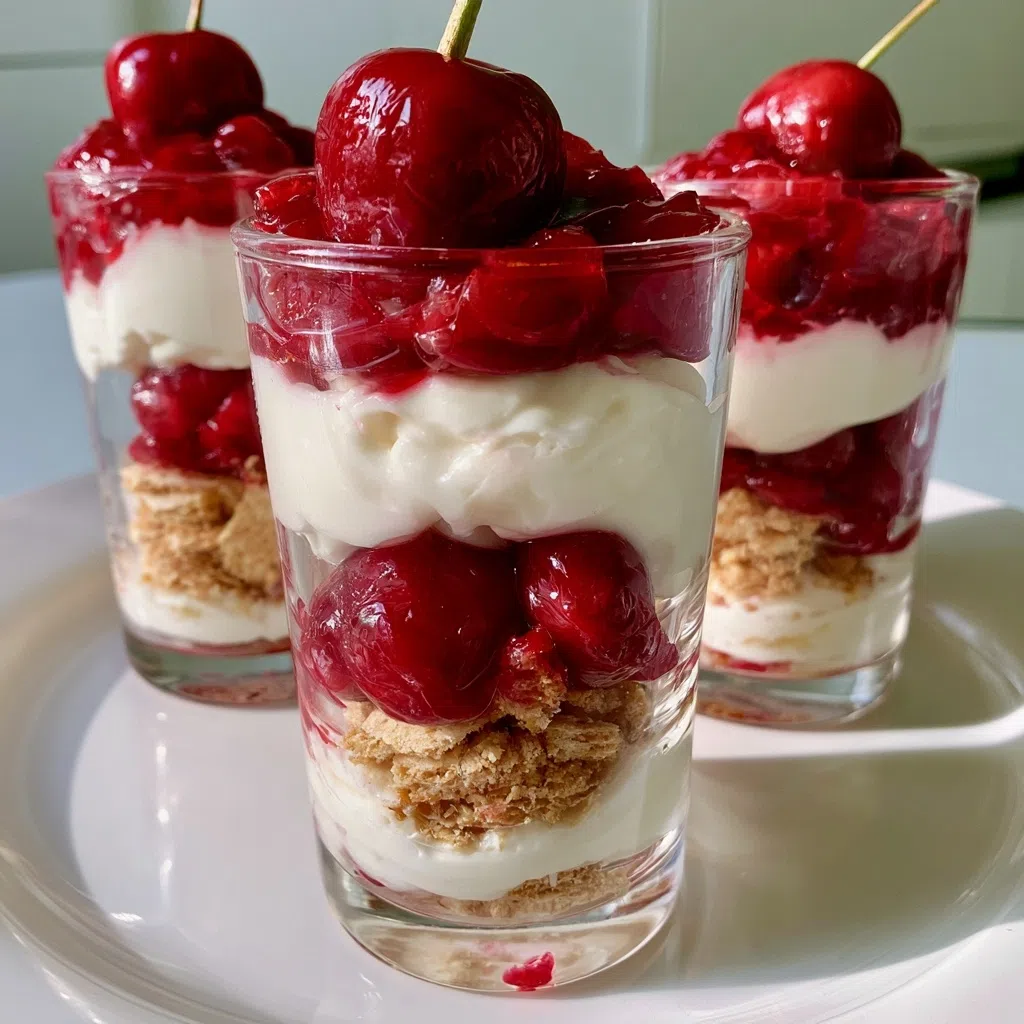
How to Store and Reheat
Keep the cups sealed in the fridge for up to 3 days; serve straight chilled. If you need a warm touch, gently microwave the topping for 10 seconds. Freeze the unfilled cups for up to a month, adding fresh cherries after thawing.
Frequently Asked Questions
Can I use fresh cherries instead of frozen?
Yes! Just pit and halve them, then toss with a splash of sugar and let them macerate for 10 minutes before topping.
What if the crust falls apart?
Press the crumbs firmly and chill for at least 15 minutes before adding the filling; this helps it bind.
Can I make these vegan?
Swap cream cheese for a vegan cream cheese alternative and use coconut cream in the filling; the result is just as dreamy.
I can’t wait for you to try these cups and see the smiles they bring. Grab your favorite cherries and let’s create a new family favorite together!
Cherry Cheesecake Cups
🧂 Ingredients
👩🍳 Instructions
-
1In a bowl, mix graham cracker crumbs, melted butter, and sugar until crumbly.
-
2Press the crumb mixture into the bottom of 8 small dessert cups to form a crust.
-
3In a separate bowl, beat cream cheese until smooth. Add powdered sugar and vanilla, mixing until creamy.
-
4Fold in whipped heavy cream gently until well combined.
-
5Spoon the cheesecake filling over the crust in each cup.
-
6Fold chopped cherries into the cheesecake mixture and distribute evenly among cups.
-
7Refrigerate the cups for at least 2 hours, or until set.
-
8Serve chilled, optionally topped with extra cherries or whipped cream.