
Fluffy Oatmeal Banana Waffles: Your New Go-To Breakfast!
The smell of warm vanilla and cinnamon always takes me back to my grandmother’s kitchen on chilly Sunday mornings. Even as a child, there was something so comforting about breakfast filling the house with delicious aromas. Fast forward to my own chaotic mornings with two energetic little ones, and I’ve learned that comfort food can also be quick and wholesome!
That’s precisely how this Oatmeal Banana Waffle Recipe became a staple in our home. It started as an experiment to use up some overripe bananas and a bag of oats gathering dust in the pantry. What resulted was a truly magical combination: waffles that are wonderfully fluffy, naturally sweet, and incredibly satisfying. This tested recipe quickly became our family’s favorite easy breakfast, perfect for lazy weekends or a special weekday treat. It’s the kind of wholesome indulgence that truly brightens any day.
Why You’ll Love This Recipe
❤️ Here’s why these Oatmeal Banana Waffles will become your family’s new breakfast obsession:
- Irresistibly Fluffy & Crispy: These waffles strike the perfect balance, boasting a light, airy interior and wonderfully crisp edges that make every bite pure joy. The oats add a delightful chewiness that you won’t find in traditional waffles, elevating the texture profile beautifully.
- Naturally Sweetened: Ripe bananas are the star here, providing a natural sweetness that reduces the need for excessive added sugars. This makes them a more wholesome option you can feel good about serving. It’s comfort food that loves you back!
- Quick & Easy: From pantry to plate in under 30 minutes! This recipe is surprisingly straightforward, making it ideal for busy weekday mornings or a relaxed brunch when you don’t want to spend hours in the kitchen. Just blend, pour, and waffle!
- Pantry Staple Ingredients: You likely have most of these ingredients on hand already. No fancy, hard-to-find items needed, just simple wholesome goodness. It’s a great way to use up those ripe bananas that are too soft for snacking.
- Kid-Friendly & Customizable: Even the pickiest eaters will adore these. They’re a fantastic way to sneak in some extra fiber from the oats and fruit. Plus, they’re a blank canvas for all sorts of fun toppings, from berries to chocolate chips!
- Freezer-Friendly: Make a big batch and freeze the extras for quick breakfasts all week long. They reheat beautifully in a toaster, regaining their crispy exterior and saving you precious morning time. Meal prep just got delicious!
- Wholesome & Energizing: Packed with whole grains from the oats and the goodness of bananas, these waffles provide sustained energy to kickstart your day. They’re a truly satisfying and nourishing start to any morning adventure.
- Perfect for Any Occasion: Whether it’s a cozy solo breakfast, a bustling family brunch, or a special holiday treat, these waffles fit every mood. They bring a touch of homemade warmth and happiness to the table, making any moment feel a bit more special.
What You Need
You only need a few simple pantry staples for this recipe! Look for ripe, spotty bananas for the best flavor and natural sweetness. Most of the other ingredients, like oats, flour, milk, and eggs, are likely already in your kitchen. Check the full printable recipe card below for detailed measurements and a complete list.
Expert Tips
💡 Unlock the secret to perfect waffles every time with these expert tips:
- Don’t Overmix the Batter: After combining the wet and dry ingredients, mix just until no dry streaks of flour remain. A few lumps are perfectly fine! Overmixing develops the gluten in the flour, leading to tough, chewy waffles instead of light and fluffy ones.
- Let the Batter Rest: If you have 10-15 minutes, allow the batter to rest before cooking. This gives the flour time to fully hydrate and the baking powder a chance to activate, resulting in a lighter, more tender waffle. It also allows the oats to soften slightly, contributing to a smoother texture.
- Use Ripe Bananas: The riper your bananas are (think brown spots!), the sweeter and more flavorful your waffles will be. Ripe bananas are also easier to mash and incorporate smoothly into the batter, ensuring a consistent sweetness throughout.
- Preheat Your Waffle Iron Properly: Always ensure your waffle iron is fully preheated before pouring the batter. This is key to achieving those beautiful golden-brown, crispy exteriors. An underheated iron can result in pale, soggy waffles.
- Grease Your Waffle Iron (Even Non-Stick!): While many waffle irons are non-stick, a light brush of oil or a quick spray of cooking spray can prevent sticking and promote extra crispiness. This is especially important for the first few waffles.
- Adjust Batter Consistency: If your batter seems too thick, add a tablespoon or two more milk until it reaches a pourable but still substantial consistency. If it’s too thin, a sprinkle of extra flour can help. The ideal batter should be thick enough to coat a spoon.
- Fill the Waffle Iron Correctly: Don’t overfill! Start with about 1/2 to 3/4 cup of batter (depending on your waffle iron size) and adjust as needed. Overfilling can cause batter to spill out, creating a messy situation. Underfilling results in smaller, less satisfying waffles.
- Resist the Urge to Peek: Opening the waffle iron too early can interrupt the cooking process and cause your waffles to tear or deflate. Wait for the steam to significantly reduce or for your iron’s indicator light to signal they are done. Patience is a virtue here!
- Keep Waffles Warm & Crispy: To keep cooked waffles warm and prevent them from becoming soggy while you finish the batch, place them on a wire rack set on a baking sheet in a preheated oven at 200°F (90°C). This allows air to circulate and maintains their crispiness.
- Batch Cooking & Freezing: These waffles are perfect for meal prep! Make a large batch, let them cool completely on a wire rack, then stack them with parchment paper in between before freezing in an airtight container or freezer bag. They reheat wonderfully.
Variations & Substitutions
Want to switch things up or accommodate dietary needs? These waffles are incredibly versatile!
- Gluten-Free: Swap all-purpose flour for your favorite 1:1 gluten-free flour blend. Ensure your oats are certified gluten-free if needed.
- Dairy-Free: Use any plant-based milk (almond, soy, oat) in place of dairy milk. For the butter, use a dairy-free butter substitute or coconut oil.
- Egg-Free/Vegan: Replace the eggs with “flax eggs” (1 tbsp ground flaxseed + 3 tbsp water, let sit for 5 minutes per egg) or a commercial egg replacer. Ensure you use dairy-free milk and butter as mentioned above.
- Add-Ins: Stir in a handful of chocolate chips, blueberries, chopped nuts, or shredded coconut into the batter just before cooking.
- Spices: Enhance the flavor with a pinch of nutmeg, cardamom, or pumpkin pie spice alongside the cinnamon.
- Sweeteners: Adjust the amount of sugar to your preference, or substitute with maple syrup, honey, or a sugar-free alternative.
Storage & Freezing
These waffles are fantastic for making ahead!
- Storage: Allow cooked waffles to cool completely on a wire rack. Store them in an airtight container in the refrigerator for up to 3-4 days.
- Freezing: Once completely cool, stack waffles with a piece of parchment paper between each one to prevent sticking. Place them in a freezer-safe bag or container for up to 2-3 months.
- Reheating: For best results, reheat frozen waffles directly in a toaster, toaster oven, or air fryer until hot and crispy. Microwaving can make them soft.
FAQ
Q: Can I use quick oats instead of rolled oats?
A: Yes, you can! Quick oats will give the waffles a slightly smoother texture, as they are cut finer and cook faster. Rolled oats provide a bit more chewiness and texture, which we love. Either will work beautifully in this recipe.
Q: Can I make the batter ahead of time?
A: Absolutely! You can prepare the batter the night before and store it in an airtight container in the refrigerator. Give it a good whisk or stir in the morning, adding a splash more milk if it seems too thick, as the oats will absorb some liquid overnight.
Q: How do I get my waffles extra crispy?
A: Several factors contribute to crispiness! Ensure your waffle iron is fully preheated, don’t overfill it, and resist opening it too early. Using a tiny bit of extra oil when greasing can help, as can cooking them a minute or two longer until deeply golden brown. Also, placing them on a wire rack in a warm oven after cooking keeps them crispy.
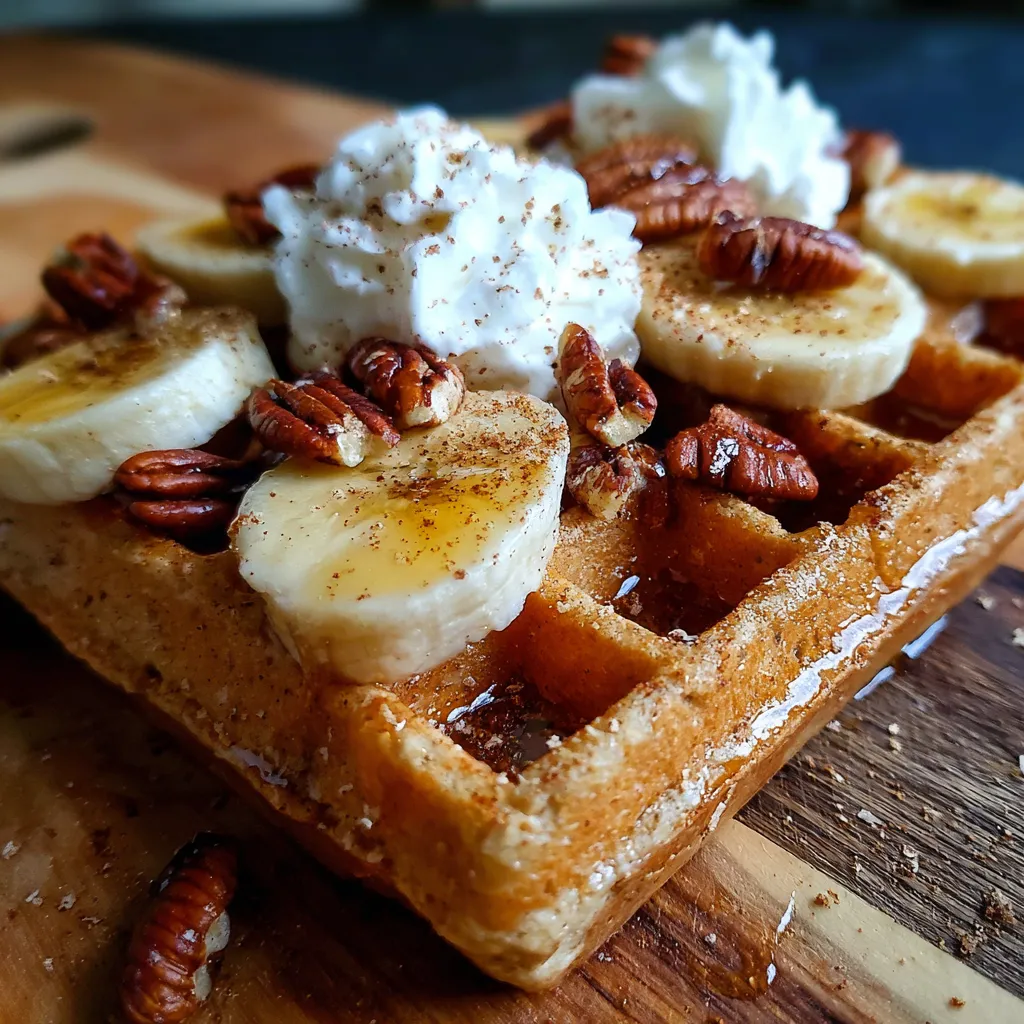
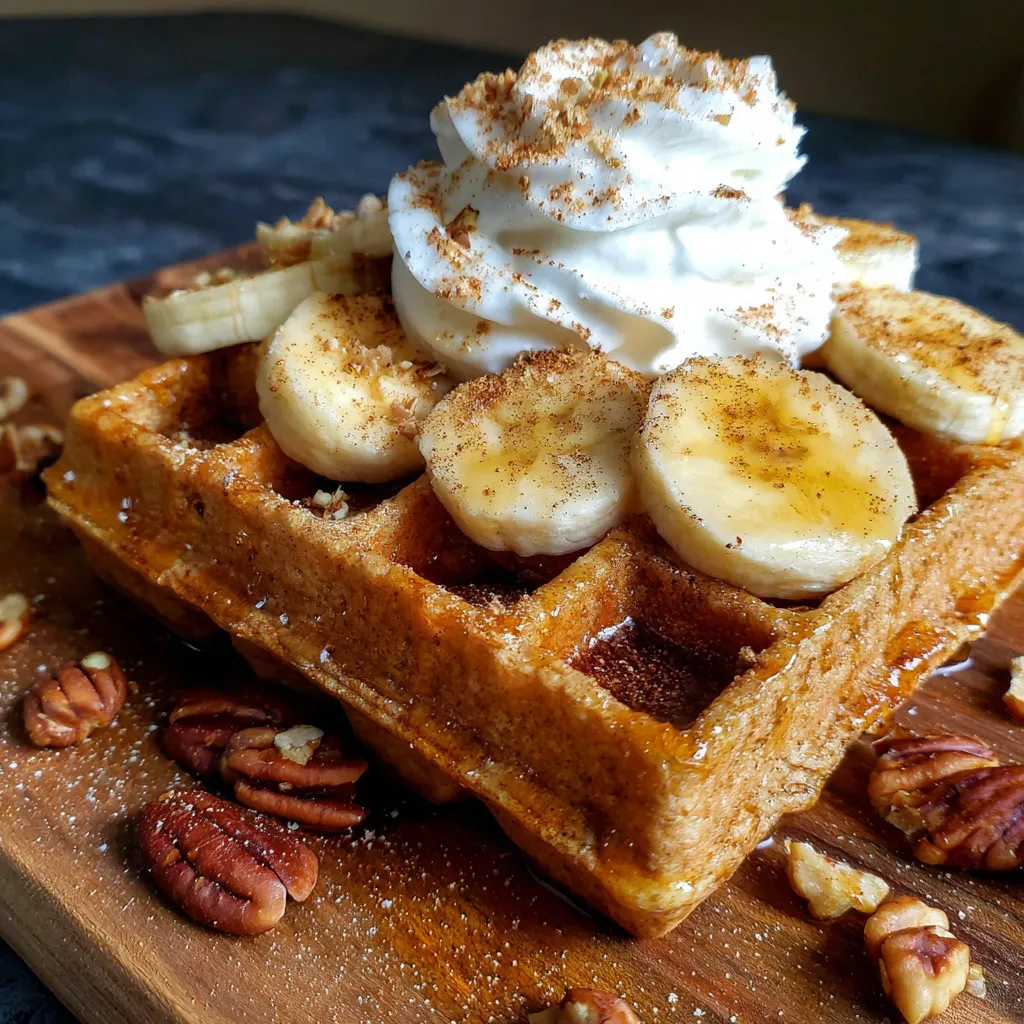
Q: What are the best toppings for Oatmeal Banana Waffles?
A: The possibilities are endless! Classic maple syrup and butter are always a hit. Other delicious options include fresh berries, sliced bananas, whipped cream, a dusting of powdered sugar, chopped nuts, chocolate sauce, a drizzle of honey, or even a dollop of Greek yogurt for a protein boost.
Q: My waffles are sticking to the iron, what can I do?
A: This usually happens if the iron isn’t hot enough or if it needs more greasing. Make sure your waffle iron is fully preheated before adding batter. Even non-stick irons benefit from a light spray of cooking oil or a brush of melted butter/oil between batches. If using an older iron, a more generous greasing might be needed.
Conclusion
There you have it – a truly delectable and wholesome way to start your day. These Oatmeal Banana Waffles are more than just a recipe; they’re a little bit of comfort, a dash of joy, and a whole lot of deliciousness all rolled into one. I hope you’ll give them a try and make them a cherished part of your family’s breakfast tradition. Don’t forget to customize them with your favorite toppings and enjoy every single fluffy bite!
Pin this recipe for later so you can easily find it for your next weekend brunch!
Fluffy Oatmeal Banana Waffles: Your New Go-To Breakfast!
Ingredients
- 1 ½ cups rolled oats
- 1 cup all-purpose flour
- 2 ripe bananas, mashed
- 1 tsp baking powder
- ½ tsp baking soda
- ½ tsp cinnamon
- ¼ cup brown sugar
- 2 large eggs
- 1 cup milk
- ¼ cup melted unsalted butter
- 1 tsp vanilla extract
- Pinch of salt
Instructions
- Step 1 In a large bowl, whisk together flour, baking powder, baking soda, cinnamon, sugar, and salt.
- Step 2 In a separate bowl, mash the ripe bananas. Add eggs, milk, melted butter, and vanilla extract. Whisk until well combined.
- Step 3 Pour the wet ingredients into the dry ingredients. Add the rolled oats. Mix with a spatula until just combined. Do not overmix; a few lumps are fine.
- Step 4 Heat your waffle iron according to manufacturer's instructions. Lightly grease if necessary.
- Step 5 Pour about 1/2 to 3/4 cup of batter onto the hot waffle iron (adjust based on your iron size). Close the lid and cook for 3-5 minutes, or until golden brown and crispy.
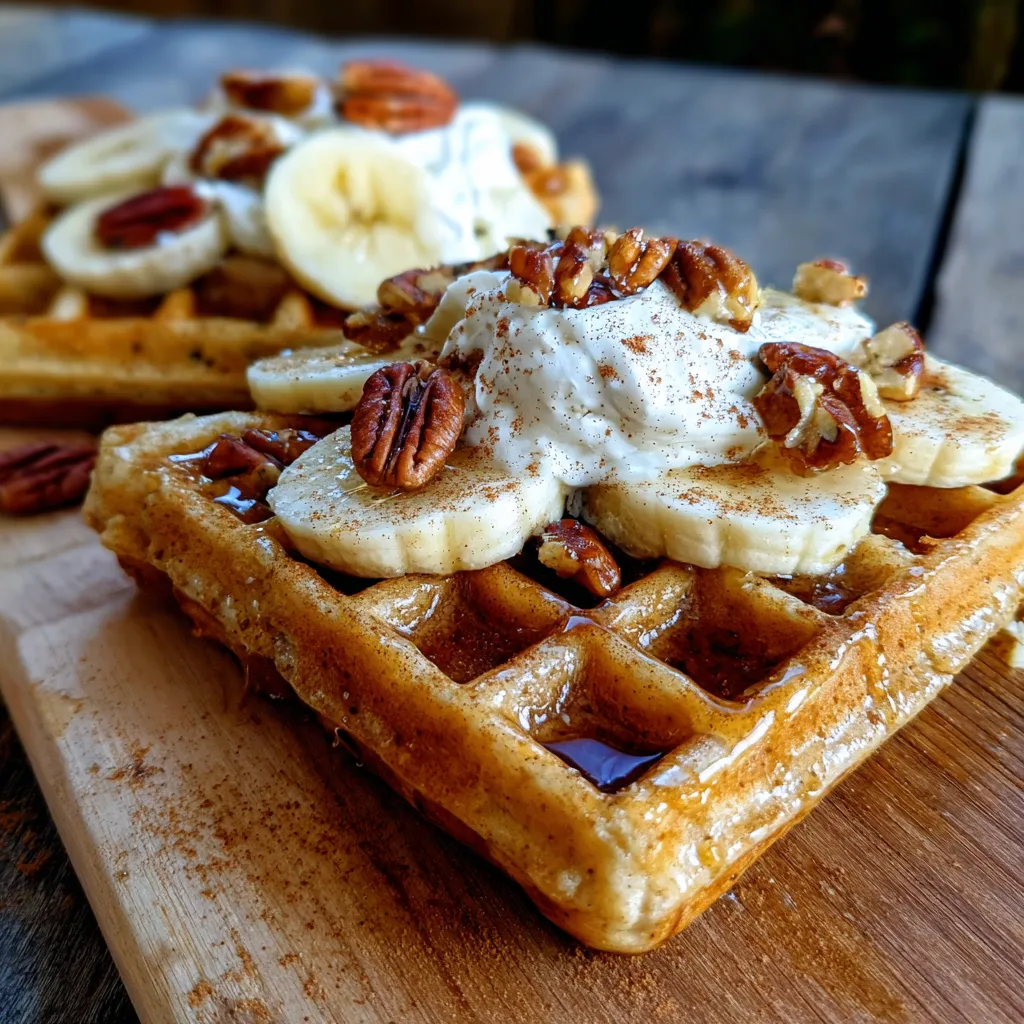
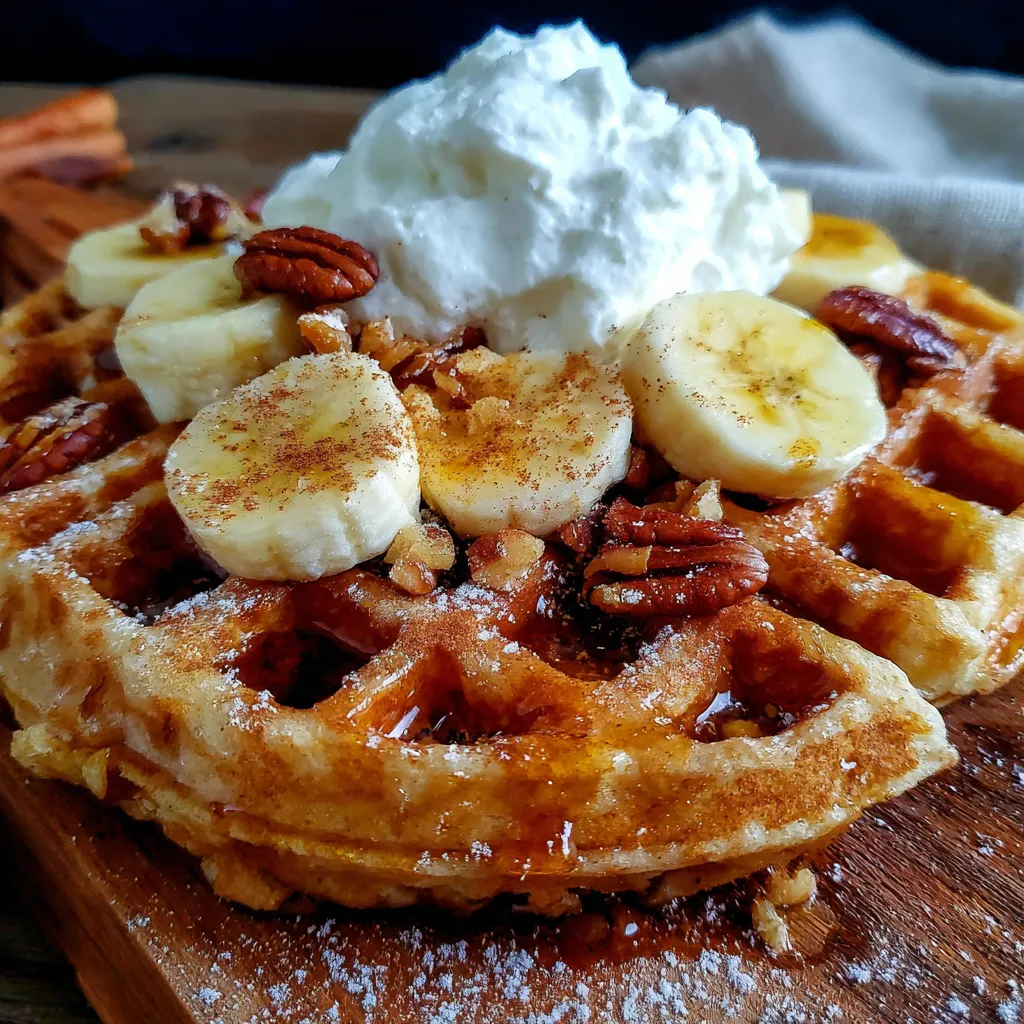
- Step 6 Serve immediately with your favorite toppings like maple syrup, fresh fruit, or whipped cream. Enjoy!
