
Butterfinger Pie Recipe
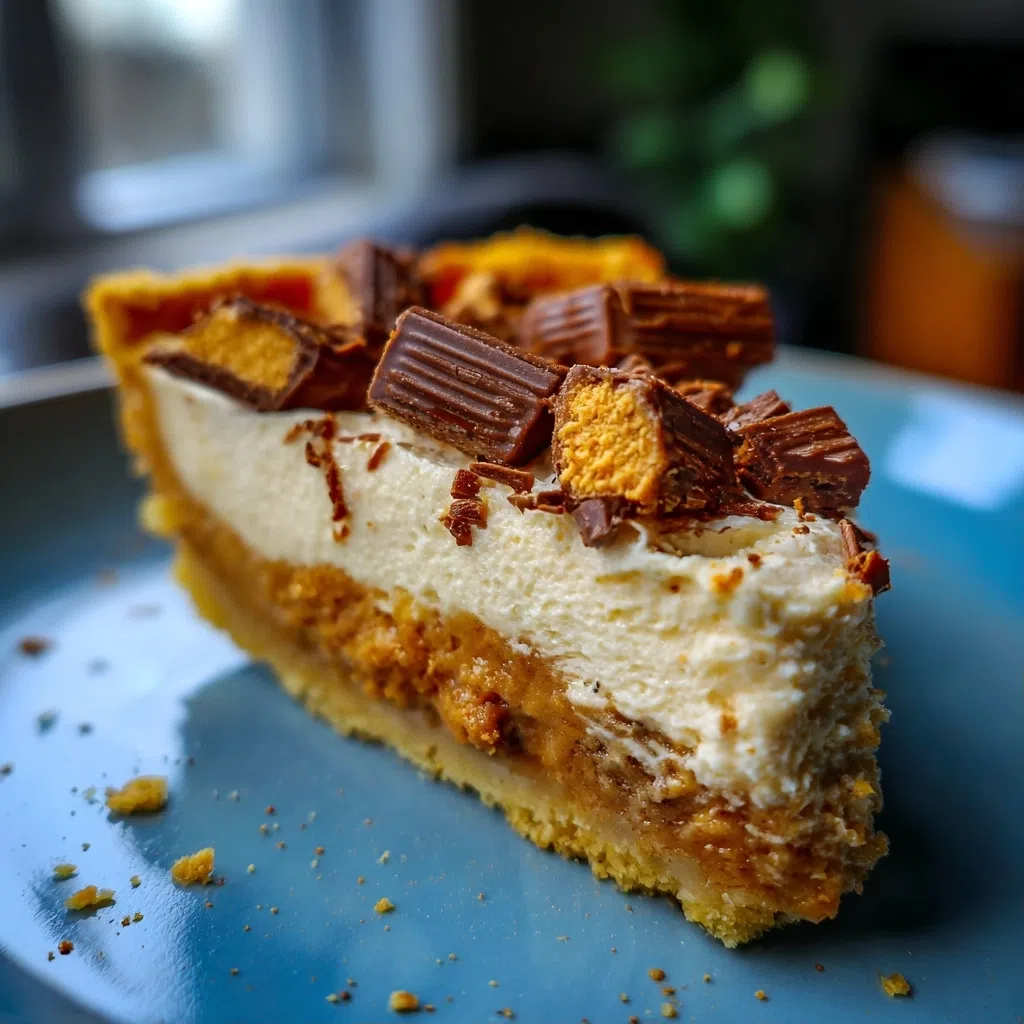
As I took my first bite of this creamy Butterfinger Pie, I knew I was in for a treat. The combination of the crunchy Butterfinger crust and the smooth filling was absolute perfection.
I remember making this pie for the first time on a sunny Sunday afternoon in my grandmother’s kitchen. The smell of melted chocolate and the sound of crunching Butterfingers still bring back fond memories of that day.
It wasn’t long before this Butterfinger Pie quickly became a cherished family favorite. This Butterfinger Pie quickly became a cherished family favorite.
Why You’ll Love This Butterfinger Pie
- The perfect combination of crunchy and smooth textures
- A rich and creamy filling with a deep chocolate flavor
- Can be made in under 30 minutes
- Foolproof recipe that’s easy to follow
- Perfect for any special occasion or holiday
Ingredients You’ll Need
- 1 cup graham cracker crumbs
- 1/4 cup granulated sugar
- 1/2 cup unsalted butter, melted
- 2 cups milk chocolate chips
- 1 cup creamy peanut butter
- 1 cup confectioners’ sugar
- 1/2 cup chopped Butterfinger bars
- 1 teaspoon vanilla extract
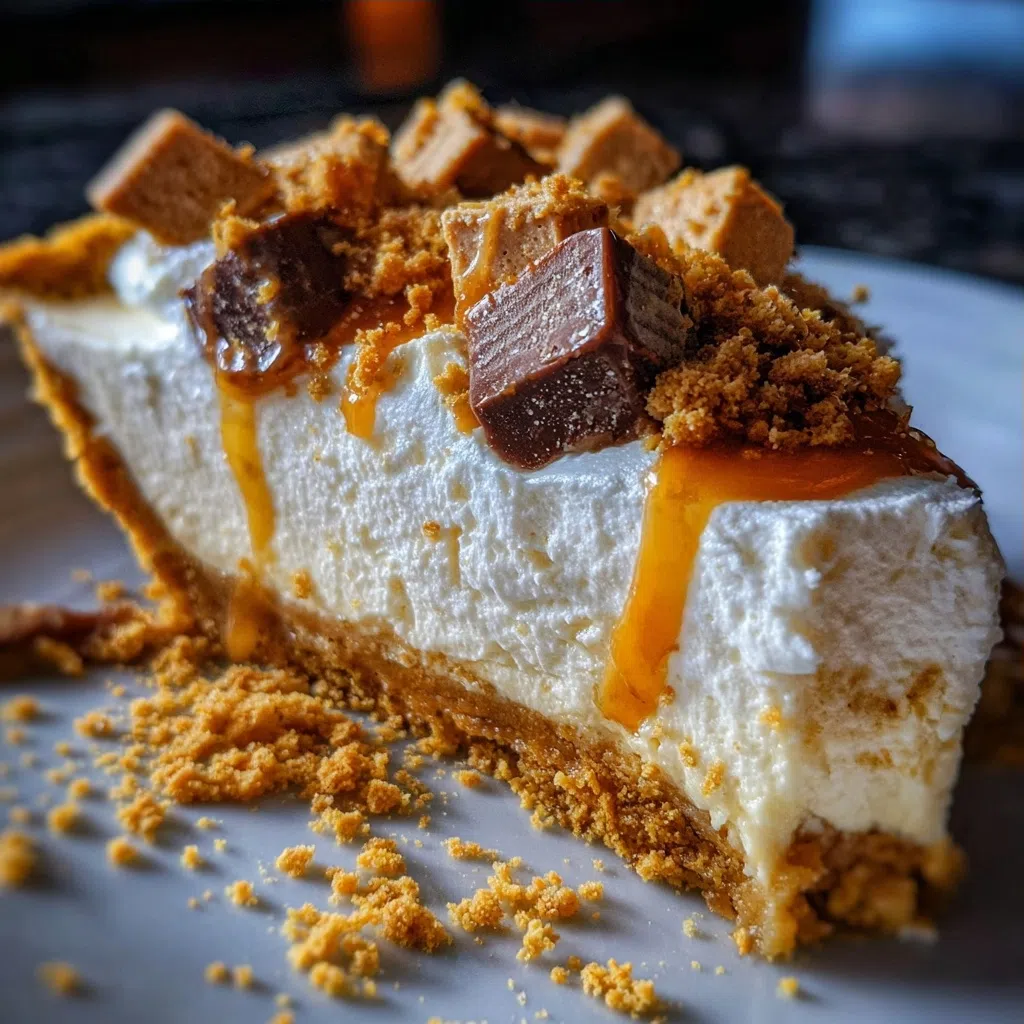
The star ingredients in this recipe are the crunchy Butterfingers and the rich heavy cream. When combined, they create a truly decadent and indulgent dessert.
Expert Tips for the Best Butterfinger Pie
- Make sure to chill the pie for at least 2 hours to allow the flavors to meld together
- Avoid overmixing the filling, as it can become too thick and sticky
- Add a sprinkle of sea salt on top of the pie for a touch of sophistication
- The pie is done when the edges are set and the center is just slightly jiggly
- Can be made ahead of time and stored in the fridge for up to 24 hours
Variations and Substitutions
To make this recipe gluten-free, simply substitute the graham cracker crust with a gluten-free alternative. You can also swap out the heavy cream for a non-dairy milk for a vegan version. For a bold flavor twist, try adding a teaspoon of espresso powder to the filling.

How to Store and Reheat
This pie can be stored in the fridge for up to 5 days and reheated in the microwave or oven. To freeze, simply wrap the pie in plastic wrap and store in a freezer-safe bag for up to 2 months.
Frequently Asked Questions
Can I make this pie ahead of time?
Yes, this pie can be made ahead of time and stored in the fridge for up to 24 hours. Simply chill the pie until you’re ready to serve.
How do I know when the pie is done?
The pie is done when the edges are set and the center is just slightly jiggly. You can also check the pie by inserting a knife into the center – if it comes out clean, the pie is done.
Can I freeze this pie?
Yes, this pie can be frozen for up to 2 months. Simply wrap the pie in plastic wrap and store in a freezer-safe bag.
I hope you enjoy making and eating this delicious Butterfinger Pie as much as I do! It’s the perfect dessert for any special occasion or holiday, and it’s sure to become a new family favorite.
Butterfinger Pie
🧂 Ingredients
👩🍳 Instructions
-
1Preheat oven to 350°F. In a medium bowl, mix together graham cracker crumbs and sugar.
-
2Press crumb mixture into the bottom of a 9-inch pie dish.
-
3Bake for 10 minutes, then let cool completely.
-
4Melt chocolate chips in a double boiler or in the microwave in 30-second increments, stirring between each interval.
-
5In a separate bowl, mix together peanut butter and confectioners’ sugar until smooth.
-
6Spread peanut butter mixture over the cooled crust.
-
7Pour melted chocolate over the peanut butter layer.
-
8Sprinkle chopped Butterfinger bars over the top.
-
9Refrigerate for at least 30 minutes before serving.
