
Banana Split Dump Cake
The aroma of Banana Split Dump Cake wafting from my oven is a sensory trigger that instantly transports me back to summer evenings spent with loved ones, the sound of laughter and sizzling ice cream creating an unforgettable melody.
I vividly remember a warm summer afternoon, around 3 pm, when I first made this cake, using ripe bananas from our backyard tree and a few scoops of our favorite ice cream.
As I took my first bite, the combination of textures and flavors was pure magic, and this Banana Split Dump Cake quickly became a cherished family favorite.
Why You’ll Love This Banana Split Dump Cake
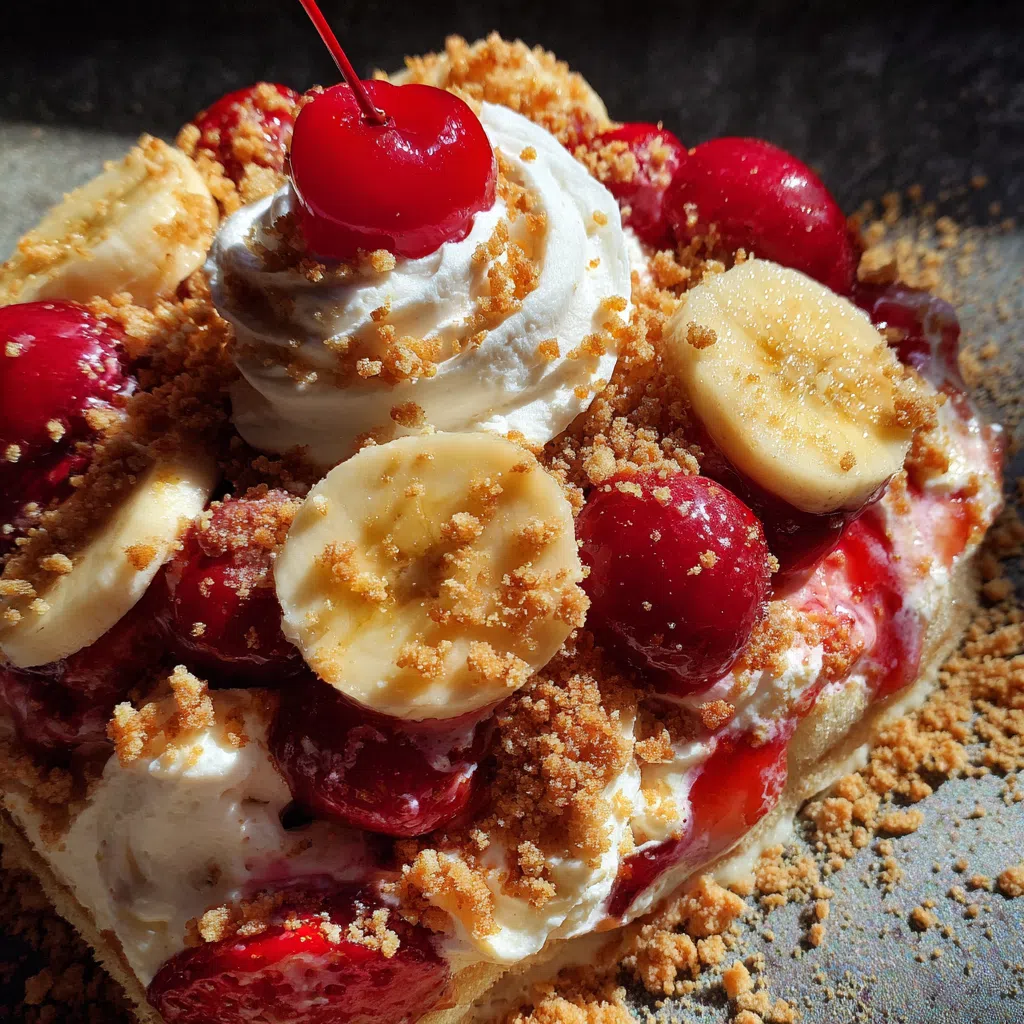
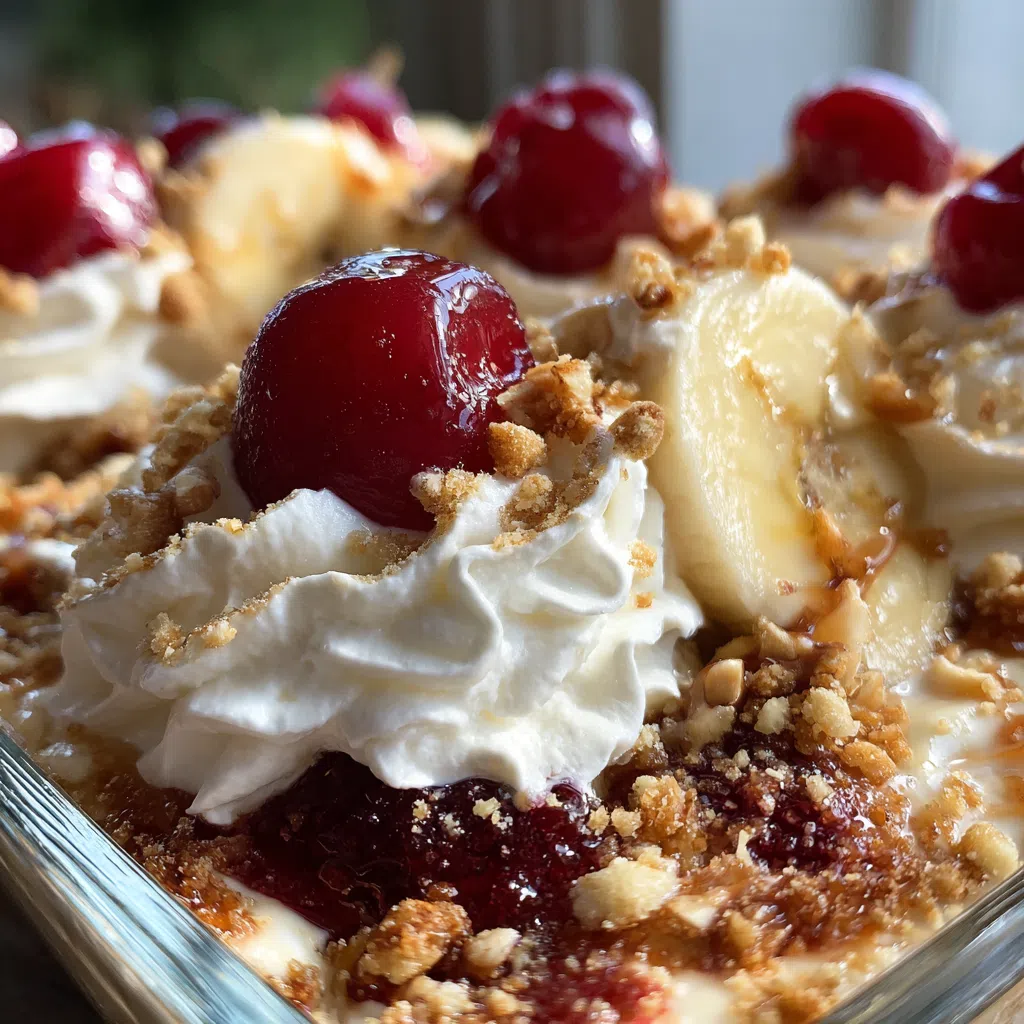
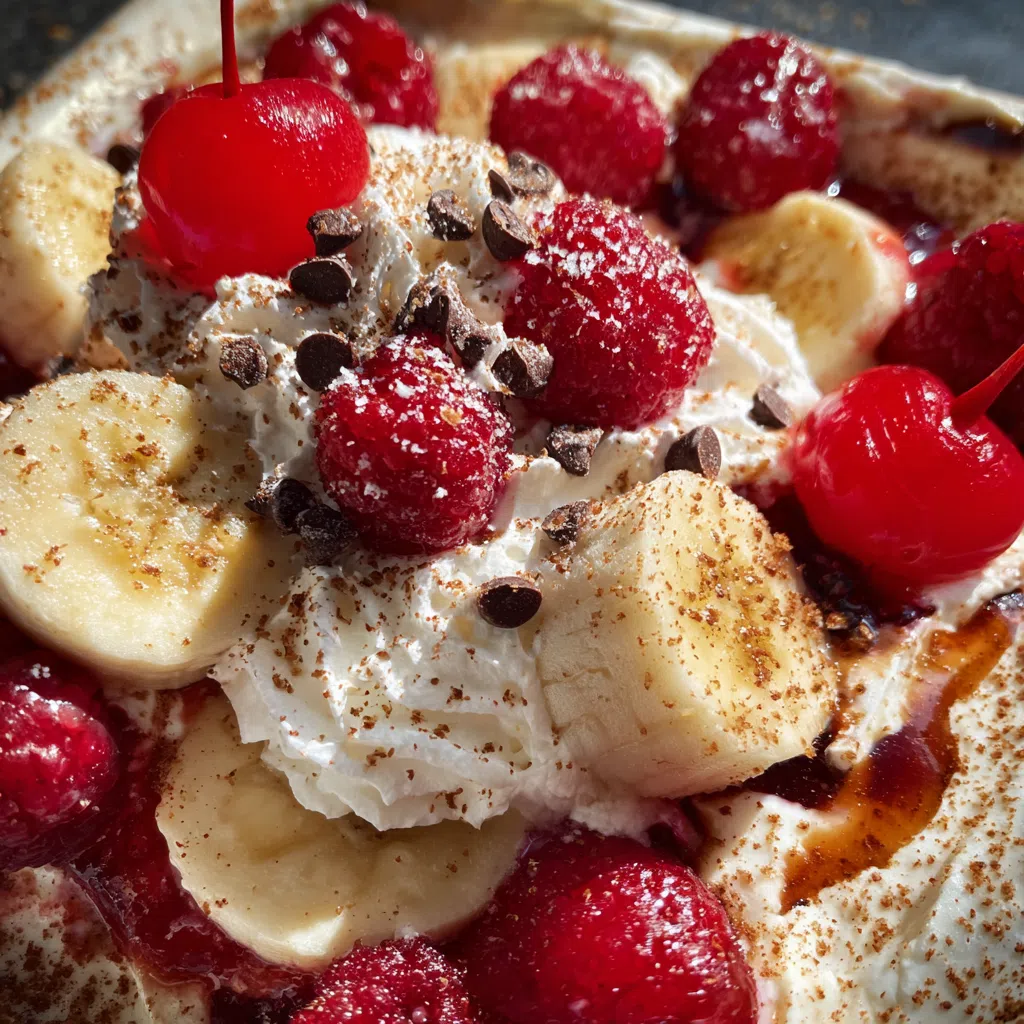
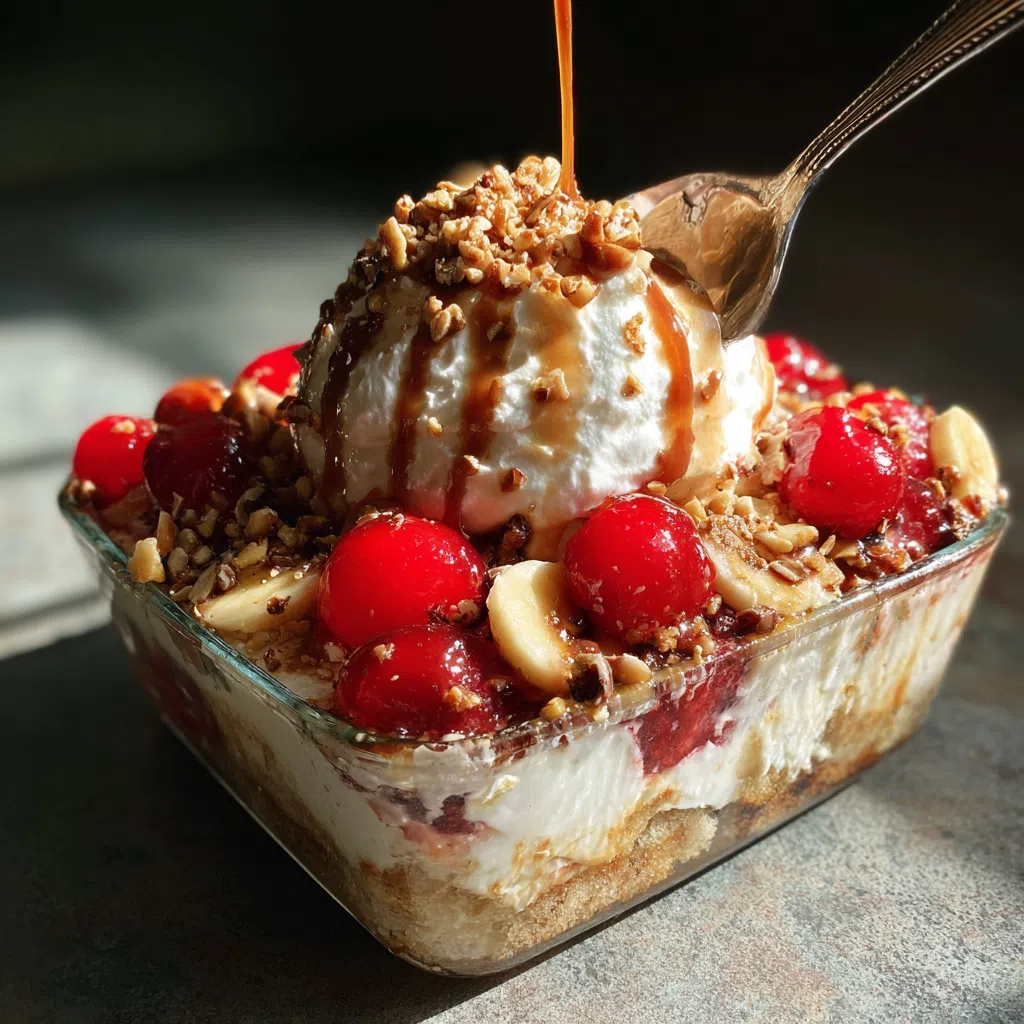
- Its gooey, sweet texture, paired with the crunch of nuts and the freshness of fruit.
- A flavor profile that’s both classic and innovative, combining the richness of chocolate and caramel with the brightness of fruit.
- It’s ready in under 45 minutes, making it the perfect dessert for spontaneous gatherings.
- The simplicity of the recipe makes it virtually foolproof, even for beginners.
- It’s perfect for potlucks, birthdays, or any occasion that calls for a show-stopping dessert.
Ingredients You’ll Need
- 1 (15 ounce) package yellow cake mix
- 1/2 cup granulated sugar
- 1/2 cup unsalted butter, melted
- 1 cup Nilla wafers, crushed
- 1 1/2 cups sliced bananas
- 1 cup chocolate ice cream
- 1/2 cup whipped cream
- 1/4 cup chopped walnuts
- 1 cup strawberry ice cream
- 1 cup pineapple ice cream
The star ingredients of this recipe are, without a doubt, the ripe bananas and the decadent chocolate chips, which meld together in perfect harmony.
As you mix the batter, the aroma of sweet vanilla and the depth of brown sugar will tease your senses, building anticipation for the first bite.
Expert Tips for the Best Banana Split Dump Cake
- Don’t overmix the batter, as this can lead to a dense cake; instead, gently fold the ingredients together until just combined, which helps preserve the delicate structure of the cake.
- A common mistake is overbaking, which can dry out the cake; to avoid this, keep an eye on the cake after 35 minutes and remove it from the oven when it’s still slightly tender in the center.
- For a pro upgrade, try adding a sprinkle of flaky sea salt on top of the cake before baking, which will enhance the flavors and textures of the dessert.
- The cake is done when a toothpick inserted into the center comes out clean, and the top is golden brown.
- You can make the cake ahead of time and store it in an airtight container at room temperature for up to 2 days; simply reheat it in the microwave or oven before serving.
Variations and Substitutions
To make this recipe gluten-free, simply substitute the all-purpose flour with a gluten-free flour blend.
You can also swap the heavy cream for a non-dairy alternative, such as coconut cream or almond milk, to cater to different dietary needs.
For a bold flavor twist, try adding a teaspoon of espresso powder or a handful of chopped nuts to the batter, which will add depth and complexity to the cake.
How to Store and Reheat
This cake can be stored in an airtight container in the fridge for up to 5 days; simply reheat it in the microwave or oven until warmed through.
To freeze, wrap the cake tightly in plastic wrap or aluminum foil and store it in a freezer-safe bag for up to 2 months; when you’re ready to serve, thaw the cake overnight in the fridge and reheat it in the microwave or oven.
Frequently Asked Questions
What’s the best way to serve this cake?
This cake is best served warm, topped with a scoop of your favorite ice cream and any desired toppings, such as chopped nuts or whipped cream.
You can also serve it at room temperature, but be sure to refrigerate any leftovers promptly to maintain freshness.
Can I make this recipe in a different size pan?
Yes, you can make this recipe in a different size pan, but keep in mind that the baking time may vary; just be sure to adjust the baking time accordingly, and keep an eye on the cake to ensure it doesn’t overcook.
It’s also important to note that the cake may have a slightly different texture and consistency when made in a different size pan, so some experimentation may be necessary to get the desired result.
How do I store leftovers?
Leftovers can be stored in an airtight container in the fridge for up to 5 days; simply reheat the cake in the microwave or oven until warmed through, and serve with your favorite toppings.
You can also freeze the cake for up to 2 months; when you’re ready to serve, thaw the cake overnight in the fridge and reheat it in the microwave or oven.
I hope you enjoy making and devouring this Banana Split Dump Cake as much as my family and I do; it’s a recipe that’s sure to become a staple in your household, and one that will bring joy and happiness to all who taste it.
So go ahead, give it a try, and let the sweet, sweet magic of this cake transport you to a world of pure bliss and delight.
Banana Split Dump Cake
🧂 Ingredients
👩🍳 Instructions
-
1In a large mixing bowl, combine the cake mix and sugar.
-
2Pour in the melted butter and stir until well combined.
-
3Pour the cake mixture into a 9×13 inch baking dish.
-
4Top with the crushed Nilla wafers.
-
5Arrange the sliced bananas on top of the Nilla wafers.
-
6Top with the chocolate ice cream.
-
7Drizzle with whipped cream and sprinkle with chopped walnuts.
-
8Top with the strawberry and pineapple ice cream.
-
9Refrigerate for at least 30 minutes before serving.
-
10Serve and enjoy!
