
The Ultimate Creamy & Cheesy: Tini’s Macaroni and Cheese (Viral Recipe!)
There’s nothing quite like the comforting embrace of a warm bowl of macaroni and cheese, is there? For me, it takes me straight back to chilly autumn evenings at my grandmother’s house. She’d always say, “A good mac and cheese can fix anything!” While her classic recipe held a special place in my heart, I always craved something just a little more, well, *extra* creamy and bursting with rich cheese flavor. That’s how I discovered and perfected A Must-Try: Tini’s Macaroni and Cheese (Viral Recipe) for Cheese Lovers! – and let me tell you, it’s a game-changer!
This isn’t just any mac and cheese; it’s a viral sensation for a reason. Imagine perfectly cooked pasta enveloped in the silkiest, most flavorful cheese sauce you’ve ever tasted, with a golden, bubbly top. It’s the ultimate comfort food classic that effortlessly transforms an ordinary weeknight into a special occasion, making it an ideal easy dinner solution for families and a true cheese lovers’ dream. Get ready to impress everyone at your table!
I first whipped this up for a rainy Sunday family dinner, and the collective “mmm”s and requests for seconds told me I had a winner. It’s truly a tested and adored family favorite that’s now a regular in our meal rotation. Whether you’re hosting a potluck, need a delicious side dish, or just craving the ultimate cheesy indulgence, this recipe delivers on every front. You absolutely need to make this now!
Why You’ll Love This Recipe
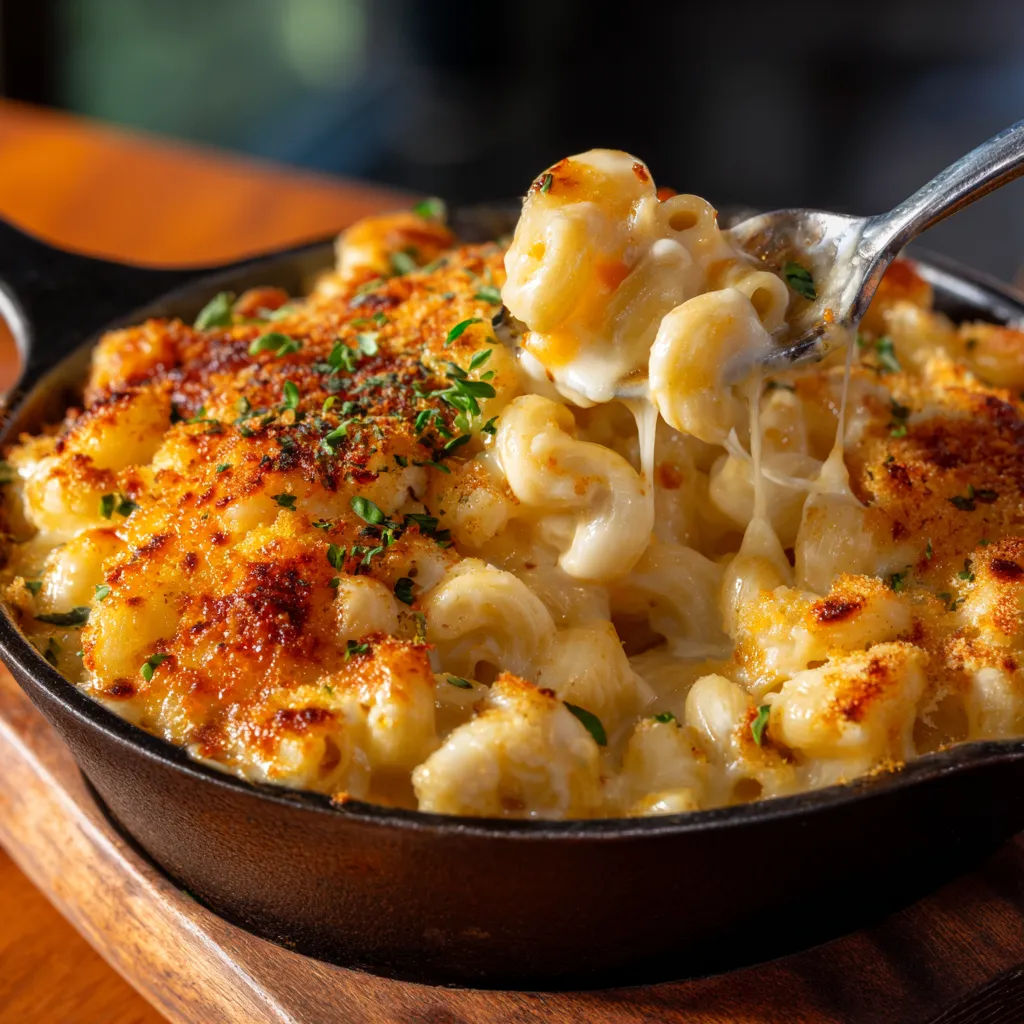
- Unbelievably Creamy Texture: Thanks to a blend of cheeses and a perfectly balanced béchamel, this mac and cheese boasts a velvety smooth sauce that coats every single noodle without being clumpy or dry. It’s pure silk on your palate.
- Rich, Complex Flavor Profile: We’re not just using one cheese here! A thoughtful combination of sharp cheddar, creamy Gruyère, and smoky Gouda (plus a secret ingredient!) creates a depth of flavor that’s both familiar and incredibly exciting. Each bite is an explosion of savory goodness.
- Effortlessly Viral: This recipe has taken the internet by storm for a reason! It’s consistently praised for its deliciousness and ease, meaning you’re getting a tried-and-true winner that everyone raves about. Be prepared for recipe requests!
- Simple to Master: Don’t be intimidated by homemade cheese sauce! My step-by-step instructions break it down, making it accessible for even beginner cooks. You’ll feel like a pro in no time.
- The Ultimate Comfort Food: There’s a reason mac and cheese is a classic. This version takes that cozy, nostalgic feeling and elevates it to new heights. It’s the perfect dish for a cold day, a family gathering, or simply when you need a little culinary hug.
- Crowd-Pleasing Perfection: Whether it’s a potluck, a holiday spread, or a casual weeknight dinner, this mac and cheese disappears fast. It appeals to all ages and dietary preferences (with some easy tweaks!). It’s the ultimate people-pleaser.
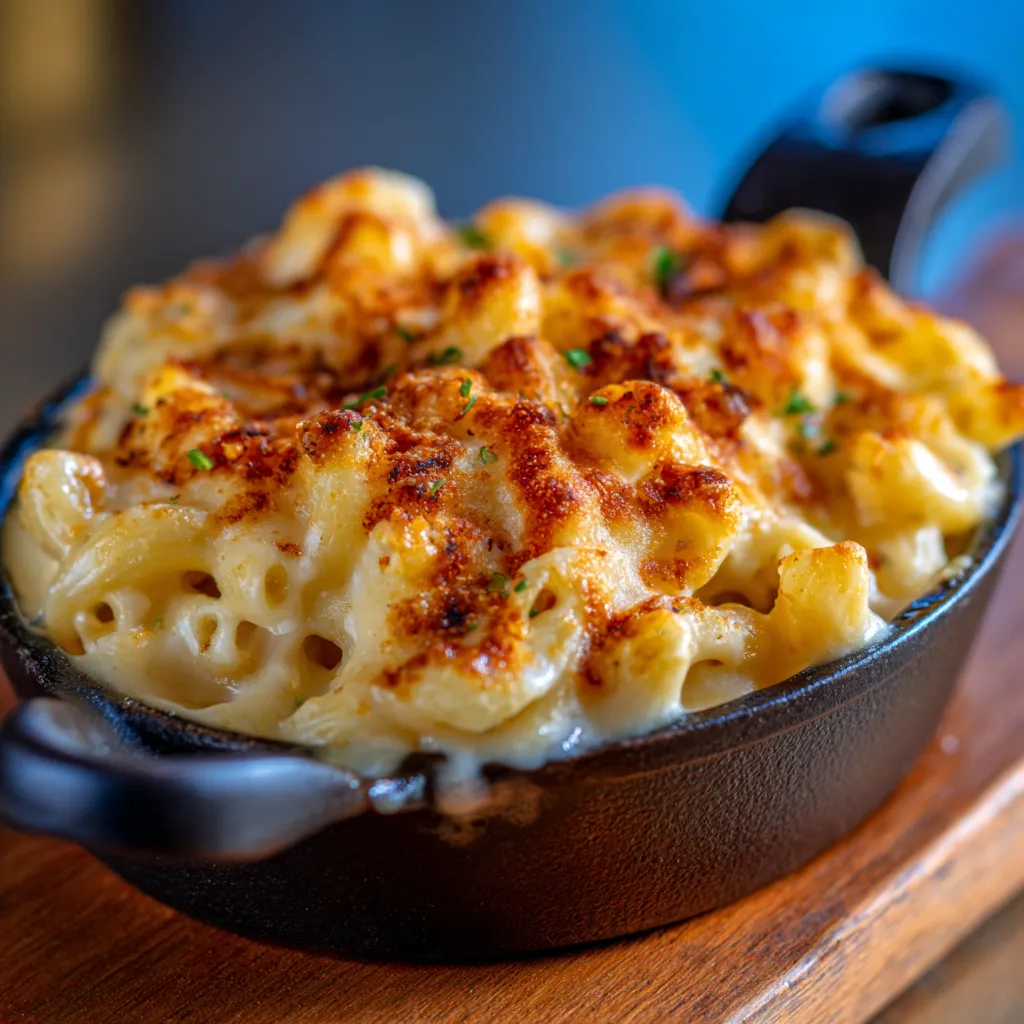
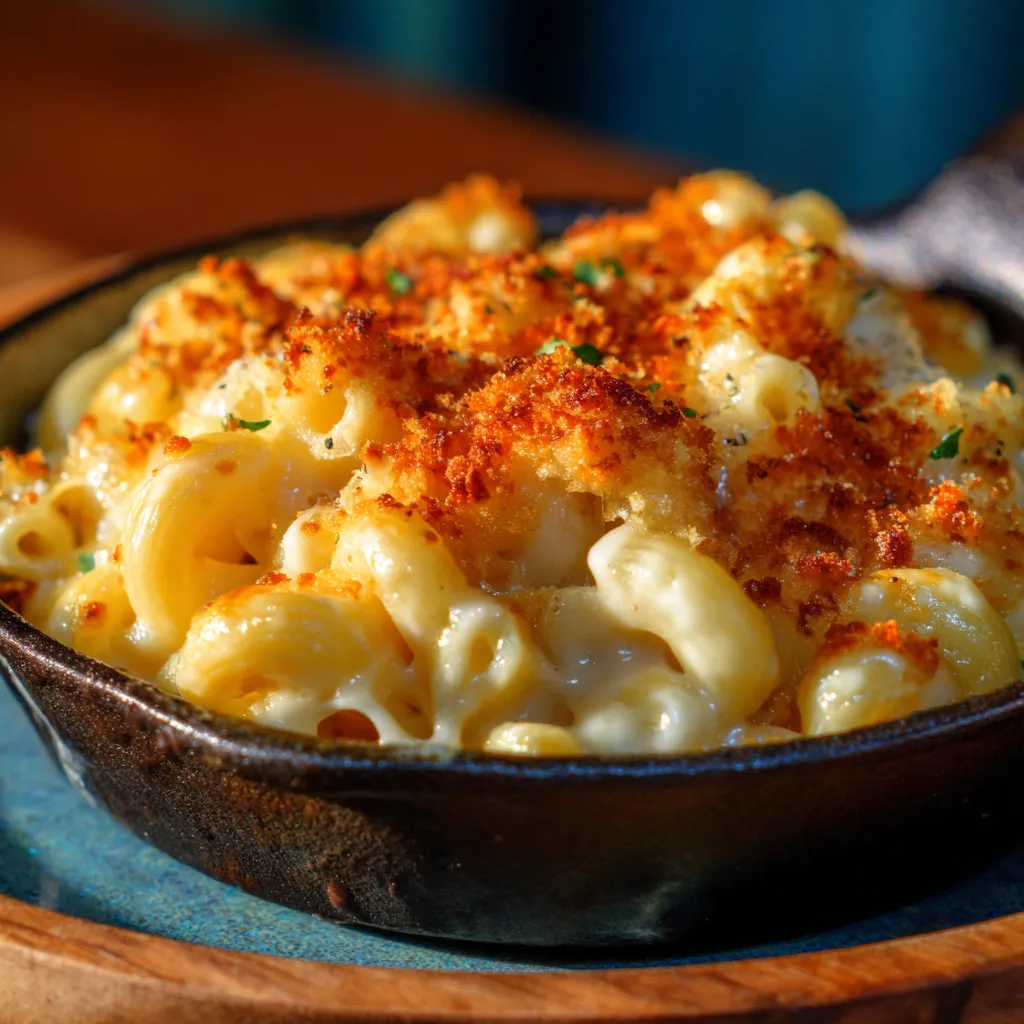
- Perfectly Baked Finish: While the stovetop version is fantastic, baking it adds that irresistible golden-brown crust and ensures every layer of cheese is perfectly melted and gooey. It adds an extra dimension of texture that truly makes it special.
What You Need
You only need a few simple pantry staples and a selection of quality cheeses for this recipe! The magic truly happens with a thoughtful blend of ingredients that come together to create an unforgettable dish. Check the full printable recipe card below for detailed measurements and a complete list of everything required to bring this cheesy masterpiece to life.

Expert Tips
- Grate Your Own Cheese: This is perhaps the most crucial tip! Pre-shredded cheeses often contain anti-caking agents that can make your cheese sauce grainy and prevent it from melting smoothly. Taking a few extra minutes to grate fresh blocks of cheese will make a world of difference in the creaminess and texture of your sauce.
- Use Room Temperature Milk: Cold milk can shock your béchamel sauce, making it harder to incorporate and potentially leading to lumps. Gently warm your milk in a separate saucepan or microwave it briefly before adding it to your roux for a smoother, more homogenous sauce.
- Cook Pasta Al Dente: Since your mac and cheese will bake in the oven, it’s essential to undercook your pasta slightly. Cook it 1-2 minutes less than the package directions for an al dente texture. This prevents the noodles from becoming mushy during the baking process and ensures they absorb some of that delicious cheesy sauce.
- Season Liberally and Taste: Don’t be shy with salt and pepper! Cheese sauces need robust seasoning to truly sing. Taste your sauce before combining it with the pasta and adjust as needed. A pinch of nutmeg and a dollop of Dijon mustard (the secret ingredient!) also enhance the cheesy flavor without overpowering it.
- Low and Slow for the Roux: When making your roux (butter and flour), cook it over medium-low heat for 1-2 minutes until it’s light golden and smells nutty. This cooks out the raw flour taste without browning it too much, which can affect the final color and flavor of your sauce.
- Whisk, Whisk, Whisk: When adding milk to your roux, do it gradually, whisking continuously to prevent lumps. Start with a small amount of milk to create a thick paste, then slowly add the rest, whisking until smooth after each addition. This ensures a lump-free, silky sauce every time.
- Don’t Overbake: While a golden, bubbly top is desirable, baking mac and cheese for too long can dry it out. Keep an eye on it and remove it from the oven once the top is nicely browned and the sauce is visibly bubbling around the edges. A quick broil for the last minute or two can help achieve that perfect crust without drying out the interior.
- Let It Rest: Just like a good roast, mac and cheese benefits from a short resting period after it comes out of the oven. Let it sit for 5-10 minutes before serving. This allows the sauce to set slightly, making it creamier and preventing it from being too runny.
Variations & Substitutions
- Gluten-Free: Easily make this GF by using your favorite gluten-free elbow macaroni and a gluten-free all-purpose flour blend for the roux.
- Dairy-Free/Vegan: This recipe can be adapted with plant-based butter, unsweetened almond or oat milk, and a blend of high-quality vegan cheeses that melt well. You might need to adjust seasoning.
- Add a Protein Boost: Stir in cooked, shredded chicken, crispy bacon bits, or even sautéed shrimp for a heartier meal.
- Veggie Power: Incorporate steamed broccoli florets, sautéed spinach, caramelized onions, or roasted bell peppers for extra flavor and nutrients.
- Spice It Up: Add a pinch of cayenne pepper, a dash of hot sauce, or some diced jalapeños to the cheese sauce for a fiery kick.
- Breadcrumb Topping: For extra crunch, combine 1 cup panko breadcrumbs with 2 tablespoons melted butter and sprinkle over the top before baking.
- Different Cheese Blends: Experiment with your favorite cheeses! Fontina, smoked cheddar, Monterey Jack, or even some Parmesan can be fantastic additions.
Storage & Freezing
- Refrigerator: Leftover mac and cheese can be stored in an airtight container in the refrigerator for up to 3-4 days.
- Reheating: For best results, reheat in the oven at 300°F (150°C) until warmed through, adding a splash of milk to help restore creaminess if needed. You can also gently reheat individual portions in the microwave, stirring occasionally.
- Freezing: Yes, you can freeze mac and cheese! Place cooled leftovers in a freezer-safe, airtight container or wrap individual portions tightly. It will keep for up to 2-3 months. Thaw overnight in the refrigerator before reheating. Note that the texture may change slightly upon thawing and reheating.
FAQ
There you have it! A recipe that’s more than just food; it’s a hug in a bowl, a crowd-pleaser, and a testament to the simple joy of really good comfort food. Tini’s Macaroni and Cheese isn’t just a viral recipe; it’s a culinary experience waiting to happen in your kitchen. So, gather your ingredients, follow these tips, and prepare to fall in love with the creamiest, cheesiest mac and cheese you’ll ever make. Don’t forget to Pin this for later and share your creations with us!
Tini’s Mac and Cheese: Viral Recipe for Cheese Lovers!
Ingredients
- 1 lb elbow macaroni
- 1/2 cup unsalted butter
- 1/2 cup all-purpose flour
- 6 cups whole milk, warmed
- 1 tsp salt
- 1/2 tsp black pepper
- 1/4 tsp ground nutmeg
- 1 tsp Dijon mustard
- 8 oz sharp cheddar cheese, freshly grated
- 8 oz Gruyu00e8re cheese, freshly grated
- 4 oz smoked Gouda cheese, freshly grated
- 4 oz cream cheese, softened and cubed (optional, for extra creaminess)
- Optional: 1 cup panko breadcrumbs + 2 tbsp melted butter for topping
Instructions
- Step 1 Preheat oven to 375°F (190°C). Grease a 9x13 inch baking dish. Cook elbow macaroni according to package directions, but slightly undercook (al dente). Drain and set aside.
- Step 2 In a large, heavy-bottomed pot or Dutch oven, melt unsalted butter over medium heat. Whisk in the all-purpose flour and cook for 1-2 minutes, stirring constantly, to create a roux. Do not let it brown.
- Step 3 Gradually whisk in the warmed whole milk, a little at a time, ensuring no lumps form. Continue whisking until the sauce is smooth and thickened, about 5-7 minutes. It should coat the back of a spoon.
- Step 4 Remove the pot from the heat. Stir in the salt, black pepper, ground nutmeg, and Dijon mustard. Add the grated sharp cheddar, Gruyu00e8re, and smoked Gouda, stirring until all the cheese is melted and smooth. If using, stir in the softened cream cheese until fully incorporated and the sauce is extra creamy.
- Step 5 Add the drained, cooked macaroni to the cheese sauce and stir until well coated. Pour the macaroni and cheese mixture into the prepared baking dish.
- Step 6 If desired, combine panko breadcrumbs with melted butter and sprinkle evenly over the top of the mac and cheese.
- Step 7 Bake for 25-30 minutes, or until bubbly and the top is golden brown. If you want a crispier top, you can broil for the last 1-2 minutes, watching carefully to prevent burning.
- Step 8 Remove from oven and let stand for 5-10 minutes before serving. This allows the sauce to set for ultimate creaminess.
