
Halloween calls for treats that delight the eyes and excite the taste buds. But between costume prep and party planning, time is short. That’s where no-bake Halloween cookies shine. They bring all the spooky fun without a single minute in the oven.
These festive bites are easy to make, especially when you need last-minute snacks. Kids can get involved too, since there’s no baking involved. With colorful candy, creepy eyes, and playful shapes, spooky no-bake cookies set the scene for any Halloween gathering.
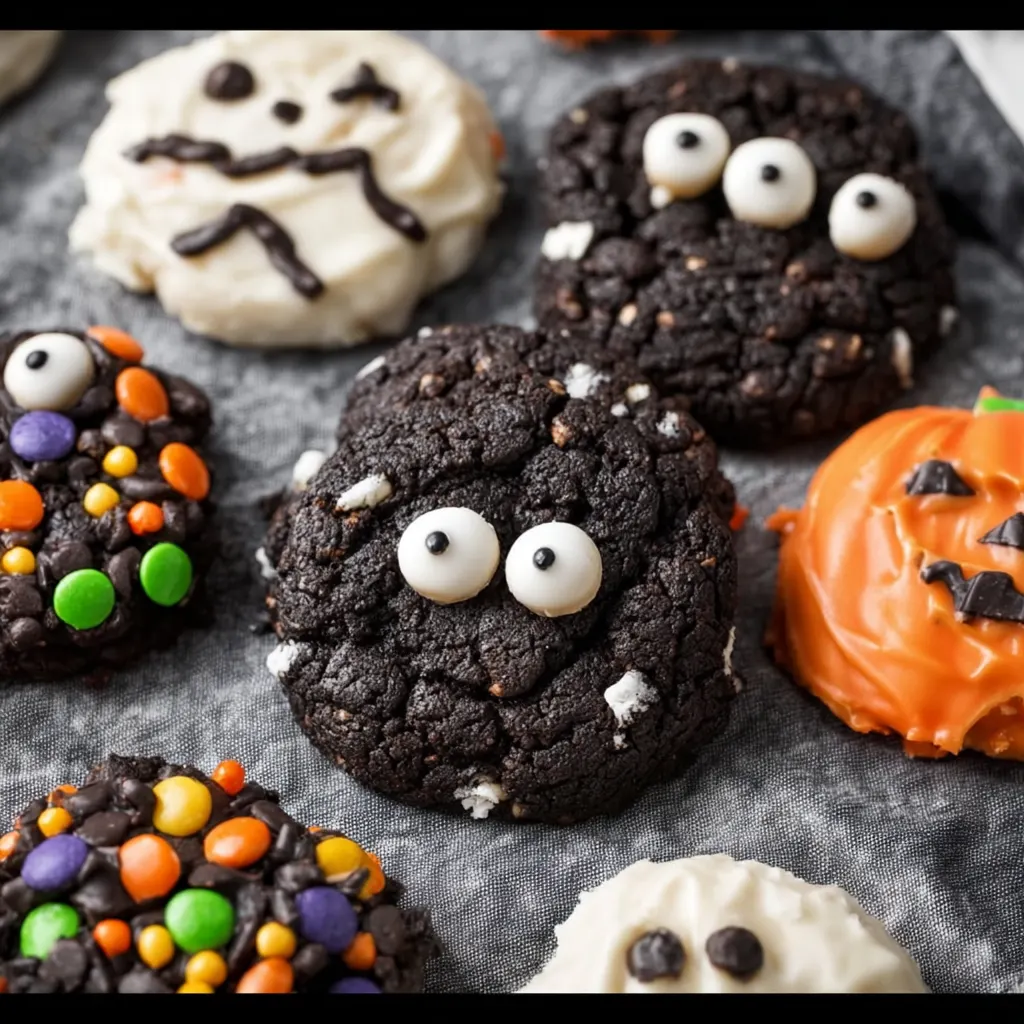
In this context, “spooky” doesn’t mean scary—it means playful, creative, and seasonally themed. Think spider legs made of licorice, bright green icing for Frankenstein’s face, or candy eyes peeking out from chocolatey monsters. The shapes, colors, and edible decorations create the Halloween magic.
Whether you’re throwing a party or building a treat platter, these quick Halloween cookies make the moment extra memorable. Let’s explore why they’re the perfect choice this season.
Why Choose No-Bake for Halloween Cookies?
No-bake Halloween cookies save time without skimping on flavor or flair. You can whip them up in under 30 minutes and keep your oven free for other party essentials. They’re ideal for busy parents, teachers, and anyone planning spooky festivities.
Because there’s no heat involved, no-bake treats are safer for little hands. Kids can help decorate, dip, and assemble without adult supervision every step of the way. That turns baking into a fun, hands-on activity the whole family enjoys.
These cookies also work great with store-bought items. Use Oreos, wafers, crackers, or sandwich cookies as your base. Then decorate with icing, sprinkles, and candy eyes. The result? Creative, crowd-pleasing cookies that look impressive and taste delicious—without stress or mess.
Types of No-Bake Halloween Cookies: Spooky Styles That Steal the Show
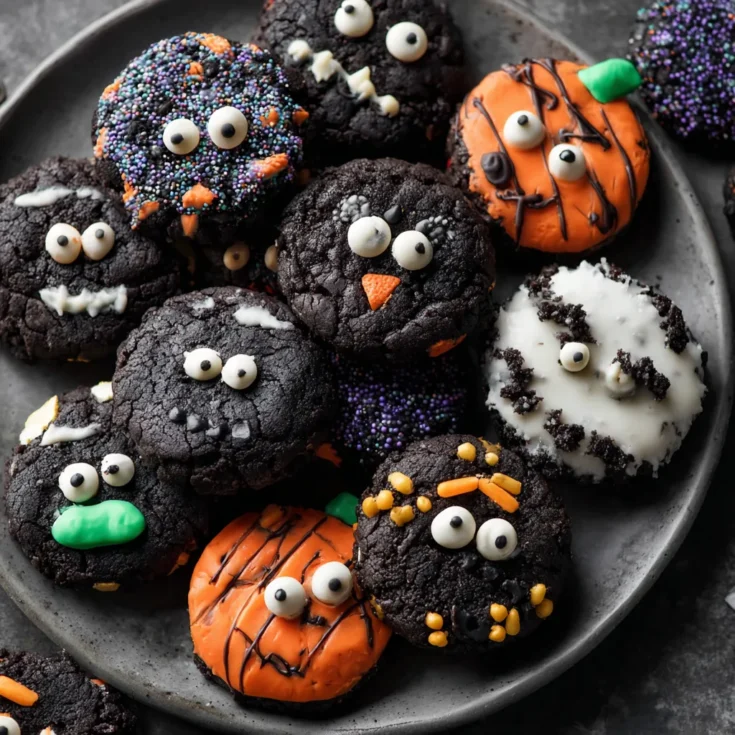
No-bake Halloween cookies come in all shapes and scares. From spiders to bats, and even friendly Frankenstein faces, these creepy confections are as fun to make as they are to eat. Let’s explore the best no-bake designs that bring Halloween spirit to life—without ever turning on the oven.
Spider Cookies: A Creepy Classic with Sweet Personality
Spider cookies are a Halloween favorite for good reason. Start with a round cookie base—chocolate sandwich cookies work perfectly. Add a dab of frosting or melted chocolate to secure a chocolate truffle, peanut butter cup, or candy sphere in the center. That becomes your spider’s body.
Use candy eyes for expression, and create legs from licorice strings or pretzel sticks. Want a twist? Try rolled oats with chocolate to shape no-bake spider mounds. Gluten-free versions swap in certified GF oats and chocolate chips.
These cookies look elaborate but come together quickly. They’re a hit with kids and adults alike and easy to adapt for allergies or diet needs.
Bat & Cat Cookies: No-Bake Treats with Whiskers and Wings
For Oreo bat cookies, gently twist apart chocolate sandwich cookies. Break one cookie into halves to make the wings, then dip another cookie in melted chocolate. Attach the wings and candy eyes before the chocolate sets. You now have an adorable, edible bat ready to fly off the plate.
Cat cookies use similar ingredients but focus on feline features. Place small candies or frosting dots for ears, and use a candy face with whisker lines drawn in icing. Their expressive eyes give them charm, and you can even turn them into black cats with chocolate coatings.
These no-bake bat and cat cookies make your Halloween cookie tray fun and festive, especially for animal lovers.
Frankenstein Wafer Cookies: Monstrously Simple
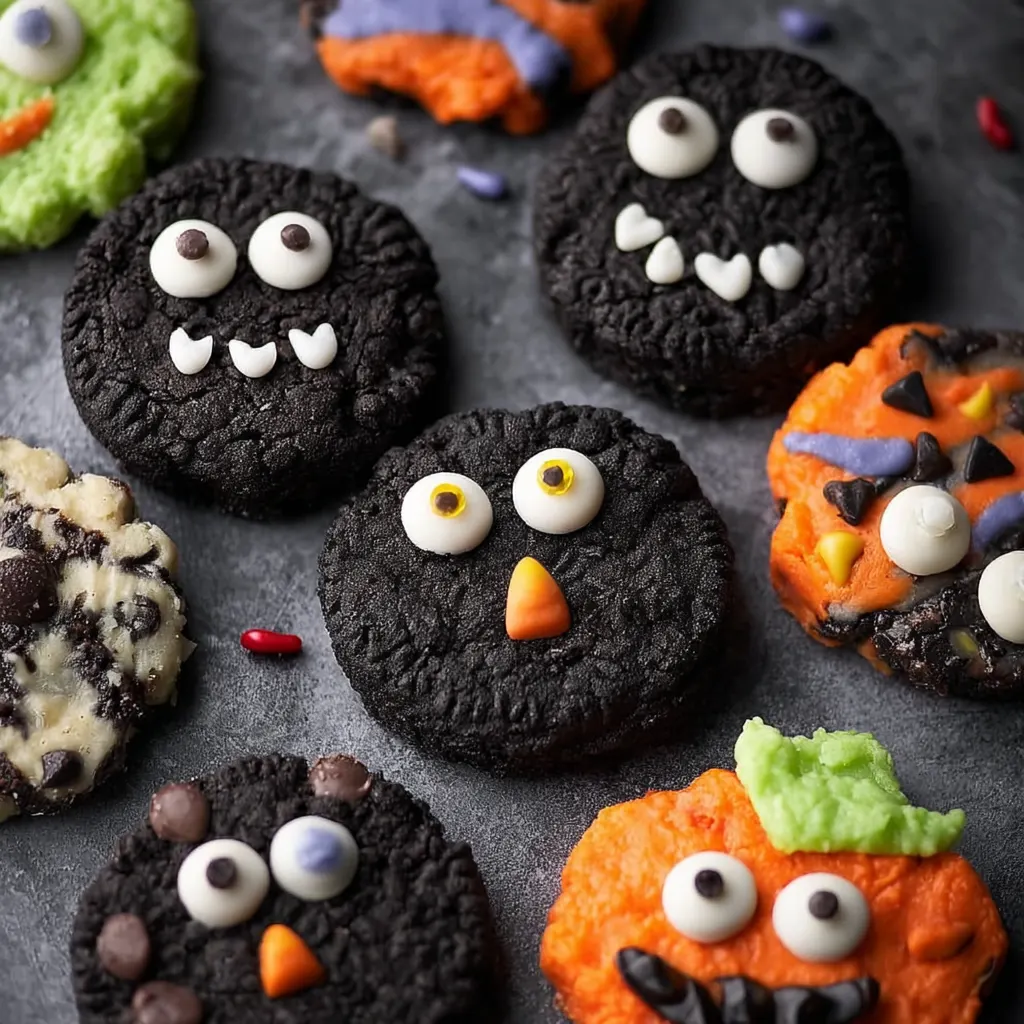
Green candy melts bring Frankenstein to life. Dip vanilla wafer cookies into the melted coating and press on candy eyes while the coating is still soft. Use chocolate sprinkles or jimmies to form the monster’s hair. An edible marker can add a stitched smile or a furrowed brow.
These cookies are fun to assemble in batches and make a big impact with very little effort. They’re also perfect for themed classroom snacks.
Witch Hat & Ghost Cookies: Sweet and Spooky Simplicity
Witch hat cookies require just two ingredients: chocolate kisses and round cookies or crackers. Flip the base cookie upside down, attach the kiss with icing, and decorate the rim with orange or purple frosting. The result is whimsical and perfect for Halloween parties.
For ghost cookies, dip wafers or oblong cookies in white chocolate. Lay them flat on parchment and press on candy eyes. Let them set to reveal ghostly figures with a cute, haunting gaze. These are especially fun for little helpers in the kitchen.
Other No-Bake Halloween Creations That Wow
Beyond the classics, try fudge-style monster cookies. Press crushed cookies and candy eyes into soft fudge, then slice into squares. Use bold colors—purple, green, or orange—to bring them to life. These cookie fudge bars offer a thick, chewy bite with a spooky twist.
Or go the no-bake bark route, using melted chocolate swirled with colorful candy, sprinkles, and pretzel pieces. Break into jagged pieces for Halloween cookie bark that looks chaotic and festive. These versions work great for party platters and treat bags alike.
No-bake Halloween cookies come in endless shapes and styles. Whether you go for creepy-cute spiders, silly ghosts, or bold monster fudge, there’s a spooky cookie here for every kind of celebration.
Ingredients & Decoration Tips for No-Bake Halloween Cookies
Creating fun and flavorful no-bake Halloween cookies starts with the right ingredients. With just a few pantry staples and some themed decorations, you can turn everyday items into festive, spooky treats. Let’s break down what you’ll need and how to elevate each cookie with color, texture, and creativity.
Pantry-Friendly Ingredients for Easy Halloween Cookies
The best no-bake recipes use what you already have. Store-bought cookies make a great base—choose from Oreos, sugar wafers, vanilla sandwich cookies, or nut butter rounds. They hold their shape, taste great, and save time.
To coat, dip, or drizzle, use melting candies like chocolate chips, white chocolate, or brightly colored candy melts. These melt easily in the microwave or over a double boiler and help decorations stick.
For finishing touches, gather sprinkles, candy eyes, licorice strings, and pretzel sticks. Use edible pens to draw faces or stitch marks, especially for Frankenstein and ghost cookies. These simple tools turn plain cookies into delightful characters.
Color & Theme Tips for Spooky Cookie Success
Halloween colors add instant impact. Stick with orange, black, green, and white to keep the spooky theme clear and bold. Use colored candy melts or icing to coat cookies in seasonal hues.
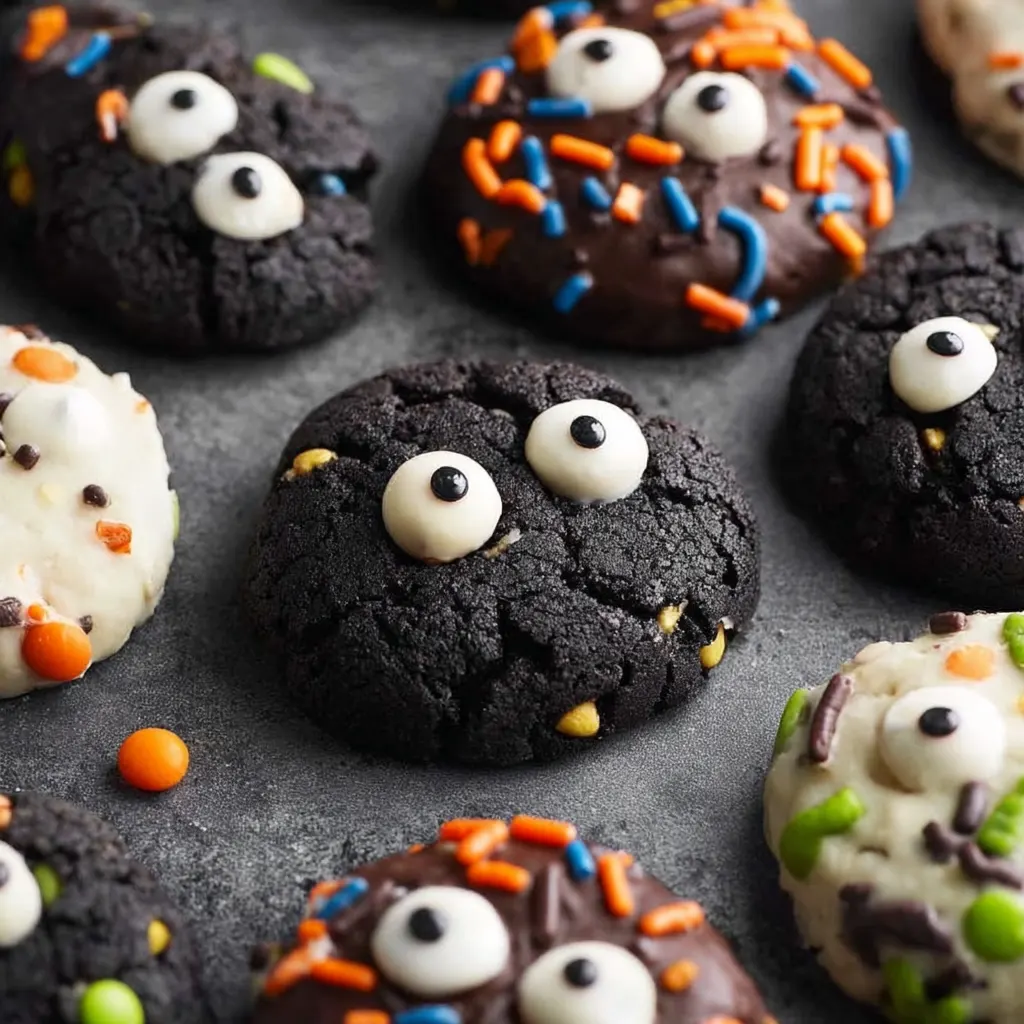
Candy eye placement creates character—add two for a basic look or cluster more for monster eyes. Use icing pens to draw scars, mouths, or fangs, and sprinkle edible glitter for magical effects.
For spider cookies, pipe black or purple frosting legs. For bat wings or witch hats, go bold with contrast—black wings and white eyes, or orange icing on chocolate bases. Color helps your cookies stand out on any dessert table.
Dietary Variations to Fit All Guests
Need allergy-friendly options? No problem. For gluten-free no-bake cookies, use certified GF cookie bases and gluten-free candy coatings. Check all packaging to ensure safety.
To make your treats dairy-free or vegan, choose plant-based candy melts and dark chocolate chips. Look for cookies made without milk or butter.
For nut-free versions, skip peanut butter bases and check labels for cross-contamination warnings. Use sunflower seed butter or coconut products when needed.
With a few swaps, your Halloween cookie platter can be fun, festive, and safe for everyone to enjoy.
Step-by-Step Assembly & Techniques for No-Bake Halloween Cookies
No-bake Halloween cookies are more than quick to make—they’re fun to assemble, easy to decorate, and endlessly customizable. Whether you’re dipping, drizzling, or layering, a few simple techniques can take your spooky treats from basic to unforgettable.
General No-Bake Cookie Methodology
Start by melting your candy coating. Use either a microwave or a double boiler. In the microwave, melt in short 20-second bursts, stirring between each round until smooth. If using a double boiler, keep the heat low and stir often to avoid scorching.
When it comes to building your cookies, think in three modes: coating, assembling, and dipping. Coating involves covering the base in melted candy or chocolate. Assembling means stacking or gluing components with frosting or melted chocolate. Dipping adds texture and sets the foundation for decoration.
After assembly, give your cookies time to set. Some harden at room temperature, while others chill faster in the fridge. Letting them sit for 15–30 minutes ensures clean, firm results.
Assembly Examples for Popular No-Bake Halloween Cookies
Spider Cookies
Start with a round cookie as your base. Add a dollop of chocolate or frosting in the center to anchor your spider’s “body” (like a truffle or peanut butter cup). Pipe on frosting legs using black or purple icing. Press candy eyes on the body before the chocolate hardens.
Variation: Use rolled oats and chocolate to form spider mounds. Add pretzel or licorice legs and eyes on top. These treats are chewy, creative, and allergy-friendly.
Oreo Bat Cookies
Twist apart an Oreo. Remove the cream and break one half into two wings. Dip a full Oreo in chocolate and attach the wings before the coating sets. Add two candy eyes for a bat with personality.
Use dark or colored melts to give these cookies a gothic flair. They’re ideal for party platters or classroom snacks.
Frankenstein Wafer Cookies & Witch Hat Cookies
Dip sugar wafer cookies into green candy melts. Press on candy eyes and sprinkle chocolate jimmies across the top for Frankenstein’s hair. Use a food-safe pen or piping to draw mouths or stitches.
For witch hat cookies, flip a chocolate cracker or cookie upside down. Attach a chocolate kiss in the center using icing. Add a colored frosting ring at the base to mimic a hatband. They’re simple, cute, and perfect for themed dessert tables.
Monster Fudge Cookie Squares
Melt white chocolate or fudge base, then divide into separate bowls. Color each portion with Halloween food coloring—purple, orange, green. Pour into a lined dish and swirl gently.
Press in candy eyes, cookies, and sprinkles. Chill for 2 hours, then slice into squares. These chewy, colorful treats are fun to decorate and great for sharing.
Presentation & Storage Tips
Serve no-bake Halloween cookies on themed platters or wrap them individually in treat bags. Add labels or stickers for extra flair at parties or bake sales.
Store cookies in airtight containers at room temperature for up to 3 days. For longer freshness, place them in the fridge. Avoid stacking unless parchment separates the layers.
Make them one day ahead for best results. Most no-bake cookies hold their shape and taste even better once they’ve had time to set fully.
Frequently Asked Questions
What are easy no-bake Halloween cookie ideas?
Some of the easiest and most popular no-bake Halloween cookies include spider cookies, bat cookies, witch hat cookies, and monster fudge squares. You can make spider cookies with sandwich cookies, frosting, and candy eyes. Oreo bats use chocolate coating and cookie wings. Witch hats are made from chocolate kisses and crackers, while monster fudge squares combine melted chocolate, candy eyes, and sprinkles. These spooky treats are quick, creative, and fun for all ages.
Spooky No-Bake Halloween Cookies – Fun & Easy Treats for Kids
Quick bat-shaped cookies made with chocolate-dipped Oreos and candy eyes no oven required.
Ingredients
- 18 Oreo Double Stuf cookies
- 1 cup chocolate melting wafers
- 2 tsp vegetable oil
- 24 candy eyes
Instructions
Notes
Can you make no-bake cookies ahead?
Yes, no-bake Halloween cookies are great for preparing in advance. Most hold their shape well when stored properly. After assembling, place them in a single layer inside an airtight container. If you need to stack them, use parchment paper between layers. For best results, chill the cookies for 30 minutes before serving or storing. You can prepare them a day or two ahead to save time and reduce stress before your event.
Are these cookies safe for kids to help?
Absolutely. Since these cookies require no baking, kids can safely join the fun. Let them dip cookies, add candy eyes, and draw faces with edible markers. Just be sure to supervise melting chocolate or candy melts, as those steps may involve heat. Once everything cools down, the decorating becomes a hands-on, mess-friendly activity that little ones will love.
How do I make them gluten-free or vegan?
You can easily adapt no-bake Halloween cookies for dietary needs. For gluten-free versions, choose certified gluten-free cookies and sprinkles. For vegan cookies, use plant-based cookie bases, dairy-free chocolate chips or candy melts, and ensure all decorations are free of animal products. Always check ingredient labels carefully, especially for hidden dairy, eggs, or gluten in packaged items. Use nut-free spreads like sunflower butter if avoiding allergens.
How long do no-bake cookies last?
No-bake cookies typically last 3 to 5 days when stored in the refrigerator. At room temperature, their shelf life may vary depending on ingredients and humidity. If the weather is warm, chilling the cookies helps them stay firm and fresh. To keep them looking their best, avoid stacking unless separated with parchment or wax paper. Serve within a few days for maximum taste and texture.
