

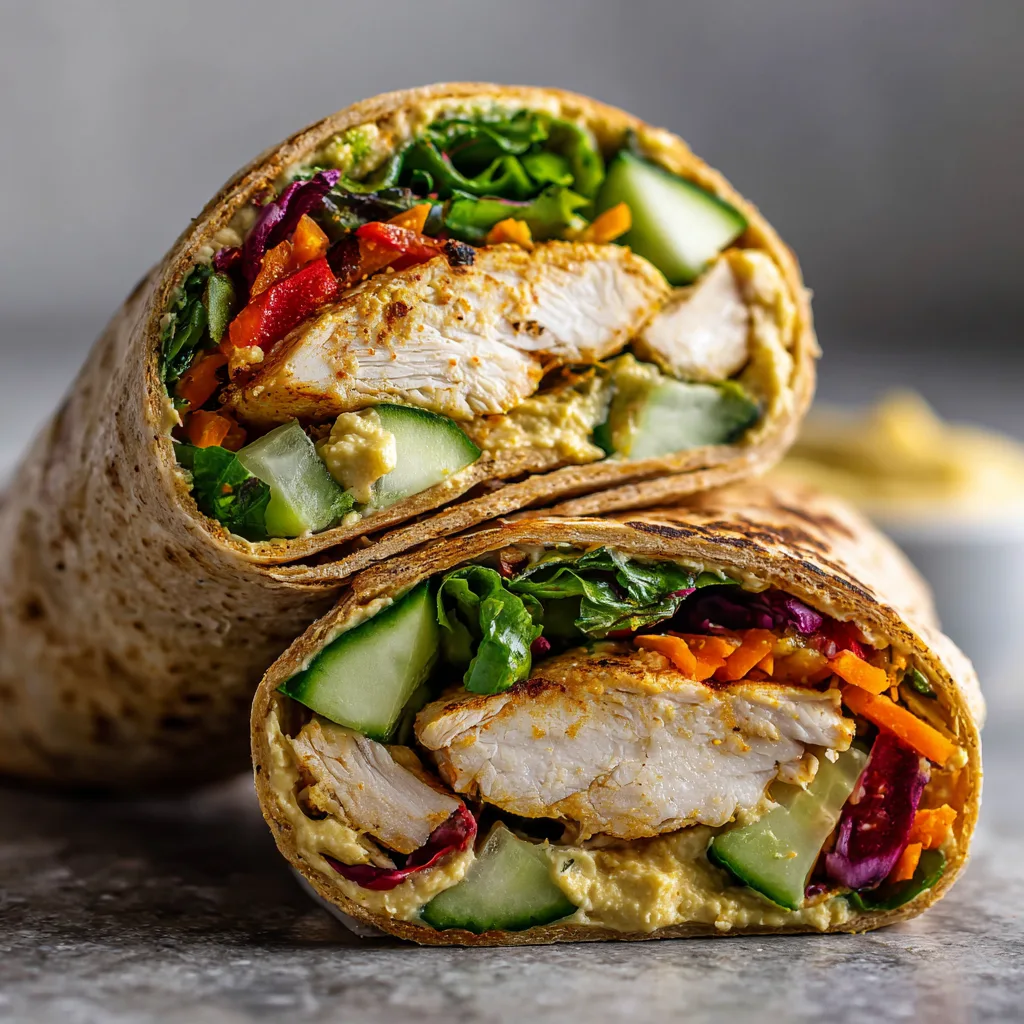
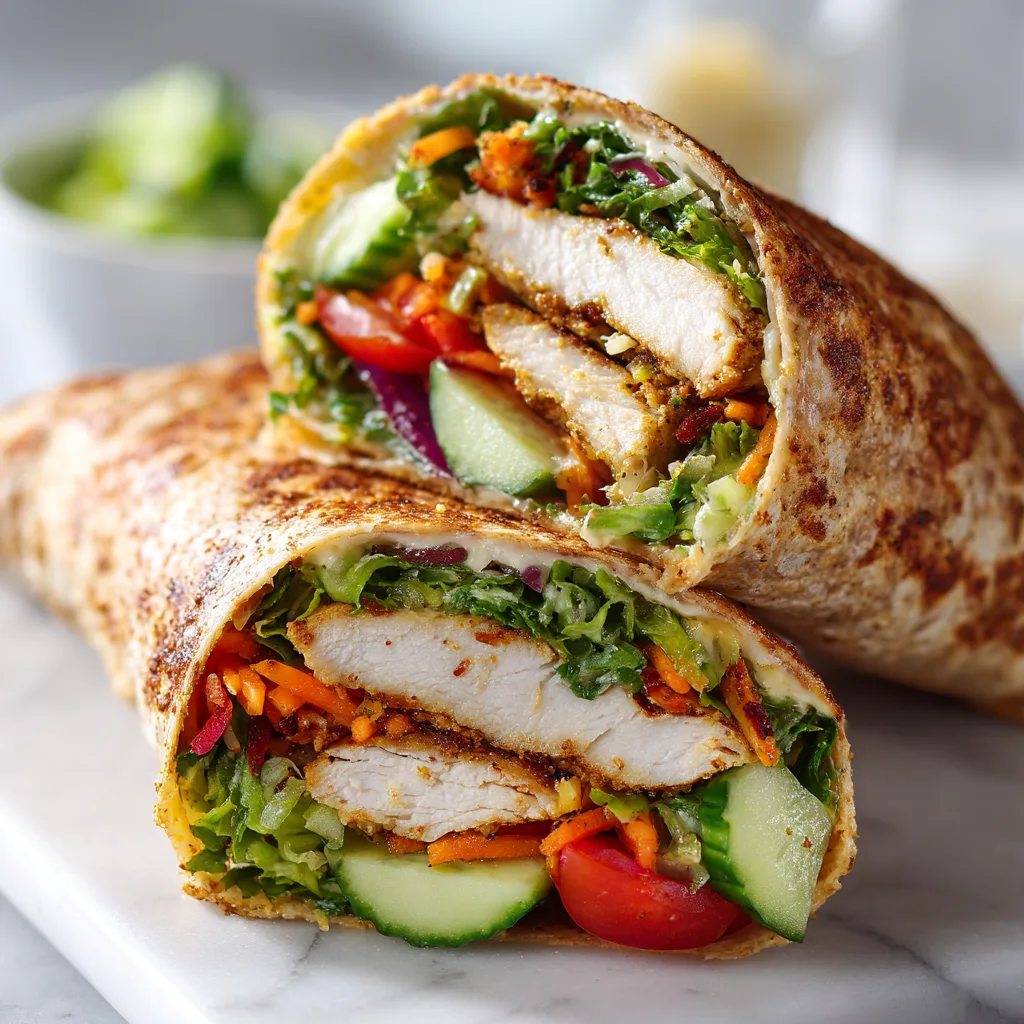
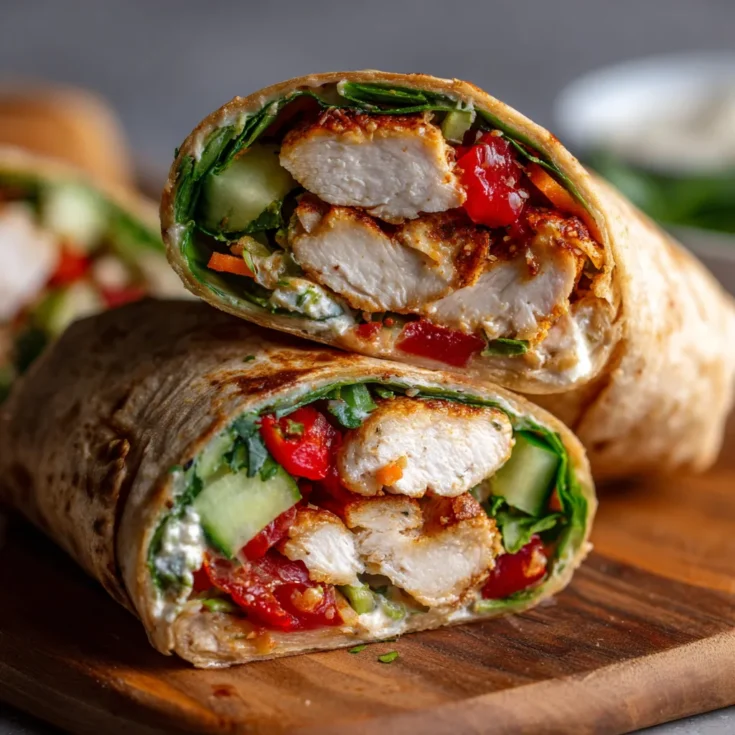
In today’s fast-paced world, quick and wholesome meals have become essential. The quick baked chicken breast wrap perfectly fits this need, offering a blend of convenience, flavor, and nutrition. This dish combines tender, juicy chicken breast with fresh vegetables and tasty sauces, all wrapped in a soft tortilla. Whether you’re rushing between meetings or looking for a healthy dinner option, this wrap delivers satisfaction without sacrificing time.
Busy lifestyles demand meals that are both fast to prepare and nourishing. Cooking methods like baking help retain nutrients while minimizing added fats. Chicken breast wraps stand out because they bring balance—lean protein supports muscle health, while the fresh fillings add vitamins and fiber. Their portability also makes them ideal for on-the-go eating.
This article dives deep into how to make quick baked chicken breast wraps that impress every time. You’ll discover a detailed recipe, expert tips for perfect baking, creative variations to suit any palate, and answers to common questions. By the end, you’ll master a meal that’s as easy as it is delicious.
Why Choose Baked Chicken Breast for Wraps?
Choosing baked chicken breast over fried or grilled versions brings multiple benefits. Baking uses dry heat that cooks chicken evenly without extra oil, resulting in a lighter dish. It locks in moisture, preventing the meat from drying out and keeping each bite tender and juicy. Compared to frying, baking reduces unhealthy fats and calories, making your wraps a healthier option.
From a nutrition perspective, chicken breast provides high-quality lean protein vital for energy and muscle repair. Baking preserves the natural nutrients better than grilling, which can sometimes overcook or char the meat. This method also minimizes added fats and keeps the flavor pure, enhancing the overall wrap experience.
Ultimately, baking creates chicken that’s easy to slice and incorporate into wraps. Its juicy texture complements fresh vegetables and sauces, delivering a balanced, satisfying meal that fuels your busy day.
Key Ingredients for Quick Baked Chicken Breast Wraps
Selecting the right ingredients sets the foundation for a delicious baked chicken breast wrap. Start with fresh, boneless, skinless chicken breasts. Opt for even-sized cuts to ensure uniform cooking. Thicker pieces might need to be butterflied or pounded for consistent thickness. Quality chicken makes a noticeable difference in taste and texture.
Seasonings and marinades elevate the chicken’s flavor without much effort. Simple spice blends like paprika, garlic powder, salt, and pepper work wonders. You can also experiment with herbs like thyme, oregano, or cumin for varied profiles. A quick marinade using olive oil, lemon juice, and spices tenderizes the meat and infuses it with zest. Keeping it simple ensures the natural chicken flavor shines through while boosting taste.
The choice of wrap base is equally important. Flour tortillas remain a popular choice due to their softness and flexibility. Whole wheat or multigrain wraps add fiber and nutrients for a healthier twist. For gluten-free options, corn tortillas or lettuce leaves serve as excellent alternatives. Choose wraps that comfortably hold the fillings without tearing or becoming soggy.
Fillings and toppings bring color, crunch, and nutrition to the wrap. Fresh vegetables like crisp lettuce, juicy tomatoes, cucumbers, and bell peppers add texture and freshness. Shredded cheese can introduce creaminess and richness. Popular choices include cheddar, mozzarella, or feta. Sauces and dressings, such as yogurt-based spreads, hummus, or light vinaigrettes, enhance flavor while keeping the wrap moist. Adding extras like avocado slices or pickled jalapeños creates exciting layers of taste.
Tools and Equipment Needed
Gathering the right tools makes preparation smoother and more efficient. A sturdy baking tray lined with parchment paper helps prevent sticking and simplifies cleanup. Using parchment also protects the chicken’s juices during baking.
A meat thermometer is optional but highly recommended. It ensures the chicken reaches a safe internal temperature of 165°F (74°C) without overcooking. This tool helps maintain juicy, perfectly baked chicken every time.
Basic mixing bowls and utensils come in handy for seasoning and marinating. Mixing the spices evenly over the chicken ensures consistent flavor in every bite. Use tongs or forks to handle the chicken safely while prepping and assembling.
When it’s time to assemble, have your wrapping and serving essentials ready. This might include plates, cutting boards, sharp knives for slicing chicken, and foil or parchment sheets to hold wraps if you’re packing them for later. Having everything organized will streamline your cooking process and help you serve fresh, tasty wraps quickly.
Preparing the Chicken Breast
Proper seasoning and preparation form the backbone of a flavorful baked chicken breast wrap. Begin by rinsing and patting dry the chicken breasts. To enhance flavor, apply a simple rub made of olive oil, paprika, garlic powder, salt, and pepper. For deeper taste, marinate the chicken for at least 30 minutes in a mixture of olive oil, lemon juice, minced garlic, and your preferred spices. This step tenderizes the meat and infuses it with vibrant flavor.
Uniform thickness ensures the chicken cooks evenly. If your chicken breasts vary in size, use a meat mallet or rolling pin to gently pound them to an even thickness of about ¾ inch. This prevents thinner edges from drying out while thicker parts finish cooking. Balanced size also helps the chicken bake at the same rate, guaranteeing consistent juiciness.
Before cooking, preheat your oven to 400°F (200°C). This temperature strikes the perfect balance between cooking chicken thoroughly and maintaining tenderness. A well-preheated oven delivers even heat, which is essential for juicy baked chicken breasts.
Baking the Chicken Breast Perfectly
Place the seasoned chicken breasts on a baking tray lined with parchment paper. Ensure they lie flat and do not overlap. Bake in the preheated oven for 18 to 20 minutes. Exact time depends on your oven and chicken size, so start checking around 18 minutes to avoid overcooking.
Check doneness by inserting an instant-read meat thermometer into the thickest part of the chicken. The internal temperature should reach 165°F (74°C) to be safe and fully cooked. If you don’t have a thermometer, cut into the thickest part; the juices should run clear with no pink remaining.
Once baked, remove the chicken from the oven and let it rest for at least 5 minutes. Resting allows the juices to redistribute inside the meat, keeping it moist and tender. Skipping this step often results in dry chicken when sliced.
After resting, slice the chicken thinly against the grain. Thin slices integrate better into wraps, offering a pleasant texture and easier bites.
Assembling the Wrap
Start by preparing your wrap base. Warm tortillas or wraps in a dry skillet or microwave for 15 to 20 seconds. Warming makes the wrap more pliable and less likely to tear during assembly.
Lay the warm wrap flat on a clean surface. Begin layering with a fresh bed of shredded lettuce or leafy greens to add crunch and prevent sogginess from other ingredients. Next, arrange the sliced baked chicken evenly across the wrap.
Add vibrant vegetables like tomato slices, cucumber strips, or bell peppers to introduce freshness and color. Sprinkle shredded cheese if desired, which melts slightly from the warm chicken, adding richness.
Drizzle your favorite sauce or dressing over the ingredients. Choose light options like yogurt-based sauces or vinaigrettes to keep the wrap balanced and flavorful.
To wrap, fold the bottom edge up over the filling, then fold the sides in tightly. Roll the wrap away from you until it forms a secure, compact bundle. This technique keeps all ingredients inside without spilling.
If you plan to pack the wrap, wrap it in foil or parchment paper to hold its shape. Serve immediately for the best texture and flavor, or refrigerate for a quick, healthy meal later.
Time-Saving Tips for Quick Meal Prep
Saving time in the kitchen helps you enjoy homemade meals without stress. Batch cooking chicken breasts is one of the best strategies. Bake several breasts at once, slice, and store portions in airtight containers. This method provides ready-to-use protein for wraps, salads, or bowls throughout the week. It saves precious minutes during busy days.
Using store-bought sauces and pre-cut vegetables can significantly speed up preparation. Many grocery stores offer fresh, chopped veggies and a variety of healthy sauces. Choosing these shortcuts lets you assemble wraps quickly without sacrificing flavor or nutrition.
If you plan to freeze cooked chicken, slice it first and place it in freezer-safe bags. Thaw overnight in the refrigerator before reheating. Reheat gently in the microwave or oven to maintain moisture and prevent drying. These tips help maintain quality while maximizing convenience.
Creative Variations of Chicken Breast Wraps
Explore different seasoning blends to keep wraps exciting. A Mexican-inspired wrap uses chili powder, cumin, and lime for a zesty kick. Mediterranean wraps pair oregano, garlic, and lemon with feta cheese for a fresh taste. For smoky warmth, BBQ spice rubs offer bold flavor profiles. These variations let you customize wraps for your mood and cravings.
Vegetarian and gluten-free options widen the appeal. Replace chicken with grilled tofu or chickpeas for a protein-packed vegetarian wrap. Swap traditional flour tortillas with gluten-free or lettuce wraps to accommodate dietary needs. These alternatives keep meals inclusive without compromising taste.
Add extra protein or superfoods to boost nutrition. Ingredients like quinoa, black beans, or hemp seeds increase protein and fiber. Superfoods such as spinach, kale, or avocado add antioxidants and healthy fats. These add-ons enhance both flavor and health benefits.
Serving Suggestions and Pairings
Pair your chicken breast wrap with light, complementary side dishes. Fresh salads, roasted vegetables, or a crisp coleslaw add balance and texture. Simple sides keep the meal satisfying without overpowering the wrap’s flavors.
Opt for refreshing, non-alcoholic beverages like infused water, iced herbal tea, or fresh fruit smoothies. These drinks cleanse the palate and enhance the eating experience.
For on-the-go meals, packing wraps for lunchboxes or picnics works well. Wrap tightly in foil or parchment paper to keep fillings secure and fresh. Add a small container of sauce or dressing for dipping, making lunchtime both easy and enjoyable
Common Questions About Quick Baked Chicken Breast Wraps
How long does it take to bake chicken breast for wraps?
Baking chicken breasts usually takes between 18 to 20 minutes at 400°F (200°C). However, exact time depends on thickness. Always check that the internal temperature reaches 165°F (74°C) to ensure it’s fully cooked and safe to eat.
Can I use frozen chicken breast for this recipe?
Yes, but thaw frozen chicken breasts completely before baking. Baking frozen chicken directly may result in uneven cooking and dry edges. Plan ahead by thawing in the refrigerator overnight for best results.
What type of wrap is best for a healthy chicken breast wrap?
Whole wheat or multigrain tortillas provide extra fiber and nutrients compared to regular flour wraps. For gluten-free options, corn tortillas or large leafy greens like lettuce work well. Choose wraps that balance nutrition with pliability.
How to keep the chicken breast moist while baking?
Marinate the chicken before baking to add moisture and flavor. Avoid overcooking by using a meat thermometer. Let the chicken rest for 5 minutes after baking; this locks in juices and improves tenderness.
Are these wraps suitable for meal prep and freezing?
Baked chicken breast wraps work great for meal prep. Cook and slice the chicken ahead, then assemble wraps as needed. While you can freeze cooked chicken breasts, it’s best to freeze assembled wraps without fresh vegetables to avoid sogginess. Reheat chicken separately and assemble fresh wraps for optimal texture.
Can I substitute chicken breast with other proteins?
Absolutely. Grilled turkey breast, lean pork, or firm tofu are excellent alternatives. Each protein offers different flavors and textures but fits well in wraps prepared similarly to chicken breast. Adjust cooking times accordingly.
Quick Baked Chicken Breast Wrap – Easy & Healthy Lunch
A delicious and easy-to-make baked chicken breast wrap perfect for busy weekdays. Juicy chicken combines with fresh veggies and flavorful sauces, all wrapped in your choice of tortilla.
Ingredients
- 2 boneless, skinless chicken breasts
- 1 tsp olive oil
- 1 tsp paprika
- 1/2 tsp garlic powder
- Salt and pepper to taste
- 4 large tortillas or wraps
- 1 cup shredded lettuce
- 1 medium tomato, sliced
- 1/2 cup shredded cheese (optional)
- 1/4 cup your favorite sauce or dressing
Instructions
Notes
