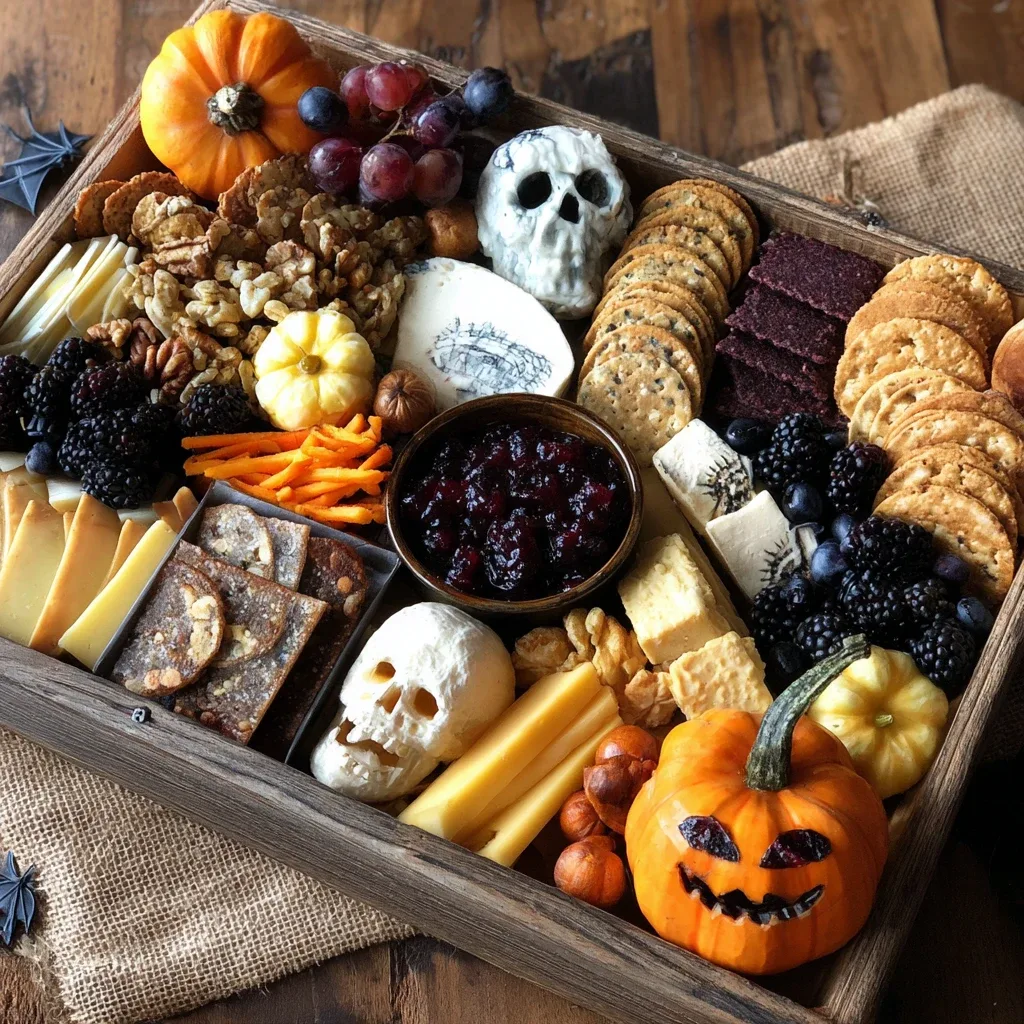
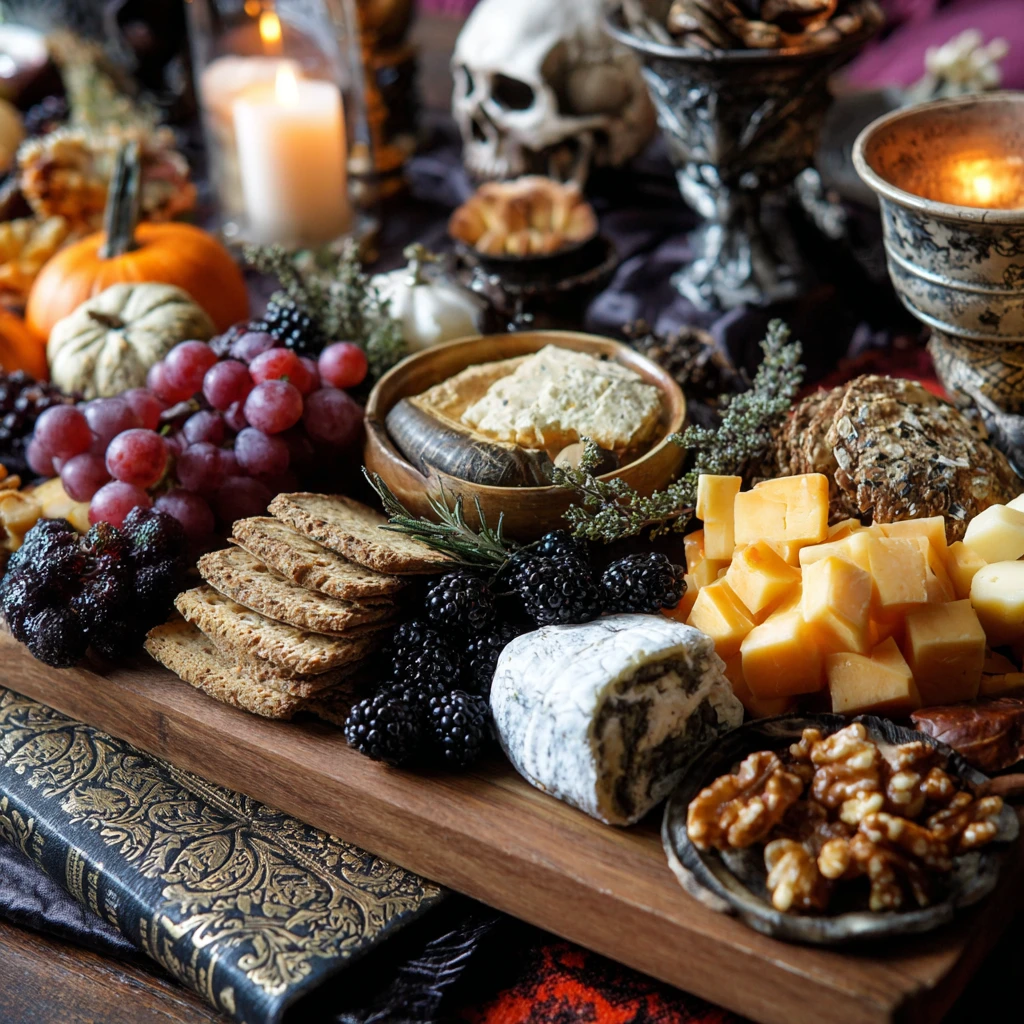
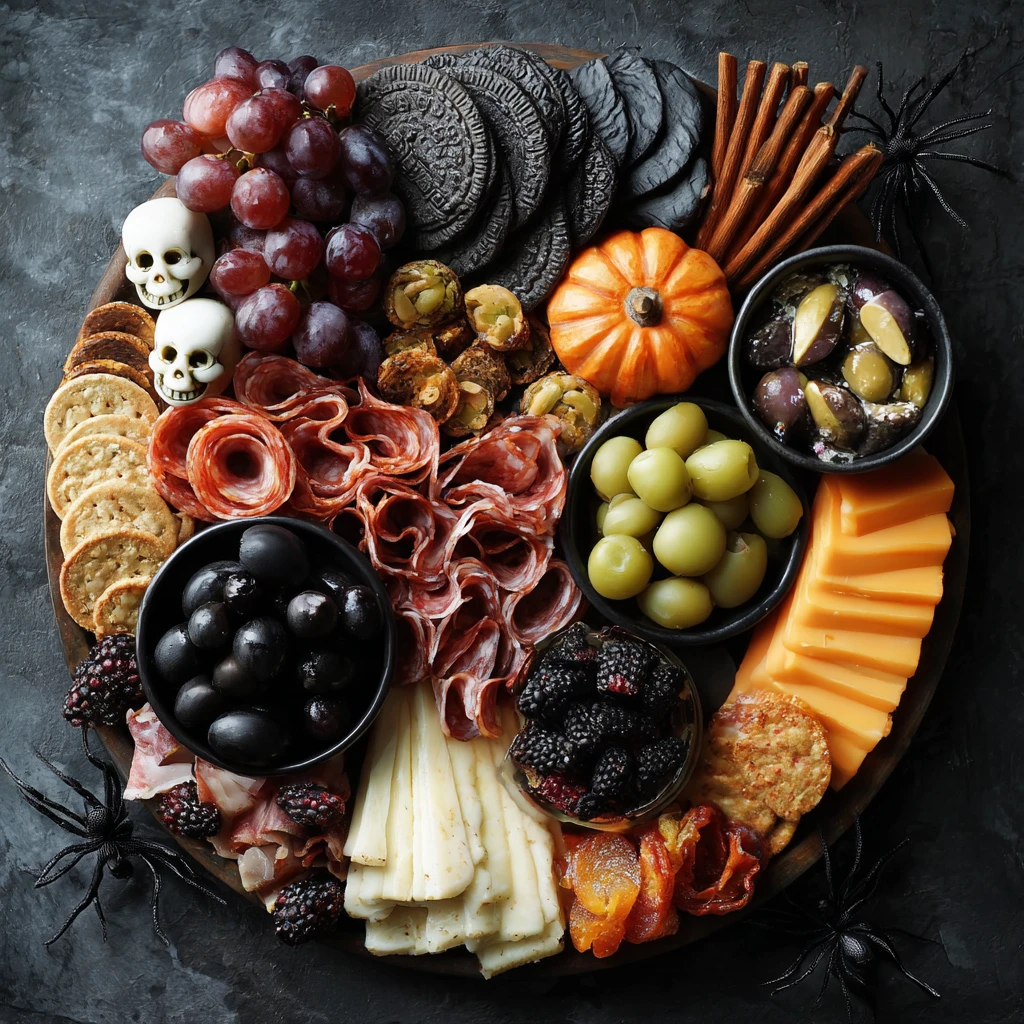
Last-Minute Halloween Charcuterie Boards: Spooktacularly Easy
Halloween is the perfect time for creative treats and festive gatherings. But what if you’re short on time? Don’t worry! You can create a stunning and delicious Halloween charcuterie board with minimal effort. This guide will walk you through everything you need to know to assemble an impressive spread that will wow your guests, even if you’re down to the wire.
Planning Your Spooky Spread
Before you run to the store, take a moment to plan your board. Consider these factors:
- Guest Count: How many people will you be serving? This will dictate the size of your board and the quantity of ingredients.
- Dietary Restrictions: Are there any allergies or dietary preferences (vegetarian, gluten-free, etc.) you need to accommodate?
- Theme: While the overall theme is Halloween, you can narrow it down further. Think “classic monsters,” “haunted harvest,” or even a specific movie like “The Nightmare Before Christmas.” This will guide your food and decoration choices.
- Budget: Set a budget to avoid overspending, especially if you’re buying last minute. Focus on affordable options and use what you already have.
Must-Have Ingredients for a Halloween Charcuterie Board
A well-balanced charcuterie board offers a variety of flavors and textures. Here are some key components to consider, keeping in mind that you can easily adapt these based on what’s available at your local store:
Cheeses
Choose 2-3 cheeses with different textures and flavors.
- Sharp Cheddar: Its color lends itself well to Halloween. Consider cutting it into triangle “teeth.”
- Mozzarella: A classic choice, mozzarella balls can be transformed into “eyeballs” with olive slices.
- Brie: Soft and creamy, brie can be topped with a Halloween-themed jam or chutney.
- Ghost Pepper Cheese: For those who like spice.
Meats
Select 2-3 cured meats to add savory depth.
- Prosciutto: Its delicate flavor pairs well with sweet and savory components.
- Salami: Choose a variety, such as Genoa or pepperoni, and cut them into fun shapes.
- Pepperoni sticks: easy to source and add to the board.
Crackers and Bread
Provide a variety of crackers and bread for serving.
- Assorted Crackers: Choose a mix of shapes, sizes, and flavors.
- Breadsticks: Their long, thin shape adds visual interest.
- Mini Toasts: Perfect for layering with cheese and toppings.
Fruits and Vegetables
Add color and freshness with seasonal fruits and vegetables.
- Grapes: Green and purple grapes add a pop of color and sweetness.
- Apples: Slice them into wedges and serve with caramel dip.
- Baby Carrots: Resemble tiny fingers.
- Orange Bell Peppers: Their color fits the Halloween theme perfectly. Cut them into interesting shapes.
Sweet Treats
No Halloween charcuterie board is complete without candy!
- Candy Corn: A classic Halloween candy.
- Chocolate Candies: M&M’s, Reese’s Pieces, or miniature chocolate bars.
- Gummy Worms: Scatter them around the board for a spooky touch.
- Cookies: Halloween-themed cookies, like pumpkin or ghost shapes, are a festive addition.
Spooky Extras
These items add a unique Halloween touch.
- Olives: Black olives resemble spiders or eyes.
- Pretzels: Dip pretzel sticks in white chocolate and add candy eyes to create “monster fingers.”
- Pumpkin Seeds: Add a crunchy and festive element.
- Dips: Hummus and guacamole can be served in cauldrons for added effect.
Assembling Your Halloween Charcuterie Board
Now for the fun part! Here’s a step-by-step guide to assembling your charcuterie board:
1. Choose Your Board: Select a large cutting board, platter, or serving tray. The size will depend on the number of guests.
2. Start with Anchors: Place bowls or small dishes on the board to hold dips, olives, or small candies. These will act as anchors for the other items.
3. Arrange Cheeses and Meats: Group cheeses and meats together, creating visual interest with different shapes and textures. Fold, roll, or fan out the meats for a more appealing presentation.
4. Add Crackers and Bread: Arrange crackers and bread around the cheeses and meats, making sure there are plenty of options for serving.
5. Fill in with Fruits and Vegetables: Scatter fruits and vegetables around the board, using them to fill in any empty spaces.
6. Incorporate Sweet Treats: Add candy corn, chocolate candies, and gummy worms to complete the board.
7. Add Spooky Touches: Place olives, pretzel “fingers,” and pumpkin seeds around the board for a spooky effect.
8. Final Touches: Take a step back and assess the board. Add any final touches or adjustments as needed.
Tips for a Last-Minute Masterpiece
Here are some additional tips to help you create a stunning Halloween charcuterie board, even if you’re short on time:
- Embrace Imperfection: Don’t stress about making it perfect. A slightly messy and rustic look can add to the charm.
- Use What You Have: Look through your pantry and refrigerator for items you can use. You might be surprised at what you find.
- Pre-Cut Ingredients: Save time by purchasing pre-cut cheeses, meats, and vegetables.
- Focus on Presentation: Even simple ingredients can look impressive with a little creativity. Arrange items in an appealing way and use garnishes to add visual interest.
- Get the Kids Involved: If you have children, let them help with assembling the board. It’s a fun and creative activity for the whole family.
- Don’t Be Afraid to Improvise: If you can’t find a specific ingredient, don’t worry! Substitute it with something similar or omit it altogether.
- Utilize Height: Use small bowls or ramekins to add height and dimension to your board.
- Color Coordination: Think about color palettes. Stick to oranges, blacks, purples, and greens for a classic Halloween look.
- Shop at Multiple Stores: If you’re really struggling to find specific items, consider visiting multiple stores.
- Online Ordering: Check if your local grocery stores offer online ordering with curbside pickup or delivery. This can save you a lot of time.
Halloween Charcuterie Board FAQs
Q: What kind of board should I use?
A: A wooden cutting board, a large platter, or even a baking sheet will work. Choose a size that accommodates your guest count.
Q: What if I don’t have all the ingredients?
A: Don’t worry! Improvise with what you have on hand. The most important thing is to have a variety of flavors and textures.
Q: How far in advance can I make a charcuterie board?
A: It’s best to assemble the board shortly before serving. However, you can prep ingredients (cutting cheese, slicing vegetables, etc.) a few hours in advance.
Q: How do I keep my charcuterie board fresh?
A: Cover the board with plastic wrap and store it in the refrigerator until ready to serve. Remove it from the refrigerator about 30 minutes before serving to allow the cheese to come to room temperature.
Q: What if I have dietary restrictions?
A: No problem! There are plenty of options for accommodating dietary restrictions. Use gluten-free crackers, dairy-free cheeses, and vegetarian protein sources like hummus or olives.
Q: How do I transport a charcuterie board?
A: Use a large container with a lid or wrap the board tightly with plastic wrap. Transport it carefully to avoid shifting the ingredients.
Q: How do I make my board look spooky?
A: Use Halloween-themed decorations, such as plastic spiders, skulls, or mini pumpkins. You can also arrange the food in spooky shapes, like a ghost or a spiderweb.
Q: Can I add drinks to my charcuterie board setup?
A: Absolutely! Complement your board with Halloween-themed drinks like pumpkin spice lattes, apple cider, or spooky cocktails.


