
The Ultimate Honey Butter Biscuit Recipe: Flaky, Sweet, and Golden Brown
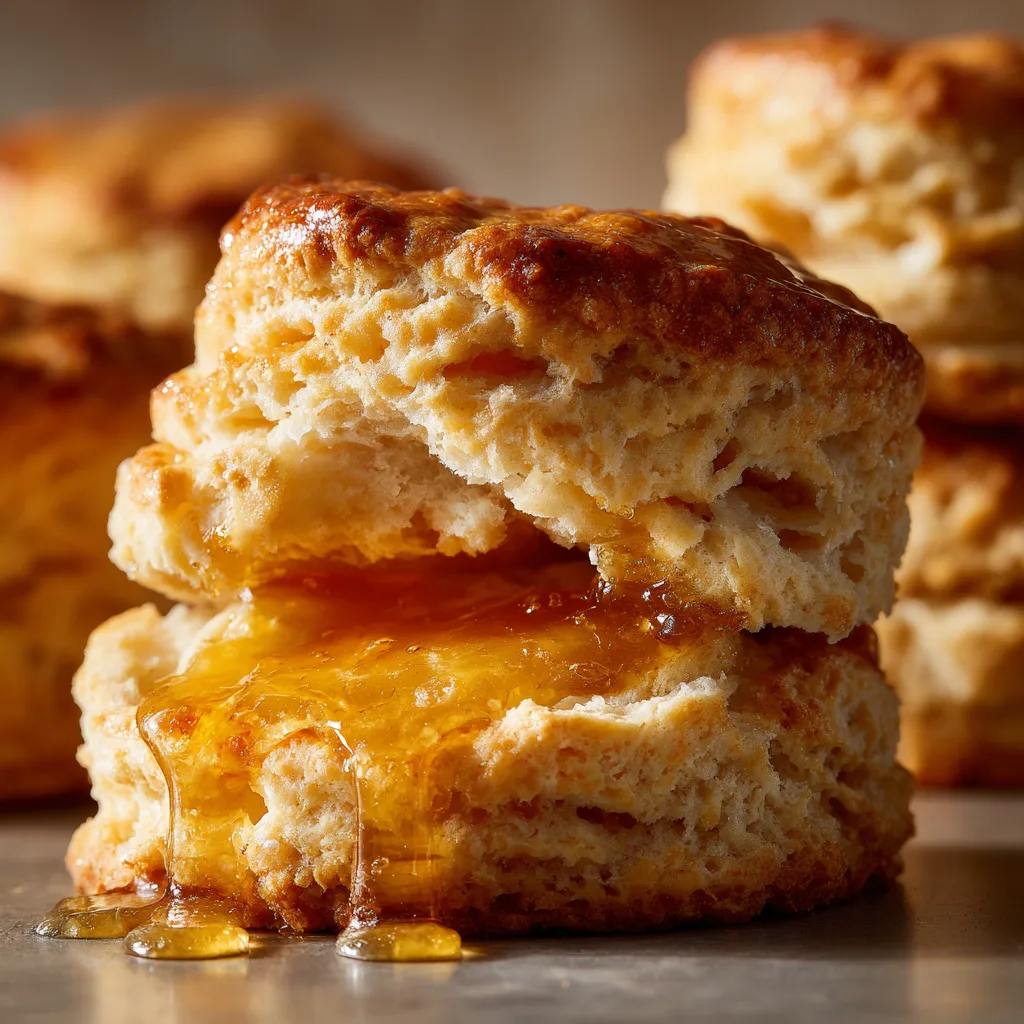
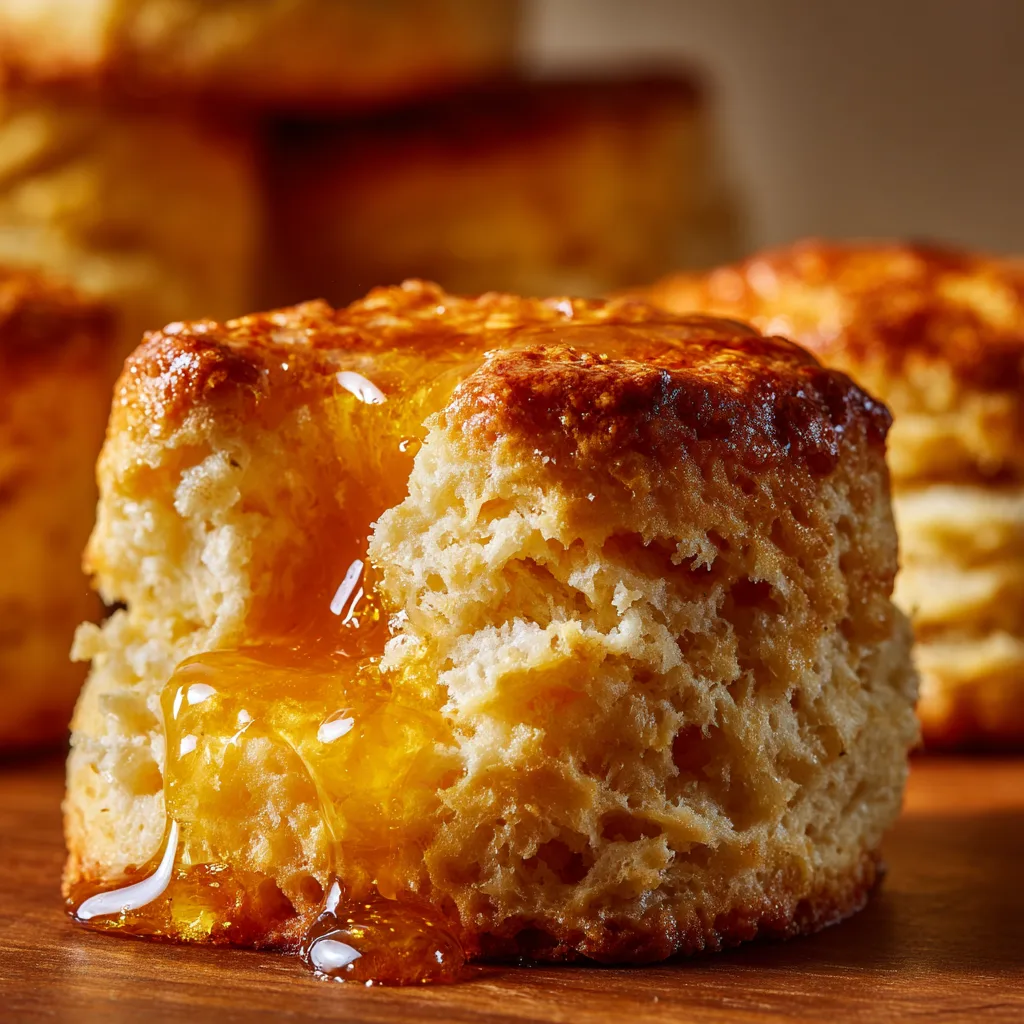
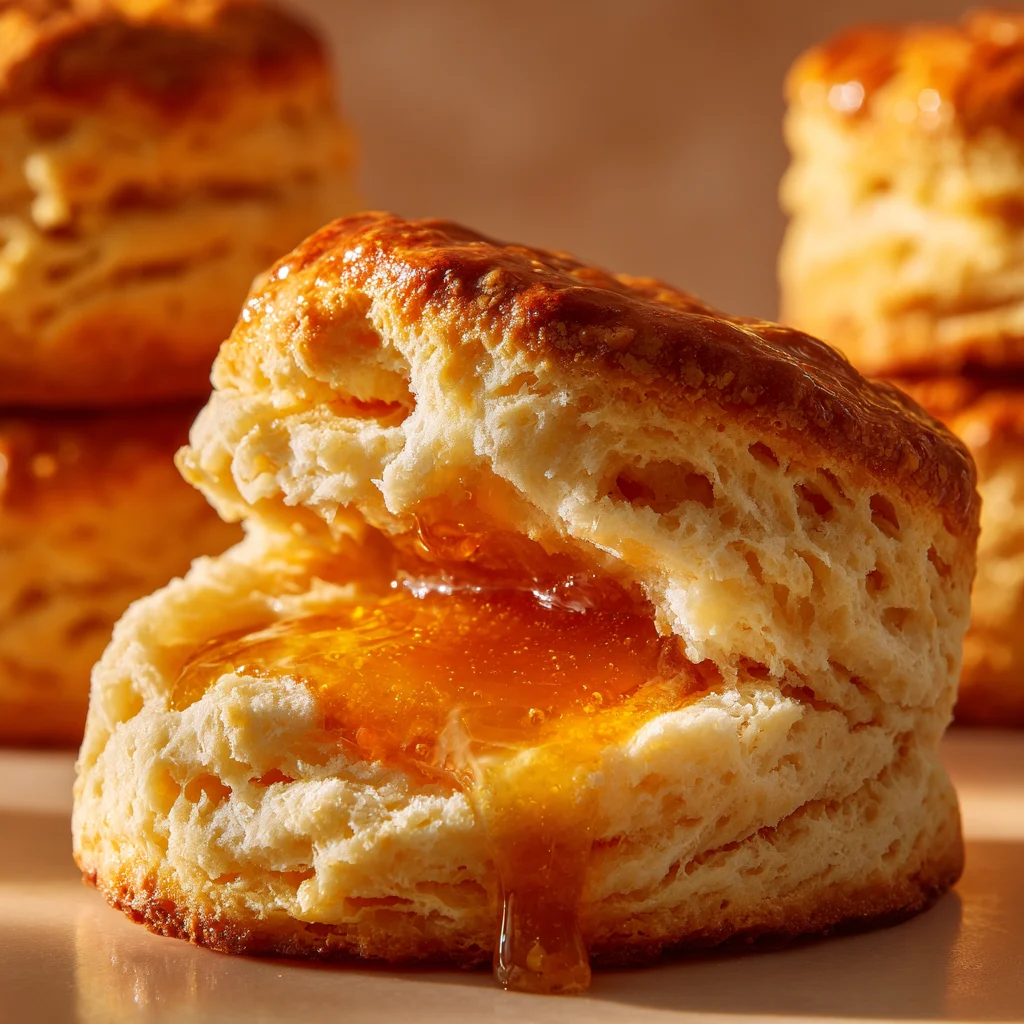
There is nothing quite like the aroma of fresh, warm biscuits wafting through a kitchen. The perfect honey butter biscuit is a study in contrasts: a crisp, golden-brown exterior that gives way to soft, steaming layers of buttery dough, all tied together by the gentle sweetness of wildflower honey. While many associate these treats with Southern roadside diners or famous chicken shacks, achieving that professional-grade flake and flavor at home is remarkably simple once you master a few key techniques. This recipe focuses on the science of cold fats and the art of folding to create a biscuit that is tall, tender, and irresistibly sweet.
The Ingredients You’ll Need
To achieve the perfect balance of rise and richness, ensure your dairy and fat are chilled—ideally in the freezer for 15 minutes before you begin.
For the Biscuits:
-
All-Purpose Flour: 2 ½ cups (plus extra for dusting)
-
Baking Powder: 1 tablespoon (ensure it is fresh for maximum lift)
-
Granulated Sugar: 2 tablespoons
-
Salt: 1 teaspoon
-
Unsalted Butter: ½ cup (1 stick), frozen and grated or cubed small
-
Cold Buttermilk: 1 cup (full fat is preferred for a richer crumb)
-
Honey: 1 tablespoon (mixed into the buttermilk)
For the Honey Butter Glaze:
-
Unsalted Butter: 3 tablespoons, melted
-
Honey: 2 tablespoons
-
Flaky Sea Salt: A pinch (optional, for topping)
Step-by-Step Instructions
-
Prepare the Oven and Pan: Preheat your oven to 425°F (220°C). Line a baking sheet with parchment paper or lightly grease a cast-iron skillet for extra crispy bottoms.
-
Mix Dry Ingredients: In a large mixing bowl, whisk together the flour, baking powder, sugar, and salt until well combined.
-
Incorporate the Fat: Add the frozen, grated butter to the flour mixture. Use a pastry cutter or your fingertips to work the butter into the flour until the mixture resembles coarse crumbs with some pea-sized pieces of butter remaining.
-
Add the Liquids: Make a well in the center of the flour. Pour in the cold buttermilk and honey mixture. Stir gently with a spatula just until a shaggy dough forms. Do not overmix.
-
Laminate the Dough: Turn the dough onto a lightly floured surface. Gently pat it into a rectangle. Fold the dough in thirds (like a letter), rotate 90 degrees, and repeat this process 3 or 4 times. This creates the signature flaky layers.
-
Cut the Biscuits: Pat the dough down to about 1-inch thickness. Use a floured 2.5-inch biscuit cutter to press straight down—do not twist the cutter, as this seals the edges and prevents rising.
-
Bake: Place the biscuits on the prepared pan, making sure they are touching for higher sides or spaced apart for crispier edges. Bake for 12–15 minutes, or until the tops are a deep golden brown.
-
Glaze and Serve: While the biscuits are baking, whisk together the melted butter and honey. As soon as the biscuits come out of the oven, brush the tops generously with the honey butter. Serve warm.
The Secret to the Perfect Rise
The hallmark of a superior honey butter biscuit is its height. This is achieved through a process called “chemical leavening” and “steam expansion.” When the cold bits of butter hit the high heat of the oven, the water content in the butter evaporates rapidly, creating pockets of steam that puff up the layers of dough. If the butter is too soft or room temperature before it hits the oven, it simply melts into the flour, resulting in a greasy, flat disk rather than a towering biscuit.
Furthermore, the “fold” technique—often called lamination—is the difference between a crumbly biscuit and a layered one. By folding the dough over itself multiple times, you are creating alternating layers of fat and flour. When cutting your biscuits, always remember to press the cutter straight down. A twisting motion “pinches” the gluten strands at the edges, effectively welding the layers together and trapping the steam, which stunts the rise.
Flavor Profiles and Pairing Suggestions
While the honey butter biscuit is a star on its own, its versatility makes it a staple for any meal of the day. The subtle sweetness of the honey makes these biscuits the ideal companion for savory, salty foods. For a classic Southern breakfast, split a warm biscuit and fill it with a crispy fried chicken breast or a savory sausage patty. The contrast between the spicy seasoning of the meat and the floral sweetness of the honey glaze creates a complex flavor profile that hits every part of the palate.
If you prefer a sweeter application, serve these biscuits as a base for a rustic strawberry shortcake. The honey in the dough complements fresh berries and whipped cream far better than a standard savory biscuit would. For a simple afternoon snack, a dollop of lemon curd or orange marmalade provides a bright, citrusy acidity that cuts through the richness of the buttermilk and butter.
Storage, Reheating, and Make-Ahead Tips
Biscuits are undeniably best when eaten within minutes of leaving the oven, but they can be preserved with the right technique. To store leftovers, allow them to cool completely before placing them in an airtight container or a zip-top bag. They will stay fresh at room temperature for up to two days, or in the refrigerator for one week.
To recapture that “just-baked” texture, avoid the microwave, which can make the dough rubbery. Instead, wrap the biscuits in aluminum foil and heat them in a 350°F oven for about 5 to 7 minutes. This warms them through without drying out the interior.
For those who want fresh biscuits on demand, this dough freezes beautifully. After cutting the rounds, place them on a baking sheet and freeze until solid, then transfer them to a freezer bag. You can bake them directly from frozen—just add an extra 3 to 5 minutes to the total baking time. This ensures that a warm, honey-glazed treat is never more than fifteen minutes away.
