
Introduction to Hocus Pocus-Inspired S’mores Pops
Overview of the Popularity of Halloween-Themed Treats
Halloween has evolved into a festive season filled with creative desserts and spooky treats. Year after year, people seek fun and unique snacks to match the holiday’s eerie atmosphere. Halloween-themed desserts now dominate parties, gatherings, and social media feeds. Their playful designs and flavors capture the spirit of the season, making celebrations even more memorable. Popular culture fuels this trend, inspiring home bakers and professionals alike to invent eye-catching sweets. Among many influences, movies like Hocus Pocus play a significant role. Their magical and spooky themes encourage fans to craft themed snacks that celebrate the holiday’s charm.
Significance of “Hocus Pocus” in Halloween Culture
Since its release, Hocus Pocus has become a Halloween staple for many families and fans. The film’s blend of humor, magic, and witchy mischief resonates strongly with audiences. Its cult status grows every year as new generations discover the story. One symbol stands out prominently: the Book of Spells. This mystical tome represents the witches’ power and creativity, making it a favorite motif for decorations and treats. Incorporating the Book of Spells into Halloween themes adds a touch of enchantment and nostalgia, enhancing the overall experience of the holiday.
Introduction to S’mores Pops as a Creative Dessert
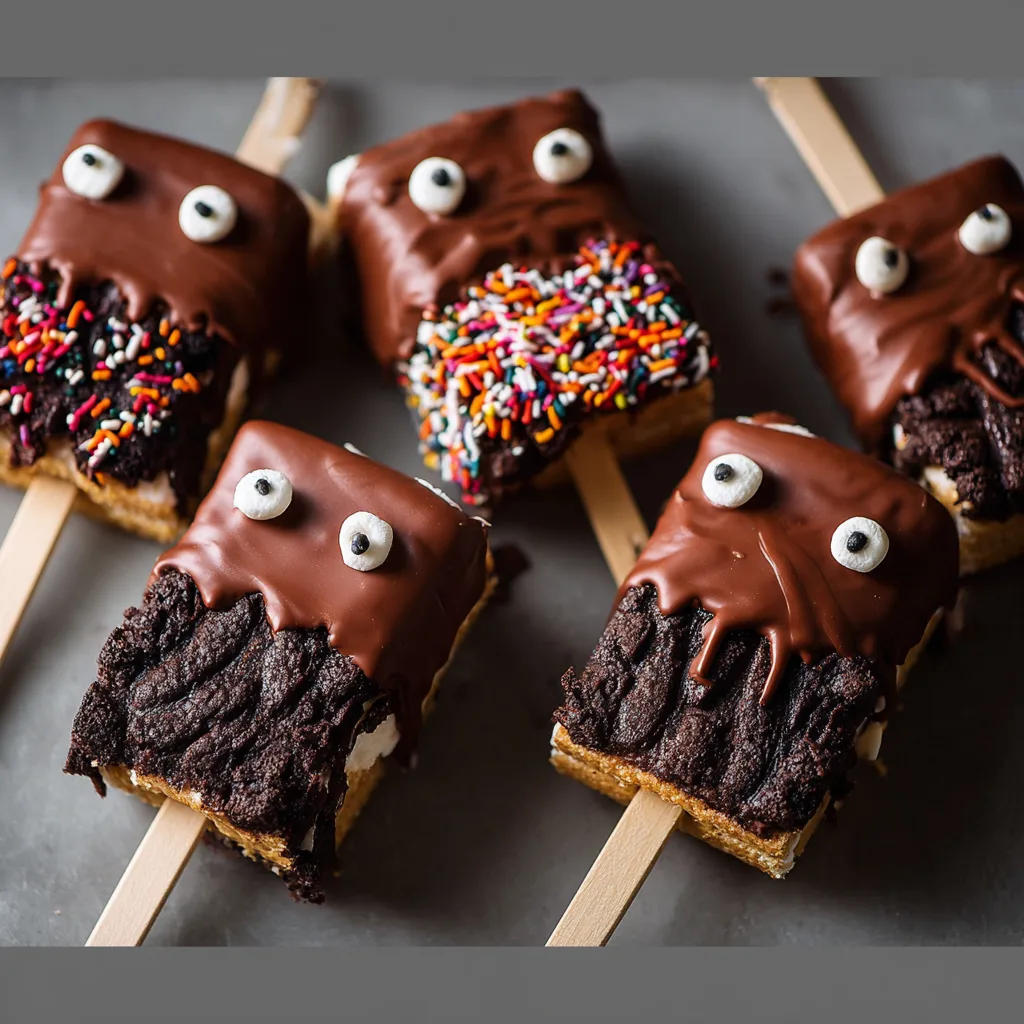
S’mores pops offer a fresh twist on the classic campfire treat. They combine crunchy graham crackers, gooey marshmallow, and rich chocolate into a portable, handheld dessert. This innovative version allows for easy customization and decoration, perfect for Halloween festivities. Their small size and playful presentation make s’mores pops a hit at parties and events. Whether served as snacks or party favors, these treats bring fun and flavor to any gathering. Inspired by Hocus Pocus, they offer a unique way to celebrate Halloween with delicious creativity.
Ingredients and Tools Needed for Hocus Pocus-Inspired S’mores Pops
Essential Ingredients
Graham Crackers
Graham crackers provide the perfect crunchy base for s’mores pops. Their mild sweetness pairs beautifully with marshmallow and chocolate. Their sturdy texture helps the pops hold together well, making them easy to dip and decorate. For those with gluten sensitivities, gluten-free graham crackers serve as a great alternative. You can also experiment with other crunchy cookies or crackers that suit your dietary needs without sacrificing flavor or texture.
Marshmallow Fluff
Marshmallow fluff acts as the “book binding,” holding the two graham cracker halves together. Its smooth, sticky texture mimics the gooey marshmallow inside traditional s’mores. This fluff also adds moisture and sweetness, creating a soft center. If you prefer homemade versions, making marshmallow fluff from scratch requires simple ingredients like sugar, egg whites, and vanilla. Homemade fluff can offer a fresher taste and customizable sweetness.
Chocolate Coating
The chocolate coating seals the pops and gives them their rich, glossy finish. Semisweet chocolate chips work well for balanced sweetness. Milk chocolate offers a creamier taste, while dark chocolate provides a slightly bitter contrast. To create a smooth, shiny coating, adding coconut oil helps thin the chocolate and improves its texture when melted. This also ensures the coating hardens nicely and doesn’t crack.
Decorative Elements
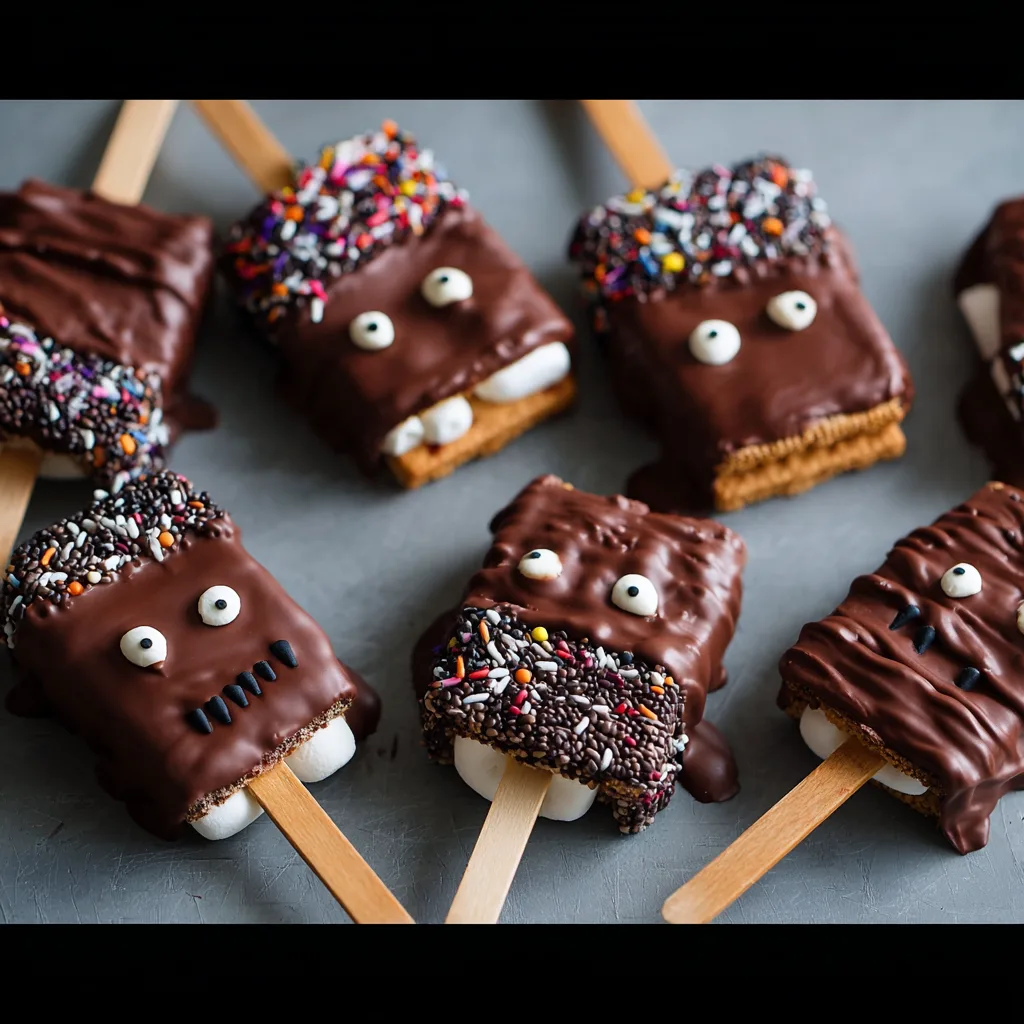
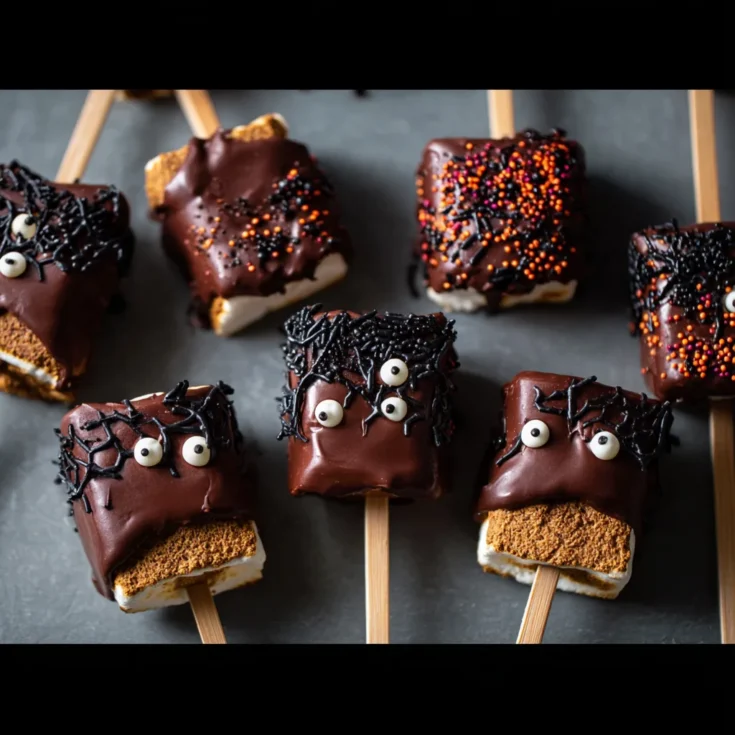
Candy eyes add a playful “book face” look to the pops, bringing them to life with a spooky charm. Black cookie frosting lets you draw stitches and other details, giving the treats a handcrafted, magical feel. For extra flair, edible glitter or colored sugar can add shimmer and festive colors. These simple decorations transform basic s’mores pops into enchanting Halloween treats.
Necessary Tools
Parchment Paper
Using parchment paper prevents the coated pops from sticking while they set. It also makes cleanup easy and keeps your workspace neat. Lay your pops on parchment to allow the chocolate to harden evenly without mess.
Microwave-Safe Bowl or Double Boiler
Melting chocolate requires gentle heat to avoid burning. A microwave-safe bowl works well for quick melting in short bursts, stirring often. Alternatively, a double boiler lets you melt chocolate slowly and evenly over simmering water, reducing the risk of scorching.
Popsicle Sticks
Popsicle sticks provide the handle needed for these portable treats. Choose sturdy sticks that fit well between the graham cracker halves without breaking. Insert the sticks firmly before assembling the pops to ensure stability during dipping and decorating.
Decorating Tools
Piping bags or squeeze bottles allow precise application of black frosting for fine details. These tools help you create clean, sharp lines for stitches and other decorations, making the s’mores pops look professionally crafted. If you don’t have these, a zip-top bag with a small corner snipped works as a handy alternative.
Step-by-Step Instructions for Making Hocus Pocus-Inspired S’mores Pops
Preparing the S’mores Pops
Assembling the Base
Begin by spreading a generous layer of marshmallow fluff onto one side of each graham cracker half. The fluff acts like glue, ensuring the pops stick together firmly. Next, insert a popsicle stick into the center of the fluff-covered graham cracker. Carefully sandwich it with another graham cracker half, pressing gently but firmly to seal the edges. This creates the classic s’mores shape while giving you a sturdy base to work with.
Freezing the Base
Place the assembled s’mores pops on a parchment-lined tray and freeze them for at least 10 minutes. Freezing strengthens the structure, preventing the marshmallow from oozing out during the chocolate coating process. It also helps the pops stay intact while you dip and decorate them. This step is crucial to maintaining the pops’ shape and ease of handling.
Melting and Coating with Chocolate
Melting the Chocolate
You can melt the chocolate using two methods. In the microwave, heat chocolate chips mixed with coconut oil in 30-second intervals. Stir after each interval until smooth. Alternatively, melt chocolate in a double boiler by placing a heat-safe bowl over simmering water, stirring continuously to prevent burning. Both methods ensure even melting and a glossy finish for the coating.
Dipping the Pops
Hold each frozen pop by the stick and dip it into the melted chocolate. Tilt and rotate to coat evenly on all sides. Allow excess chocolate to drip back into the bowl to avoid thick, uneven layers. If the coating begins to harden, gently reheat the chocolate to maintain smoothness. Place the coated pops back on parchment paper, stick side down, to dry.
Setting the Coating
After dipping, refrigerate the pops for at least 15 minutes. Cooling helps the chocolate harden quickly and creates a firm, shiny shell. This step locks in the layers, keeping your pops intact and ready for decorating.
Decorating the Pops
Adding Candy Eyes
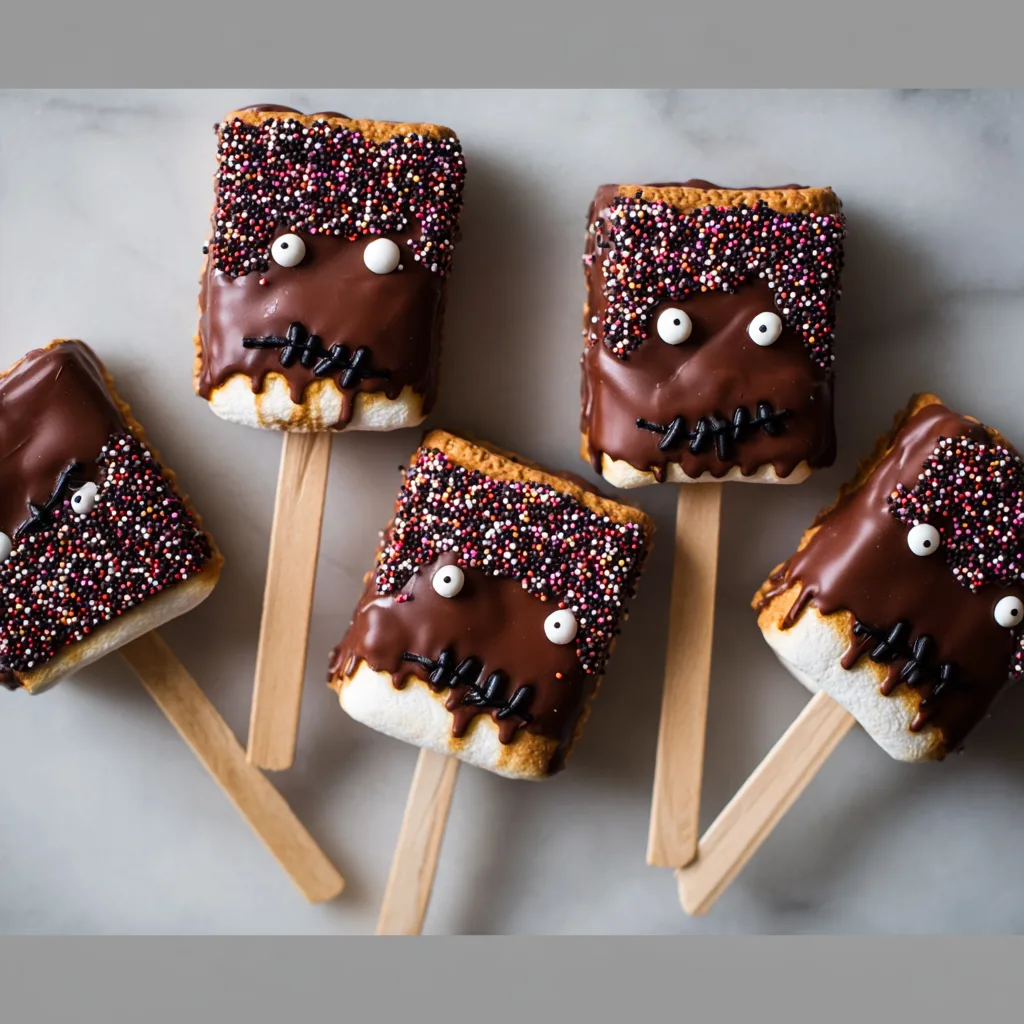
Before the chocolate fully sets, press candy eyes onto the front of each pop to create the iconic “book face.” Position them evenly for a balanced and whimsical look. The soft chocolate acts like glue, securing the eyes firmly.
Drawing Stitches and Details
Use black cookie frosting to draw stitches, lines, and other magical details on the pops. Piping bags or squeeze bottles work best for clean, precise lines. These decorations mimic the spellbook’s binding and add a handcrafted, spooky charm to your treats.
Optional Enhancements
For extra flair, sprinkle edible glitter or colored sugar over the pops while the chocolate is still wet. You can also use small candy pieces or colored icing to add additional spooky elements. These enhancements personalize your s’mores pops and make them even more festive for Halloween.
Creative Variations and Presentation Ideas for Hocus Pocus-Inspired S’mores Pops
Flavor Variations
Different Chocolate Types for Unique Tastes
Switching up the type of chocolate adds exciting twists to your s’mores pops. Milk chocolate brings a creamy sweetness that appeals to many palates. Dark chocolate offers a rich, slightly bitter flavor, balancing the marshmallow’s sweetness perfectly. For a fun and festive look, white chocolate adds a smooth, sweet touch and provides a great canvas for colorful decorations. Trying these variations lets you customize the flavor profile to suit your guests’ preferences or to match your Halloween theme.
Flavored Marshmallow Fillings to Enhance Flavor
Elevate your s’mores pops by incorporating flavored marshmallow fluff. Strawberry-flavored fluff adds a fruity note that pairs wonderfully with chocolate. Caramel-flavored marshmallow introduces a buttery richness, perfect for those craving extra indulgence. These flavored fillings create new layers of taste while keeping the gooey, sticky texture that defines a great s’mores pop. Making flavored fluff at home allows you to control sweetness and tailor flavors exactly to your liking.
Dietary Modifications
Gluten-Free Options for Everyone’s Enjoyment
To make your s’mores pops gluten-free, swap traditional graham crackers with gluten-free versions made from rice, almond, or other alternative flours. Many stores now carry gluten-free graham crackers that maintain the classic crunch and taste. This simple substitution ensures everyone can enjoy these festive treats without compromising texture or flavor.
Vegan-Friendly Versions for Plant-Based Diets
Creating vegan s’mores pops is easy with plant-based marshmallow fluff and dairy-free chocolate. Vegan marshmallow fluff uses aquafaba or other egg-free alternatives to achieve the same sticky consistency. Combine it with vegan chocolate made from coconut milk or other non-dairy ingredients for a fully plant-based dessert. These adjustments open up the treat to a wider audience while keeping the fun and flavor intact.
Presentation Ideas
Themed Plating to Impress Guests
Present your s’mores pops on a platter designed like a “spellbook” to enhance the Hocus Pocus theme. Surround the treats with small Halloween props such as mini cauldrons, fake spider webs, and tiny potion bottles. This themed display turns simple desserts into a magical centerpiece, delighting guests of all ages.
Packaging for Gifting and Party Favors
Wrap each s’mores pop individually in clear cellophane tied with Halloween-themed ribbons or twine. Add small tags with spooky messages or the Hocus Pocus logo for a personal touch. These packaged treats make perfect party favors or gifts, spreading the festive spirit beyond your celebration. Easy to carry and beautifully presented, they offer a charming way to share your creativity.
Frequently Asked Questions About Hocus Pocus-Inspired S’mores Pops
Can I Use Regular Marshmallows Instead of Fluff?
Yes, you can substitute regular marshmallows for marshmallow fluff, but there are differences to consider. Marshmallow fluff has a smooth, spreadable texture that helps hold the graham crackers together firmly. Regular marshmallows are solid and require melting or toasting to become sticky enough. If you choose marshmallows, try melting them gently to create a gooey layer, then sandwich the graham crackers quickly before the marshmallow cools. This method may be messier but still results in delicious s’mores pops with a slightly different texture.
How Long Can I Store These Pops?
Proper storage is key to maintaining freshness and texture. Store s’mores pops in an airtight container in the refrigerator to prevent chocolate from melting and marshmallow from drying out. When refrigerated, these treats stay fresh for up to five days. Avoid leaving them at room temperature for long periods, especially in warm climates, as the chocolate coating may soften and the marshmallow may become sticky. For best results, enjoy them within a few days of making.
Can I Make These Pops Ahead of Time?
Absolutely! These s’mores pops are ideal for preparing in advance. Assemble and freeze the pops as instructed, then store them in an airtight container in the freezer for up to one week. When ready to serve, thaw pops in the refrigerator for 15-20 minutes, then decorate and dip in chocolate. Alternatively, you can fully assemble and decorate them, then refrigerate until party time. Just keep in mind that chocolate may soften if left out too long, so serve chilled for the best experience.
What Are Some Alternative Decorations?
Beyond candy eyes and black frosting, many edible decorations can personalize your s’mores pops. Mini chocolate chips, colored sprinkles, or edible markers can add fun details and colors. Use crushed candy corn or Halloween-themed candy bits for a festive touch. For a spooky glow, edible glitter dusts can make your treats shimmer under party lights. Experimenting with these options lets you tailor the pops to your Halloween theme and impress your guests with creativity.
Hocus Pocus-Inspired S’mores Pops – Spooky Halloween Treats
This whimsical Halloween treat draws inspiration from the Hocus Pocus spellbook. It combines classic s’mores flavors with a spooky, fun twist perfect for festive celebrations.
Ingredients
- 12 graham cracker halves
- ½ cup marshmallow fluff
- 2 cups semisweet chocolate chips
- 3 tablespoons coconut oil
- 6 candy eyes
- 1 container black cookie frosting
Instructions
Dip each frozen s’mores pop into the melted chocolate, coating evenly.
Notes
