
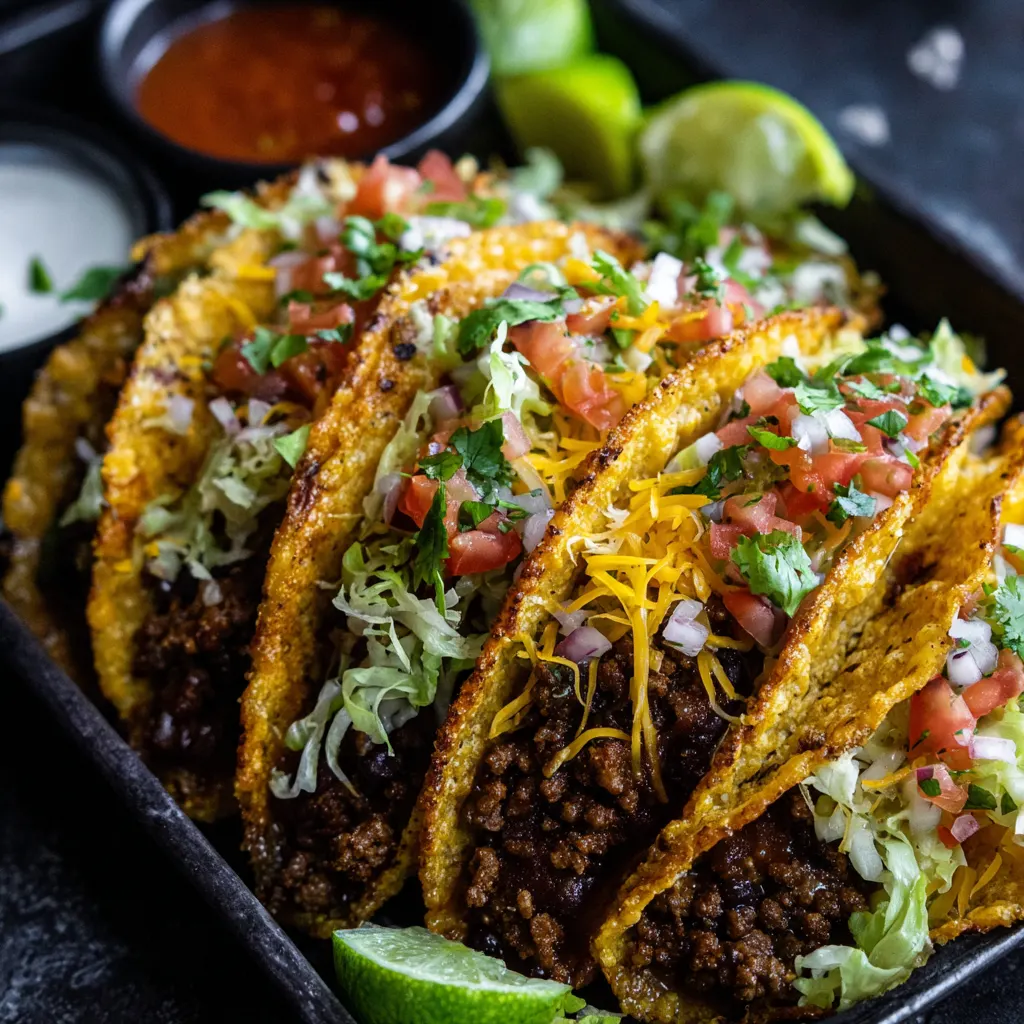
The crispy ground beef taco is an American classic, a nostalgic meal beloved for its simple, satisfying crunch. By incorporating vibrant, earthy “Southwest” flavors—specifically chiles, beans, and a bold spice blend—we elevate this favorite from basic weeknight fare into a truly dynamic dish. Unlike the brittle, pre-formed shells, these tacos are tacos dorados (golden tacos) made by pan-frying a filled, folded tortilla until it achieves a perfect, golden-brown crispness that seals in the rich, melted cheese and savory ground beef filling. The result is a substantial, intensely flavorful, and deliciously messy taco that is guaranteed to become a family staple.
Ingredients
For the Southwest Ground Beef Filling:
-
1.5 lbs lean ground beef (85/15 or 90/10)
-
1 small yellow onion, finely diced
-
1 tbsp neutral oil (vegetable or canola)
-
3 cloves garlic, minced
-
2 tbsp chili powder
-
1 tbsp ground cumin
-
1 tsp smoked paprika
-
1/2 tsp dried oregano
-
1/4 tsp cayenne pepper (adjust to heat preference)
-
1 tsp salt, plus more to taste
-
1 (15 oz) can black beans or pinto beans, rinsed and drained
-
1 (4 oz) can diced green chiles, undrained
-
1/2 cup beef stock or water
-
2 tbsp tomato paste
For Assembly and Frying:
-
12-16 small (6-inch) flour or corn tortillas
-
2 cups Monterey Jack, Pepper Jack, or shredded Colby-Jack cheese
-
1/2 cup neutral oil, for frying (or less if air-frying/baking)
Recommended Toppings:
-
Shredded iceberg lettuce
-
Diced Roma tomatoes
-
Sour cream or plain Greek yogurt
-
Crema (see Section 4 for details)
-
Salsa or hot sauce
-
Lime wedges
-
Fresh cilantro, chopped
Step-by-Step Instructions
1. Prepare the Southwest Beef Filling
-
Heat 1 tablespoon of oil in a large skillet over medium-high heat. Add the diced onion and sauté for 3-5 minutes until softened.
-
Add the ground beef to the skillet. Cook, breaking up the meat with a wooden spoon, until it is fully browned. Drain off any excess fat from the skillet, which is crucial for a non-greasy filling.
-
Reduce the heat to medium. Stir in the minced garlic, chili powder, cumin, smoked paprika, oregano, cayenne, and salt. Cook for 30-60 seconds until the spices are fragrant.
-
Stir in the tomato paste, green chiles, and rinsed beans. Pour in the beef stock or water.
-
Bring the mixture to a simmer, then reduce the heat to low. Cook for 8-10 minutes, stirring occasionally, until the liquid has mostly reduced and the sauce thickens to coat the meat. Taste and adjust salt if necessary. Remove from heat and set aside.
2. Assemble the Tacos
-
To ensure pliability, briefly warm the tortillas (wrap in a damp paper towel and microwave for 30 seconds).
-
Lay a warm tortilla flat. On one half, spread a thin layer of shredded cheese (about 1 tablespoon). This helps seal the taco.
-
Spoon 2-3 tablespoons of the ground beef mixture on top of the cheese. Top the filling with a little more cheese.
-
Fold the unfilled half of the tortilla over the filling to create a half-moon shape, pressing gently to seal. Repeat with remaining tortillas and filling.
3. Fry Until Crispy
-
Skillet Frying (Recommended Method): Heat 1/4 inch of neutral oil in a large, clean skillet over medium-high heat. The oil is ready when a small piece of tortilla sizzles immediately upon contact.
-
Working in batches, carefully place the folded tacos into the hot oil. Fry for 1 to 2 minutes per side, or until deeply golden brown and crispy. Do not overcrowd the pan.
-
Remove the crispy tacos and transfer them to a plate or sheet pan lined with paper towels to drain excess oil. Sprinkle lightly with salt immediately.
4. Serve and Garnish
-
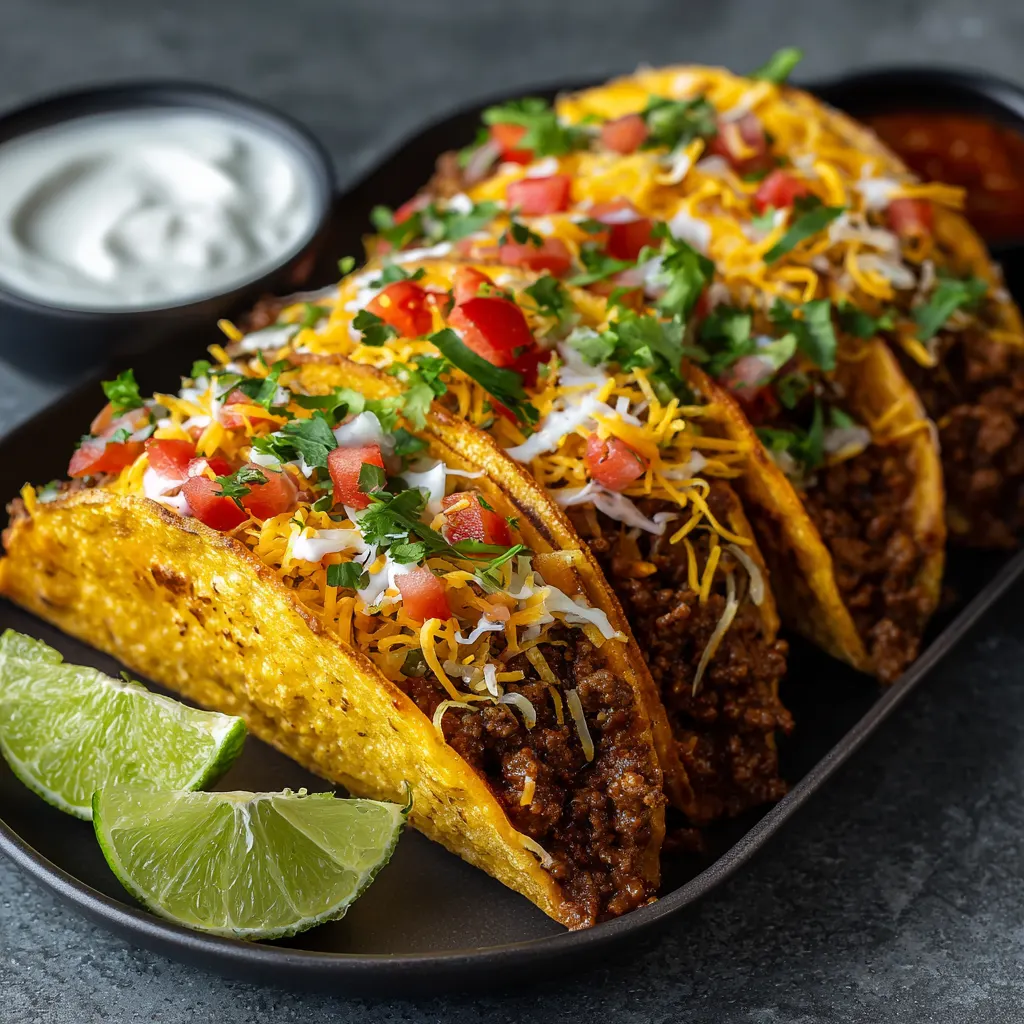
Serve the hot, crispy tacos immediately. Once cooled, they can be carefully opened like a book and stuffed with fresh toppings like shredded lettuce, diced tomatoes, a drizzle of crema, and fresh cilantro. Serve with lime wedges on the side.
Mastering the Crispy Taco Shell: Pan-Fry vs. Air Fryer vs. Oven
The defining characteristic of this recipe is the incredibly crispy shell, which acts as a sturdy, flavorful vessel for the moist filling. Achieving this texture requires sealing the fillings inside the tortilla before cooking, turning the soft wrap into a durable, golden taco (or taco dorado). While skillet frying yields the best results, modern kitchen tools offer excellent alternatives.
Skillet Frying: The Classic, Optimal Crunch
Skillet frying, as detailed in the main instructions, is the gold standard for achieving a deep, even golden color and maximum crispness.
-
Key Technique: Use enough oil (about 1/4 inch) to cover half the thickness of the taco. Maintain a consistent medium-high heat; if the oil smokes, it’s too hot and will burn the exterior before the interior cheese melts.
-
The Cheese Seal: Adding cheese to both the bottom and top of the filling helps weld the tortilla shut as it melts, preventing the filling from spilling out during frying and creating a pocket of gooey texture inside.
-
Tortilla Choice: Both small flour and corn tortillas work well. Corn tortillas tend to yield a more traditional, slightly tougher crunch, while flour tortillas result in a flaky, crisp crust.
Air Frying for Less Oil
For a lighter version, the air fryer is an efficient tool.
-
Preparation: Assemble the tacos as usual. Brush or spray both sides of the assembled tacos lightly but thoroughly with oil (a neutral oil in a spray bottle works best).
-
Cooking: Air fry at 400°F (200°C). Cook for 5 minutes, then flip the tacos and cook for an additional 3-5 minutes, or until they are golden-brown and satisfyingly crunchy.
Baking for Batch Cooking
The oven is ideal when preparing a large quantity for a crowd. This method produces a crisp-edged shell with a slightly chewier center, similar to a sheet-pan taquito.
-
Preparation: Brush both sides of the assembled tacos with oil. Place them on a parchment-lined baking sheet.
-
Cooking: Bake at 425°F (220°C) for 10-12 minutes. Flip them over and bake for another 5-8 minutes, checking until both sides are golden and crispy.
The Signature Southwest Filling: Flavor Depth and Texture
The “Southwest” flavor profile is built upon a foundation of robust, warm spices, balanced by the brightness of tomatoes and the heft of beans. Unlike Tex-Mex beef where spices are simply added to browned meat, this filling benefits from a brief simmer that allows the flavors to deepen and the beef to become incredibly moist.
Crafting the Spice Blend
While pre-packaged taco seasoning is convenient, mixing your own allows for precise control over the Southwest flavor. The combination of chili powder, cumin, and oregano provides the classic base, but the addition of smoked paprika adds a deep, almost smoky element that is characteristic of Southwestern cuisine. Cayenne pepper and diced jalapeño provide the necessary heat and freshness.
The Importance of Draining and Simmering
-
Draining the Fat: Using lean ground beef is recommended, but regardless of the fat content, draining the rendered grease after browning the meat is non-negotiable. Excess fat, if left in the filling, will saturate the tortillas during assembly and lead to a soggy, greasy taco instead of a crispy one.
-
Simmering for Flavor: The addition of liquid (stock/water) and tomato paste/sauce allows the spices to bloom and adhere to the meat. Simmering for 8-10 minutes ensures the beef mixture reduces to a thick, cohesive sauce—a dry filling is necessary to prevent the shell from becoming damp, while a saucy filling locks in moisture.
Beans and Chiles: Defining the Southwest Profile
The inclusion of black or pinto beans, along with canned diced green chiles (not to be confused with jalapeños), is what primarily separates this recipe from a standard Tex-Mex taco. The beans add protein, texture, and a desirable earthiness, while the mild, bright flavor of the green chiles is a hallmark of regional Southwestern cooking.

Essential Toppings and Complementary Sauces
A crispy taco is only complete when topped with fresh ingredients that provide a cooling contrast to the richness of the beef and the heat of the frying oil.
The Role of Temperature and Texture
The best tacos feature a dynamic play between hot and cold, and crispy and creamy.
-
The Crunch Factor: Shredded iceberg lettuce is the classic choice here. Its high water content and crisp texture provide a refreshing burst that complements the shell’s crunch.
-
The Cool Down: Diced tomatoes or a simple salsa offer essential acidity and freshness. Always add soft toppings, like shredded lettuce, tomatoes, and sour cream, after frying the taco. Frying the taco with cheese is essential, but fresh toppings should be layered in right before serving.
Elevating Your Crema
A simple Lime Crema adds a creamy tang that outshines plain sour cream.
-
Recipe: Combine 1/2 cup sour cream (or Greek yogurt) with the zest and juice of one lime and 1-2 tablespoons of finely chopped fresh cilantro. Add 1-2 teaspoons of water until the mixture reaches a smooth, drizzly consistency. Season with a pinch of salt.
-
Cheese Pairings: For the internal seal, choose good melting cheeses like Monterey Jack, Pepper Jack (for extra heat), or Colby-Jack. For a truly deep, bold flavor, a sharp grated cheddar can be mixed in.
Variations, Make-Ahead Tips, and Troubleshooting
These tacos are incredibly versatile, allowing for simple substitutions and prep techniques that make them even easier for busy weeknights.
Customizing the Filling
-
Vegetable Boost: Incorporate 1/2 cup of roasted corn or finely diced red bell pepper alongside the onions and beans for added color and sweetness.
-
Heat Level: To increase the spice, substitute the canned green chiles with finely chopped pickled jalapeños, or double the amount of cayenne pepper in the spice blend.
-
Thickening: If the filling appears too wet after simmering, sprinkle in 1-2 teaspoons of flour and stir until fully combined before cooking for another minute. This will help bind the sauce.
Prep and Storage Tips
One of the great advantages of this recipe is the ability to prepare components in advance.
-
Make-Ahead Filling: The Southwest ground beef filling can be cooked and stored in an airtight container in the refrigerator for 3-4 days. When ready to serve, gently reheat the filling before assembling and frying the tacos.
-
Freezing: The beef filling can be frozen for up to 3 months. Thaw overnight in the refrigerator before reheating.
-
Tortilla Pliability: Always warm your tortillas before assembling. This prevents them from cracking when folded, especially if using corn tortillas. Use a damp paper towel and a microwave, or flash them on a dry, hot skillet for 10 seconds per side.
