
Gross Halloween Cookies: Crowd-Pleasers
Halloween is the perfect time to unleash your inner ghoul, and what better way to do so than with a batch of gross (but delicious!) Halloween cookies? Forget the cutesy pumpkins; we’re talking eyeballs, brains, and spiders – all edible, of course. This guide will walk you through creating Halloween cookies that are not only visually impressive but also incredibly tasty, ensuring your spooky soiree is a monstrous success.
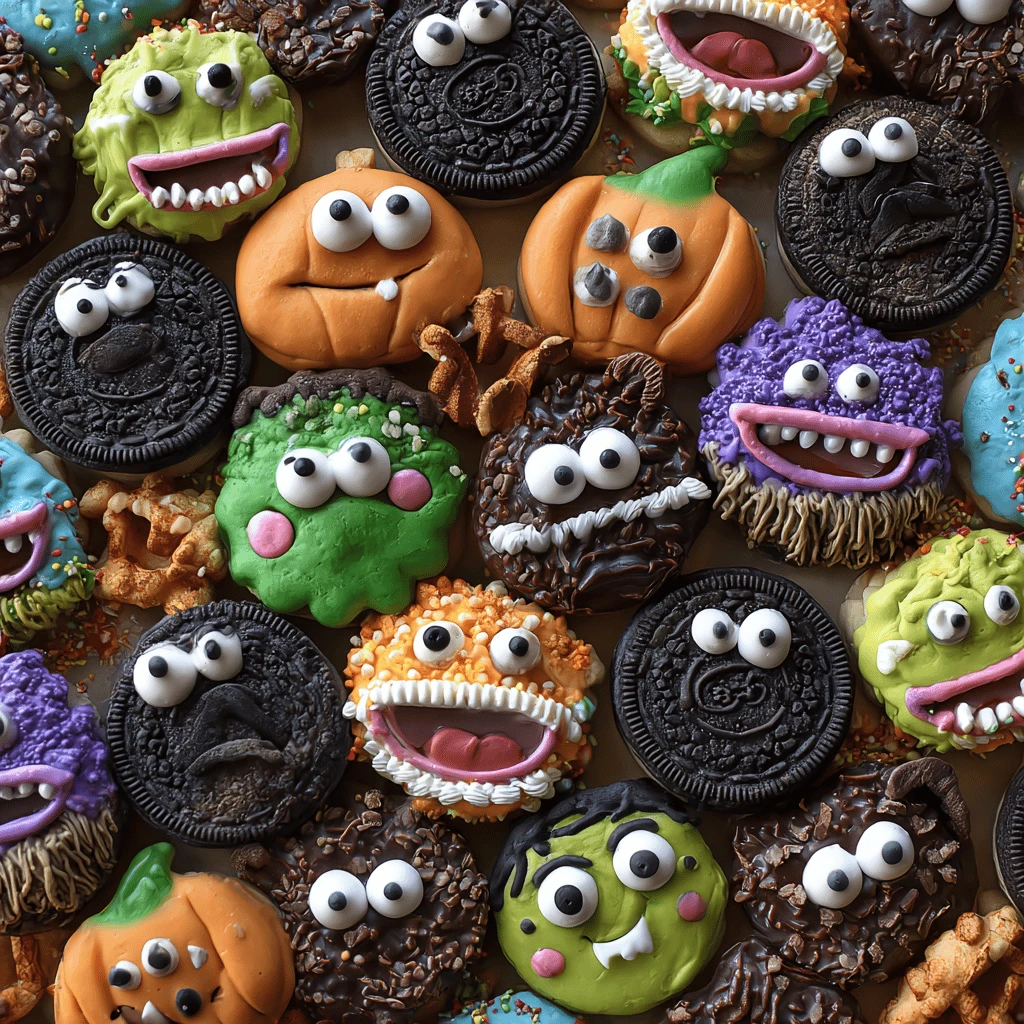
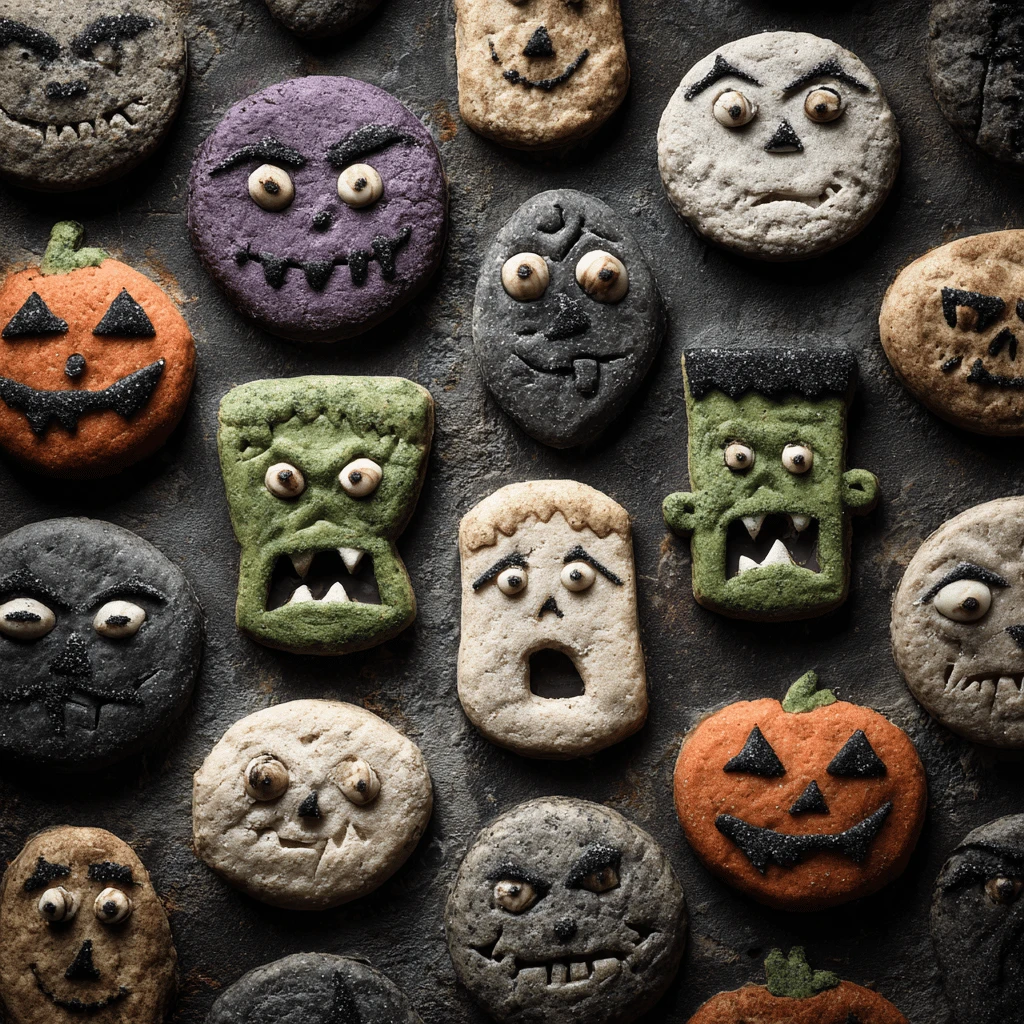
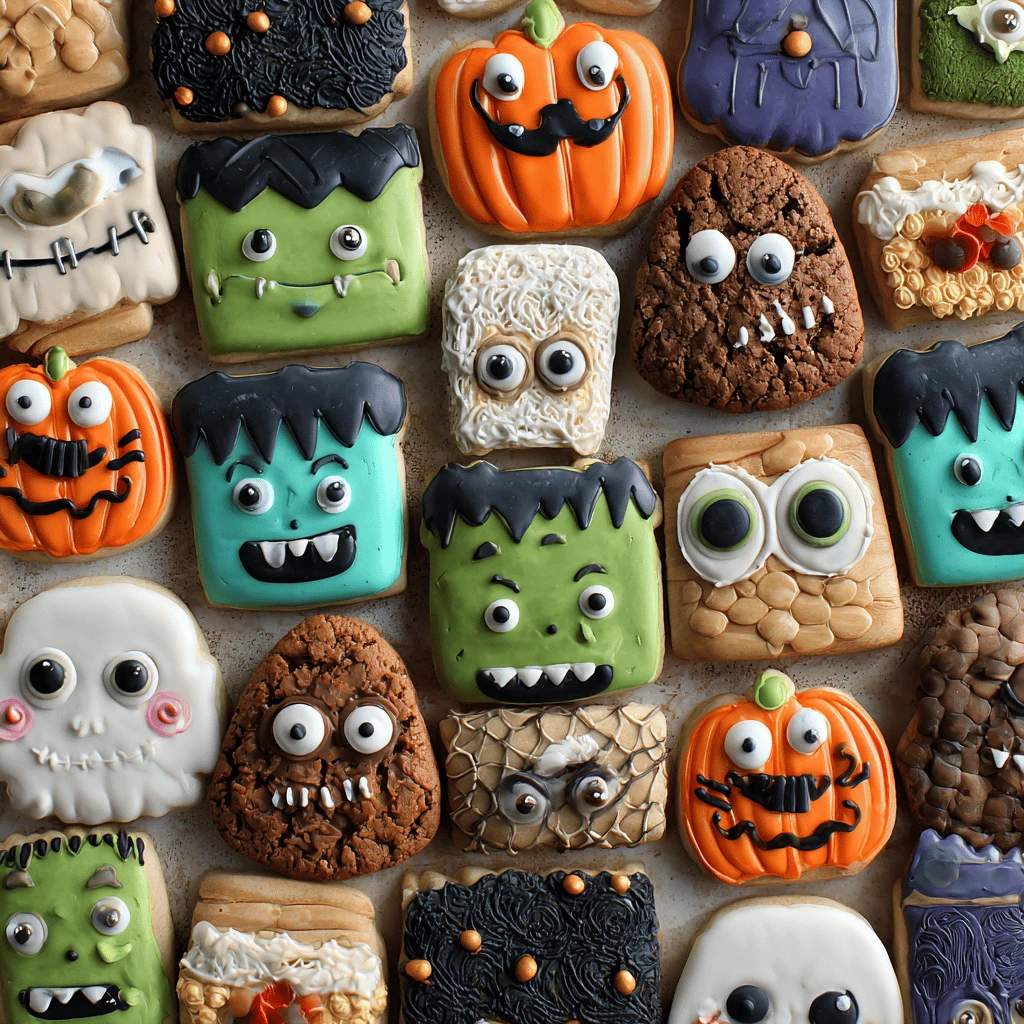
Embracing the Gross-Out Factor: Cookie Design Ideas
The key to truly gross Halloween cookies lies in the details. Think about textures, colors, and realistic (or perhaps unrealistic!) depictions of gruesome elements.
Eyeball Cookies: Seeing is Believing
Eyeball cookies are a classic for a reason. They’re relatively simple to make but pack a significant visual punch. Start with a basic sugar cookie recipe. Once cooled, frost the entire cookie with white royal icing. While the icing is still wet, place a candy-coated chocolate (like an M&M) in the center for the iris. Use black gel icing to create the pupil. For extra creepiness, draw red veins using a thin brush and edible red food coloring. You can also use a small amount of red icing for added effect. Don’t be afraid to experiment with different sized candies for varied iris sizes, adding to the unsettling realism.
Brain Cookies: A Sweet Convolution
Brain cookies are slightly more complex but worth the effort. Use a standard sugar cookie recipe, shaping the dough into a brain shape before baking. Once baked and cooled, frost the entire cookie with a light pink royal icing. Use a piping bag fitted with a small round tip to pipe squiggly lines across the surface of the icing, mimicking the convolutions of a brain. To enhance the effect, use a slightly darker shade of pink icing for the piped lines, creating depth and dimension. You can even add a touch of red food coloring to the darker pink for a truly gruesome look.
Spider Cookies: Eight Legs of Fun
Spider cookies are a great option for those who want a balance of creepy and cute. Use a chocolate cookie recipe for the base. Once cooled, frost the entire cookie with chocolate frosting. Place a large chocolate candy in the center for the spider’s body. Use chocolate-covered pretzel sticks for the legs, attaching them to the candy with a small amount of frosting. Add edible candy eyes to the candy for the spider’s face. For an extra touch, pipe a web of white icing around the spider using a piping bag fitted with a small round tip.
Other Creepy Cookie Concepts
Don’t limit yourself to just eyeballs, brains, and spiders! Consider other gruesome themes like:
- Band-Aid Cookies: Sugar cookies decorated with flesh-colored icing and a red “bloodstain” using red gel icing.
- Witch Finger Cookies: Almond shortbread cookies shaped like gnarled fingers, complete with a green-tinted almond “fingernail.”
- Monster Cookies: Use various food colorings and candy decorations to create unique and monstrous faces on sugar cookies. Add edible glitter for a touch of otherworldly sparkle.
- Bone Cookies: Simple sugar cookies cut into bone shapes and decorated with white icing. You can add “cracks” using a food-safe marker.
Mastering the Art of Royal Icing
Royal icing is your best friend when it comes to decorating Halloween cookies. It dries hard, providing a smooth, professional-looking finish, and it’s versatile enough for both flooding and detailed piping.
The Basic Recipe
A basic royal icing recipe typically includes:
- Powdered sugar
- Meringue powder
- Water
- Vanilla extract (optional)
The ratio of ingredients will determine the consistency of the icing. For flooding, you’ll want a thinner consistency that spreads easily. For piping details, you’ll need a thicker consistency that holds its shape.
Achieving the Right Consistency
The “10-second rule” is a helpful guide for achieving the correct flooding consistency. After mixing the icing, drop a spoonful back into the bowl. The icing should take approximately 10 seconds to disappear back into the rest of the icing. If it disappears too quickly, the icing is too thin; if it takes longer, the icing is too thick. Adjust the consistency by adding small amounts of water or powdered sugar as needed.
Coloring Your Icing
Gel food coloring is the best choice for coloring royal icing, as it won’t change the consistency of the icing as much as liquid food coloring. Add small amounts of gel food coloring until you achieve your desired shade. Remember that the color will deepen slightly as the icing dries.
Piping Techniques
Practice your piping skills on parchment paper before decorating your cookies. Experiment with different piping tips to achieve different effects. A small round tip is ideal for outlining and adding fine details, while a larger round tip is suitable for filling in larger areas. Learn to control the pressure you apply to the piping bag to create consistent lines.
Baking the Perfect Cookie Base
A sturdy and flavorful cookie base is essential for supporting your elaborate decorations. While sugar cookies are a popular choice, don’t be afraid to experiment with other flavors and textures.
Classic Sugar Cookies
A classic sugar cookie recipe is a reliable choice for Halloween cookies. Look for a recipe that doesn’t spread too much during baking, ensuring your designs stay intact. Chilling the dough before baking is crucial to prevent spreading.
Chocolate Cookies
Chocolate cookies provide a delicious contrast to the sweetness of the royal icing. Use a rich and fudgy chocolate cookie recipe for the best results. Dark chocolate or cocoa powder will add a deeper, more intense flavor that complements the spooky theme.
Gingerbread Cookies
Gingerbread cookies offer a warm, spicy flavor that’s perfect for the fall season. The firm texture of gingerbread cookies makes them ideal for intricate decorations. Be sure to use a recipe that holds its shape well during baking.
Tips for Baking Success
- Use parchment paper: Lining your baking sheets with parchment paper prevents the cookies from sticking and ensures even baking.
- Chill the dough: Chilling the dough for at least 30 minutes before baking helps prevent spreading.
- Bake evenly: Rotate the baking sheets halfway through baking to ensure the cookies bake evenly.
- Cool completely: Allow the cookies to cool completely on a wire rack before decorating.
Beyond the Basics: Adding Extra Touches
Take your gross Halloween cookies to the next level with these creative additions.
Edible Glitter
Edible glitter adds a touch of shimmer and sparkle to your cookies. Use it sparingly to avoid overpowering the design.
Sprinkles
Halloween-themed sprinkles, such as bat shapes, spider webs, and candy eyeballs, are a quick and easy way to add extra detail.
Fondant Accents
Fondant can be used to create more elaborate decorations, such as 3D eyeballs or creepy crawlies.
Airbrushing
Airbrushing allows you to create subtle shading and gradients, adding depth and realism to your designs.
Edible Markers
Edible markers are perfect for adding fine details, such as veins on eyeballs or cracks on bones.
Troubleshooting Common Cookie Decorating Problems
Even experienced bakers encounter challenges when decorating cookies. Here are some common problems and how to fix them:
- Icing is too thick: Add small amounts of water until you achieve the desired consistency.
- Icing is too thin: Add small amounts of powdered sugar until you achieve the desired consistency.
- Icing is cracking: This can be caused by over-mixing the icing or letting it dry out too quickly. Try adding a small amount of glycerin to the icing to prevent cracking.
- Colors are bleeding: Use gel food coloring instead of liquid food coloring, and allow the icing to dry completely before adding additional colors.
- Cookies are spreading: Chill the dough for a longer period of time before baking, and make sure your oven is not too hot.
FAQs: Spooktacular Cookie Queries Answered
Here are some frequently asked questions about making gross Halloween cookies:
Q: How far in advance can I make Halloween cookies?
A: Decorated sugar cookies can be made 3-5 days in advance. Store them in an airtight container at room temperature.
Q: How do you keep sugar cookies soft?
A: Store them in an airtight container with a slice of bread. The bread will absorb moisture, keeping the cookies soft.
Q: What is the best icing for decorating sugar cookies?
A: Royal icing is the best choice for decorating sugar cookies because it dries hard and provides a smooth, professional-looking finish.
Q: Can I freeze decorated cookies?
A: Yes, you can freeze decorated cookies. Wrap them individually in plastic wrap and then place them in an airtight container. Thaw them at room temperature before serving.
Q: How do I make my cookies look professional?
A: Practice your icing skills, use high-quality ingredients, and pay attention to detail. Watch tutorials online for tips and techniques.
Q: Where can I find Halloween cookie cutters?
A: Halloween cookie cutters can be found at most craft stores, baking supply stores, and online retailers like Amazon.
Q: Can I use a different cookie recipe for my Halloween cookies?
A: Yes, you can use any cookie recipe you like. Just make sure it holds its shape well during baking. Shortbread and gingerbread cookies are also great options.
By following these tips and tricks, you’ll be well on your way to creating a batch of gross Halloween cookies that will be the talk of the town (or at least your spooky gathering!). Get creative, have fun, and embrace the gruesome side of baking! Happy haunting (and baking)!
