
The Ultimate Flaky Biscuit Recipe with Apple Pie Filling
There’s nothing quite like the smell of warm apples and cinnamon wafting through the house on a crisp autumn afternoon. It instantly transports me back to my grandmother’s kitchen, where she’d always have something delicious baking. Her secret? Simplicity and love!
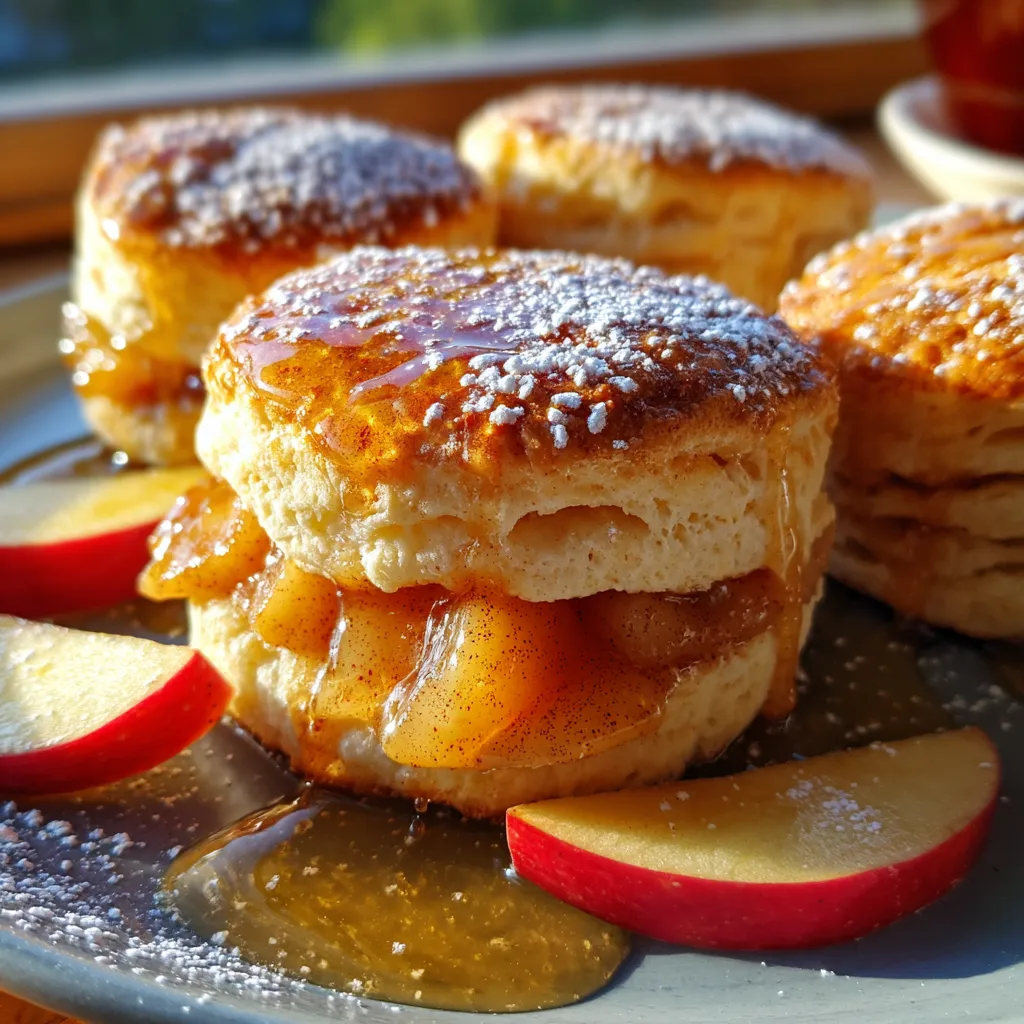
This Biscuit Recipe with Apple Pie Filling is a homage to those cherished memories. It’s an easy dessert that brings all the cozy vibes of a classic apple pie, but in a perfectly portioned, incredibly flaky biscuit form. Forget complicated pastry; this is comfort food at its finest, a true family favorite tested and adored by everyone who tries it.
Imagine biting into a tender, buttery biscuit that gives way to a warm, spiced apple filling. It’s pure bliss, whether you serve it for breakfast, brunch, or as a delightful treat after dinner. Get ready to bake some magic!
Why You’ll Love This Recipe
❤️ Here’s why these Apple Pie Biscuits will become a treasured recipe in your kitchen:
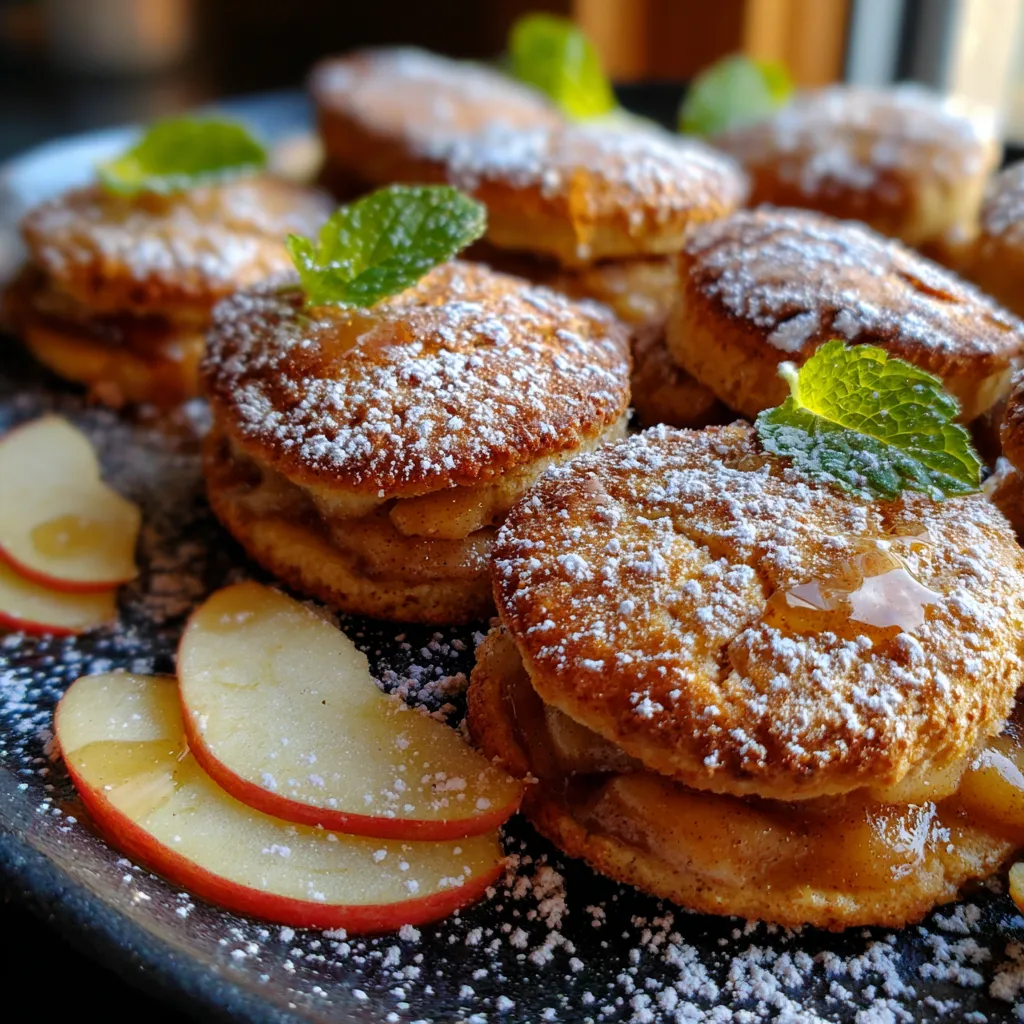
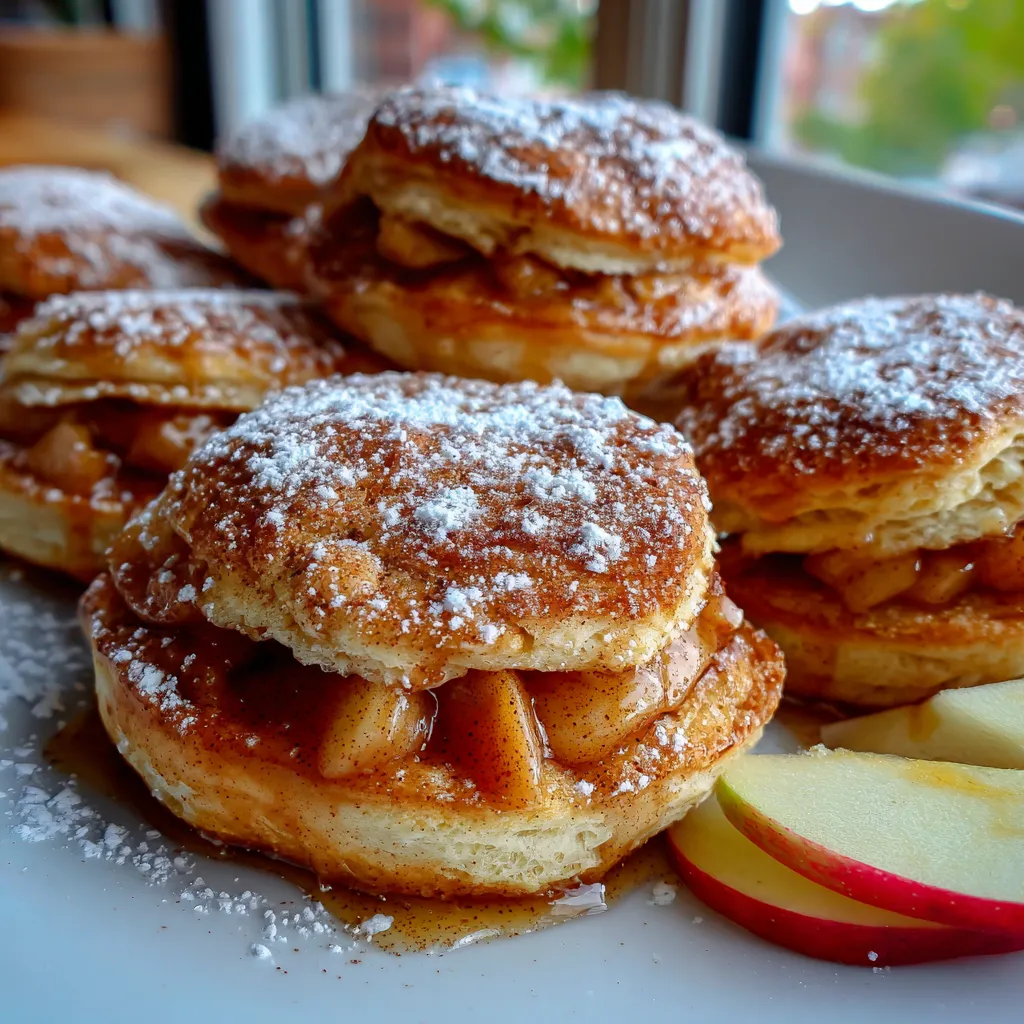
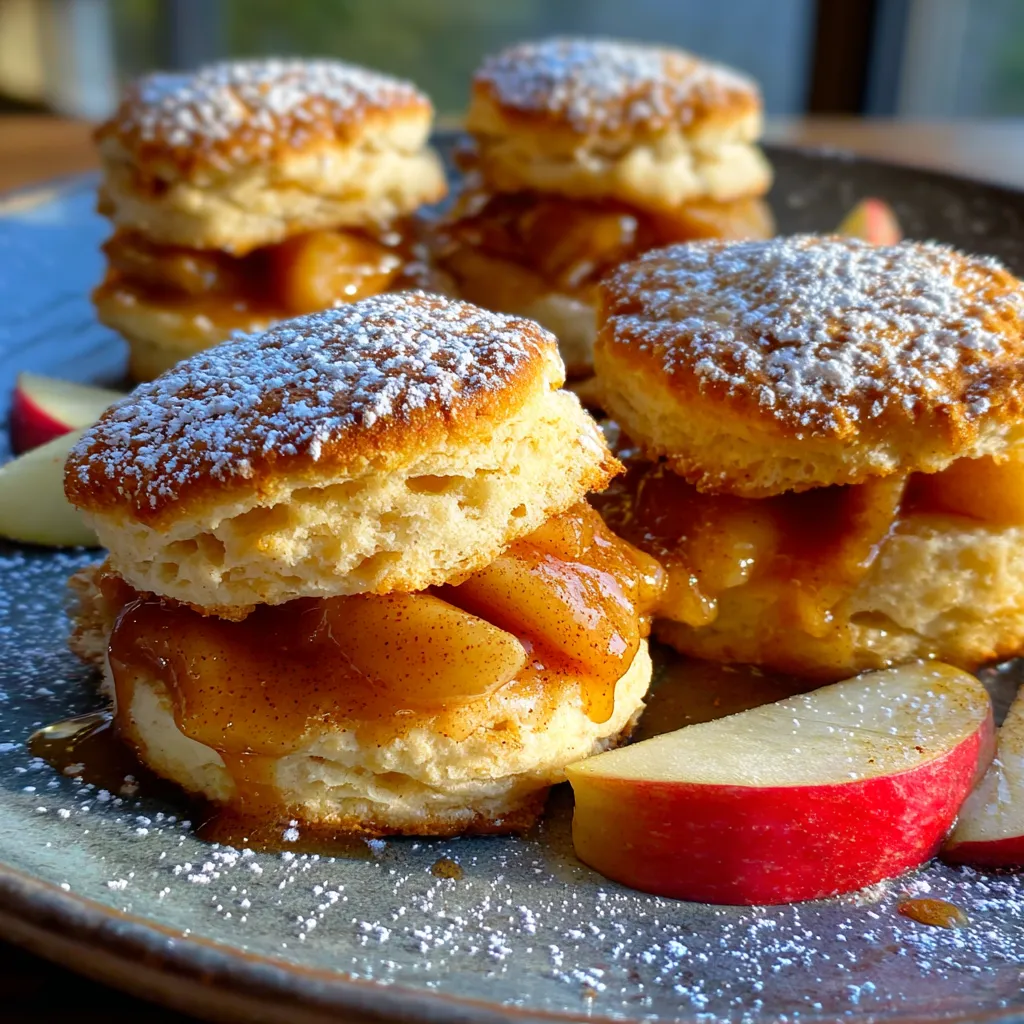
- Irresistibly Flaky Biscuits: We’re talking about golden-brown tops, incredibly tender layers, and a delicate crumb that practically melts in your mouth. The texture alone is worth the bake!
- Warm, Spiced Apple Filling: Juicy, tender apple pieces are lovingly spiced with cinnamon and a hint of nutmeg, perfectly sweetened, and cooked down to a luscious consistency. It’s like a mini apple pie explosion inside every biscuit.
- Effortlessly Impressive: These biscuits look like they took hours of intricate work, but they are surprisingly simple to assemble. Perfect for impressing guests or just treating yourself to something special without the stress.
- Versatile for Any Occasion: While they make an amazing dessert, don’t limit yourself! They’re fantastic for breakfast with a cup of coffee, a delightful addition to brunch, or a comforting afternoon snack.
- Customizable Fun: Feel free to adjust the spices, add a touch of lemon zest to the filling for brightness, or even experiment with different apple varieties. Make it your own family signature!
- Pure Comfort in Every Bite: There’s something inherently soul-satisfying about homemade biscuits and warm fruit. This recipe combines both, delivering a hug in food form that’s perfect for any time of year, especially fall.
- Aromatic Kitchen Delight: As these bake, your home will be filled with the most heavenly scent of apples, cinnamon, and freshly baked goods. It’s an instant mood booster and makes the whole house feel cozy and inviting.
What You Need
You only need a few simple pantry staples for this recipe! Most of these ingredients are likely already in your kitchen, making it super accessible to whip up a batch whenever a craving strikes. Check the full printable recipe card below for detailed measurements.
Expert Tips for the Best Apple Pie Biscuits
💡 Achieving perfect biscuits requires a few key techniques. Follow these expert tips for flaky, tender, and utterly delicious results every time:
- Keep Your Butter COLD: This is arguably the most critical tip for flaky biscuits. Cold butter creates pockets of steam as it melts in the oven, leading to those beautiful, airy layers. I even like to grate my cold butter on a box grater before adding it to the flour mixture for even distribution.
- Don’t Overmix the Dough: Mix until just combined. Overmixing develops gluten, which results in tough, chewy biscuits instead of light and tender ones. A few streaks of flour are perfectly fine – the less you handle it, the better.
- Handle Gently: When shaping, pat the dough out rather than rolling it with a pin. This minimizes handling and keeps the texture light. If you must use a rolling pin, do so very lightly.
- Flour Your Surfaces Lightly: A dusting of flour on your work surface and hands is enough. Too much flour will make your biscuits dry and tough.
- Choose the Right Apples: For baking, you want apples that hold their shape and offer a good balance of sweet and tart. Granny Smith, Honeycrisp, Fuji, or Braeburn are excellent choices. A mix of two varieties can also add depth of flavor.
- Spice It Up to Taste: The recipe provides a guideline for cinnamon and nutmeg, but feel free to adjust. A pinch of allspice or cardamom can add another layer of warmth. Always taste your apple filling before baking to ensure it’s perfectly seasoned for your preference.
- Seal the Biscuits Well: When folding the biscuit dough over the filling, ensure the edges are sealed tightly to prevent too much filling from oozing out. A fork can help crimp the edges securely.
- Don’t Twist Your Biscuit Cutter: When cutting biscuits, press straight down and lift straight up. Twisting the cutter can seal the edges of the biscuit dough, preventing it from rising properly and creating those desired flaky layers.
- Bake Until Golden Brown: Keep an eye on your biscuits. They should be beautifully golden brown on top and bottom. This indicates they are fully cooked through and have developed that lovely crust.
- Consider a Simple Glaze: For an extra touch of sweetness and shine, whisk together powdered sugar with a tiny bit of milk or lemon juice until smooth. Drizzle over the warm biscuits right after they come out of the oven.
Variations & Substitutions
This recipe is wonderfully adaptable! Feel free to get creative and tailor it to your dietary needs or flavor preferences:
- Gluten-Free Option: Swap out the all-purpose flour for a 1:1 gluten-free baking flour blend that contains xanthan gum. You might need a tiny bit more liquid, so add milk gradually until the dough comes together.
- Dairy-Free/Vegan: Use a good quality plant-based butter (like Miyoko’s Kitchen or Earth Balance sticks) and a non-dairy milk (almond, soy, or oat milk) in place of traditional butter and milk.
- Fruit Swaps: Not an apple fan, or just want to try something new? This recipe works beautifully with other firm fruits! Try diced peaches (fresh or frozen, thawed), cherries, or a mixed berry blend for a different fruity twist.
- Extra Spice: Amp up the cozy factor by adding a pinch of ground ginger, cloves, or even a tiny bit of black pepper to your apple filling. A touch of orange zest can also brighten the flavors.
- Add a Nutty Crunch: Fold in a tablespoon or two of finely chopped pecans or walnuts into your apple filling for added texture and a rich, nutty flavor.
- Caramel Drizzle: Instead of a simple glaze, a homemade or store-bought caramel sauce drizzled over the warm biscuits takes them to an even more indulgent level.
Storage & Freezing
Want to enjoy these delicious Apple Pie Biscuits later? Here’s how to store them:
- At Room Temperature: Once completely cooled, store the biscuits in an airtight container at room temperature for up to 2-3 days. They’re best enjoyed fresh, but will still be delightful.
- In the Refrigerator: For longer storage, you can keep them in an airtight container in the refrigerator for up to 5 days. Reheat gently in the microwave or a warm oven before serving.
- Freezing Baked Biscuits: Allow the baked biscuits to cool completely. Wrap each biscuit individually in plastic wrap, then place them in a freezer-safe bag or container. They will keep well for up to 2-3 months. Thaw at room temperature or reheat from frozen in a low oven (around 300°F/150°C) until warmed through.
- Freezing Unbaked Biscuits: Assemble the biscuits with their filling, but do not bake. Place them on a baking sheet and freeze until solid (about 1-2 hours). Once solid, transfer them to a freezer-safe bag. When ready to bake, place them directly from the freezer onto a baking sheet and bake as directed, adding a few extra minutes to the baking time.
FAQ
Can I use store-bought apple pie filling?
Absolutely! If you’re short on time, a can of good quality store-bought apple pie filling can be a fantastic shortcut. Just make sure to drain any excess liquid to prevent the biscuits from becoming soggy. You might still want to add a pinch of extra cinnamon or nutmeg to boost the homemade flavor.
What’s the best way to cut the biscuits?
For classic round biscuits, use a 2-inch or 2.5-inch round biscuit cutter. Remember to press straight down without twisting to ensure a good rise. If you don’t have a cutter, you can use a sharp knife to cut the dough into squares, which is just as delicious and creates less waste!
My biscuits aren’t flaky, what went wrong?
The most common culprits for non-flaky biscuits are warm butter and overmixing. Ensure your butter is very cold (even frozen and grated helps!) and handle the dough as little as possible. The goal is to see small pea-sized pieces of butter throughout the dough before adding the liquid.
Can I make the apple filling ahead of time?
Yes, you can! Prepare the apple pie filling up to 2-3 days in advance and store it in an airtight container in the refrigerator. This makes assembly even quicker on baking day, perfect for meal prep or entertaining.
I hope this Biscuit Recipe with Apple Pie Filling brings as much joy and comfort to your home as it does to mine. It’s truly a special treat that’s perfect for sharing, or for savoring all by yourself with a cup of tea. Don’t forget to pin this recipe for later and share your creations with me!
Flaky Apple Pie Biscuits: Easy Fall Comfort Treat Recipe
Ingredients
- 2 cups all-purpose flour
- 1 tbsp baking powder
- 1/2 tsp salt
- 1/2 cup (1 stick) cold unsalted butter, cut into small pieces
- 3/4 cup cold milk, plus more for brushing
- 2 large apples (e.g., Granny Smith, Honeycrisp), peeled, cored, and diced
- 1/4 cup brown sugar
- 1 tsp ground cinnamon
- 1/4 tsp ground nutmeg
- 1 tbsp lemon juice
- 1 tbsp cornstarch (optional, for thicker filling)
Instructions
- Step 1 For the Apple Filling: In a medium saucepan, combine diced apples, brown sugar, cinnamon, nutmeg, lemon juice, and cornstarch (if using). Cook over medium heat, stirring occasionally, until apples are tender and liquid has thickened, about 8-10 minutes. Let cool completely.
- Step 2 For the Biscuits: In a large bowl, whisk together flour, baking powder, and salt. Cut in the cold butter using a pastry blender, two knives, or your fingertips until the mixture resembles coarse crumbs with some pea-sized pieces of butter remaining.
- Step 3 Gradually add cold milk, stirring with a fork until a shaggy dough forms. Do not overmix. Turn the dough out onto a lightly floured surface and gently pat into a rectangle, about 1/2 inch thick.
- Step 4 Cut the dough into 8 equal squares. Place about 1-2 tablespoons of cooled apple filling in the center of 4 of the squares. Top with the remaining 4 squares, carefully pressing the edges to seal. You can use a fork to crimp the edges if desired.
- Step 5 Preheat oven to 425°F (220°C). Place sealed biscuits on a baking sheet lined with parchment paper. Brush the tops with a little extra milk.
- Step 6 Bake for 18-22 minutes, or until golden brown and puffed. Let cool slightly on a wire rack before serving. Optionally, drizzle with a simple powdered sugar glaze.
