
Family-Friendly Crispy Chicken Breast Skillet
Introduction: The Perfect Weeknight Meal
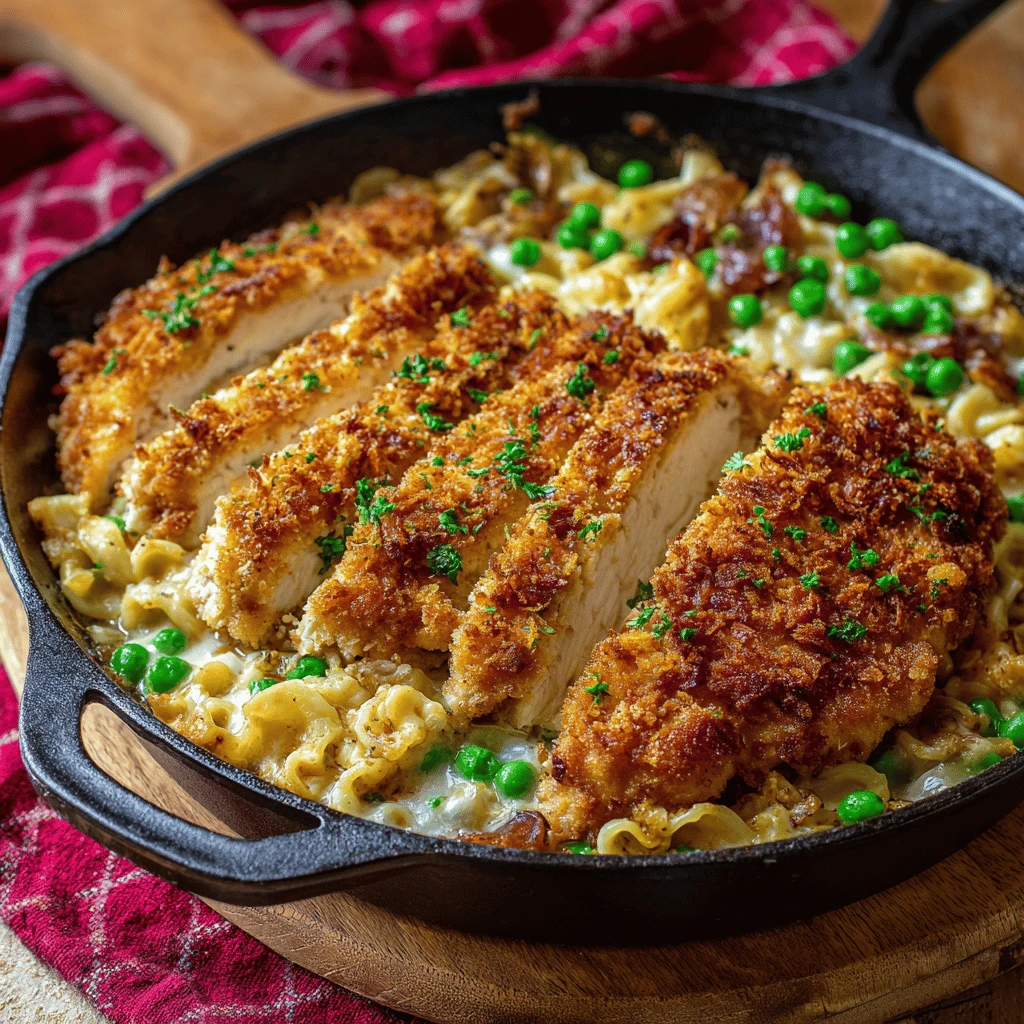
Finding a dinner that’s both quick and appealing to the whole family can feel like a Herculean task. Enter the crispy chicken breast skillet – a one-pan wonder that delivers on flavor, ease of preparation, and minimal cleanup. This dish transforms ordinary chicken breasts into a crispy, golden delight, thanks to a simple yet effective skillet-cooking method. Whether you’re a seasoned cook or just starting, this recipe is a guaranteed hit, customizable to suit even the pickiest eaters. Its versatility allows for endless variations, from adding different vegetables to experimenting with various spice blends. Say goodbye to dinner dilemmas and hello to a family favorite that will quickly become a staple in your weekly rotation. The beauty of this recipe lies not only in its taste but also in its adaptability. Feel free to adjust the seasonings, vegetables, and even the type of breading to create a dish that perfectly caters to your family’s preferences.
Mastering the Crispy Chicken Breast Skillet Technique
The secret to achieving perfectly crispy chicken breasts in a skillet lies in a few key techniques. First, ensure the chicken breasts are of uniform thickness. Pounding them gently to an even ½-inch thickness guarantees even cooking and prevents some parts from drying out while others remain undercooked. Next, the breading process is crucial. A simple three-step breading station – flour, egg wash, and breadcrumbs – works wonders. The flour helps the egg adhere to the chicken, the egg provides moisture for the breadcrumbs to stick, and the breadcrumbs create that desirable crispy coating. Using panko breadcrumbs will also create a lighter, airier crust.
The skillet itself plays a significant role. A cast-iron skillet is ideal for even heat distribution and superior browning, but any heavy-bottomed skillet will work. Ensure the skillet is properly heated before adding the chicken. The oil should be shimmering but not smoking. Cooking the chicken over medium heat allows it to cook through without burning the breading. Resist the urge to overcrowd the skillet; cook in batches if necessary to maintain even heat and browning.
Finally, don’t underestimate the importance of seasoning at each stage. Season the flour, egg wash, and breadcrumbs generously with salt, pepper, and any other spices you enjoy. This ensures that every layer of the chicken is packed with flavor. Don’t be afraid to experiment with garlic powder, onion powder, paprika, or even a touch of cayenne pepper for a little kick.
Choosing Your Chicken
While boneless, skinless chicken breasts are the most common choice for this recipe, you can also use chicken thighs for a richer flavor. If using thighs, ensure they are boneless and skinless, and adjust the cooking time accordingly, as thighs generally require longer to cook through.
Selecting the Perfect Breadcrumbs
Panko breadcrumbs are your secret weapon for achieving maximum crispiness. Their light, airy texture creates a delightfully crunchy crust. However, if you don’t have panko on hand, regular breadcrumbs will work just fine. You can also use seasoned breadcrumbs for an extra layer of flavor, but be mindful of the sodium content. For a gluten-free option, use gluten-free breadcrumbs or almond flour.
Optimizing Skillet Selection
A cast-iron skillet is the gold standard for skillet cooking due to its superior heat retention and even heat distribution. However, a stainless-steel skillet or any heavy-bottomed skillet will also work well. Avoid using non-stick skillets, as they don’t brown the chicken as effectively.
Building Flavor: Seasoning, Sauces, and Sides
Once you’ve mastered the basic crispy chicken breast skillet technique, the possibilities for flavor variations are endless. Start with the seasoning. While salt and pepper are essential, consider adding garlic powder, onion powder, paprika, Italian seasoning, or even a pinch of chili flakes for a subtle heat.
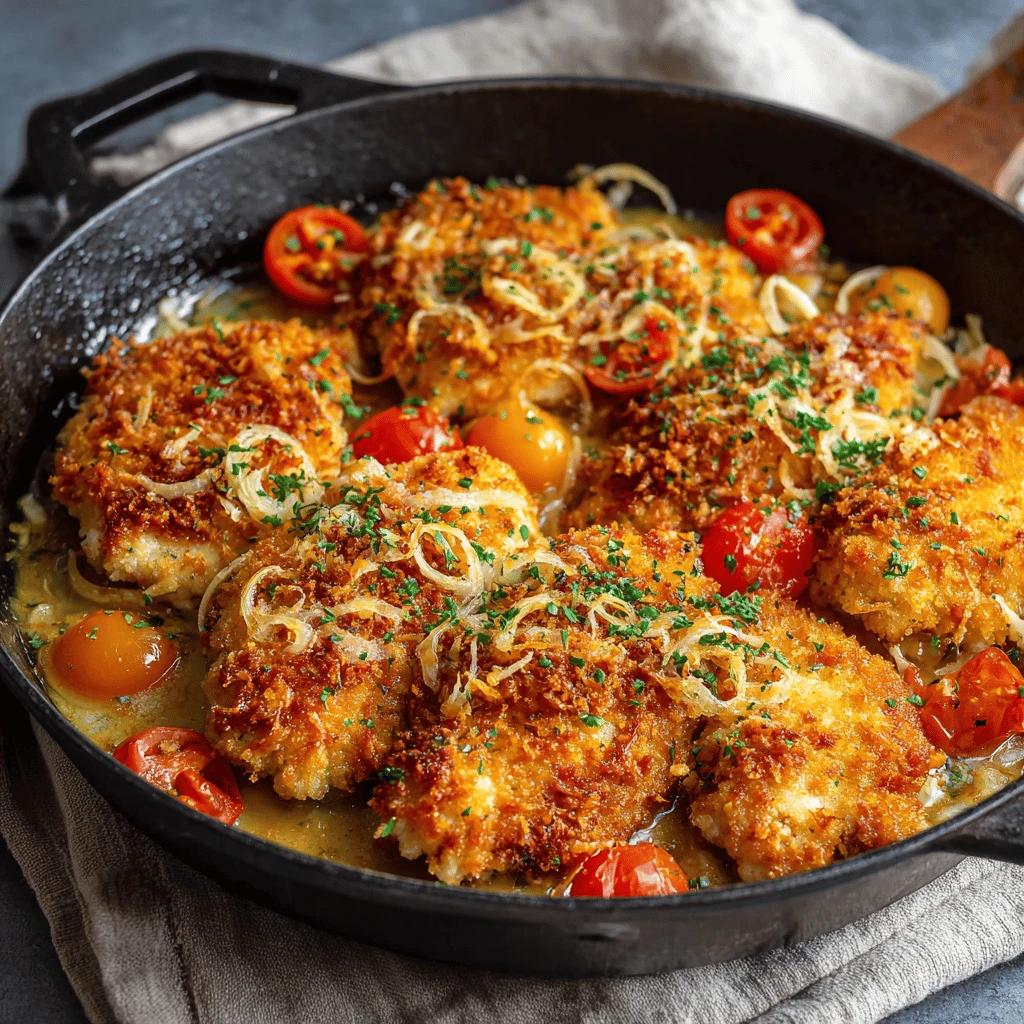
Next, explore different sauces. A simple lemon-butter sauce adds brightness and richness. A creamy mushroom sauce elevates the dish to a gourmet level. A tangy honey-mustard glaze provides a sweet and savory contrast. For a healthier option, consider a balsamic glaze or a light vinaigrette.
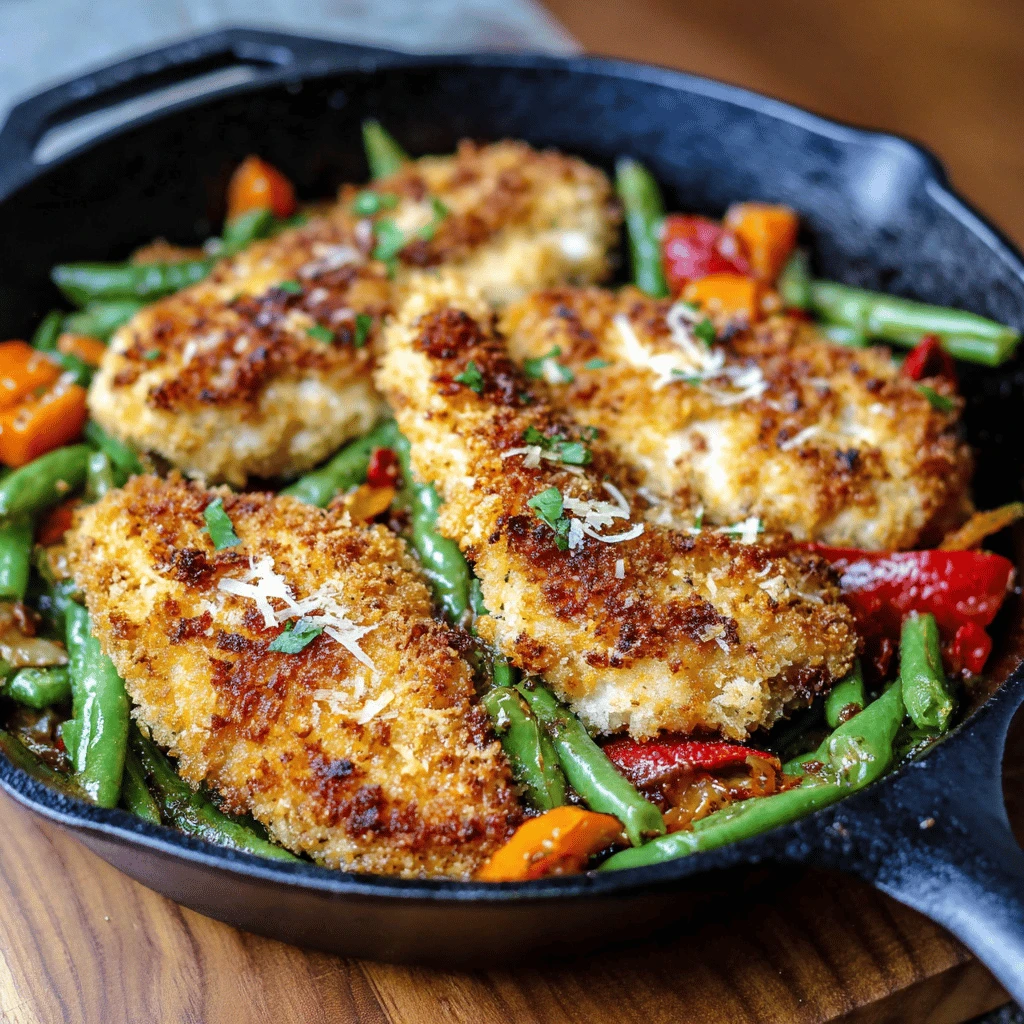
The sides you choose can also significantly impact the overall flavor profile of the meal. Roasted vegetables, such as broccoli, carrots, or Brussels sprouts, are a healthy and flavorful option. Creamy mashed potatoes or polenta provide a comforting contrast to the crispy chicken. A simple salad with a light vinaigrette adds freshness and balance. Quinoa or rice are also excellent choices for a more substantial meal.
Creative Seasoning Combinations
Don’t be afraid to experiment with different seasoning combinations to create unique flavor profiles. Try a Southwestern blend with cumin, chili powder, and oregano for a spicy kick. Opt for an Italian blend with basil, oregano, and thyme for a classic flavor. Create a Mediterranean blend with lemon zest, garlic, and rosemary for a bright and aromatic dish.
Delicious Sauce Pairings
The right sauce can elevate your crispy chicken breast skillet to a whole new level. A lemon-butter sauce is a classic pairing that adds brightness and richness. A creamy mushroom sauce provides a savory and comforting contrast. A honey-mustard glaze offers a sweet and tangy balance. A balsamic glaze adds a touch of sophistication.
Complementary Side Dishes
Choose side dishes that complement the flavor of your chicken and sauce. Roasted vegetables are a healthy and flavorful option. Mashed potatoes or polenta provide a comforting contrast. A simple salad adds freshness and balance. Rice or quinoa are great for a more substantial meal.
Adaptations for Dietary Needs and Preferences
One of the best things about the crispy chicken breast skillet is its adaptability to various dietary needs and preferences. For a gluten-free version, simply use gluten-free breadcrumbs or almond flour in the breading process. Ensure that any sauces you use are also gluten-free.
For a dairy-free version, substitute the butter in any sauces with olive oil or a dairy-free butter alternative. You can also use a dairy-free milk alternative in the egg wash.
To make it lighter, bake the breaded chicken breasts in the oven instead of frying them in a skillet. This will reduce the amount of oil used and lower the overall calorie content.
For vegetarian family members, substitute the chicken with thick slices of breaded tofu or eggplant. These alternatives provide a similar texture and flavor profile to the chicken.
Gluten-Free Crispy Chicken
Achieve a gluten-free crispy chicken breast skillet by using gluten-free breadcrumbs or almond flour for the breading. Look for certified gluten-free products to avoid cross-contamination. You can also use a blend of gluten-free flours for a unique flavor and texture.
Dairy-Free Delight
Create a dairy-free crispy chicken breast skillet by substituting butter with olive oil or a dairy-free butter alternative in any sauces. Use a dairy-free milk alternative in the egg wash and avoid any sauces that contain dairy products.
Lighter Skillet Chicken
Reduce the calorie count of your crispy chicken breast skillet by baking the breaded chicken breasts in the oven instead of frying them in a skillet. This will significantly reduce the amount of oil used and make the dish healthier.
Serving and Storing Your Crispy Chicken Breast Skillet
Once your crispy chicken breast skillet is ready, it’s time to serve and enjoy! For a visually appealing presentation, arrange the chicken breasts on a platter and drizzle with your chosen sauce. Garnish with fresh herbs, such as parsley or chives, for added color and flavor.
Leftover crispy chicken breasts can be stored in an airtight container in the refrigerator for up to three days. To reheat, bake the chicken breasts in a preheated oven at 350°F (175°C) for 10-15 minutes, or until heated through. You can also reheat them in a skillet over medium heat, but be careful not to burn the breading. Avoid microwaving the chicken, as this can make the breading soggy.
For longer storage, you can freeze the cooked chicken breasts. Wrap them individually in plastic wrap and then place them in a freezer bag. Frozen chicken breasts can be stored for up to two months. To reheat, thaw them overnight in the refrigerator and then bake them in a preheated oven as described above.
Perfect Presentation Tips
Enhance the visual appeal of your crispy chicken breast skillet by arranging the chicken breasts artfully on a platter. Drizzle with your chosen sauce and garnish with fresh herbs, such as parsley or chives. Add a side of colorful vegetables or a vibrant salad for added visual interest.
Optimal Reheating Methods
Reheat leftover crispy chicken breasts in a preheated oven at 350°F (175°C) for 10-15 minutes, or until heated through. This will help to maintain the crispiness of the breading. You can also reheat them in a skillet over medium heat, but be careful not to burn the breading. Avoid microwaving the chicken, as this can make the breading soggy.
Long-Term Storage Solutions
For longer storage, freeze cooked chicken breasts individually wrapped in plastic wrap and then placed in a freezer bag. Frozen chicken breasts can be stored for up to two months. Thaw them overnight in the refrigerator before reheating in the oven.
Frequently Asked Questions
-
- How do I keep my chicken breasts from drying out?
Pound the chicken breasts to an even thickness to ensure even cooking. Avoid overcooking the chicken, and use a meat thermometer to check for doneness. The internal temperature should reach 165°F (74°C).
-
- Can I use chicken thighs instead of chicken breasts?
Yes, you can use boneless, skinless chicken thighs. Adjust the cooking time accordingly, as thighs generally require longer to cook through.
-
- What can I use if I don’t have breadcrumbs?
You can use crushed crackers, cornflakes, or even potato chips as a substitute for breadcrumbs.
-
- How do I prevent the breading from falling off the chicken?
Ensure that the chicken is properly coated in flour, egg wash, and breadcrumbs. Press the breadcrumbs firmly onto the chicken to help them adhere.
-
- Can I make this dish ahead of time?
Yes, you can bread the chicken breasts ahead of time and store them in the refrigerator until ready to cook. You can also cook the chicken breasts ahead of time and reheat them when ready to serve.
-
- What are some good dipping sauces for crispy chicken?
Popular dipping sauces include honey mustard, ranch dressing, barbecue sauce, and sweet chili sauce.
-
- Can I add cheese to this recipe?
Absolutely! Adding a layer of shredded cheese, like mozzarella or parmesan, during the last few minutes of cooking can create a delicious cheesy topping.
-
- What vegetables pair well with crispy chicken?
Roasted vegetables such as broccoli, carrots, green beans, and asparagus are all excellent choices.
-
- How do I make the breading extra crispy?
Use panko breadcrumbs, which are lighter and airier than regular breadcrumbs. You can also add a tablespoon of cornstarch to the breadcrumb mixture for extra crispiness.
