
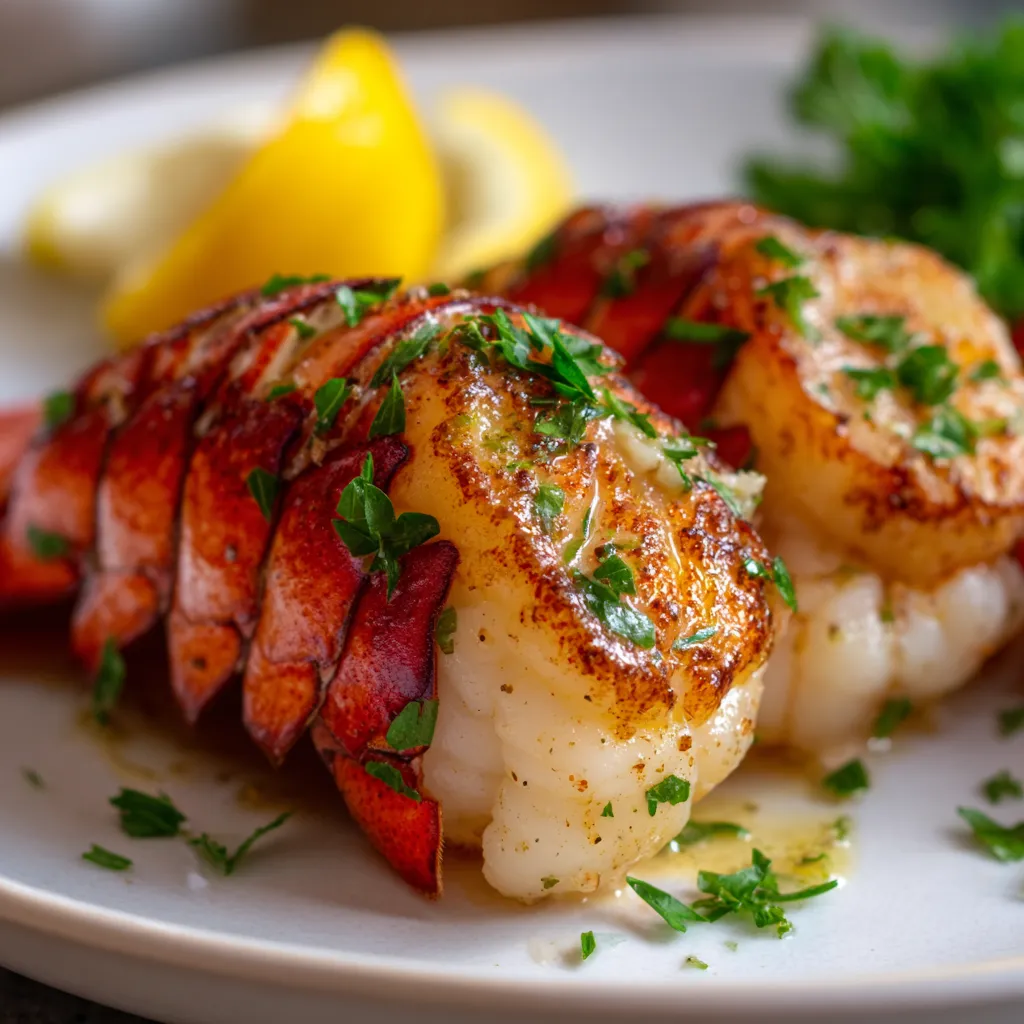
The Ultimate Easy Pan-Seared Garlic Butter Lobster Tail Recipe
There’s something truly magical about lobster, isn’t there? For years, my family considered it a ‘restaurant-only’ treat, reserved for the fanciest celebrations. The idea of cooking it at home felt intimidating, like a secret only professional chefs knew. But then, after a particularly dreary winter evening where I craved a touch of luxury without leaving the house, I finally decided to conquer my fear and try making a proper Lobster Tail Recipe myself. What I discovered was pure bliss: an incredibly easy dinner that delivers on all the comfort food vibes and special occasion elegance without any of the fuss.
This pan-seared garlic butter method quickly became a family favorite, transforming our regular kitchen into a five-star dining experience. It’s shockingly simple, yet produces incredibly tender, sweet lobster every single time. Forget complex techniques or pricey restaurant tabs – with this tested and perfected recipe, you’ll be whipping up impressive meals that taste gourmet in no time at all. Get ready to impress yourself, your family, and any lucky guests!

Why You’ll Love This Recipe
❤️ Oh, let me count the ways! This isn’t just a recipe; it’s an experience waiting to happen. You’re going to fall head over heels for how effortlessly this dish comes together, bringing restaurant-quality luxury right into your home kitchen.
- Effortless Elegance: You don’t need to be a gourmet chef to make these lobster tails shine. The process is straightforward, making it perfect for a weeknight indulgence or a show-stopping weekend dinner party. Your guests will think you spent hours slaving away!
- Incredible Flavor Profile: The rich, sweet notes of the lobster meat are perfectly complemented by the aromatic garlic and bright zest of fresh lemon juice. A touch of butter brings it all together into a symphony of taste that’s utterly irresistible. It’s a classic combination for a reason!
- Quick & Convenient: From start to finish, this dish comes together in under 20 minutes! This makes it an ideal choice when you want something truly special but are short on time. Forget long marinating or complicated cooking steps – quick searing is all it takes.
- Foolproof Method: We’ve broken down every step to ensure your success. No more guessing games about doneness or struggling with rubbery lobster. This recipe guides you to perfectly tender, succulent lobster every single time, even if it’s your very first attempt.
- Surprisingly Budget-Friendly: While lobster is considered a delicacy, cooking it at home is often significantly more affordable than ordering it at a high-end restaurant. You get premium quality for a fraction of the price, allowing you to enjoy this treat more often.
- Highly Versatile: This basic garlic butter recipe is a fantastic canvas for experimentation. Feel free to add a pinch of red pepper flakes for a kick, a dash of smoked paprika for depth, or other fresh herbs like thyme or tarragon to tailor it to your palate.
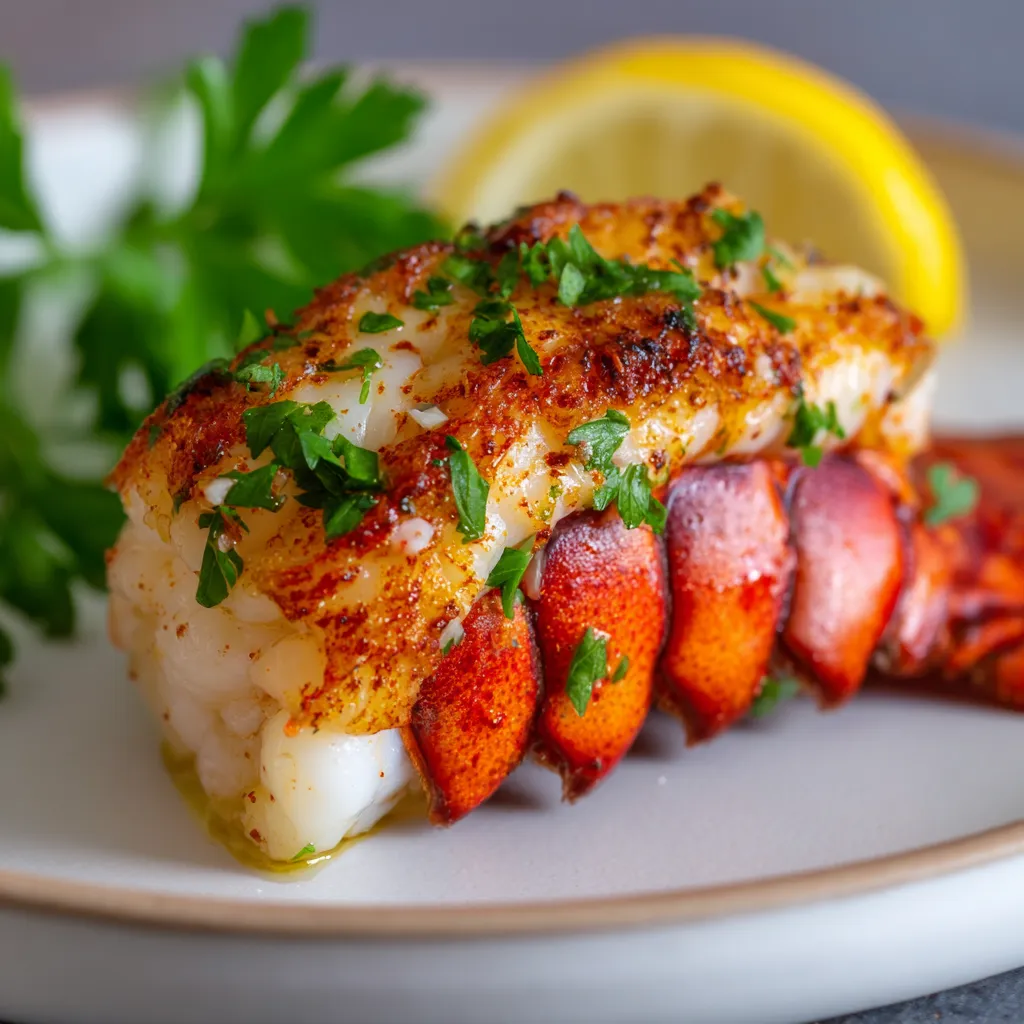
- Impressive Presentation: The ‘butterfly’ technique not only helps the lobster cook evenly but also creates a stunning visual presentation. Each tail is a beautiful, edible centerpiece, making your dinner table instantly more festive and appealing.
- Healthy Indulgence: Lobster is a lean source of protein and rich in essential vitamins and minerals. While we add butter for flavor, you can control the amount, making it a relatively healthy and satisfying indulgence. It’s naturally gluten-free and keto-friendly!
Seriously, once you try this method, you’ll wonder why you ever waited to make lobster at home. It’s a game-changer!
What You Need
You only need a few simple pantry staples for this recipe to transform beautiful lobster tails into a culinary masterpiece! Think fresh, bright flavors that truly let the star ingredient shine. Check the full printable recipe card below for detailed measurements of everything.
Expert Tips
💡 Achieving perfectly cooked lobster is simpler than you might think, especially with these insider tips!
- Choosing the Best Lobster Tails: Opt for frozen tails that are individually vacuum-sealed. This helps prevent freezer burn and maintains quality. Look for tails that are firm and have a vibrant color. Sizes from 4-8 ounces are generally the easiest to work with for pan-searing. Larger tails may require a slightly longer cooking time or a brief finish under the broiler.
- Proper Thawing is Key: Never thaw lobster at room temperature. The best method is to transfer them to the refrigerator overnight (about 12-24 hours). If you’re in a hurry, you can place the vacuum-sealed tails in a bowl of cold water for 30-60 minutes, changing the water every 15 minutes. Ensure they are fully thawed before cooking for even results.
- The Butterfly Technique: This isn’t just for looks! Butterflying the tail exposes more surface area of the meat, allowing it to cook more evenly and absorb all that delicious garlic butter flavor. Use sturdy kitchen shears to cut directly down the top center of the shell, then gently pry it open and lift the meat to rest on top of the shell. A shallow cut down the middle of the exposed meat helps it fan out beautifully.
- Don’t Overcrowd the Pan: For a perfect sear, ensure your skillet is large enough to accommodate all the lobster tails without crowding them. If you have too many, cook them in batches. Crowding lowers the pan temperature, leading to steaming instead of searing, which means less flavor and a less desirable texture.
- The Pan Matters: A heavy-bottomed skillet, especially cast iron, is ideal for pan-searing. It retains heat well and distributes it evenly, ensuring a beautiful crust on the lobster meat. Make sure your pan is preheated sufficiently before adding the lobster.
- Watch the Heat: Medium-high heat is perfect. Too low, and the lobster will steam; too high, and it will burn before cooking through. You want a nice sizzle when the lobster hits the pan.
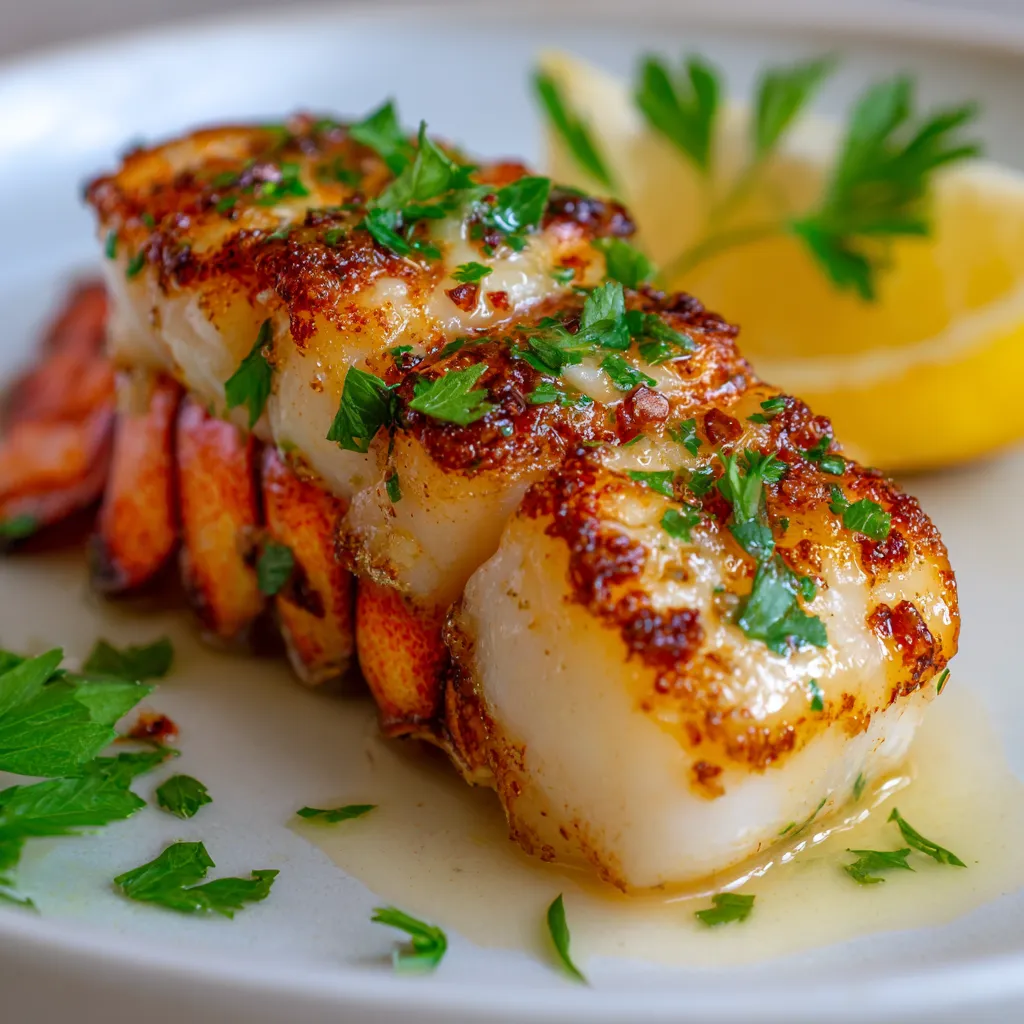
- Signs of Doneness: Cooked lobster meat will turn opaque white and firm. The shells will also turn a vibrant red. The most accurate way to check for doneness is with an instant-read thermometer; the internal temperature should reach 140-145°F (60-63°C) at its thickest part. Overcooked lobster becomes tough and rubbery, so keep a close eye on it!
- Rest Before Serving: Just like with steak, letting the lobster rest for a minute or two after cooking allows the juices to redistribute, resulting in more tender and flavorful meat.
- Amplify the Garlic Butter: Don’t be shy with the garlic butter! It’s the star of the show. Brush generously before cooking and consider drizzling a little extra over the cooked tails right before serving. A squeeze of fresh lemon juice at the end brightens all the flavors.
With these tips in your arsenal, you’ll be cooking lobster like a seasoned pro in no time!
Variations & Substitutions
This recipe is a fantastic base, and it’s so easy to tweak to suit your taste or dietary needs!
- Spicy Kick: Add a pinch of red pepper flakes to your garlic butter mixture for a subtle heat. For a bolder flavor, a dash of cayenne pepper works wonders.
- Herb Power: Beyond parsley, consider fresh thyme, tarragon, or chives for different aromatic notes. Rosemary pairs beautifully with butter and seafood.
- Citrus Burst: For an extra lemony punch, add a tiny bit of lemon zest to the butter mixture, or serve with extra lemon wedges for squeezing. Lime juice can also be a zesty alternative.
- Smoked Paprika Depth: A small pinch of smoked paprika can add a wonderful, savory depth to the garlic butter.
- Keto-Friendly: This recipe is naturally low-carb and keto-friendly! Enjoy as is.
- Gluten-Free: Good news, this Lobster Tail Recipe is entirely gluten-free!
- Dairy-Free (Careful!): If you need to avoid dairy, you can substitute the butter with a high-quality dairy-free butter alternative or olive oil. Note that the flavor profile will be slightly different, but still delicious.
Storage & Freezing
While fresh lobster is always best, sometimes you might have leftovers, or you might want to prepare ahead. Here’s how to handle them:
- Refrigeration: Cooked lobster tails can be stored in an airtight container in the refrigerator for up to 2-3 days.
- Reheating: To reheat, gently warm the lobster in a skillet over low heat with a tiny bit of butter or a splash of water, just until warmed through. Be careful not to overcook, as this will make the meat rubbery. Alternatively, you can finely chop the cold lobster meat and use it in salads, pasta, or sandwiches without reheating.
- Freezing Cooked Lobster: While generally not recommended for optimal texture, cooked lobster meat can be frozen for up to 2 months. The texture may become slightly tougher or more watery upon thawing. To freeze, place the cooked, cooled meat in an airtight freezer-safe container or bag. Thaw in the refrigerator overnight before using.
FAQ
How do I know when my lobster tails are cooked?
The most reliable sign is when the lobster meat turns opaque white and firm. The shell will also turn a bright red. For ultimate accuracy, an instant-read thermometer inserted into the thickest part of the meat should register between 140-145°F (60-63°C).
Can I use fresh lobster instead of frozen?
Absolutely! If you’re lucky enough to get your hands on fresh lobster tails, they will be even more delicious. Follow the same preparation and cooking steps. Ensure they are properly cleaned if they come whole.
What should I serve with pan-seared lobster tails?
Lobster pairs wonderfully with simple, elegant sides. Think steamed asparagus, roasted broccoli, a light green salad, rice pilaf, mashed potatoes, or even a creamy risotto. For a true surf-and-turf experience, serve alongside a perfectly cooked steak!
What’s the best way to thaw frozen lobster tails quickly?
If you’re short on time, place the vacuum-sealed lobster tails in a bowl of cold water for about 30-60 minutes. Make sure to change the water every 15 minutes to keep it cold. Never use hot water, as it can start to cook the delicate meat.
Ready to bring a touch of the extraordinary to your dinner table? This Pan-Seared Garlic Butter Lobster Tail Recipe is truly special, yet so approachable. You’ll be amazed at how simple it is to create such a memorable meal. Don’t forget to pin this recipe for later and share your creations with us – we love seeing what you cook up!
Easy Garlic Butter Lobster Tail Recipe – Pan Seared & Perfect
Ingredients
- 2 large lobster tails (approx. 6-8 oz each), thawed
- 4 tablespoons unsalted butter, melted
- 3 cloves garlic, minced
- 1 tablespoon fresh lemon juice
- 2 tablespoons fresh parsley, chopped
- Salt and freshly ground black pepper to taste
- Pinch of red pepper flakes (optional, for a kick)
Instructions
- Step 1 Prepare the lobster tails: Using kitchen shears, carefully cut down the top of each lobster shell, from the end of the tail to the base, being careful not to cut through the meat. Gently pry open the shell and lift the lobster meat out, resting it on top of the shell. Gently butterfly the meat, making a shallow cut down the middle without cutting all the way through.
- Step 2 Preheat a large skillet (cast iron works great) over medium-high heat.
- Step 3 In a small bowl, combine the melted butter, minced garlic, lemon juice, chopped parsley, salt, pepper, and red pepper flakes (if using). Stir well.
- Step 4 Brush the lobster meat generously with about half of the garlic butter mixture.
- Step 5 Place the lobster tails, meat-side down, in the hot skillet. Sear for 2-3 minutes until the meat starts to turn opaque and slightly golden. Flip the tails, brush with the remaining garlic butter, and cook for another 3-5 minutes, or until the meat is opaque white and cooked through. Internal temperature should reach 140-145°F (60-63°C).
- Step 6 Remove from heat and let rest for 1-2 minutes before serving.
- Step 7 Serve immediately with extra lemon wedges, if desired.
