
Creepy Halloween Treats: No-Bake Delights for a Spooktacular Celebration
Halloween is the perfect time to unleash your inner ghoul and get creative in the kitchen. But who has time for complicated baking when you’re busy preparing costumes and decorations? Fear not! This guide presents a collection of creepy yet delicious no-bake Halloween treats that are easy to make and guaranteed to impress. From spooky spiders to gruesome graveyards, these recipes will transform your party into a truly memorable event.
I. Spooky Spider Treats: Webs of Delight
Spiders are a classic Halloween symbol, and these no-bake spider treats are guaranteed to be a hit. These recipes are simple enough for kids to help with, making them a fun family activity.
A. Oreo Spider Cookies
Oreo cookies are the perfect base for these creepy crawlies. Simply melt chocolate chips and use it as “glue” to attach pretzel sticks as legs. Add candy eyes and a small chocolate chip for the body, and you’ve got an instant spider sensation.
Ingredients:
- Oreo cookies
- Chocolate chips (for melting)
- Pretzel sticks
- Candy eyes
- Small chocolate chips
Instructions:
1. Melt the chocolate chips in a microwave-safe bowl in 30-second intervals, stirring in between, until smooth.
2. Dip the pretzel sticks in the melted chocolate and attach them to the sides of the Oreo cookies to resemble spider legs (four on each side).
3. Attach candy eyes to the top of the Oreo with a dab of melted chocolate.
4. Add a small chocolate chip to the center of the Oreo for the spider’s body, using more melted chocolate as needed.
5. Let the chocolate set before serving.
B. Nutter Butter Spider Bites
Nutter Butter cookies offer a different, peanut butter-infused take on the spider theme. The process is similar to the Oreo spider cookies, but the peanut butter flavor adds a unique twist.
Ingredients:
- Nutter Butter cookies
- Chocolate chips (for melting)
- Pretzel sticks
- Candy eyes
- Mini M&Ms (optional)
Instructions:
1. Melt the chocolate chips as described above.
2. Attach pretzel legs to the sides of the Nutter Butter cookies using melted chocolate.
3. Affix candy eyes to the top of the cookie with melted chocolate.
4. Optional: Add a mini M&M to the center for the body.
5. Allow the chocolate to harden before serving.
C. Rice Krispie Treat Spiders
These are a fun twist on a classic favorite.
Ingredients:
- Rice Krispie treats (store-bought or homemade)
- Chocolate or caramel (for melting)
- Candy eyes
- Licorice strings (for legs)
Instructions:
1. Cut Rice Krispie treats into squares.
2. Dip treat into melted chocolate or drizzle with caramel.
3. Attach candy eyes.
4. Insert licorice string into the sides for legs.
II. Graveyard Grub: Eerie Edible Landscapes
Transform your dessert table into a spooky graveyard with these no-bake treats. These creations focus on presentation, creating a visually stunning and deliciously morbid landscape.
A. Chocolate Pudding Graveyard Cups
These individual cups are easy to assemble and offer a rich, chocolatey experience. They make a great addition to any Halloween spread.
Ingredients:
- Chocolate pudding cups
- Crushed Oreo cookies (for “dirt”)
- Gummy worms
- Candy tombstones
- Optional: Whipped cream
Instructions:
1. Open the chocolate pudding cups.
2. Sprinkle a generous layer of crushed Oreo cookies on top of the pudding to create a “dirt” effect.
3. Insert gummy worms into the “dirt.”
4. Place candy tombstones strategically around the cup.
5. Optional: Add a dollop of whipped cream for extra flair.
B. Graveyard Dirt Cups
This is similar to the pudding cup, but uses a creamier base and more elaborate toppings.
Ingredients:
- Chocolate mousse or chocolate cream cheese frosting
- Crushed chocolate cookies or graham crackers (for “dirt”)
- Gummy worms
- Candy tombstones
- Optional: Pretzel sticks (for fences)
Instructions:
1. Layer chocolate mousse or cream cheese frosting in cups or a large bowl.
2. Top with a generous layer of crushed cookies or graham crackers.
3. Arrange gummy worms and candy tombstones on top.
4. Optional: Use pretzel sticks to create fences around the graveyard.
C. Graveyard Parfaits
A layered treat that is sure to be a standout.
Ingredients:
- Chocolate pudding
- Whipped cream
- Crushed Oreo cookies
- Gummy worms
- Candy tombstones
Instructions:
1. Layer chocolate pudding, whipped cream, and crushed Oreo cookies in parfait glasses.
2. Repeat layers.
3. Top with gummy worms and candy tombstones.
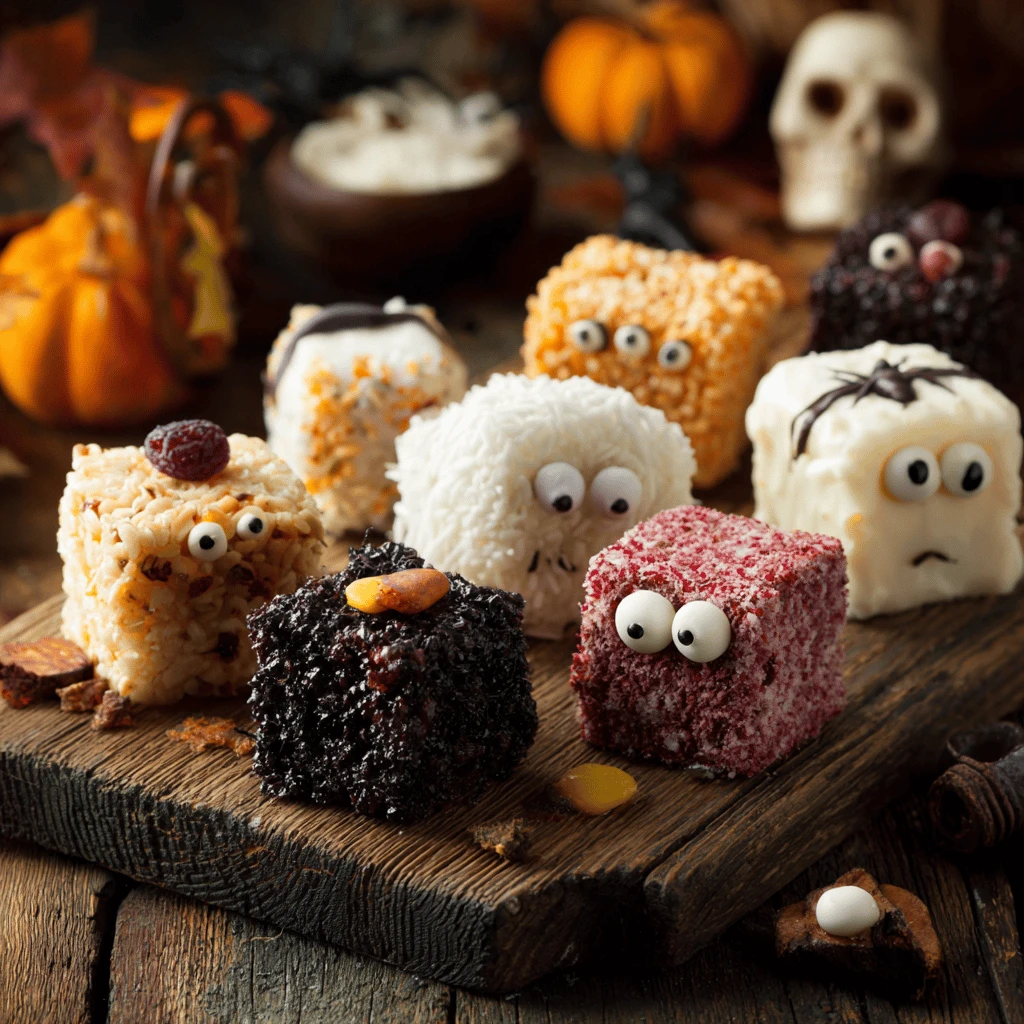
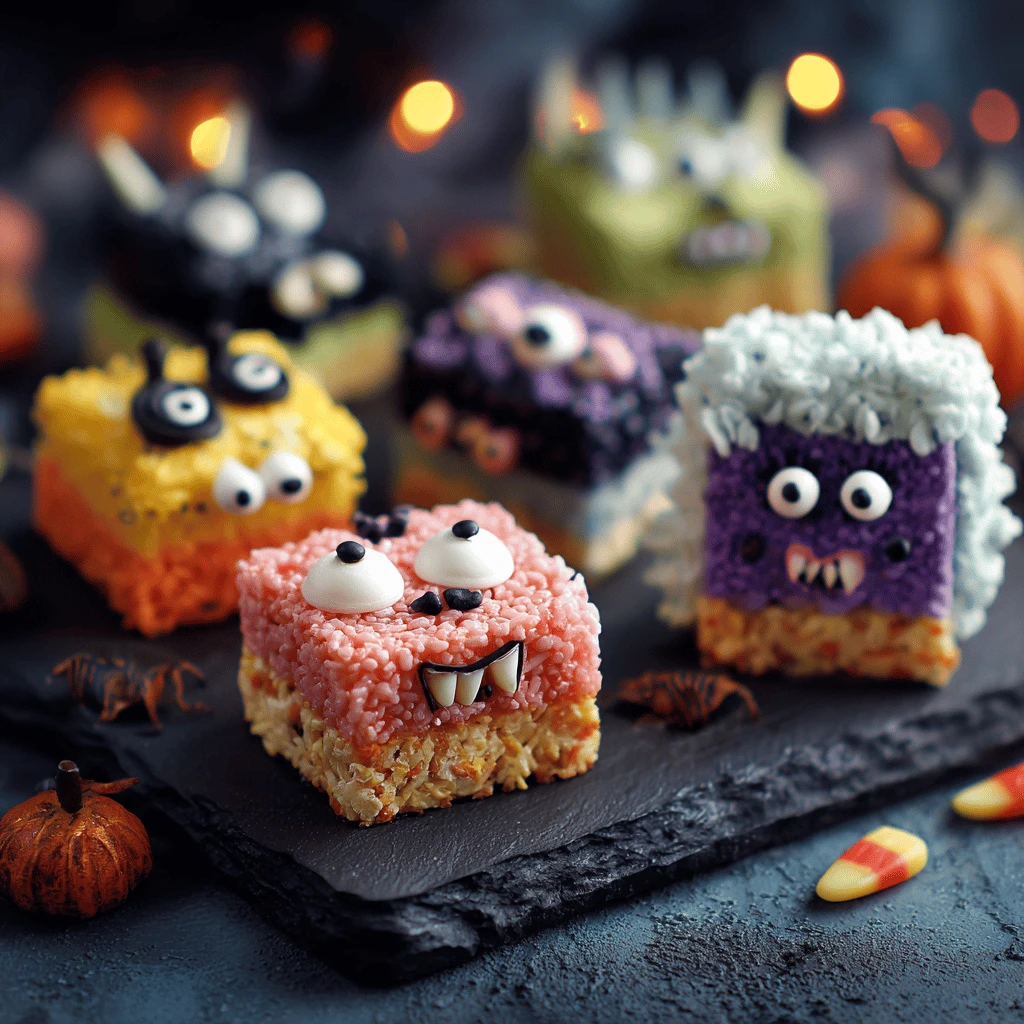
III. Monster Mash Munchies: Goofy Ghoulishness
Monsters are a Halloween staple, and these no-bake monster treats are all about playful ghoulishness. These recipes are perfect for younger kids who might be a little scared of more realistic designs.
A. Monster Rice Krispie Treats
Transform classic Rice Krispie treats into colorful, friendly monsters with a few simple additions. The flexibility of this recipe allows for endless customization.
Ingredients:
- Rice Krispie treats (store-bought or homemade)
- Melted candy melts (various colors)
- Candy eyes
- Sprinkles
- Mini marshmallows (optional)
Instructions:
1. Dip Rice Krispie treats in melted candy melts, or drizzle the melted candy over them.
2. Immediately attach candy eyes of various sizes.
3. Sprinkle with colorful sprinkles.
4. Optional: Add mini marshmallows for teeth or other monster-like features.
5. Let the candy melts set completely before serving.
B. Monster Popcorn Balls
Popcorn balls are a classic treat, and these monster versions are sure to be a hit. They are fun to make and even more fun to eat.
Ingredients:
- Popcorn
- Marshmallows
- Butter
- Green food coloring
- Candy eyes
- Sprinkles
Instructions:
1. Pop the popcorn.
2. Melt marshmallows and butter in a saucepan.
3. Add green food coloring.
4. Pour marshmallow mixture over popcorn and mix well.
5. Form into balls.
6. Attach candy eyes and sprinkles.
C. Green Slime Pretzels
Dipped pretzels that look like something out of a monster movie.
Ingredients:
- Pretzel rods or twists
- Green candy melts
- Sprinkles
- Candy eyes
Instructions:
1. Melt green candy melts according to package directions.
2. Dip pretzels into the melted candy.
3. Sprinkle with candy eyes and sprinkles.
4. Place on parchment paper to set.
IV. Witch’s Brew Bites: Potent Potions (Edible, of Course!)
These recipes evoke the mysterious and magical world of witches, featuring cauldron-inspired treats and eerie green hues. The use of vibrant colors and thematic decorations is key to creating a truly bewitching experience.
A. Witch Finger Pretzels
These creepy yet delicious snacks are incredibly easy to make and visually striking. The almond “fingernails” add a touch of realism that will thrill your guests.
Ingredients:
- Pretzel rods
- White chocolate or green candy melts
- Green food coloring (if using white chocolate)
- Slivered almonds
Instructions:
1. Melt white chocolate or green candy melts in a microwave-safe bowl. If using white chocolate, add green food coloring until desired shade is achieved.
2. Dip pretzel rods into the melted chocolate, leaving a small portion uncovered at one end.
3. Attach a slivered almond to the uncovered end to resemble a fingernail.
4. Place the pretzels on parchment paper to set.
B. Witch’s Brew Popcorn
A colorful and festive popcorn mix that is perfect for a Halloween party.
Ingredients:
- Popcorn
- Green candy melts
- Purple candy melts
- Sprinkles
- Candy eyeballs
Instructions:
1. Pop the popcorn.
2. Melt green and purple candy melts separately.
3. Drizzle melted candy over popcorn.
4. Sprinkle with candy eyeballs and sprinkles.
C. Potion Swirl Fudge
A mesmerizing swirl of colors that looks like a magical concoction.
Ingredients:
- White chocolate chips
- Sweetened condensed milk
- Green food coloring
- Purple food coloring
Instructions:
1. Melt white chocolate chips and sweetened condensed milk in a saucepan.
2. Divide mixture into two bowls.
3. Add green food coloring to one bowl and purple food coloring to the other.
4. Swirl the two mixtures together in a lined dish.
5. Refrigerate until set, then cut into squares.
V. Ghostly Goodies: Ethereal Eats
Ghosts are synonymous with Halloween, and these no-bake ghostly treats are sure to send shivers down your spine (in a good way!). These creations are all about simplicity and visual appeal.
A. Ghostly Meringue Kisses
Meringue ghosts are light, airy, and melt in your mouth. While technically requiring baking, pre-made meringues allow you to skip the baking step and focus on decorating.
Ingredients:
- Pre-made meringue kisses
- Black edible marker
Instructions:
1. Simply draw ghost faces on the meringue kisses using a black edible marker.
B. Ghost Pretzels
These simple, delicious, and salty-sweet snacks will be a hit with both children and adults!
Ingredients:
- Pretzel rods
- White chocolate chips
- Mini chocolate chips
Instructions:
1. Melt the white chocolate chips in a microwave-safe bowl in 30-second intervals, stirring in between, until smooth.
2. Dip the pretzel rods in the melted white chocolate, covering them completely.
3. Place the dipped pretzels on parchment paper and immediately add two mini chocolate chips for eyes.
4. Let the chocolate set completely before serving.
C. Banana Ghosts
This healthy and spooky treat is a simple way to add some fruit to your Halloween festivities.
Ingredients:
- Bananas
- Mini chocolate chips
Instructions:
1. Peel the bananas and cut them in half.
2. Insert two mini chocolate chips into each banana half to create eyes.
FAQ
- How can I make these treats allergy-friendly?
For gluten-free options, use gluten-free cookies or pretzels. For nut allergies, avoid Nutter Butter cookies and carefully check the labels of all ingredients. Dairy-free alternatives can be used for chocolate and whipped cream.
- Can I make these treats ahead of time?
Most of these treats can be made a day or two in advance. Store them in an airtight container in a cool, dry place. Avoid refrigerating treats with chocolate, as it can cause the chocolate to bloom (develop a white coating).
- What if I don’t have candy melts?
You can use regular chocolate chips or white chocolate chips and add food coloring to achieve the desired colors.
- Where can I find candy tombstones?
Candy tombstones are available at most major grocery stores and party supply stores, especially during the Halloween season. You can also find them online.
- How do I keep the pretzel legs from falling off the spiders?
Make sure the melted chocolate is thick enough to act as a strong adhesive. Let the chocolate set completely before handling the spiders.
- Can I use peanut butter instead of chocolate to decorate?
Yes, peanut butter can be used as an alternative to melted chocolate for attaching decorations, but be mindful of potential allergies.
- What are some alternatives to candy eyes?
You can use mini chocolate chips, sprinkles, or even edible markers to create eyes on your treats.
