
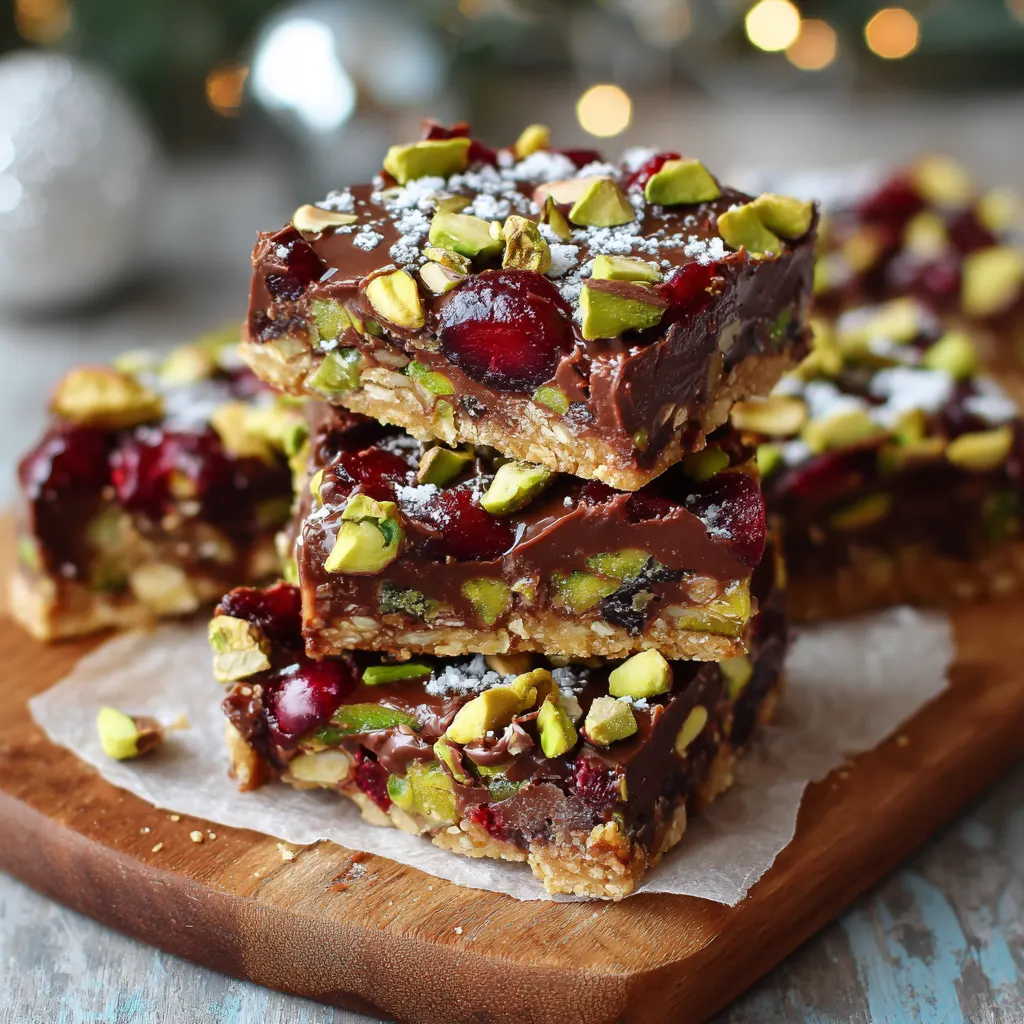
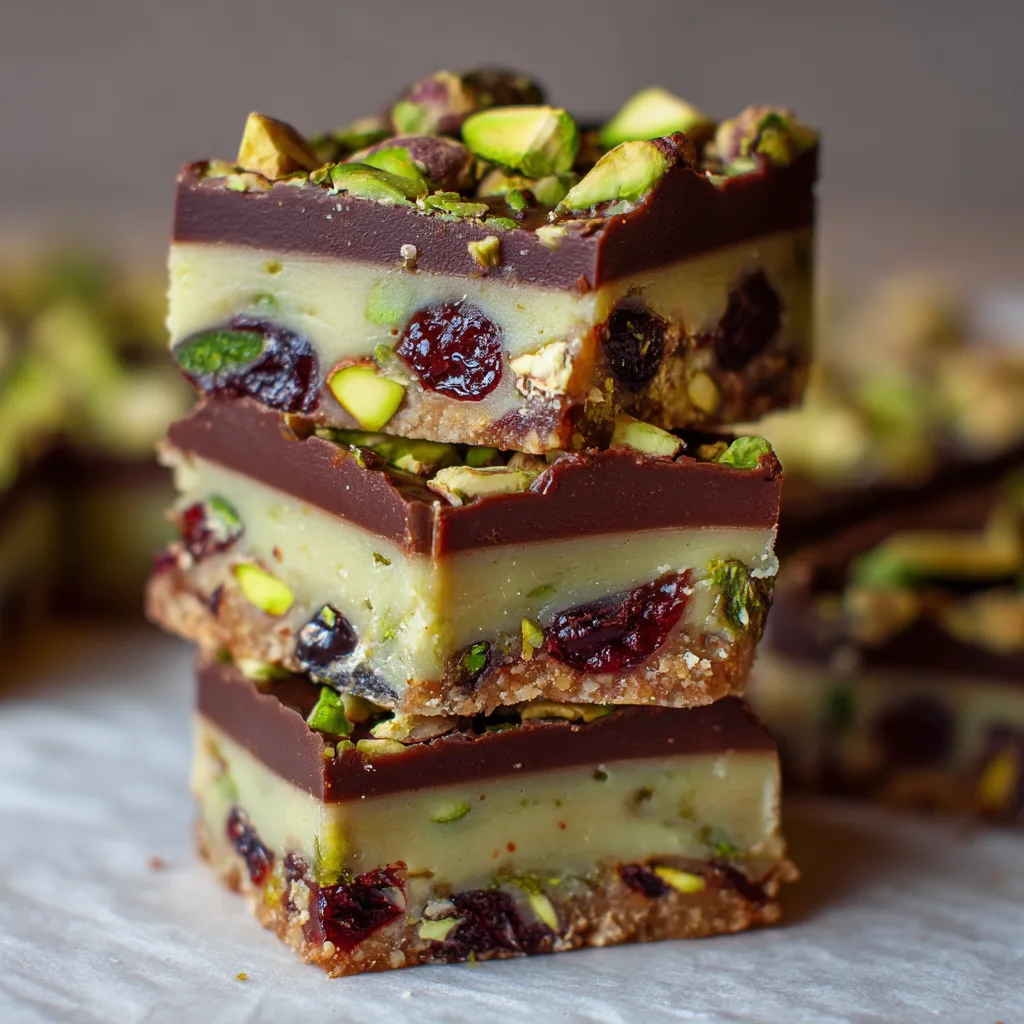
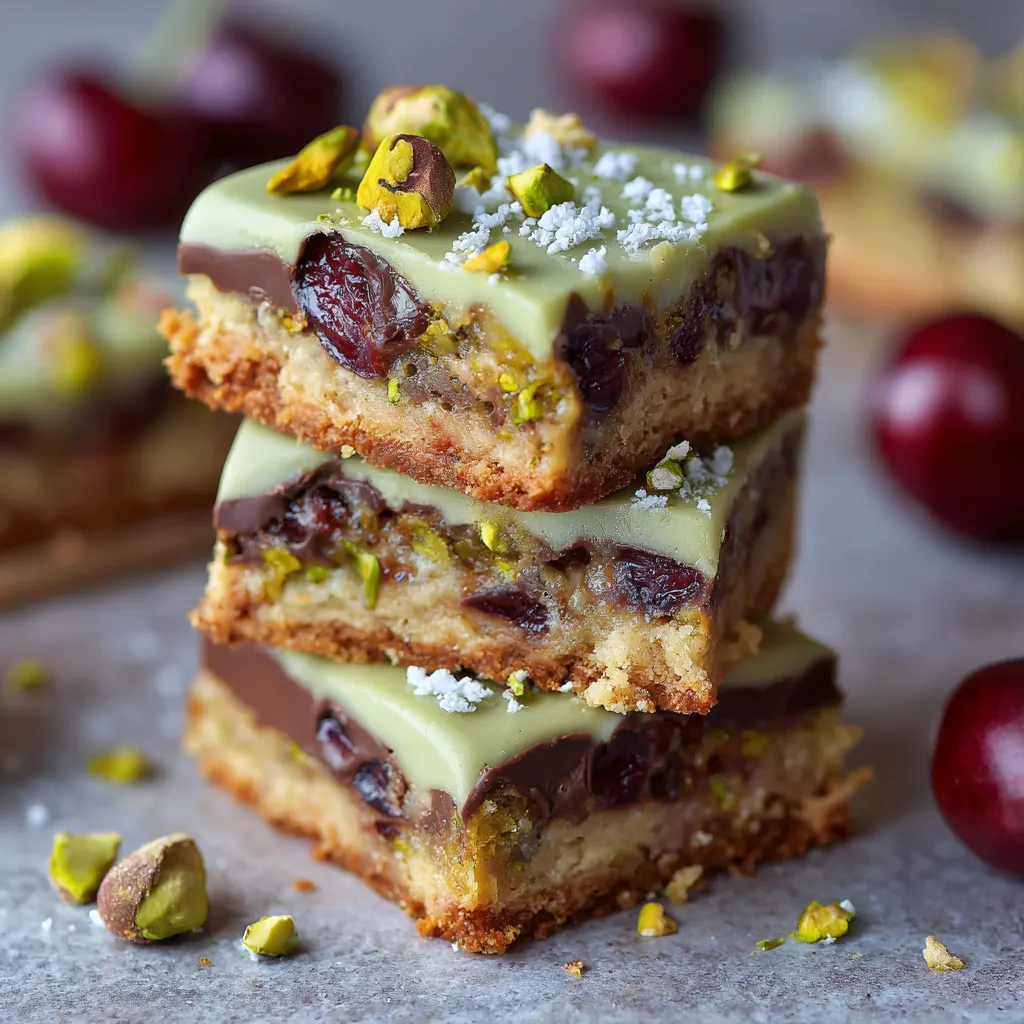
Festive Holiday Joy: The Ultimate Christmas Pistachio Cherry Fudge Bars
When the holiday season arrives, few things capture the magic of Christmas quite like the vibrant contrast of forest green and ruby red. Christmas Pistachio Cherry Fudge Bars are the quintessential festive treat, combining the rich, velvety texture of gourmet fudge with the sophisticated crunch of roasted pistachios and the tart chew of dried cherries. Whether you are looking for a show-stopping addition to your holiday dessert platter or a thoughtful homemade gift that looks like it came from a high-end boutique, these bars deliver professional results with surprisingly little effort.
The beauty of this recipe lies in its balance. Traditional fudge can sometimes be cloyingly sweet, but the addition of salty pistachios and tangy cherries cuts through the richness, creating a complex flavor profile that appeals to both children and adults. Because they are dense and sturdy, these bars travel exceptionally well, making them perfect for “cookie swaps” or mailing to loved ones across the country.
Ingredients for Christmas Pistachio Cherry Fudge Bars
To achieve the perfect set and flavor, quality ingredients are key. This recipe uses a foolproof “quick-fudge” base that ensures a creamy finish without the need for a candy thermometer.
The Fudge Base:
-
White Chocolate: 18 oz (about 3 cups) of high-quality white chocolate chips or chopped baking bars. (Using a premium brand ensures a smoother melt).
-
Sweetened Condensed Milk: 1 can (14 oz). Note: Use full-fat for the creamiest texture.
-
Unsalted Butter: 2 tablespoons, cubed.
-
Pure Vanilla Extract: 1 teaspoon.
-
Fine Sea Salt: A generous pinch to enhance the chocolate and nuts.
The Festive Mix-ins:
-
Shelled Pistachios: 1 cup, roasted and salted. Roughly chop half and leave the rest whole for visual variety.
-
Dried Tart Cherries: 1 cup, coarsely chopped. Dried cherries offer a better “chew” than maraschino cherries and won’t bleed color into the white fudge.
-
Optional Drizzle: 1/4 cup dark chocolate chips for a decorative finish.
Step-By-Step Preparation Guide
Follow these steps to ensure your fudge bars have the perfect “snap” and a beautiful, professional appearance.
1. Prepare the Pan Line an 8×8-inch or 9×9-inch square baking pan with parchment paper, leaving an overhang on two sides. This “sling” allows you to lift the entire block of fudge out once set, ensuring clean, sharp edges when you slice it. Lightly grease the parchment with a tiny bit of butter or non-stick spray.
2. Melt the Base In a medium heavy-bottomed saucepan over low heat, combine the white chocolate chips, sweetened condensed milk, and butter. Stir constantly with a silicone spatula. White chocolate is delicate and can “seize” or burn easily, so keep the heat low and be patient. Once the mixture is completely smooth and glossy, remove it from the heat immediately.
3. Fold in the Holidays Working quickly while the fudge is still warm, stir in the vanilla extract and sea salt. Gently fold in 3/4 cup of the pistachios and 3/4 cup of the dried cherries. Reserving a portion of the mix-ins for the top ensures everyone can see the beautiful ingredients hidden inside.
4. Level and Garnish Pour the mixture into your prepared pan. Use an offset spatula or the back of a spoon to smooth the top into an even layer. While the fudge is still tacky, sprinkle the remaining pistachios and cherries over the surface. Lightly press them down with your palm so they adhere to the fudge.
5. Chill and Slice Refrigerate the pan for at least 3 to 4 hours, or ideally overnight. Once firm, lift the fudge out using the parchment overhang. Use a long, sharp knife dipped in hot water (and wiped dry) to slice the block into 1-inch squares or longer “sticks.” Cleaning the knife between each cut will ensure the cleanest presentation.
Pro-Tips for the Perfect Holiday Texture
To elevate your Christmas Pistachio Cherry Fudge Bars from good to legendary, consider the “bloom” of your ingredients. Toasting your pistachios in a dry skillet for 2-3 minutes before adding them to the fudge releases their natural oils and intensifies that distinct nutty aroma. If your dried cherries feel particularly hard, you can soak them in a tablespoon of warm water (or even cherry liqueur or brandy) for 10 minutes, then pat them completely dry before folding them in. This ensures they stay plump and juicy.
Temperature control is the final secret. If you are making these in a warm kitchen, keep the bars refrigerated until just before serving. White chocolate-based fudge is softer than dark chocolate varieties and can become slightly tacky if left in a warm room for too long. For the ultimate tasting experience, serve them slightly chilled—the cold temperature emphasizes the “fudgey” density and makes the pistachio crunch even more satisfying.
Creative Variations and Festive Twists
While the classic white chocolate version is a holiday staple, this recipe is incredibly versatile. For a “Black Forest” inspired bar, swap the white chocolate for 70% dark chocolate chips. The dark base provides a dramatic background for the bright red cherries and green nuts. Another popular variation is the “Two-Tone” bar: prepare a half-batch of dark chocolate fudge for the bottom layer, let it set for 20 minutes in the freezer, and then pour a half-batch of the pistachio-cherry white fudge over the top.
If you enjoy a bit of spice, add a half-teaspoon of ground cardamom or a hint of orange zest to the melting white chocolate. Cardamom and pistachio are a classic Mediterranean pairing that adds a sophisticated, aromatic depth to the holiday sweetness. For an extra “sparkle,” you can also dust the finished bars with a light coating of edible gold glitter or a sprinkle of coarse sanding sugar to mimic the look of fresh snow.
Storing and Gifting Your Holiday Creations
One of the best features of these fudge bars is their impressive shelf life. When stored in an airtight container with layers separated by parchment paper, they will stay fresh in the refrigerator for up to two weeks. This makes them an ideal “make-ahead” treat that you can prepare well before the Christmas rush begins. For longer storage, you can even freeze the fudge for up to three months; simply thaw it in the fridge for 24 hours before serving.
When it comes to gifting, presentation is everything. Place several squares into a decorative tin or a clear cellophane bag tied with a forest green velvet ribbon. Because these bars are so visually striking, they don’t need much embellishment. Including a small handwritten card with the flavor notes—”White Chocolate, Toasted Pistachio, and Tart Cherry”—adds a personal touch that transforms a simple treat into a cherished holiday memory. These bars aren’t just a dessert; they are a celebration of the season in every bite.
