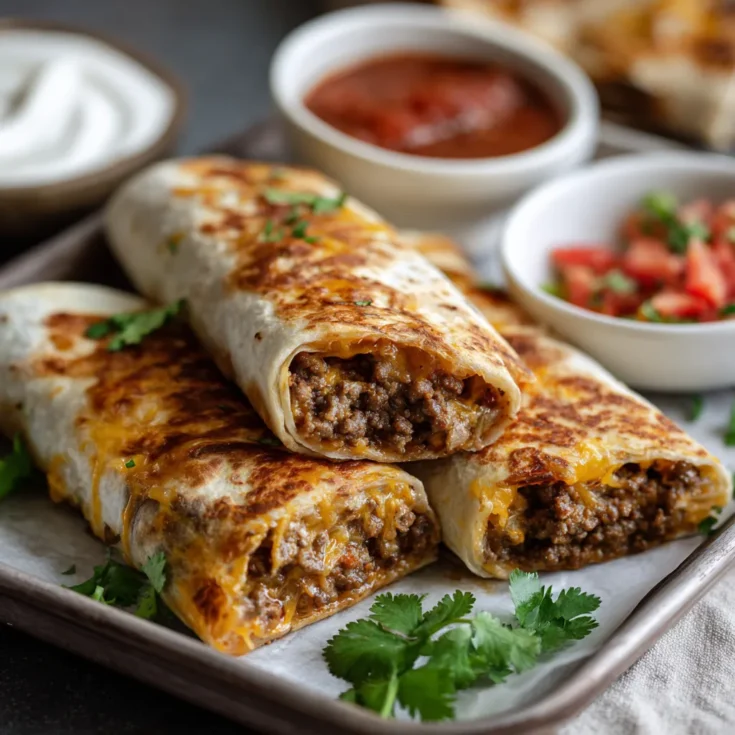
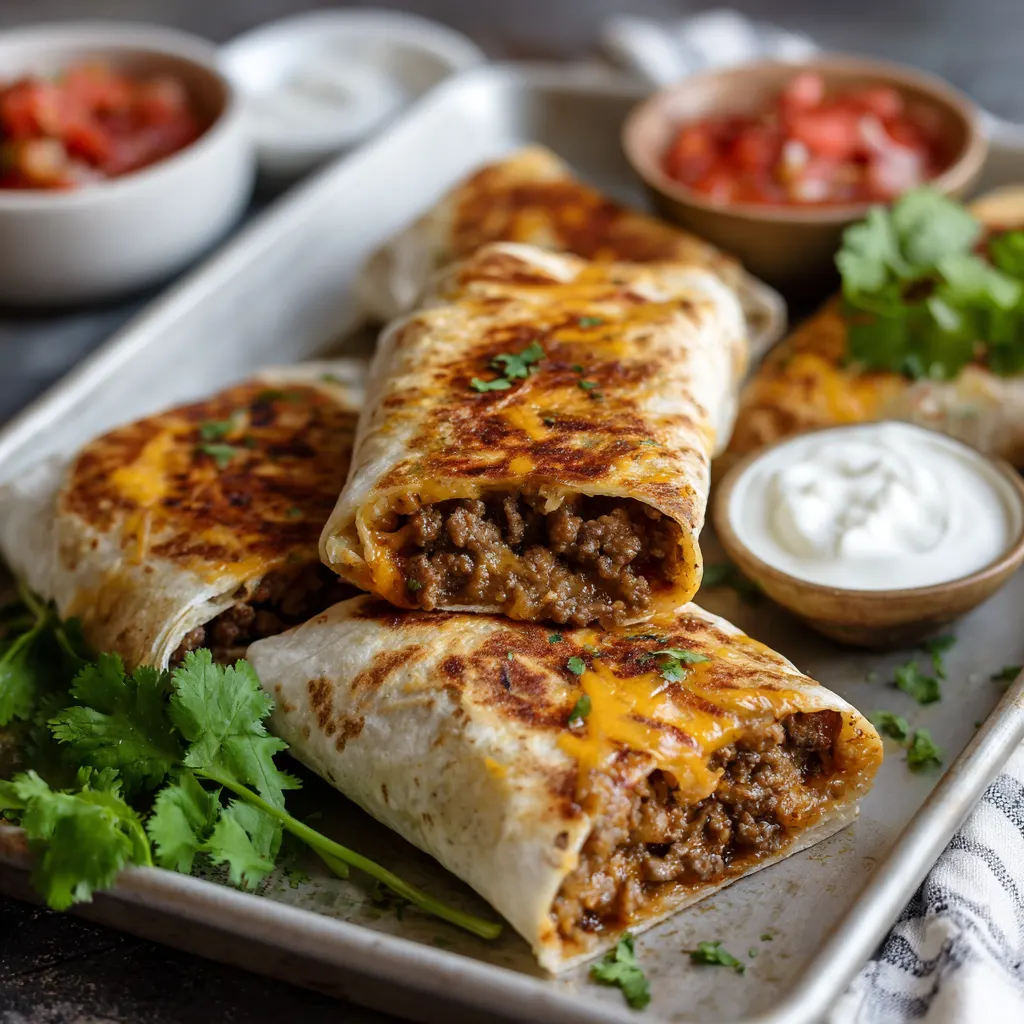
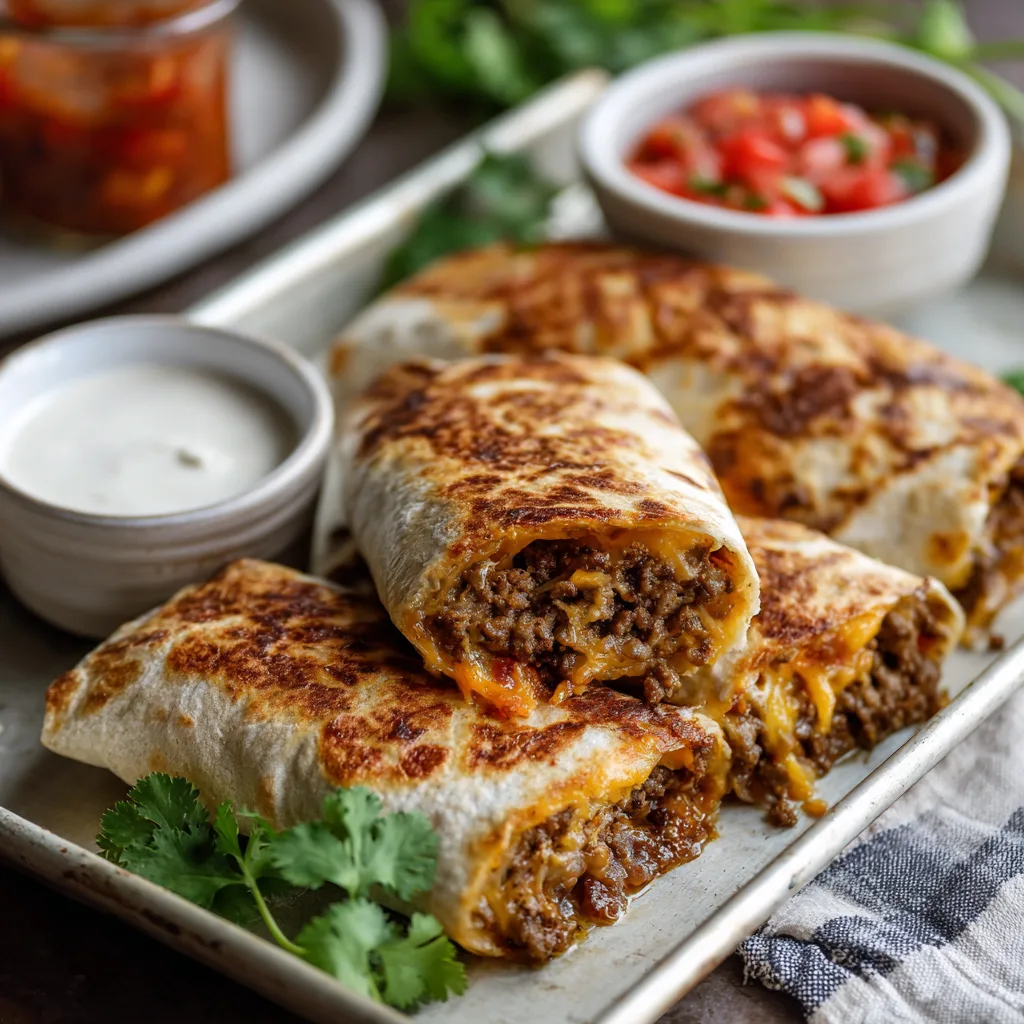
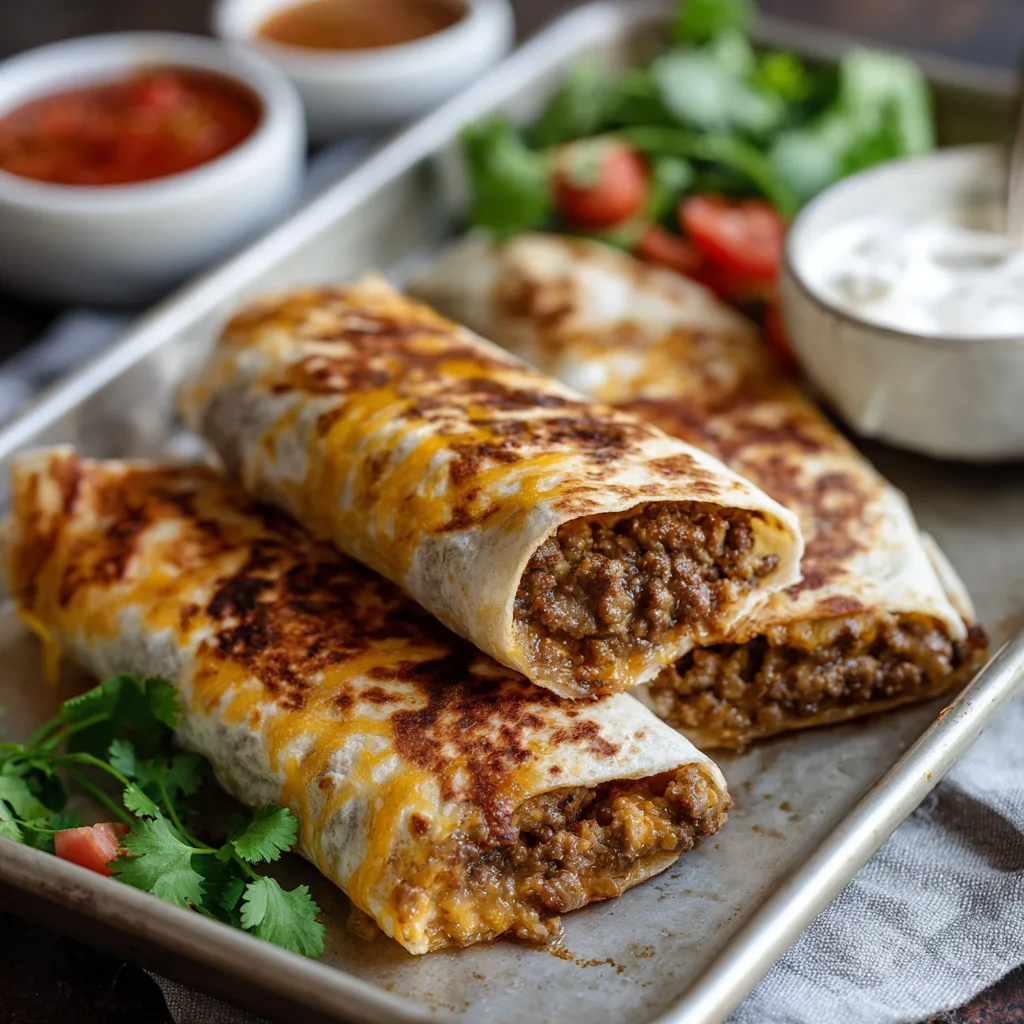
What Are Cheesy Sheet Pan Ground Beef Wraps?
Cheesy Sheet Pan Ground Beef Wraps bring together seasoned beef, melted cheese, and soft tortillas, all baked on a single sheet pan. This simple yet satisfying meal delivers bold flavor with minimal fuss. You layer the ingredients, wrap them tightly, and bake until the cheese melts and the tortillas turn crisp and golden. It’s the kind of dinner that satisfies cravings fast—no complicated steps or special tools required.
Why They’re Popular: Convenience Meets Comfort
What makes this dish a go-to for busy households? It’s the perfect mix of comfort and convenience. Everything cooks on one pan—no extra pots, no pile of dishes. Whether you crave something cheesy, hearty, or fast, this wrap delivers. The method draws inspiration from sheet pan quesadillas and tacos—popular recipes on platforms like Together as Family, The Country Cook, and Allrecipes. These wraps hit all the right notes: crispy edges, gooey center, and total weeknight ease.
How This Article Helps You
This article gives you everything you need to master this recipe. You’ll get a breakdown of ingredients and variations to fit any taste. Learn foolproof prep tips that ensure even cooking and bold flavor. Explore tasty twists, meal-prep strategies, and answers to common questions. Plus, you’ll find a printable recipe card with all the details—from prep time to step-by-step instructions. Whether you’re cooking for a crowd or prepping for the week, this guide has you covered.
Essential Ingredients for Cheesy Sheet Pan Ground Beef Wraps
Creating irresistible sheet pan wraps starts with quality ingredients. Ground beef is the base—choose lean for less grease or regular for richer flavor. Either works, but drain excess fat if using higher-fat blends.
Cheese is key for that melty, gooey bite. Cheddar delivers boldness, mozzarella adds stretch, and American cheese melts smooth and creamy. Pepper jack brings a spicy kick. Mix cheeses for layers of flavor, as seen in recipes from Life by Leanna, Our Best Bites, and Lila Cooks.
Tortillas make or break the texture. Flour tortillas wrap easily and crisp well in the oven. Corn tortillas offer a traditional taste but are more fragile—use them if you prefer smaller wraps or layered formats. For large wraps, lay flour tortillas overlapping across the sheet pan, a method featured by Together as Family and Simply Recipes.
Don’t forget the extras. Taco seasoning brings bold flavor without effort. Onions and garlic add depth, while beans or corn boost fiber and texture. For moisture and creaminess, try salsa, sour cream, or even a homemade sauce. These small additions turn a basic wrap into something crave-worthy, as shown by Lina Cooks and Time of Recipes.
Equipment & Setup Tips for Easy Sheet Pan Wraps
Keep things simple with the right setup. Use a large, rimmed sheet pan to prevent leaks. Line it with parchment or foil to reduce sticking and cleanup. For quesadilla-style wraps, press them with a second sheet pan on top—this ensures crisp edges and a golden finish.
This technique, highlighted by Together as Family and The BakerMama, also helps melt the cheese evenly. If you’re doing crunchwrap-style folds, gently weight the wraps down to hold their shape as they bake. You don’t need fancy tools—just smart prep.
Pre‑Bake Tactics for the Perfect Texture
Texture matters just as much as taste. Start by softening your tortillas—either microwave them for 20 seconds or wrap them in foil and warm in the oven. This keeps them pliable and prevents cracking.
When layering tortillas on a pan, slightly overlap them for even coverage. This method holds fillings in and creates that golden crust across the base. Lightly brush or spray tortillas with oil to help them crisp.
Preheat your oven to 375–425°F for optimal results. High heat ensures crispy edges and a fully melted center. Recipes on Allrecipes and Food52 show that this approach gives you bakery-style wraps at home, without frying
Classic Sheet Pan Quesadilla‑Style Wraps
This version takes cues from traditional quesadillas—simple, satisfying, and family-friendly. Begin by layering large flour tortillas on a greased or parchment-lined sheet pan. Let the edges overlap slightly to form a seamless base. Spread seasoned ground beef evenly across the surface, followed by a generous sprinkle of shredded cheese. Then place another layer of tortillas on top, tucking the edges to seal.
Bake until the top turns golden and the cheese melts into the beef. When done, slice into squares for easy serving. This quesadilla-inspired method, highlighted in recipes like the Loaded Sheet Pan Quesadillas from Simply Recipes, is perfect for parties or busy weeknights. It’s fast, customizable, and delivers that classic crunchy-cheesy bite everyone loves.
Crunchwrap‑Inspired Approach
Craving something with a little crunch? The crunchwrap-inspired version adds layers and texture. Start with a large tortilla as your base. Add a scoop of cooked ground beef in the center, then top it with shredded cheese, diced tomatoes, and a small crispy tostada or tortilla chip. Spoon on a creamy element like sour cream or queso if desired.
Now fold the edges of the tortilla inward toward the center, overlapping them to create a sealed pocket. Place the fold-side down on your sheet pan and brush the tops with oil. Bake until the tortilla crisps and the inside turns gooey and warm. This method, popularized in Sheet Pan Crunchwrap Supreme recipes like those from Time of Recipes, gives you a restaurant-style wrap in your own oven.
Taco‑Style Folded Tacos on a Sheet Pan
Want a quicker route to taco night? Try folded tacos baked on a sheet pan. Start with small or medium tortillas. Fill each with ground beef and cheese, then fold them in half like classic tacos. Arrange them in rows on your sheet pan, spacing them slightly apart. Brush each taco with oil to ensure they crisp up during baking.
Slide the pan into a hot oven and roast until the edges brown and the cheese bubbles. The result is a batch of crisp, handheld tacos—ready all at once with minimal mess. This style draws inspiration from viral recipes like the Easiest Sheet Pan Tacos found on Allrecipes. It’s ideal for feeding a crowd in under 30 minutes.
Wrap‑Oriented, Cheesy Beef Wraps with Cream Sauce
For a twist that leans into wrap territory, add creamy sauce and fresh ingredients. In a skillet, cook ground beef with onions, garlic, and your favorite taco-style spices. Remove from heat and stir in a quick sauce made of mayo, sour cream, or Greek yogurt—plus a squeeze of lime for brightness.
Lay out large flour tortillas. Spoon the beef mixture down the center, then add shredded lettuce, chopped tomatoes, and a handful of cheese. Fold the sides inward, roll them up tightly, and either bake on a sheet pan or sear in a skillet until golden. Inspired by Lina Cooks and ChefMelt creations, this variation delivers both crunch and creaminess in every bite. It’s fresh, filling, and endlessly adaptable.
Serving Suggestions & Toppings for Maximum Flavor
Take your cheesy ground beef wraps to the next level with the right toppings. After baking, serve wraps with a generous scoop of guacamole or a spoonful of fresh salsa. Sour cream adds a cool contrast, while shredded lettuce or chopped avocado brings texture and freshness.
For a spicier bite, drizzle with hot sauce or sprinkle with jalapeños. You can even offer a topping bar so everyone builds their own plate. This approach, often featured in recipes on Food52 and Time of Recipes, turns dinner into a customizable experience. It’s an easy way to please different palates at the same table—whether you love heat, crunch, or creaminess.
Storage and Reheating Tips That Keep Wraps Delicious
Got leftovers? Store them right to keep that flavor locked in. Once cooled, place baked wraps in an airtight container and refrigerate for up to three days. For best results, reheat them in the oven or air fryer—this keeps the tortillas crisp. Avoid microwaving if you want to prevent sogginess.
To freeze, let wraps cool completely. Then wrap each individually in foil or parchment, and place them in a freezer bag. They’ll keep for up to two months. When ready to enjoy, reheat from frozen in a 375°F oven until heated through. Or freeze just the seasoned ground beef mix, then thaw and assemble wraps fresh. These tips—shared by Food By Mary and The BakerMama—make it easy to stretch one prep session into multiple meals.
Meal‑Prep & Batch Serving Made Easy
Planning ahead? Make the beef filling up to three days early and store it in the fridge. On the day you need it, assemble the wraps on a sheet pan and bake. This strategy is perfect for busy nights or party menus.
Need to serve a group? Double the batch and use two pans side by side. Sheet pan wraps reheat well, so they’re a great choice for meal prep too. Whether you’re hosting or prepping lunches, this recipe fits right into your weekly rhythm.
Frequently Asked Questions
Can I make these cheesy ground beef wraps gluten-free?
Yes, making this recipe gluten-free is simple. Swap flour tortillas with certified gluten-free wraps or use soft corn tortillas instead. Be sure to check your taco seasoning and sauces for hidden gluten. Many blends and dressings contain flour or thickeners, so read labels carefully. With the right ingredients, you can enjoy the same bold, cheesy flavor—just without the gluten.
Can I prepare them ahead of time and bake later?
Absolutely. These wraps are ideal for prep-ahead meals. Cook the ground beef, assemble the wraps on a sheet pan, and cover them tightly with foil or wrap. Store in the refrigerator for up to 24 hours. When you’re ready to bake, preheat the oven and place the pan directly inside. This method saves time and keeps everything fresh without sacrificing flavor or texture.
What kind of cheese works best for melting?
For that perfect gooey melt, use cheeses known for their smooth consistency. Cheddar brings sharpness and color, while mozzarella delivers a stretchy texture. American cheese melts incredibly well and adds creaminess. Pepper jack offers a spicy kick for those who love heat. Feel free to mix and match for layers of flavor that blend beautifully inside the tortilla.
How do I get a crispy tortilla edge?
Crispy edges start with smart baking technique. First, brush or spray the tops of your tortillas with oil. This helps them brown evenly. Next, bake at a high temperature—375 to 425°F works best. Want extra crunch? Flip the wraps halfway through baking, or press them with a second sheet pan to create even surface contact. These simple steps guarantee golden, crisp edges.
Are these freezer-friendly?
Yes, you can easily freeze these wraps for later. Let them cool completely before wrapping each one in foil or parchment. Place them in a freezer-safe bag, then store for up to two months. To reheat, pop them in a preheated oven at 375°F until warmed through. You can also freeze just the cooked ground beef, then thaw and assemble fresh wraps when needed.
Cheesy Sheet Pan Ground Beef Wraps Recipe – Easy, Family-Friendly Dinner

A flavorful, cheesy ground-beef wrap baked on a sheet pan for crispy, mess-free enjoyment.
Ingredients
- 1 lb ground beef (lean or regular)
- 1 packet taco seasoning (or use 1 tsp each: chili powder, cumin, garlic powder, salt)
- 1 small onion, diced
- 1 cup shredded cheese (cheddar, pepper jack, or blend)
- 6–8 large tortillas (flour or corn)
- Olive oil or cooking spray
- Optional Add-ins:
- Canned black beans or corn
- Fresh salsa or pico de gallo
- Crushed tortilla chips or tostadas
- Creamy sauce (sour cream, mayo, or Greek yogurt base
- Shredded lettuce, tomatoes, avocado
Instructions
☐ Preheat oven to 400 °F and line a rimmed sheet pan.
☐ In a skillet, cook ground beef and onion over medium heat; add seasoning. Drain excess fat if needed.
☐ Lay tortillas on the sheet pan, overlapping if needed to create a full base.
☐ Evenly layer cooked beef and shredded cheese across the center.
☐ For crunchwrap style: add tostada/chips, fold edges inward to seal.
☐ Brush top of tortillas with oil or spray lightly.
☐ Bake for 15–20 minutes until golden and crispy.
☐ For taco-style: fold tortillas, flip halfway through bake for extra crunch.
☐ Let rest 5 minutes before slicing and serving.
Notes
- Mix and match cheeses for extra flavor.
- Use gluten-free tortillas or lettuce wraps for dietary preferences.
- Prepare beef mix ahead of time and store for quick weeknight assembly.


