
Cheesy Pan-Seared Chicken Breast Sandwich: A Delicious Guide to Perfection
Introduction: The Ultimate Comfort Food
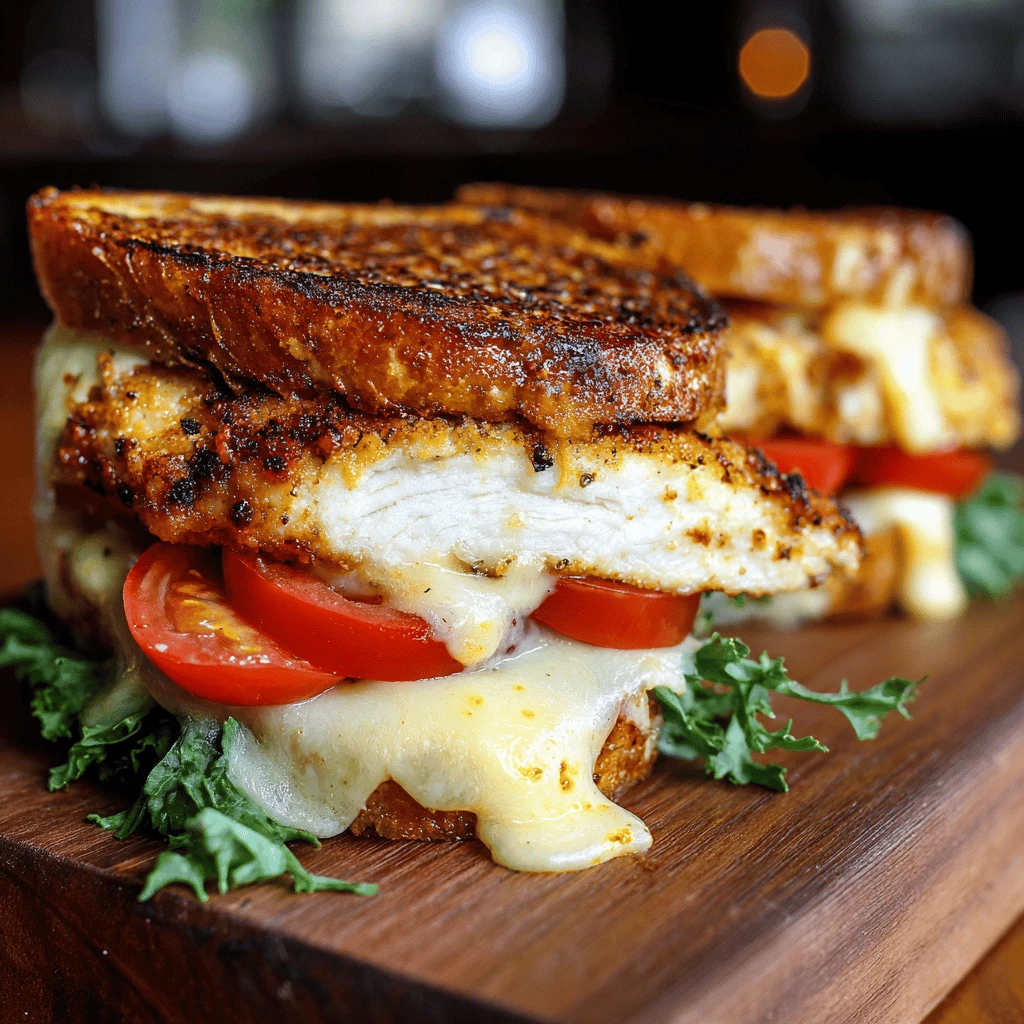
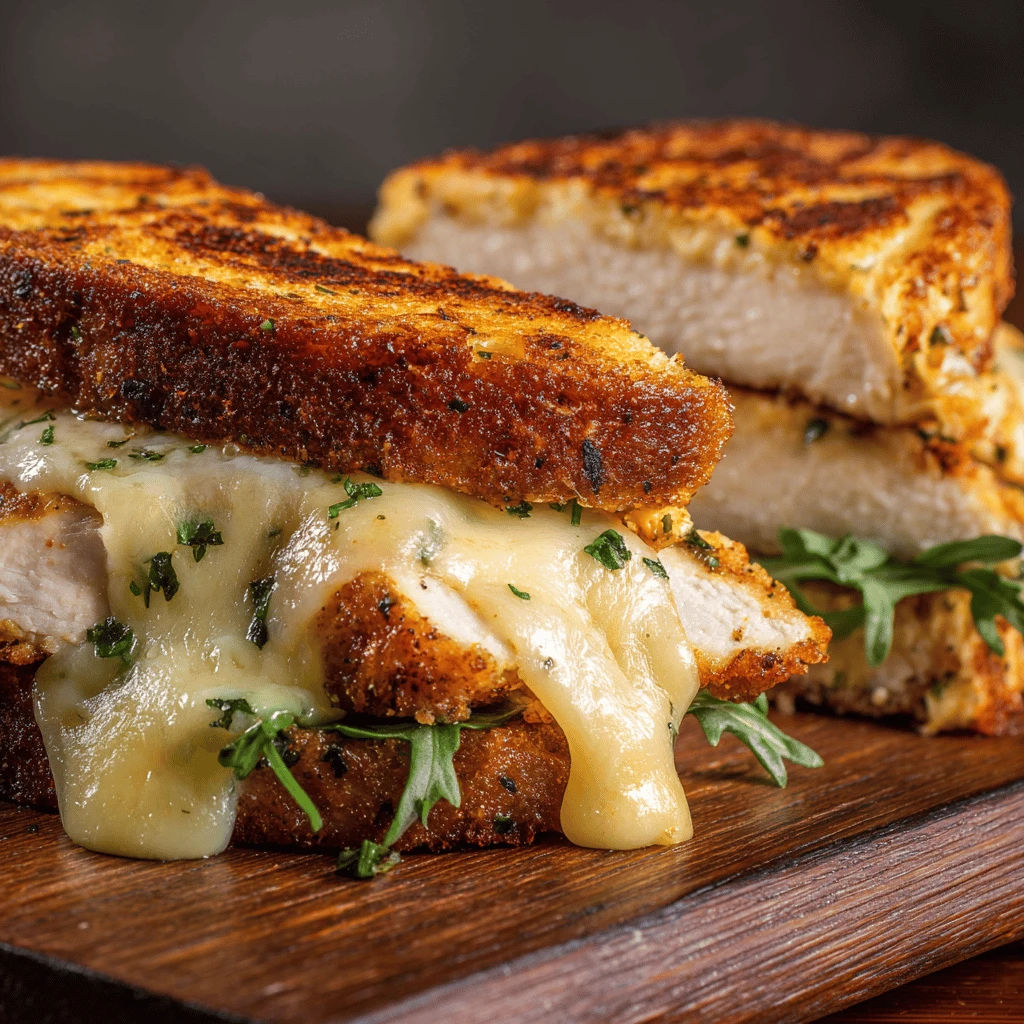
The cheesy pan-seared chicken breast sandwich. Just the name conjures up images of juicy chicken, melted cheese, and a satisfyingly crisp bun. This isn’t just a sandwich; it’s an experience. A symphony of textures and flavors that combine to create the ultimate comfort food. Whether you’re looking for a quick weeknight dinner or a crowd-pleasing lunch, this guide will take you through every step of crafting the perfect cheesy pan-seared chicken breast sandwich. We’ll explore ingredient selection, cooking techniques, and creative variations to elevate your sandwich game to new heights.
Section 1: Selecting the Perfect Ingredients
The foundation of any great sandwich is, of course, the ingredients. Choosing high-quality components will significantly impact the final product.
Choosing the Chicken Breast
The chicken breast is the star of the show, so selecting the right one is crucial. Opt for boneless, skinless chicken breasts that are of uniform thickness. This ensures even cooking. If your chicken breasts are particularly thick, consider pounding them to a consistent thickness of about ½ inch. This not only speeds up cooking time but also prevents the outside from drying out before the inside is cooked through. Look for chicken breasts that are plump and have a healthy pink color.
Selecting the Cheese
Cheese is what truly elevates this sandwich. The best cheese for a cheesy pan-seared chicken breast sandwich should melt well and offer a rich, savory flavor. Some excellent choices include:
- Cheddar: A classic choice that provides a sharp, tangy flavor.
- Monterey Jack: Known for its mild, buttery flavor and excellent melting properties.
- Provolone: A semi-hard Italian cheese with a slightly sharp, nutty flavor.
- Mozzarella: While traditionally used on pizza, fresh mozzarella adds a creamy, subtle flavor.
- Pepper Jack: For those who like a little heat, pepper jack adds a spicy kick.
Feel free to experiment with different cheese combinations to find your perfect blend.
Choosing the Bread
The bread is just as important as the filling. The ideal bread should be sturdy enough to hold the ingredients without becoming soggy, but also soft enough to be easy to bite into. Some great options include:
- Brioche Buns: These buns are rich, buttery, and slightly sweet, making them a perfect complement to the savory chicken and cheese.
- Ciabatta Rolls: These rolls have a slightly chewy texture and a rustic flavor that adds a nice touch.
- Sourdough Rolls: The tangy flavor of sourdough provides a delicious contrast to the richness of the chicken and cheese.
- Potato Rolls: These rolls are soft, fluffy, and slightly sweet, making them a great all-around choice.
Consider toasting the buns lightly to add a bit of texture and prevent them from becoming soggy.
The Finishing Touches: Sauces and Toppings
While the chicken, cheese, and bread are essential, the right sauces and toppings can take your sandwich to the next level. Some popular options include:
- Mayonnaise: Adds creaminess and moisture. Consider flavored variations like garlic aioli or chipotle mayo.
- Mustard: Provides a tangy kick. Dijon, honey mustard, or whole-grain mustard are all great choices.
- BBQ Sauce: For a smoky and sweet flavor.
- Lettuce: Adds a refreshing crunch.
- Tomato: Slices of ripe tomato add a juicy, acidic element.
- Onion: Thinly sliced red onion provides a sharp, pungent flavor.
- Pickles: Adds a tangy crunch.
Section 2: Mastering the Pan-Seared Chicken Breast
The key to a truly delicious cheesy pan-seared chicken breast sandwich lies in perfectly cooking the chicken. Here’s a step-by-step guide to achieving juicy, flavorful chicken every time.
Preparing the Chicken
1. Pounding the Chicken: Place the chicken breasts between two sheets of plastic wrap or in a large plastic bag. Use a meat mallet or rolling pin to pound the chicken to an even thickness of about ½ inch. This ensures even cooking and prevents the chicken from drying out.
2. Seasoning the Chicken: Generously season the chicken breasts with salt, pepper, garlic powder, onion powder, paprika, and any other spices you enjoy. Make sure to season both sides of the chicken. Allow the chicken to sit at room temperature for about 15-20 minutes after seasoning. This allows the seasoning to penetrate the chicken and helps it cook more evenly.
The Pan-Searing Technique
1. Heating the Pan: Heat a large skillet (cast iron is ideal) over medium-high heat. Add about 1-2 tablespoons of oil with a high smoke point, such as canola oil or vegetable oil. The pan should be hot but not smoking.
2. Searing the Chicken: Carefully place the seasoned chicken breasts in the hot pan, making sure not to overcrowd it. Overcrowding the pan will lower the temperature and result in steamed, rather than seared, chicken. Sear the chicken for about 4-5 minutes per side, until it is golden brown and cooked through. Use a meat thermometer to ensure the internal temperature reaches 165°F (74°C).
3. Adding the Cheese: Once the chicken is cooked through, reduce the heat to low and top each chicken breast with your chosen cheese. Cover the skillet and allow the cheese to melt completely, about 1-2 minutes. The steam trapped in the skillet will help the cheese melt quickly and evenly.
Tips for Perfect Pan-Seared Chicken
- Don’t Overcrowd the Pan: Cook the chicken in batches if necessary to avoid overcrowding the pan.
- Don’t Move the Chicken Too Soon: Allow the chicken to sear properly before flipping it. This will ensure a beautiful golden-brown crust.
- Use a Meat Thermometer: This is the most accurate way to ensure the chicken is cooked to a safe internal temperature.
- Rest the Chicken: Allow the chicken to rest for a few minutes after cooking. This allows the juices to redistribute, resulting in a more tender and flavorful chicken breast.
Section 3: Assembling the Perfect Sandwich
Now that you have your perfectly cooked cheesy chicken breast, it’s time to assemble your masterpiece.
Preparing the Bread
Lightly toast the buns or rolls of your choice. This adds a bit of texture and prevents them from becoming soggy. You can toast them in a toaster, in the oven, or in the same skillet you used to cook the chicken.
Layering the Ingredients
1. Sauce it Up: Spread your chosen sauces on both the top and bottom buns. This adds flavor and moisture.
2. Add the Chicken: Place the cheesy pan-seared chicken breast on the bottom bun.
3. Add the Toppings: Layer on your chosen toppings, such as lettuce, tomato, onion, and pickles.
4. Top it Off: Place the top bun on the sandwich and press down gently.
Tips for Assembling the Sandwich
- Don’t Overload the Sandwich: Adding too many toppings can make the sandwich difficult to eat.
- Layer the Ingredients Strategically: Place ingredients that will add moisture, such as tomato or lettuce, close to the chicken to prevent the bread from becoming soggy.
- Cut the Sandwich in Half (Optional): Cutting the sandwich in half makes it easier to handle and eat.
Section 4: Creative Variations and Add-ons
While the classic cheesy pan-seared chicken breast sandwich is delicious on its own, there are endless ways to customize it to your liking. Here are some creative variations and add-ons to inspire you:
Spice it Up
- Spicy Mayo: Mix your favorite hot sauce or sriracha into mayonnaise for a spicy kick.
- Jalapeños: Add sliced jalapeños for a burst of heat.
- Chipotle Peppers: Add finely chopped chipotle peppers in adobo sauce for a smoky, spicy flavor.
Add Some Freshness
- Avocado: Sliced avocado adds creaminess and healthy fats.
- Coleslaw: A scoop of coleslaw adds a refreshing crunch and tangy flavor.
- Sprouts: Adds a subtle crunch and earthy flavor.
Elevate the Cheese
- Gorgonzola or Blue Cheese: Crumbled gorgonzola or blue cheese adds a pungent, savory flavor.
- Brie: Slices of brie add a creamy, decadent flavor.
- Caramelized Onions: The sweetness of caramelized onions complements the richness of the cheese.
Add Some Texture
- Bacon: Crispy bacon adds a smoky, salty crunch.
- Fried Onions: Adds a satisfying crunch and savory flavor.
- Potato Chips: Crushed potato chips adds a salty, crunchy texture.
Section 5: Serving Suggestions and Storage
The cheesy pan-seared chicken breast sandwich is a versatile dish that can be served in various ways.

Serving Suggestions
- Sides: Pair your sandwich with a side of french fries, sweet potato fries, onion rings, coleslaw, or a simple salad.
- Drinks: Enjoy your sandwich with a cold beer, iced tea, lemonade, or your favorite soda.
- Occasions: This sandwich is perfect for a quick weeknight dinner, a casual lunch, a picnic, or a game day gathering.
Storage
- Leftovers: Leftover chicken can be stored in an airtight container in the refrigerator for up to 3-4 days. Reheat it in the microwave or in a skillet.
- Assembled Sandwiches: Assembled sandwiches are best eaten immediately. However, if you need to store them, wrap them tightly in plastic wrap and store them in the refrigerator for up to 24 hours. Be aware that the bread may become soggy. It’s best to store the components separately and assemble the sandwich just before eating.
FAQ
Q: How do I prevent the chicken from drying out?
A: Pound the chicken to an even thickness, season it generously, and don’t overcook it. Use a meat thermometer to ensure it reaches an internal temperature of 165°F (74°C). Resting the chicken for a few minutes after cooking allows the juices to redistribute, resulting in a more tender and flavorful chicken breast.
Q: What kind of oil should I use for pan-searing?
A: Use an oil with a high smoke point, such as canola oil, vegetable oil, or avocado oil.
Q: Can I use different types of cheese?
A: Absolutely! Experiment with different cheese combinations to find your perfect blend. Cheddar, Monterey Jack, provolone, and mozzarella are all great choices.
Q: What if I don’t have a meat mallet?
A: You can use a rolling pin or the bottom of a heavy pan to pound the chicken.
Q: Can I grill the chicken instead of pan-searing it?
A: Yes, grilling is a great alternative. Preheat your grill to medium-high heat and grill the chicken for about 5-7 minutes per side, until it is cooked through.
