
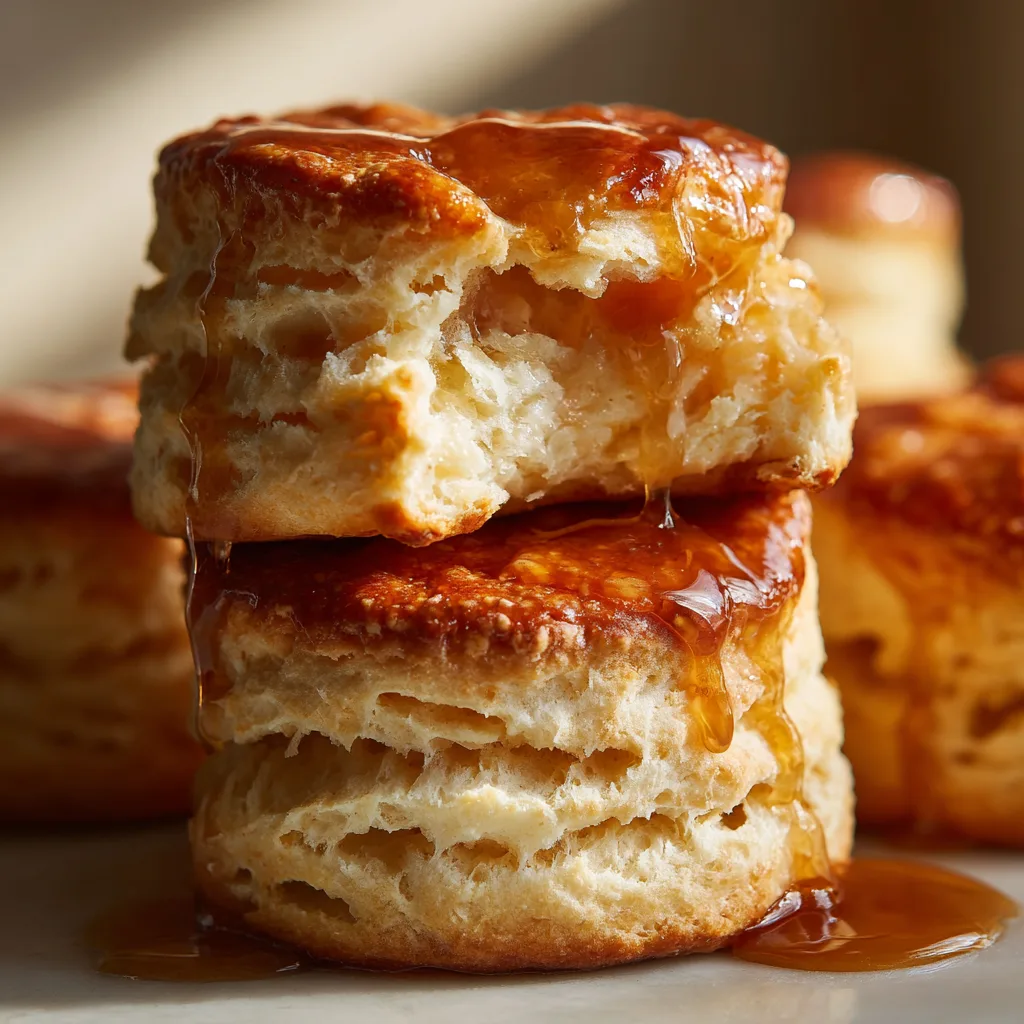
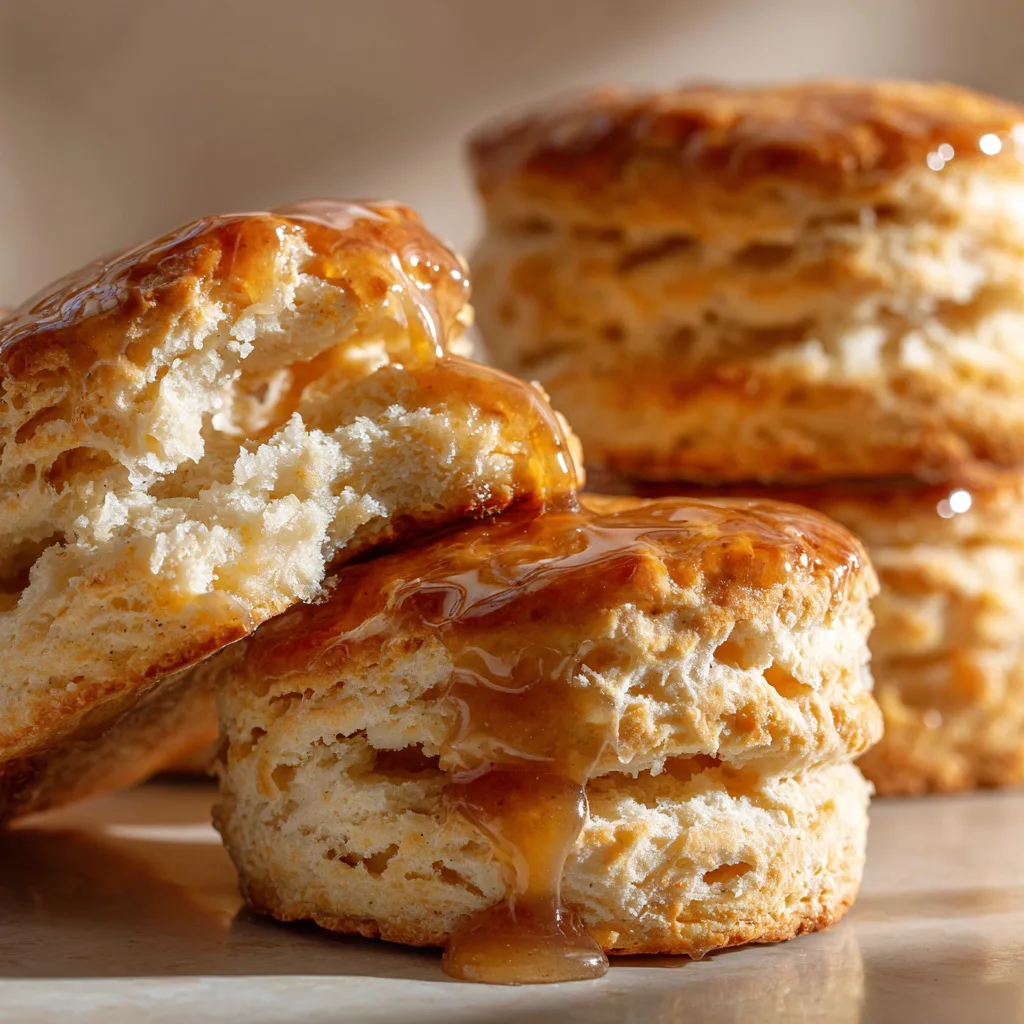
Buttermilk Biscuits with Maple Glaze
The classic buttermilk biscuit is a cornerstone of comfort food, celebrated for its sky-high flakes and buttery soul. However, when paired with a rich, amber-hued maple glaze, this humble staple is transformed into a gourmet treat that bridges the gap between a savory breakfast side and a decadent pastry. The secret to this elevated version lies in the contrast: the slight tang of the buttermilk and the saltiness of the dough perfectly offset the woody, floral sweetness of pure maple syrup. Whether served at a holiday brunch or as a cozy weekend indulgence, these biscuits offer a sophisticated twist on a timeless American tradition.
The Ingredients
For the Biscuits:
-
All-Purpose Flour: 2 ½ cups (plus extra for dusting)
-
Baking Powder: 1 tablespoon (ensures a dramatic lift)
-
Granulated Sugar: 1 tablespoon (to balance the salt)
-
Salt: 1 teaspoon
-
Unsalted Butter: ½ cup (1 stick), cubbed and chilled in the freezer for 15 minutes
-
Full-Fat Buttermilk: 1 cup, cold (plus 1 tablespoon for brushing the tops)
For the Maple Glaze:
-
Powdered Sugar: 1 cup, sifted
-
Pure Maple Syrup: 3 tablespoons (Grade A Dark color provides the best flavor)
-
Melted Butter: 1 tablespoon
-
Vanilla Extract: ¼ teaspoon
-
Pinch of Salt: To cut the sweetness
Step-by-Step Instructions
-
Prep the Oven and Pan: Preheat your oven to 425°F (218°C). Line a large baking sheet with parchment paper or a silicone baking mat.
-
Mix Dry Ingredients: In a large mixing bowl, whisk together the flour, baking powder, sugar, and salt until thoroughly combined.
-
Cut in the Butter: Add the frozen butter cubes to the flour mixture. Using a pastry cutter or two forks, work the butter into the flour until the mixture resembles coarse crumbs with some pea-sized chunks of butter remaining. This “visible butter” is what creates the steam pockets for flakiness.
-
Incorporate Buttermilk: Make a well in the center of the flour and pour in the cold buttermilk. Use a spatula to gently fold the mixture until a shaggy dough forms. Do not overmix.
-
Fold and Laminate: Turn the dough onto a lightly floured surface. Gently pat it into a rectangle. Fold the dough in thirds (like a letter), turn it 90 degrees, and repeat this process 3 or 4 times. This “lamination” technique creates the distinct layers.
-
Cut the Biscuits: Pat the dough down to a 1-inch thickness. Use a 2.5-inch circular biscuit cutter to press straight down—do not twist the cutter, as twisting seals the edges and prevents the biscuit from rising.
-
Bake: Place the biscuits on the prepared baking sheet so they are just touching (this helps them climb upward rather than spreading out). Brush the tops with a little buttermilk. Bake for 15–18 minutes or until the tops are a deep golden brown.
-
Prepare the Glaze: While the biscuits bake, whisk together the powdered sugar, maple syrup, melted butter, vanilla, and salt in a small bowl until smooth. If it’s too thick, add a teaspoon of milk; if too thin, add more powdered sugar.
-
Glaze and Serve: Allow the biscuits to cool for 5 minutes on a wire rack. While still warm, drizzle the maple glaze generously over the tops. Serve immediately.
The Science of the Perfect Rise
Achieving the iconic “mile-high” biscuit requires an understanding of temperature and aeration. The most critical factor is keeping the fat cold. When cold butter hits a hot oven, the water content within the butter evaporates instantly, creating pockets of steam. This steam pushes the dough upward, creating the “lamination” or layers that define a high-quality biscuit. If the butter melts before it reaches the oven—due to warm hands or room-temperature ingredients—the result will be a heavy, dense disk rather than a light, airy pastry.
Furthermore, the chemical reaction between the acidic buttermilk and the alkaline baking powder provides a secondary lift. The acidity softens the gluten in the flour, ensuring the crumb remains tender rather than chewy. By utilizing the folding technique described in the instructions, you are essentially creating a “book” of dough and fat layers, which guarantees a clean horizontal split when you break the biscuit open.
Choosing Your Maple Profile
Not all maple syrups are created equal, and the success of your glaze depends heavily on your selection. When shopping, look for “Grade A” syrups, which are categorized by color and flavor intensity. For a glaze that stands up to the richness of a buttermilk biscuit, a “Dark Color/Robust Flavor” syrup is often superior to the lighter “Amber” varieties. The darker syrup contains more concentrated maple minerals and a deeper caramel-like profile that doesn’t get lost when mixed with powdered sugar.
For those who want to experiment with flavor depth, consider “Bourbon Barrel-Aged” maple syrup. This variety adds a smoky, oaky complexity to the glaze that pairs beautifully with the salty butter of the biscuit. Regardless of the grade, ensure you are using 100% pure maple syrup; imitation syrups are primarily flavored corn syrup and lack the chemical complexity needed to create a truly professional-grade glaze.

Mastering the Glaze Consistency
The final aesthetic of your Buttermilk Biscuits with Maple Glaze depends on the timing and temperature of the application. There is a “golden window” for glazing: if you apply it to a biscuit straight out of the oven, the glaze will melt and run off, leaving only a thin, sticky residue. If you wait until the biscuit is completely cold, the glaze will sit on top like a hard cap and won’t integrate with the crumb.
Aim for a “warm to the touch” temperature—roughly five to eight minutes after baking. This allows the first layer of glaze to soak slightly into the top crust while the remainder sets into a beautiful, opaque sheen. For an added professional touch, you can sprinkle a few flakes of Maldon sea salt or toasted crushed pecans over the glaze before it sets. This adds a textural contrast that heightens the maple flavor and provides a sophisticated finish to your homemade bake.
