
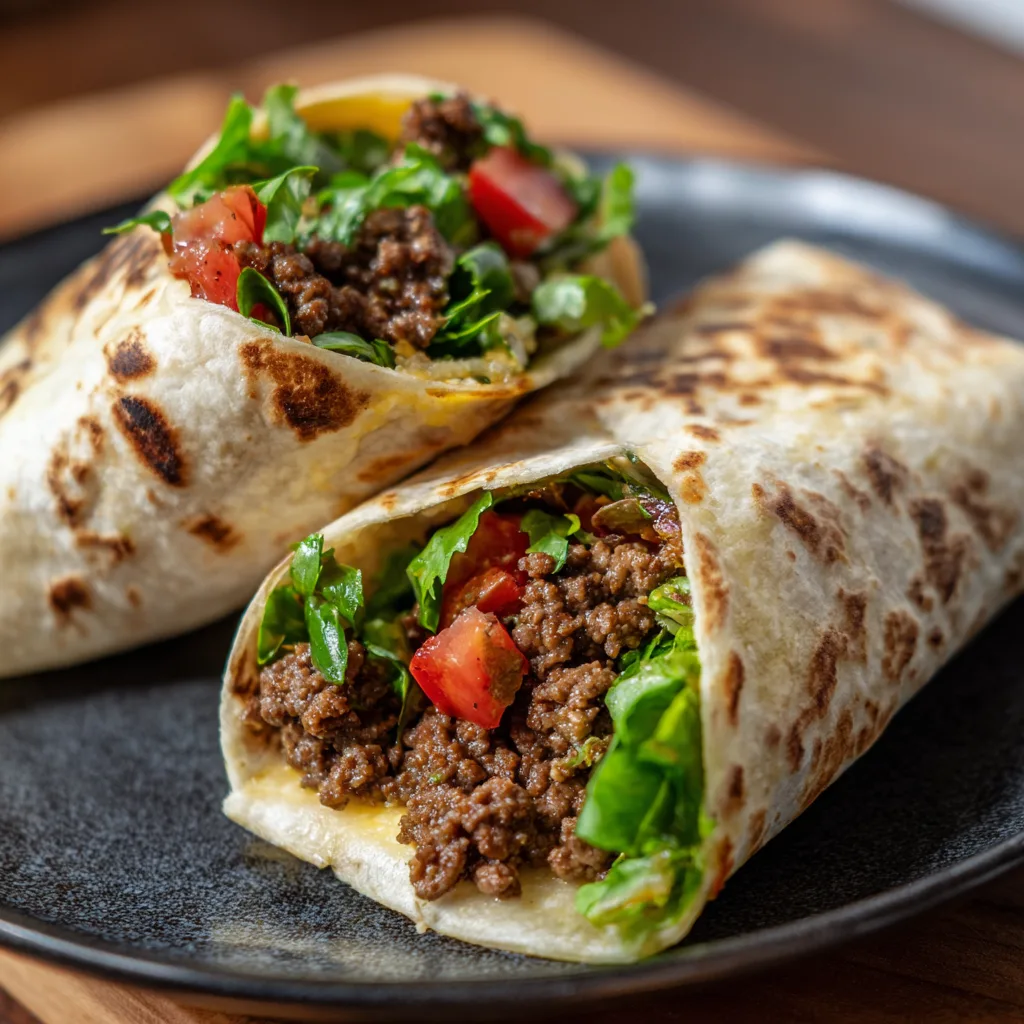
Budget Garlic Ground Beef Wraps: A Cheap, Hearty Meal Idea
Looking for a tasty meal that won’t break the bank? Budget garlic ground beef wraps deliver rich flavor and hearty satisfaction using low-cost ingredients. Perfect for busy weeknights or make-ahead lunches, these wraps prove that eating well doesn’t have to cost much.
Why This Recipe Works for Tight Budgets
This garlic-infused ground beef wrap recipe shines when you’re cooking on a budget. It stretches every pound of ground beef by mixing in low-cost staples like rice or legumes. This TikTok trick helps double your filling without doubling your grocery bill. Creators rave about how much further their meat goes, and they’re right.
Flavor doesn’t suffer either. Garlic, paprika, and pantry spices work wonders to boost taste without raising costs. Onions, tortillas, and lettuce—all common and cheap—help you build a satisfying wrap. No specialty ingredients. No extras. Just smart, flavorful cooking with what you already have at home.
What Readers Will Learn
In this article, you’ll learn how to create budget garlic ground beef wraps that are affordable, flavorful, and highly customizable. You’ll understand how to calculate the cost per serving, keep your meals nutritious, and use smart strategies to stretch ingredients.
We’ll guide you through the full process—from browning the meat to wrapping and storing. You’ll also discover meal prep hacks, healthy substitutions, and delicious variations. Whether you’re feeding a crowd or stocking your fridge, these wraps will become your go-to budget meal.

Core Ingredients List and Approximate Costs
Budget garlic ground beef wraps require just a few simple, affordable ingredients. Each item plays a key role in delivering flavor, texture, and value:
-
Ground beef (500g) – a protein-packed base, typically costing around $4–$6
-
Garlic (4–5 cloves) – adds bold, aromatic flavor for just cents
-
Onions (1 medium) – boosts depth and natural sweetness, costing less than $0.50
-
Tortillas or lettuce leaves – choose based on budget or dietary needs, around $2 per pack
-
Seasonings – salt, pepper, paprika, cumin, or chili powder, using pantry staples or bulk-bought spices
This ingredient list keeps your meals both wallet-friendly and satisfying. Every component is available in most kitchens or at any basic grocery store, which makes this recipe a repeat winner for affordable meal planning.
Hacks to Reduce Cost Without Sacrificing Flavor
Stretching your ground beef filling doesn’t mean sacrificing taste. One of the best tricks? Add cooked rice or beans. These budget-friendly fillers blend seamlessly into the meat while doubling your yield. Popular platforms like Organize Yourself Skinny, EatingWell, and Allrecipes all highlight this technique as a top way to extend protein without losing satisfaction.
Bulk spices are another smart investment. Buy paprika, garlic powder, and chili flakes in large containers—they last long and cost less per use. Also, be strategic with your meat selection. Lean ground beef may seem healthier, but higher-fat cuts often cost less and deliver juicier results. Choose what fits your taste and budget.
Want to save even more? Swap in ground turkey or chicken when on sale. Frozen vegetables like corn, spinach, or mixed bell peppers are excellent, low-cost options too. These stretch the mixture and add nutrients, color, and volume.
Making budget meals doesn’t mean cutting corners—it means cooking smart.
Optional Additions and Pantry Stretchers
Enhance your wraps with low-cost additions already in your fridge or pantry. Shredded carrots, thinly sliced cabbage, and chopped bell peppers add crunch, color, and vitamins. These stretch your filling and make each wrap more satisfying.
Have cheese? Add a sprinkle of shredded cheddar or crumbled feta for a creamy contrast. A spoon of yogurt, salsa, or hot sauce adds flavor without much cost.
For extra convenience, use pre-shredded coleslaw mix or canned beans—no chopping needed. Even leftovers from previous meals can become new wrap fillings. These simple add-ons transform a basic garlic beef wrap into a complete, balanced dish.
Stretch your meals, reduce waste, and keep flavor front and center—all from what’s already in your kitchen.
Meal Prep Timeline
These budget garlic ground beef wraps come together fast. You’ll need around 10 minutes to chop onions, garlic, and any extras. Cooking the beef and mixing the filling takes 15 minutes, while assembly requires another 5 to 10 minutes depending on your wrap style.
Leftovers? They’re a bonus. Store the filling in the fridge and reheat when ready to assemble. This makes it a top choice for meal prep—fast, flexible, and perfect for reheating throughout the week.
Brown the Beef and Garlic
Start by heating a skillet over medium-high heat. Once hot, add the ground beef. Break it apart with a spoon and let it sear. Don’t stir too often—allow one side to brown deeply. That caramelization adds flavor and texture, a tip often praised in recipes like those on Organize Yourself Skinny.
After 3–5 minutes, stir in finely minced garlic. Garlic blooms fast in hot fat, infusing the beef with bold aroma. Let it cook for one minute until fragrant. Add diced onions at this stage too. Cook until they turn soft and translucent.
Proper browning is key. It locks in flavor and prevents a soggy, bland filling.
Seasonings & Flavour Building
This dish gets its punch from simple, robust spices. Add smoked paprika for warmth, cumin for earthiness, and chili powder for a gentle kick. If you like a cheeseburger-inspired twist, mix in a teaspoon of Worcestershire sauce and a spoon of ketchup. Reddit users and sites like mamasonabudget.com love this combo for depth and tang.
Sprinkle salt and black pepper to taste. If you want more heat, throw in crushed red pepper or cayenne. The goal is balanced boldness—flavorful, not overwhelming. Always season in layers while the meat cooks, tasting as you go.
These spices bring out the best in the beef while keeping costs low.
Stretching the Mixture (Rice, Beans, Broth)
Want more servings without more meat? Stir in cooked rice or beans once the beef is browned and seasoned. This not only stretches the mixture but adds texture and fiber.
White rice, brown rice, or canned beans all work well. Choose what you have. Fold them into the pan gently. Add a splash of broth if needed to keep things moist and cohesive.
EatingWell and Bon Appétit both recommend this method for saving money while maintaining nutrition and flavor. It’s a trick that transforms a half-pound of beef into a full family dinner.
Assembly: Wrap Types & Folding Methods
Once your filling is ready, it’s time to assemble. Grab your base—flour tortillas for classic wraps or large lettuce leaves for a low-carb option.
Lay down a scoop of the beef mixture. Add your chosen toppings: shredded veggies, cheese, or sauce. For a standard wrap, fold in the sides and roll it tightly like a burrito.
For a crunch-wrap style, place the filling in the center, add a tostada shell (if using), and fold the tortilla in overlapping layers. Seal with a little cheese or spread to hold the fold.
Guides from mamasonabudget.com and Organize Yourself Skinny often show this technique in action—it creates a portable, leak-free, crispy wrap that’s easy to eat.
Cooking or Toasting the Wrap
Want to take it up a notch? Toast the wrap after assembly. Heat a skillet over medium heat. Place the wrap seam-side down and press gently with a spatula.
Cook for 2–3 minutes per side until golden and crisp. This locks in the filling and gives you that irresistible crunch. If using lettuce wraps, skip the pan and serve fresh for a cool, crisp bite.
A simple toast adds texture, prevents sogginess, and turns your budget wrap into a craveable meal.
Flavor Variations for Garlic Ground Beef Wraps
One recipe, many delicious twists. These garlic ground beef wraps easily adapt to different flavor profiles using ingredients you already have.
Craving Mexican flavors? Add taco seasoning, a spoonful of salsa, and a pinch of cumin. This version pairs perfectly with shredded lettuce and chopped tomatoes. Mamasonabudget.com and Organize Yourself Skinny both suggest salsa blends to spice things up affordably.
Prefer Asian-inspired wraps? Stir in a soy-ginger sauce or a touch of gochujang for heat. Finish with shredded carrots and green onions. Feasting Not Fasting offers easy tips for building balance with bold sauces and crunch.
For a cheeseburger-style wrap, add ketchup, mustard, pickles, and shredded cheese. This combo, praised on Mamasonabudget.com, is great for picky eaters.
Going low-carb? Try a lettuce-wrap version with smoked paprika in the beef and avocado on top. Both ZagLeft and Feasting Not Fasting recommend this fresh take for a lighter bite.
Dietary Options for Every Preference
These wraps fit many diets with a few quick adjustments.
Gluten-free? Swap the flour tortillas for large lettuce leaves or certified gluten-free wraps. Romaine or butter lettuce holds filling well and adds crispness.
Low-carb? Skip rice and beans. Use cauliflower rice or extra vegetables to bulk up your filling instead. Choose low-sugar sauces to keep carbs in check.
Meat-free? Go vegetarian by replacing ground beef with lentils, crumbled tofu, or black beans. Sauté them with garlic, onions, and the same spices. The texture stays hearty, and the flavor remains bold.
These swaps let you tailor your wraps to any diet—without sacrificing flavor or simplicity.
Serving Suggestions and Side Dish Pairings
Turn your garlic ground beef wraps into a full meal with easy, budget-friendly sides.
Pair them with a crisp green salad, a scoop of rice, or tangy slaw. A side of beans—black, pinto, or chickpeas—adds protein and fiber. Serve with salsa, hot sauce, or yogurt-based dip for a finishing touch.
Whether you’re meal prepping or serving dinner for four, these wraps and sides bring variety, balance, and satisfaction to your table.
Batch Cooking and Meal-Prep Tips
Want to save time all week? Make a double or triple batch of the garlic beef filling. It reheats well and keeps its flavor, making it ideal for meal prep.
Start by browning your ground beef and garlic as usual. Stir in your stretchers—rice, beans, or vegetables—and season it fully. Let the mixture cool before storing it in airtight containers.
For easy weekday meals, prep your wraps ahead of time. Assemble and store them individually in containers or foil wraps. Keep sauces separate to avoid sogginess.
You can also portion the beef mixture into freezer bags for later. This method works great if you batch cook on weekends. Simply thaw, reheat, and wrap when needed.
Planning ahead cuts down cooking stress and helps you stick to your budget without sacrificing flavor or nutrition.
Storage Instructions
Keep any leftover beef filling in an airtight container in the fridge. It stays fresh for 3 to 4 days.
For longer storage, freeze the filling in portioned bags or containers. Press out excess air and label with the date. The mixture holds well in the freezer for up to 3 months.
To use, thaw overnight in the fridge and reheat on the stove or in the microwave. If the mix seems dry, add a splash of broth or water while reheating.
Fully assembled wraps can be stored too. Just be sure to toast or reheat them right before serving for the best texture.
Estimated Nutrition per Serving
A typical garlic ground beef wrap—made with a medium tortilla, seasoned beef, and vegetables—offers a balanced nutritional profile:
-
Calories: ~350–400
-
Protein: ~20–25g
-
Fat: ~15–18g
-
Fiber: ~3–5g
Stretching the meat with rice or beans not only lowers the overall cost per serving but also reduces the fat content and increases fiber. It’s a smart way to boost both nutrition and quantity without adding expense.
Choosing leaner meat or a lettuce wrap can reduce calories further, while toppings like avocado or cheese will increase fats and calories. Adjust based on your goals and needs.
FAQs About Budget Garlic Ground Beef Wraps
How can I make ground beef wraps more budget-friendly?
To stretch your beef, mix in low-cost fillers like rice, black beans, or lentils. This trick, shown by meal-prep creators on Facebook and YouTube, can double your servings while keeping flavor intact. Also, buy spices like cumin or paprika in bulk. They’re inexpensive per use and store well. Organize Yourself Skinny, Feasting Not Fasting, and Bon Appétit all recommend bulk seasoning to boost meals without breaking the bank.
Can I substitute ground turkey or vegetarian protein?
Yes, absolutely. Ground turkey, chicken, or even lentils and tofu work well. Just adjust your seasonings slightly. For example, tofu may need more garlic and soy-based sauces to build umami. These swaps lower fat, cost, and calories without losing flavor.
Are these wraps gluten-free or low-carb?
They can be both. Use lettuce leaves or certified gluten-free tortillas for a gluten-free version. For low-carb wraps, avoid rice or beans and skip high-sugar sauces. Load up on vegetables to keep them hearty and satisfying.
How long will leftovers last, and how should I reheat?
Store leftover beef filling in the fridge for up to 4 days. Reheat in a skillet with a splash of broth or microwave until hot. Assembled wraps are best toasted fresh, but you can store them for up to a day.
Can I freeze the beef mixture? Will the texture change?
Yes, you can freeze the filling. Let it cool first, then pack into portioned containers. Freeze for up to 3 months. Thaw overnight in the fridge before reheating. The texture holds up well, especially when mixed with rice or beans.
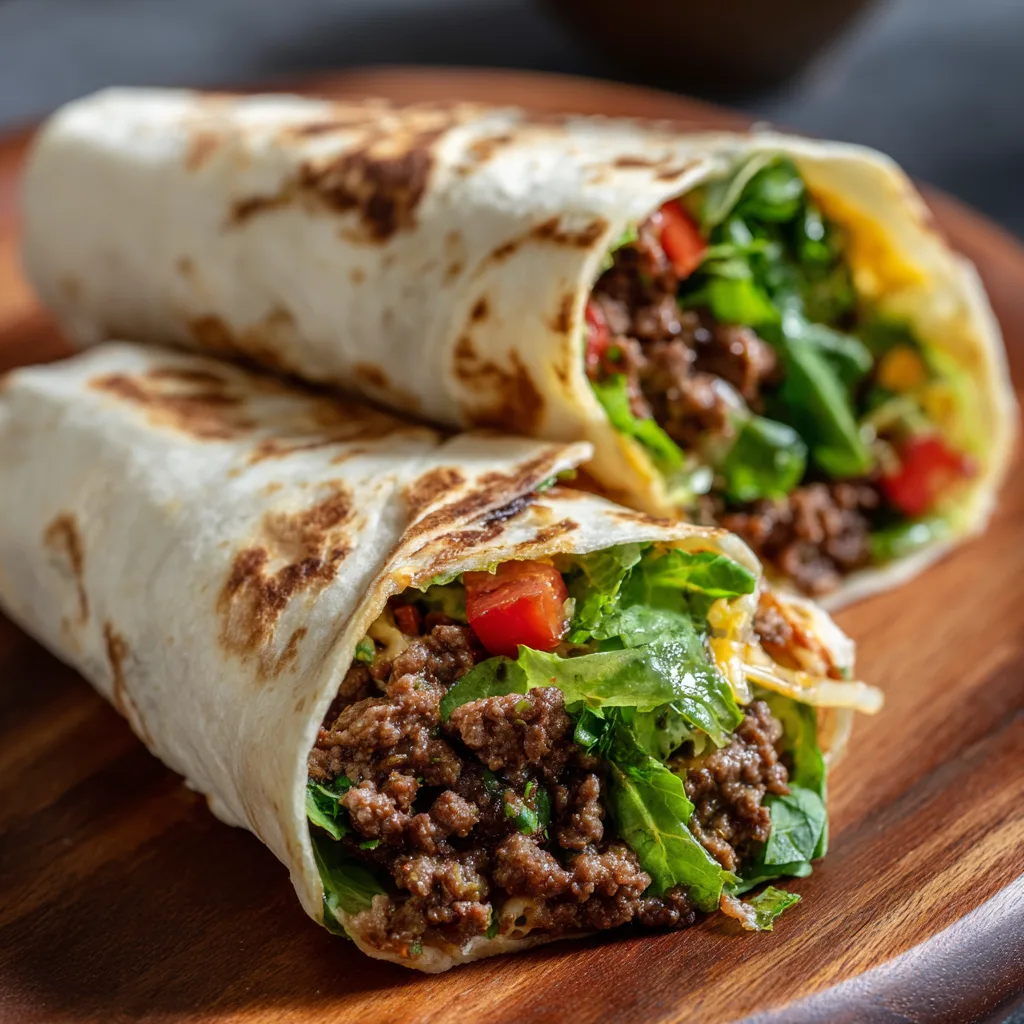
Budget Garlic Ground Beef Wraps – Quick, Easy & Family-Friendly

Easy, affordable garlic ground beef wraps packed with flavor and perfect for quick meals or weekly meal prep.
Ingredients
- 500g ground beef
- 4 garlic cloves, minced
- 1 medium onion, diced
- 1 tsp smoked paprika
- 1 tsp ground cumin
- ½ tsp chili powder
- Salt and black pepper, to taste
- 1 cup cooked rice or black beans (optional, to stretch meat)
- 6 flour tortillas or lettuce leaves
- Optional toppings: shredded cheese, chopped lettuce, salsa, yogurt, avocado
Instructions
▢ Heat skillet over medium-high. Add ground beef and brown for 3–4 minutes.
▢ Stir in garlic and onions. Cook until softened and fragrant.
▢ Sprinkle in all spices. Mix well.
▢ Add rice or beans (if using) and combine evenly. Adjust seasoning.
▢ Warm tortillas or prep lettuce leaves.
▢ Fill wraps with beef mixture and optional toppings.
▢ Roll, fold, or serve open-faced. Toast in skillet if desired.
Notes
