
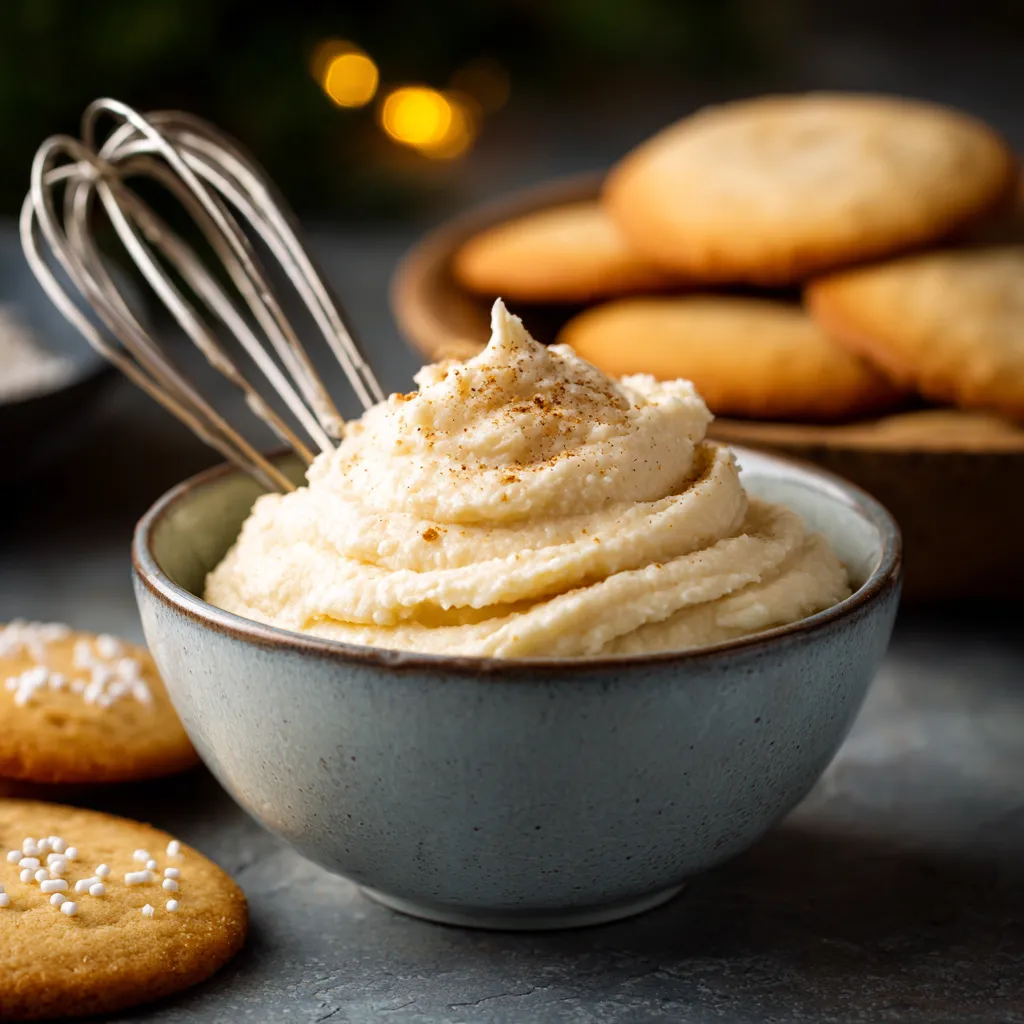
The Best Sugar Cookie Frosting Recipe for Perfectly Pretty Cookies!
Oh, the smell of freshly baked sugar cookies! It instantly transports me back to my grandmother’s kitchen, especially around the holidays. Every December, her tiny kitchen would transform into a wonderland of flour dust, vanilla essence, and the sweet aroma of hundreds of sugar cookies cooling on racks. But the real magic, the part I always looked forward to, was the decorating. And for that, you need the perfect Sugar Cookie Frosting.
For years, I struggled to recreate that perfect frosting – one that was creamy, spreadable, but also hardened just enough to stack without smudging. I tried countless recipes, some too runny, some too thick, some that tasted just…meh. It wasn’t until I stumbled upon this tested, family-favorite formula that I truly nailed it. This frosting isn’t just delicious; it’s foolproof, making your cookie decorating sessions stress-free and super fun, whether you’re a seasoned baker or just starting out with holiday baking.
It’s an easy dessert staple that guarantees beautiful, bakery-worthy cookies every single time. Get ready to transform your homemade sugar cookies into edible works of art with this simple yet incredibly effective recipe. Trust me, once you try this one, you’ll never go back!
Why You’ll Love This Recipe
❤️ Here’s why this will become your go-to Sugar Cookie Frosting recipe:
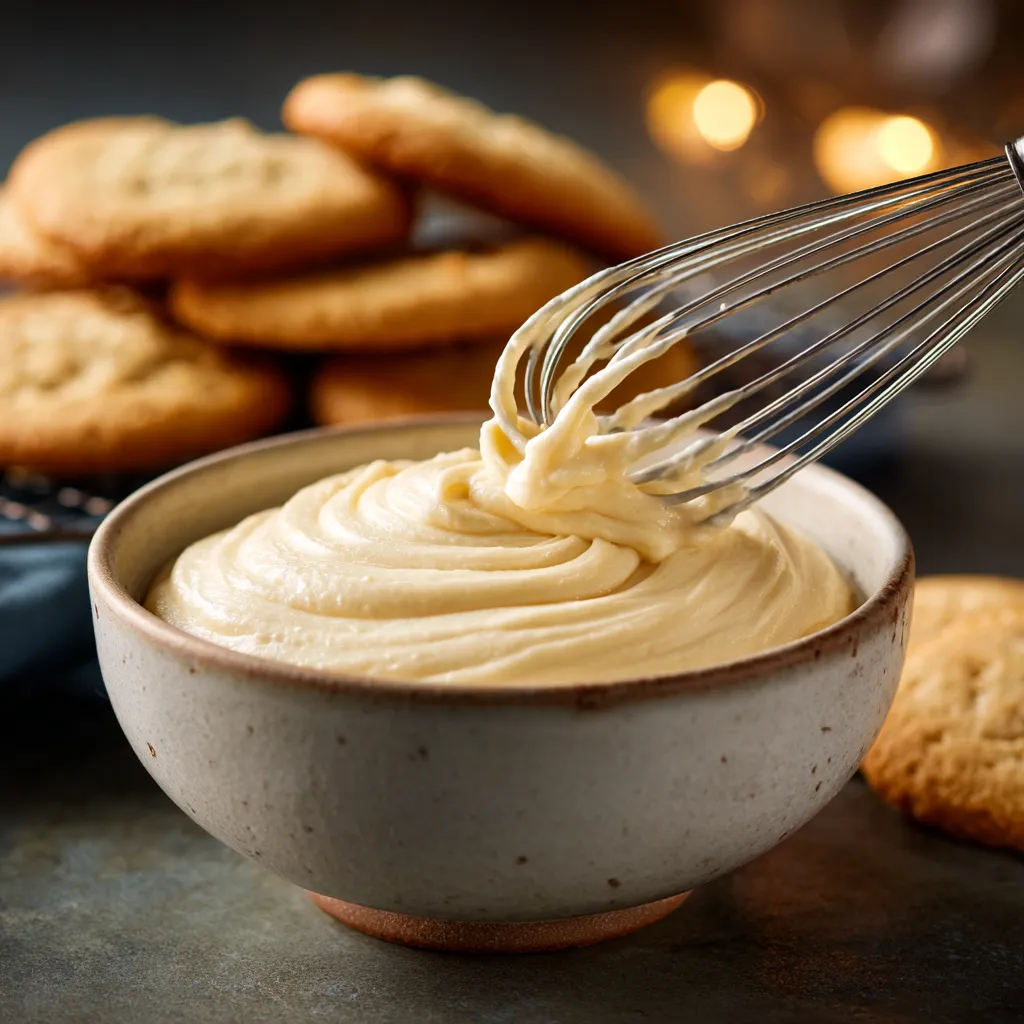
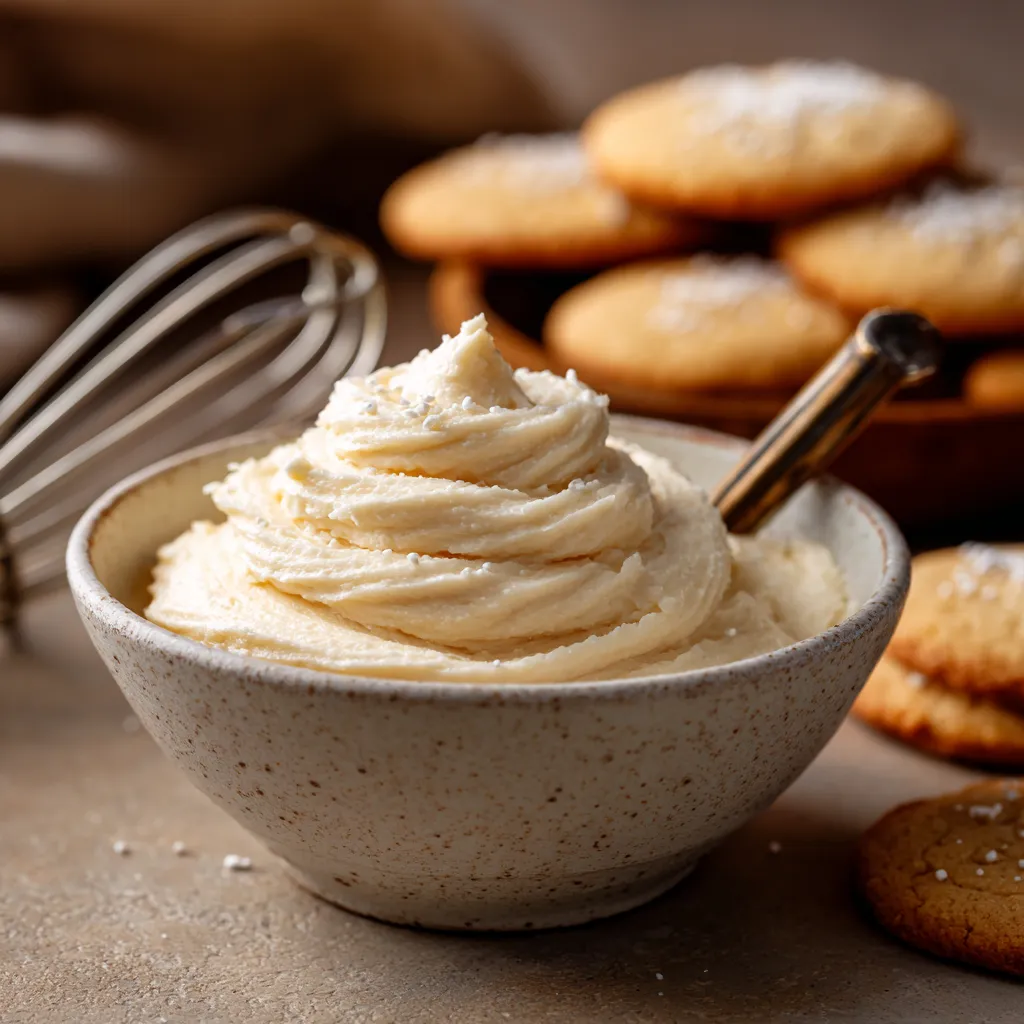
- Perfect Texture: It’s smooth and creamy, ideal for both spreading and piping intricate designs, holding its shape beautifully.
- Hardens Without Cracking: Dries to a lovely, slightly firm finish, allowing your cookies to be stacked and stored without damage. No more sticky cookie disasters!
- Rich & Sweet Flavor: A delightful balance of sweetness and vanilla, complementing your sugar cookies perfectly without overpowering them.
- Super Easy to Make: Requires just a few common pantry ingredients and comes together in minutes with minimal effort. No fancy equipment needed!
- Versatile: Easily customizable with food coloring and various flavor extracts, making it perfect for any occasion or theme.
- Kid-Friendly: It’s a fantastic recipe for involving little helpers in the kitchen. Kids love to spread and decorate!
- Reliable: This recipe has been tested and perfected over countless batches of cookies, ensuring consistent, delicious results every time you make it.
- Photo-Ready: Your frosted cookies will look absolutely stunning, perfect for holiday platters, bake sales, or your next Instagram post.
What You Need
You only need a few simple pantry staples for this recipe! The magic truly lies in how these basic ingredients come together to create something spectacular. Check the full printable recipe card below for detailed measurements of powdered sugar, butter, milk, and vanilla extract. A pinch of salt also helps balance the sweetness beautifully!
Expert Tips for Perfect Frosting
💡 Achieve frosting perfection every time with these insider tricks:
- Sift Your Powdered Sugar: This is CRUCIAL for a lump-free, silky-smooth frosting. Don’t skip this step! Use a fine-mesh sieve or a sifter.
- Use Room Temperature Butter: Softened butter creams beautifully with the powdered sugar, creating an airy base. If your butter is too cold, you’ll end up with lumps; too warm, and your frosting might be too greasy.
- Add Milk Gradually: Start with the smaller amount of milk called for and add more, a teaspoon at a time, until you reach your desired consistency. A thicker frosting is great for piping, while a thinner one is better for flooding (though this frosting isn’t a traditional royal icing).
- Quality Vanilla Extract: Use pure vanilla extract for the best flavor. It makes a significant difference in the final taste of your cookies.
- Taste and Adjust: Always taste your frosting! If you want it sweeter, add a tiny bit more powdered sugar. If it’s too sweet, a tiny pinch of salt can help balance it out.
- For Stiffer Frosting: If your frosting seems too thin for detailed piping, slowly beat in an extra tablespoon or two of sifted powdered sugar until it reaches the desired stiffness.
- For Thinner Frosting: If you need a runnier frosting for spreading or a base layer, add a tiny bit more milk or heavy cream (1/2 teaspoon at a time) until it’s just right.
- Coloring Your Frosting: Use gel food coloring for vibrant colors without thinning the frosting. Add a tiny drop with a toothpick, mix, and add more until you achieve your desired hue.
- Cover When Not in Use: Frosting can dry out quickly, forming a crust. Keep it covered with plastic wrap, pressing the wrap directly onto the surface of the frosting to prevent air exposure.
- Patience with Drying: Allow your frosted cookies to dry completely on a wire rack for several hours (or even overnight) before stacking them to prevent smudging and ensure a crisp finish.
Variations & Substitutions
This basic sugar cookie frosting is a fantastic canvas for creativity! Here are some ideas to make it your own:
- Flavor Boosts: Swap vanilla extract for almond extract for a classic bakery flavor, lemon extract for a zesty twist, or even peppermint extract for holiday cookies. Coffee or maple extracts are also delicious options.
- Citrus Zest: Add finely grated lemon, orange, or lime zest for a fresh, bright flavor. It’s especially wonderful with a touch of citrus extract.
- Cream Cheese Frosting: For a tangier, richer frosting, you can slightly reduce the butter and incorporate a few ounces of softened cream cheese. Note: this will result in a softer frosting that may not harden as much.
- Dairy-Free Option: Use a high-quality plant-based butter substitute and a dairy-free milk (like almond or oat milk) to make this frosting suitable for those with dairy sensitivities. The texture will be very similar.
- Natural Colors: Instead of artificial food coloring, try natural alternatives like beet powder for pink, spirulina for green, or turmeric for yellow.
- Sparkle & Shine: Sprinkle your wet frosting with edible glitter or decorative sprinkles immediately after applying for extra festive flair.
Storage & Freezing
Proper storage ensures your beautiful Sugar Cookie Frosting stays fresh and ready for action!
- Airtight Container: Store leftover frosting in an airtight container in the refrigerator for up to 1 week.
- Bringing to Room Temperature: Before using chilled frosting, let it sit at room temperature for about 30-60 minutes. You might need to re-whip it briefly with an electric mixer to restore its creamy consistency. Add a tiny splash of milk if it seems too stiff.
- Freezing: You can freeze this frosting for up to 1 month. Place it in a freezer-safe bag or airtight container. When ready to use, thaw overnight in the refrigerator, then bring to room temperature and re-whip until smooth.
- Frosted Cookies: Once decorated, allow the cookies to dry completely at room temperature (this can take several hours or overnight). Once dry, store them in an airtight container at room temperature for up to 5-7 days, with parchment paper between layers to prevent sticking.
FAQ
Why is my sugar cookie frosting too runny?
Your frosting is likely too runny if you added too much liquid (milk) or your butter was too soft. To fix this, gradually add more sifted powdered sugar, a tablespoon at a time, until it reaches the desired consistency. Make sure your butter is at room temperature, not melted.
Can I make this frosting ahead of time?
Absolutely! This sugar cookie frosting can be made 1-2 days in advance and stored in an airtight container in the refrigerator. Just be sure to let it come to room temperature and give it a good re-whip before using it to restore its smooth consistency.
How long does it take for the frosting to harden?
This frosting will start to set within a few hours, but for best results and complete hardening (especially if stacking), allow your decorated cookies to dry uncovered at room temperature for at least 6-8 hours, or even overnight. Humidity can affect drying time.
Is this frosting similar to royal icing?
While this frosting hardens, it’s not the same as traditional royal icing, which is made with egg whites (or meringue powder) and dries much harder and more brittle. This recipe yields a softer, creamier, and more flavorful frosting that still sets up beautifully for handling and stacking, without the finicky nature of royal icing.
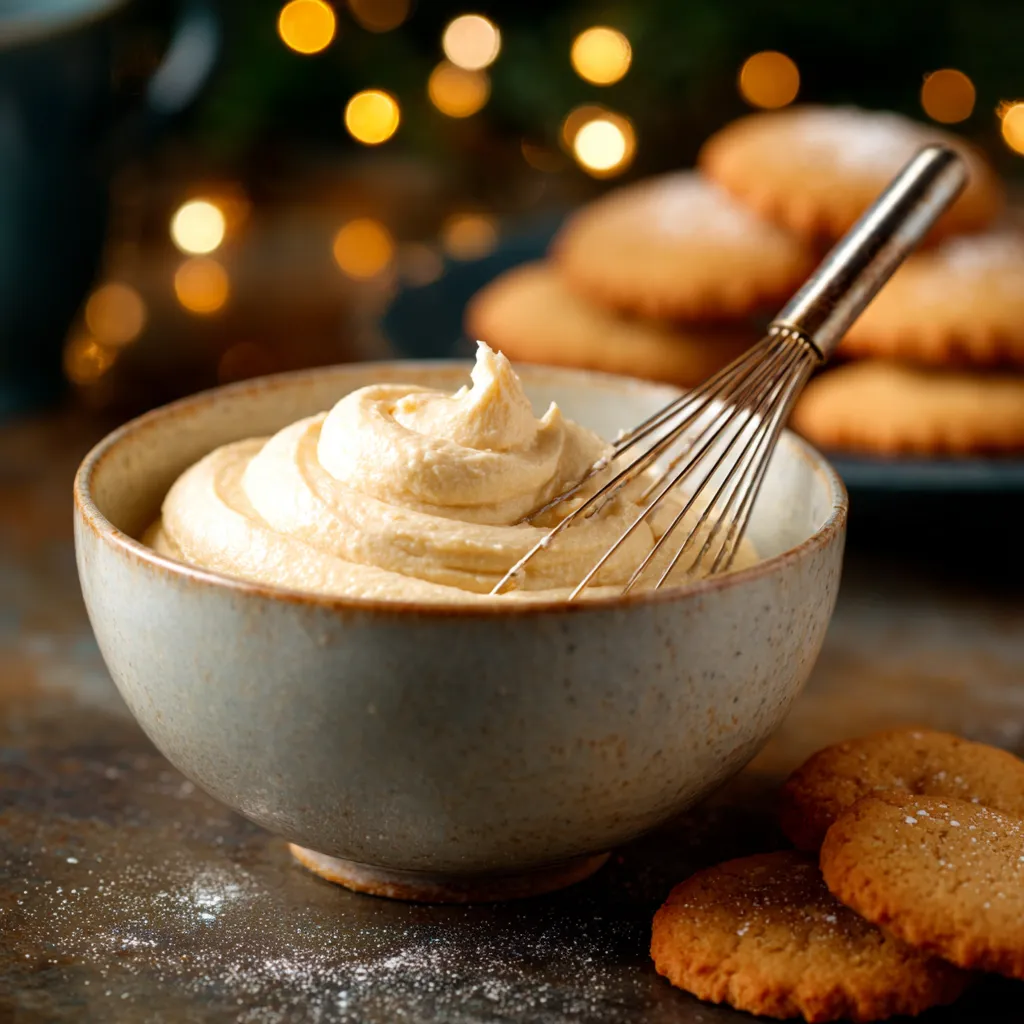
Ready to make some magic? With this incredible Sugar Cookie Frosting recipe, your cookies will be the star of any gathering. Happy baking, and don’t forget to share your beautifully decorated creations!
Pin this recipe for later so you can always have perfect cookies ready to go!
Best Sugar Cookie Frosting Recipe (Easy & Stiff!)
Ingredients
- 4 cups (480g) powdered sugar, sifted
- 1/2 cup (113g) unsalted butter, softened
- 1/4 cup (60ml) whole milk (or heavy cream), plus more if needed
- 1 tsp pure vanilla extract
- Pinch of salt (optional)
Instructions
- Step 1 In a large bowl, using an electric mixer, beat the softened butter until creamy, about 1-2 minutes.
- Step 2 Gradually add the sifted powdered sugar to the butter, mixing on low speed until combined. The mixture will be thick and crumbly at first.
- Step 3 Pour in the milk (starting with 1/4 cup) and vanilla extract. Add the pinch of salt if using.
- Step 4 Increase the mixer speed to medium-high and beat for 3-5 minutes, until the frosting is light, fluffy, and smooth. Scrape down the sides of the bowl as needed.
- Step 5 If the frosting is too thick, add more milk, 1 teaspoon at a time, until you reach your desired consistency for spreading or piping. If it's too thin, add more sifted powdered sugar, 1 tablespoon at a time.
- Step 6 Use immediately to frost cooled sugar cookies. Allow frosted cookies to dry completely at room temperature for several hours before stacking.
