Gross Halloween Treats No-Bake
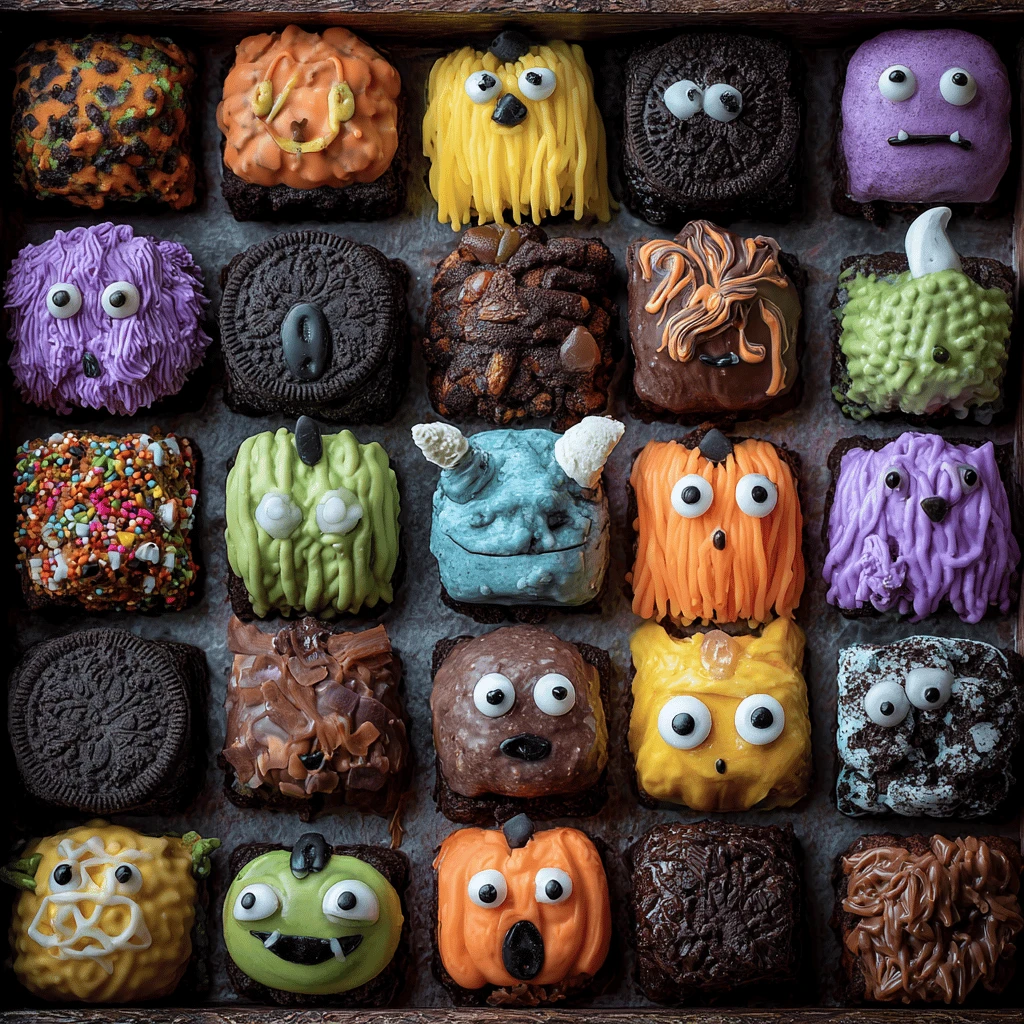
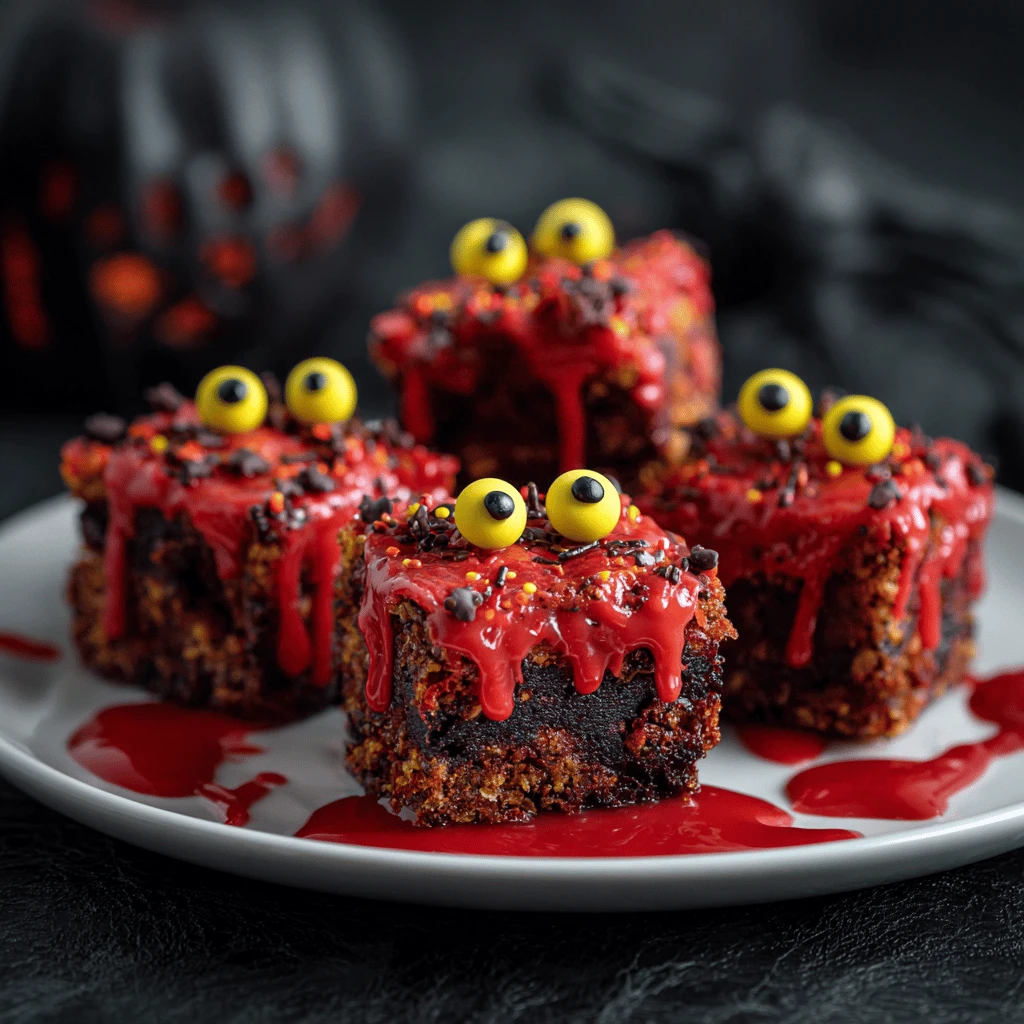
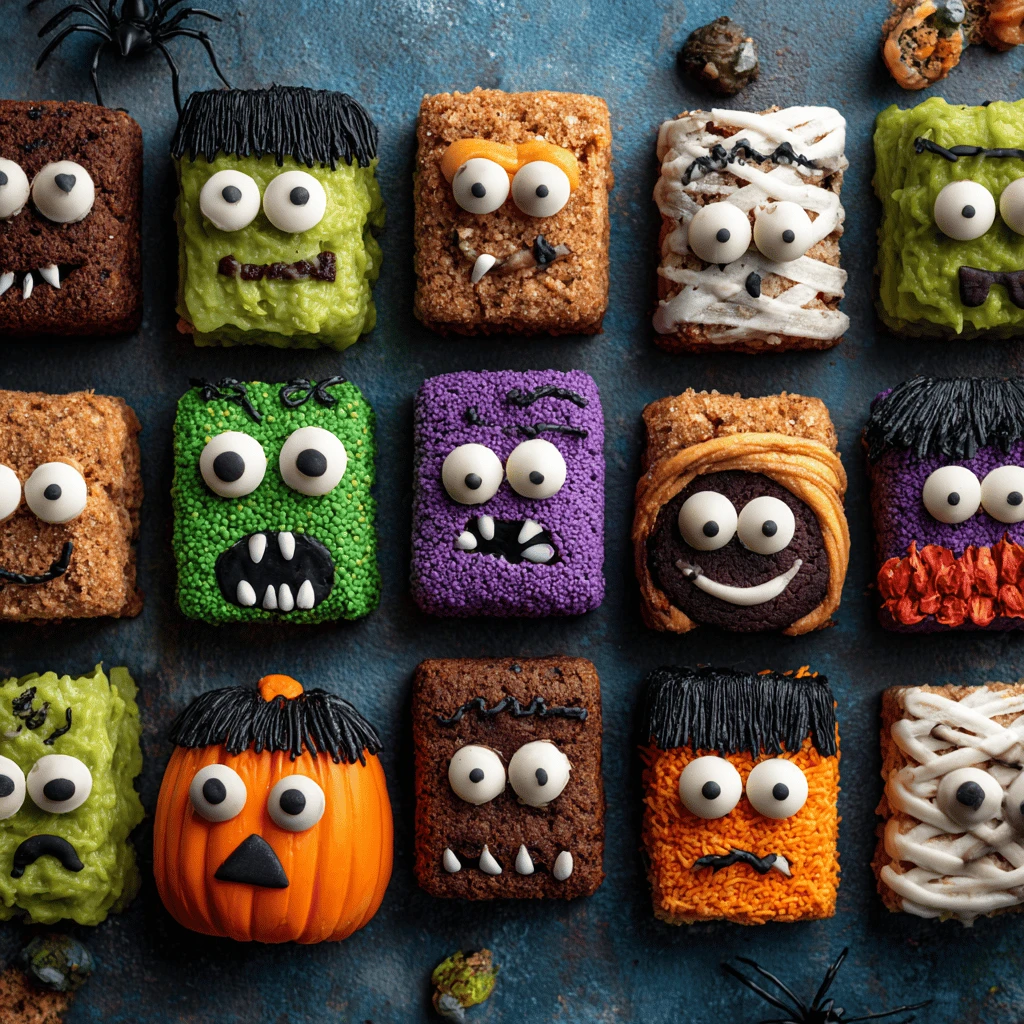
Halloween is the perfect time to get creative in the kitchen, and what’s more fun than making delightfully disgusting treats? Forget slaving over a hot oven; these no-bake recipes are quick, easy, and guaranteed to be a hit at your next Halloween party. Get ready to embrace your inner mad scientist and whip up some ghoulishly good snacks!
Creepy Crawly Treats: Spiders, Worms, and Bugs!
Let’s face it, nothing says “gross” like insects and arachnids. Fortunately, you can create realistic-looking (but edible!) creepy crawlies without much effort. These no-bake treats are perfect for adding a touch of horror to your Halloween spread.
Chocolate Spiderweb Pretzels
These are super simple and look impressive. You’ll need:
- Ingredients: Pretzel twists, melted chocolate (dark, milk, or white), candy eyes, and small candies (like M&Ms) for the spider’s body.
- Instructions: Lay out the pretzels on parchment paper. Drizzle melted chocolate over each pretzel, creating a spiderweb effect. Place a candy body in the center and attach candy eyes with a dot of melted chocolate. Let them set in the refrigerator for about 15 minutes.
Dirt Cup Graveyard
A classic treat with a spooky twist! This is a great option for kids to help create.
- Ingredients: Chocolate pudding, crushed Oreo cookies (for the “dirt”), gummy worms, candy pumpkins, and Milano cookies (for tombstones).
- Instructions: Layer chocolate pudding and crushed Oreos in clear cups. Add gummy worms sticking out of the “dirt.” Decorate Milano cookies with melted chocolate or frosting to resemble tombstones and place them in the cups. Add candy pumpkins for extra flair.
Roach Clusters
These are designed to be visually repulsive yet delicious.
- Ingredients: Rice Krispies cereal, melted butterscotch chips, chow mein noodles, and slivered almonds.
- Instructions: Melt butterscotch chips according to package directions. Stir in Rice Krispies, chow mein noodles, and slivered almonds. Drop spoonfuls of the mixture onto waxed paper and let them cool completely. The combination of ingredients creates a texture and appearance that resembles a cluster of… well, you get the idea.
Eerie Eyeballs and Body Parts: Spooky Sensory Fun
Nothing is more unsettling than the idea of consuming bodily organs and limbs. But don’t worry; these recipes use clever ingredients to create realistic-looking, but totally safe, snacks!
Witches’ Finger Pretzels
These are a simple and visually impactful treat.
- Ingredients: Pretzel rods, white chocolate, green food coloring, almond slivers, and red gel icing.
- Instructions: Melt white chocolate and tint it green with food coloring. Dip pretzel rods in the melted chocolate, leaving a small portion undipped at one end. Attach an almond sliver to the undipped end to resemble a fingernail. Use red gel icing to create a bloody effect around the nail. Let them set in the refrigerator.
Edible Eyeballs
These are surprisingly easy to make and look incredibly realistic.
- Ingredients: Cream cheese, powdered sugar, green food coloring, chocolate chips, and blueberry pie filling.
- Instructions: Mix cream cheese and powdered sugar until smooth. Divide the mixture and tint a portion green with food coloring. Roll the white mixture into small balls. Create an iris by pressing a small amount of the green mixture onto the center of each ball. Add a chocolate chip to the center for the pupil. Place each eyeball on a dollop of blueberry pie filling for a creepy, bloodshot effect.
Brain Dip
This savory dip is sure to be a conversation starter.
- Ingredients: Cauliflower, cream cheese, sour cream, garlic powder, onion powder, and red food coloring.
- Instructions: Steam or boil cauliflower until tender. Drain well and pulse in a food processor until smooth. Mix in cream cheese, sour cream, garlic powder, and onion powder. Add a few drops of red food coloring to give it a slightly pinkish hue. Transfer to a serving bowl and use a knife to create grooves and wrinkles to resemble a brain. Serve with crackers or vegetables.
Slimy and Gooey Delights: Texture is Key
The feeling of something slimy and gooey in your mouth is undeniably unsettling. These recipes play with texture to create that “ick” factor, while still being delicious.
Monster Boogers
These are simple, sweet, and effectively gross.
- Ingredients: Green gummy candies (like gummy bears or worms), corn syrup, and green sprinkles.
- Instructions: In a bowl, mix the green gummy candies with a small amount of corn syrup to create a sticky, gooey consistency. Add green sprinkles and mix well. Spoon the mixture into small bowls or cups and label them “Monster Boogers.”
Swamp Slime Dip
This vibrant green dip is perfect for pretzels or fruit.
- Ingredients: Cream cheese, marshmallow fluff, green food coloring, lime juice, and gummy worms.
- Instructions: Beat cream cheese until smooth. Add marshmallow fluff and mix until well combined. Stir in green food coloring and lime juice to achieve a vibrant green color and a slightly tangy flavor. Fold in gummy worms. Serve with pretzels, apple slices, or graham crackers.
Ogre Snot Fudge
This sweet and slightly disgusting fudge will be the talk of the party.
- Ingredients: White chocolate chips, sweetened condensed milk, green food coloring, and chopped pistachios.
- Instructions: Melt white chocolate chips and sweetened condensed milk in a saucepan over low heat, stirring constantly. Once melted and smooth, remove from heat and stir in green food coloring until you achieve your desired snot-like color. Stir in chopped pistachios. Pour the mixture into a parchment-lined baking dish and refrigerate until firm. Cut into squares to serve.
“Rotten” and Decaying Food Illusions: A Visual Feast of Horror
Transforming ordinary food into something that looks like it’s gone bad is a classic Halloween trick. These recipes rely on creative presentation to achieve that “rotten” look.
Moldy Cheese and Crackers
This is a simple but effective illusion.
- Ingredients: Cream cheese, blue food coloring, and crackers.
- Instructions: Mix a small amount of blue food coloring into cream cheese until you achieve a moldy green color. Spread the “moldy” cream cheese on crackers and serve. You can also add a sprinkle of dried herbs for a more realistic effect.
“Rotten” Deviled Eggs
A simple twist on a classic party appetizer.
- Ingredients: Hard-boiled eggs, mayonnaise, mustard, pickle relish, and green food coloring.
- Instructions: Prepare deviled eggs as usual. Add a few drops of green food coloring to the mayonnaise mixture to give it a slightly greenish, rotten hue. Fill the egg whites with the mixture and sprinkle with paprika.
Maggot Apples
These creepy apples are easier to make than they appear.
- Ingredients: Green apples, peanut butter, and white chocolate chips.
- Instructions: Core the apples and fill the holes with peanut butter. Insert white chocolate chips into the peanut butter, leaving the pointy end sticking out to resemble maggots.
Presentation Tips for Maximum Gross-Out Factor
Making gross treats is only half the battle. Presentation is key to truly selling the effect. Here are some tips to take your Halloween treats to the next level:
- Use clear containers: Showcase the texture and colors of your treats.
- Add spooky labels: Create labels like “Spider Eggs,” “Toxic Waste,” or “Zombie Guts.”
- Serve with caution tape: Surround your serving area with caution tape for a quarantined look.
- Dim the lights: Lower lighting adds to the eerie atmosphere.
- Add dry ice: Create a spooky fog effect.
- Use thematic serving dishes: Brain-shaped bowls or skull-shaped plates amplify the gross-out factor.
- Don’t be afraid to get messy: A little bit of spillage or dripping can actually enhance the overall effect.
FAQ: Gross Halloween Treats
Q: What are some alternatives to gummy worms for the dirt cup graveyard?
A: You can use licorice whips, pretzel sticks, or even thin strips of fruit leather to create different “creepy crawly” effects.
Q: Can I use a different type of chocolate for the spiderweb pretzels?
A: Absolutely! White, milk, or dark chocolate all work well. You can even use colored candy melts for a more vibrant look.
Q: How can I make the edible eyeballs look more realistic?
A: Try adding a small vein detail using red food coloring and a fine brush. You can also use different shades of green or blue for the iris.
Q: What can I use if I don’t have chow mein noodles for the Roach Clusters?
A: Pretzels sticks broken into smaller pieces or even thin, crispy fried onions can be used as a substitute.
Q: How long do these no-bake treats typically last?
A: Most of these treats will last for 2-3 days if stored in an airtight container in the refrigerator. However, some ingredients like cream cheese may spoil faster, so it’s best to consume them within 24 hours.
Q: Are these treats safe for children with allergies?
A: It’s important to check the ingredient labels carefully and be aware of common allergens such as nuts, dairy, and gluten. Provide clear labeling for your treats so guests can make informed choices.
Q: Can I make these treats ahead of time?
A: Yes, most of these treats can be made a day or two in advance. However, some ingredients like cream cheese may soften over time, so it’s best to store them in the refrigerator until serving.
Q: Where can I find more inspiration for gross Halloween treats?
A: Online blogs, social media platforms like Pinterest and Instagram, and food-focused websites are great sources of inspiration. Just search for “gross Halloween treats” and you’ll find a wealth of ideas.


