Gross Halloween Charcuterie: Simple Ideas
Halloween is the perfect time to get creative with food, and a spooky charcuterie board is a fantastic way to impress your guests. Forget the dainty cheese and crackers – we’re going for gross, ghoulish, and utterly delightful! This guide will provide you with simple, yet effective ideas to create a Halloween charcuterie board that will be the talk of the party.
Section 1: Embrace the Spooky Theme
The key to a truly “gross” Halloween charcuterie board lies in embracing the theme wholeheartedly. Think beyond pumpkins and ghosts and delve into the realm of creepy crawlies, body parts, and questionable textures.
Choosing Your Board
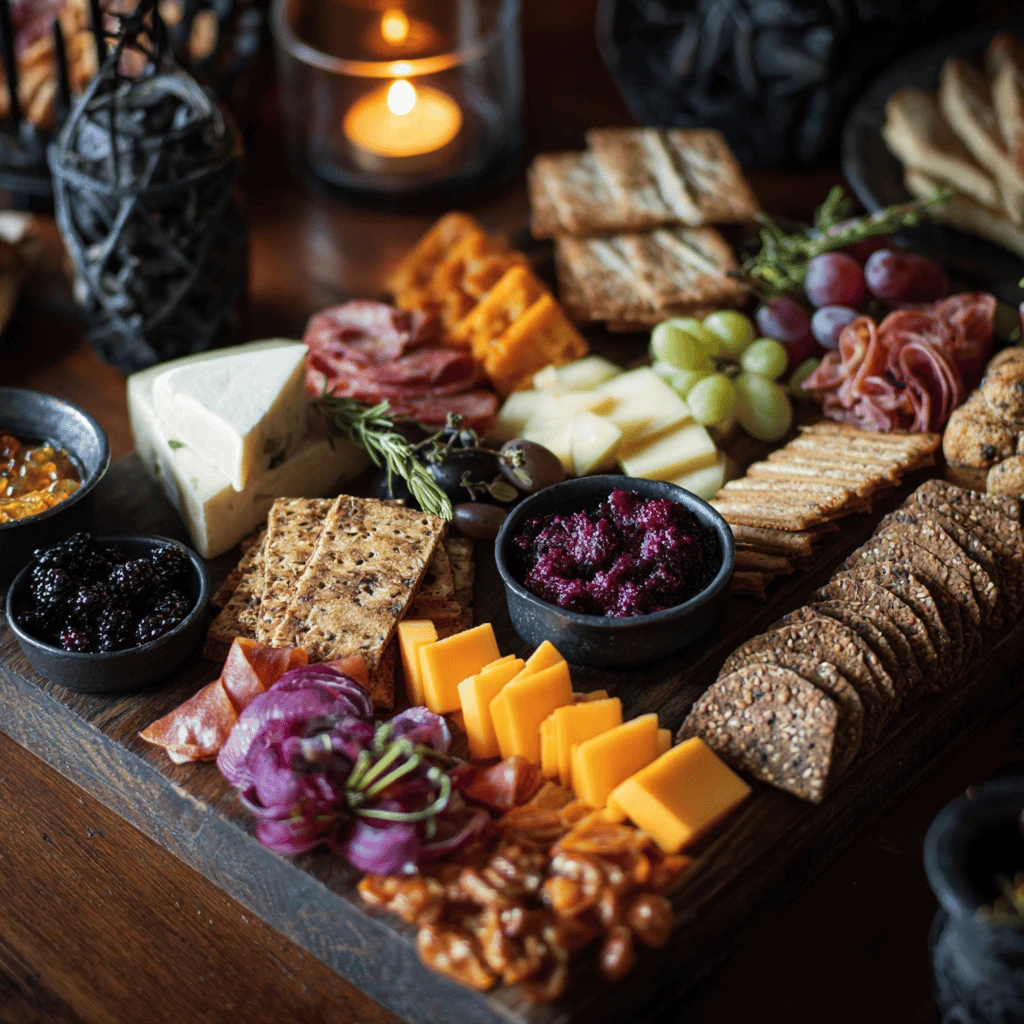
First, select your canvas. A wooden board is classic, but a slate or even a black platter can enhance the spooky aesthetic. Consider the size of your gathering when choosing the board. For smaller groups, a round board will suffice. For larger crowds, opt for a rectangular or even a multi-tiered arrangement.
Color Palette is Key
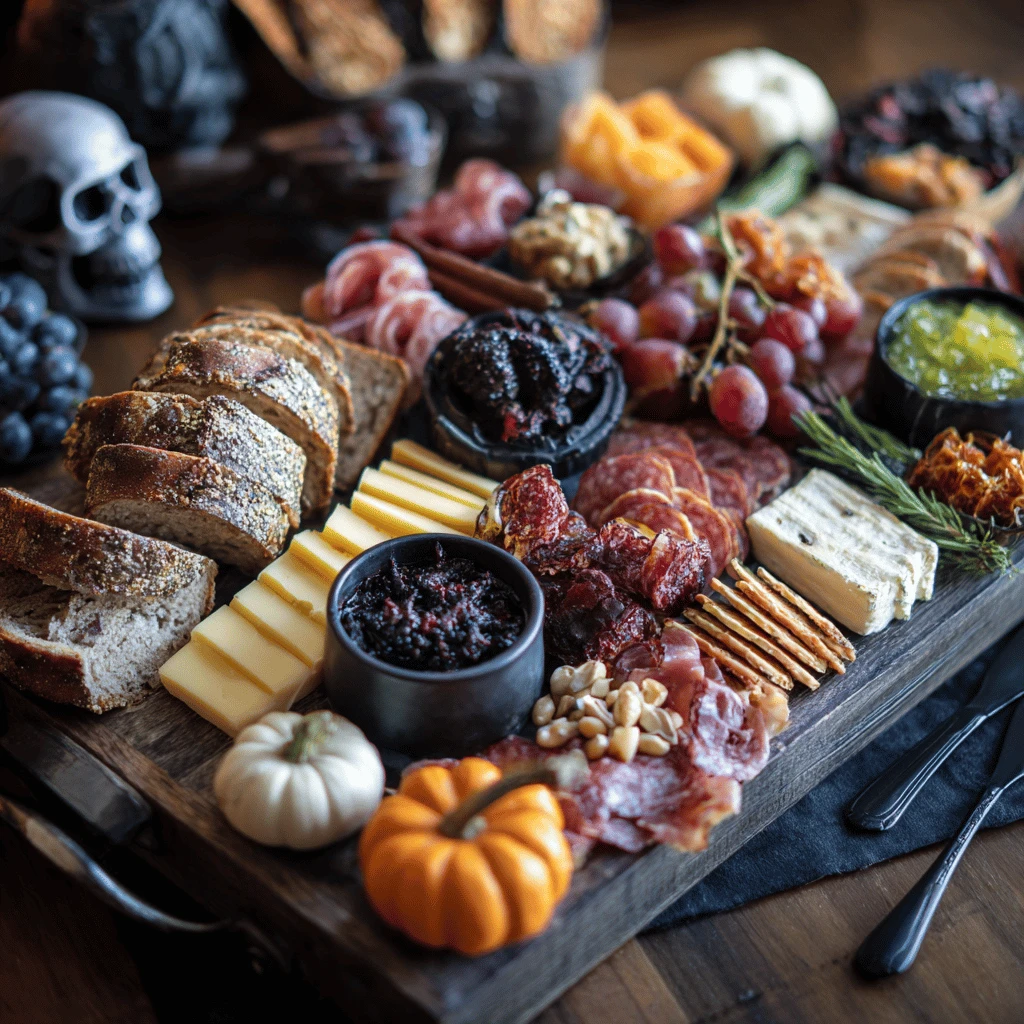
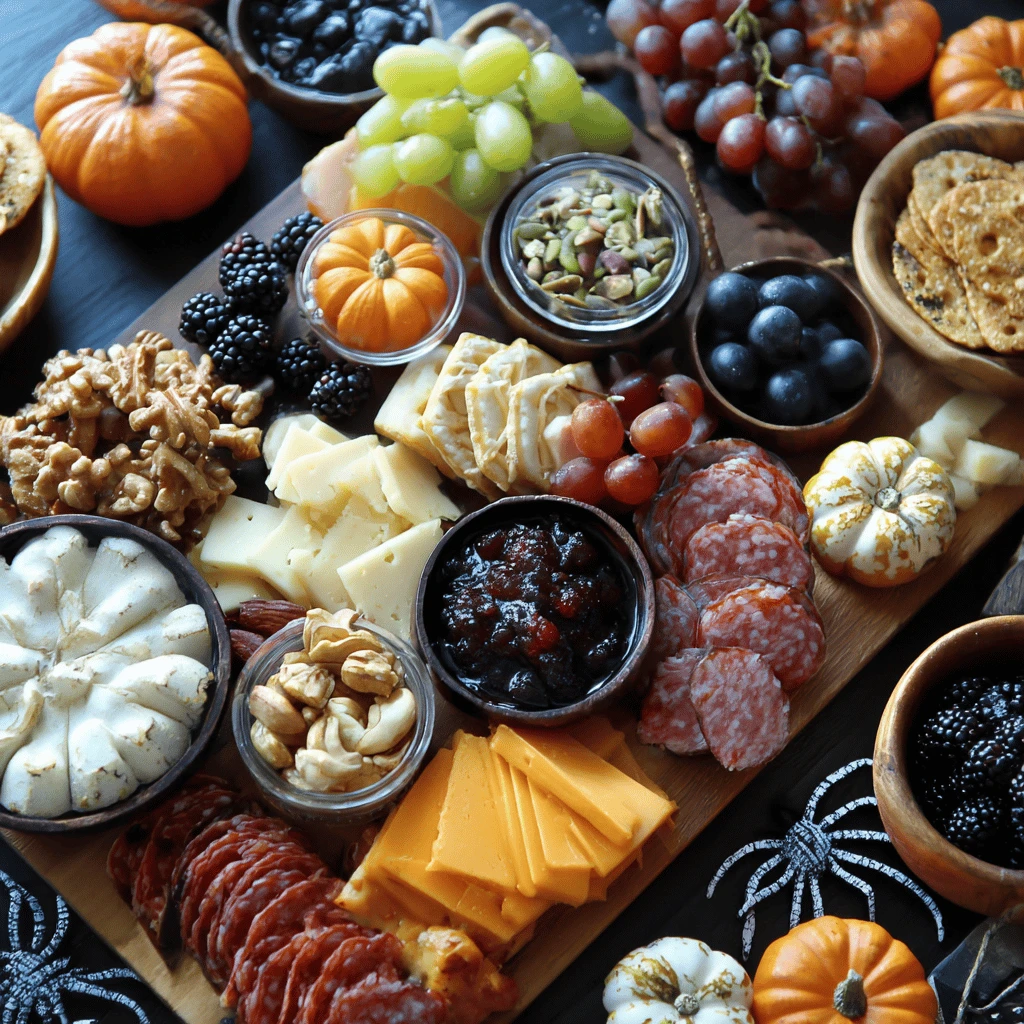
Stick to a color palette that screams Halloween. Think blacks, oranges, reds, purples, and greens. These colors will help create a visually striking and unsettling effect. You can achieve this through food choices, board decorations, and even the backdrop you use.
Incorporating Props
Props can elevate your board from simple snacks to a true Halloween centerpiece. Plastic spiders, toy rats, fake eyeballs, and miniature tombstones are all great options. Just ensure they are food-safe or placed strategically away from edible items. LED candles or string lights can add an eerie glow. Consider draping cheesecloth to mimic cobwebs for an extra touch of spookiness.
Section 2: Gross-Out Food Ideas
Now for the fun part: the food! This is where your creativity can truly shine. Focus on presentation and using clever names to enhance the “gross” factor.
Meats with a Macabre Twist
Transform ordinary meats into something sinister. Use cookie cutters to create bat-shaped salami or ghost-shaped ham. Roll sliced prosciutto into “intestines” and arrange them artfully. Mini meatballs can be “eyeballs” when adorned with a sliver of olive. Don’t be afraid to use food coloring to add a sickly green or purple hue to certain meats.
Cheeses with Character
Cheese can also be transformed into something terrifying. A block of white cheddar can be carved into a tombstone. Soft cheeses like brie can be shaped into brains or ghosts. Use black olive slices to create spider designs on top of cream cheese. Consider using a cheese knife to create jagged edges on cheeses, giving them a weathered or decayed look.
Freaky Fruits and Veggies
Fruits and vegetables offer a healthy but still horrifying addition. Green grapes can be “eyeballs” when skewered and placed on a bed of lettuce. Baby carrots can be arranged to resemble “fingers”. Use a melon baller to create “brains” from a cantaloupe. Consider using edible markers to draw veins on the grapes or carrots for a more realistic (and unsettling) effect.
Sinister Sweets and Treats
No Halloween charcuterie board is complete without some spooky sweets. Chocolate-covered pretzels can be decorated to look like spiderwebs. Rice Krispie treats can be molded into skulls or ghosts. Use gummy worms and candy corn to add pops of color and texture. Consider making “dirt cups” with chocolate pudding, crushed cookies, and gummy worms for a classic Halloween treat.
Section 3: Presentation is Paramount
The way you arrange your charcuterie board is just as important as the food itself. Focus on creating visual interest and a sense of organized chaos.
Layering and Textures
Don’t be afraid to layer different foods and textures to create depth and visual appeal. Place taller items like breadsticks or pretzel rods towards the back of the board and shorter items like cheese cubes and olives in the front. Use different shapes and sizes of bowls and platters to add interest.
Strategic Placement
Think about the overall composition of your board. Group similar items together but also create contrast by placing opposing colors and textures next to each other. For example, place a cluster of bright orange carrots next to a mound of dark purple grapes. Use edible glue to attach eyeballs to pretzel sticks or other items.
Telling a Story
Consider creating a narrative with your charcuterie board. Perhaps you could create a “graveyard” scene with tombstone-shaped cheese and ghost-shaped crackers. Or, create a “mad scientist’s lab” with beakers filled with colorful dips and test tubes filled with gummy worms.
Section 4: Dips and Spreads for the Disgustingly Delightful
Dips and spreads add another layer of flavor and texture to your Halloween charcuterie board. Get creative with colors and names to make them extra spooky.
Eerie Edible Ooze
Create a “swamp monster” dip by mixing cream cheese with green food coloring and chopped spinach. Serve it with crackers or vegetables for dipping. You can also make a “blood” dip by mixing tomato sauce with a little bit of red pepper flakes for a spicy kick.
Ghastly Guacamole
Guacamole is always a crowd-pleaser, but you can make it Halloween-themed by adding black olive spiders or carving a jack-o’-lantern face into the top. Consider making a “brain dip” by mixing cauliflower puree with cream cheese and seasonings.
Spooky Hummus
Hummus can be easily transformed into a Halloween dip by adding black food coloring or beet juice to give it a dark and mysterious hue. Serve it with pita chips or vegetables for dipping. Consider adding a swirl of red pepper paste to create a “blood” effect.
Section 5: Final Touches and Serving Suggestions
Before your guests arrive, take a moment to add the final touches to your charcuterie board and ensure everything is ready for serving.
Labelling for Laughs
Create small labels for each item on your board using fun and spooky names. For example, label your prosciutto “Intestines,” your grapes “Eyeballs,” and your guacamole “Swamp Sludge.” This adds to the fun and helps your guests know what they are eating.
Serving Temperature
Ensure that all items are served at the appropriate temperature. Cheeses should be served at room temperature for optimal flavor, while dips and spreads should be chilled. Keep meats and cheeses refrigerated until just before serving to prevent spoilage.
Allergy Awareness
Be mindful of any allergies your guests may have. Label any items that contain common allergens like nuts, dairy, or gluten. Offer allergen-free alternatives for those with dietary restrictions.
Enjoy the Fright!
Finally, relax and enjoy the frightful fun! A Halloween charcuterie board is all about creativity and embracing the spooky spirit. Don’t be afraid to experiment and have fun with your creations.
FAQ Section
Q: What kind of board should I use?
A: A wooden board is classic, but slate or black platters enhance the spooky aesthetic. Consider the size of your gathering when choosing.
Q: How do I make my board look “gross”?
A: Embrace a spooky color palette (blacks, oranges, reds, purples, greens), incorporate props like plastic spiders or fake eyeballs, and use clever food presentation to create a macabre effect.
Q: What are some good “gross” food ideas?
A: Transform meats into intestines or eyeballs, carve cheese into tombstones, make green grapes look like eyeballs, and use gummy worms for a creepy touch.
Q: How can I keep my board fresh?
A: Keep meats and cheeses refrigerated until just before serving. Serve cheeses at room temperature for optimal flavor, and keep dips chilled.
Q: What are some fun names for the food on my board?
A: Call prosciutto “Intestines,” grapes “Eyeballs,” guacamole “Swamp Sludge,” and so on. This adds to the fun!


