Family-Friendly Garlic Beans Wraps
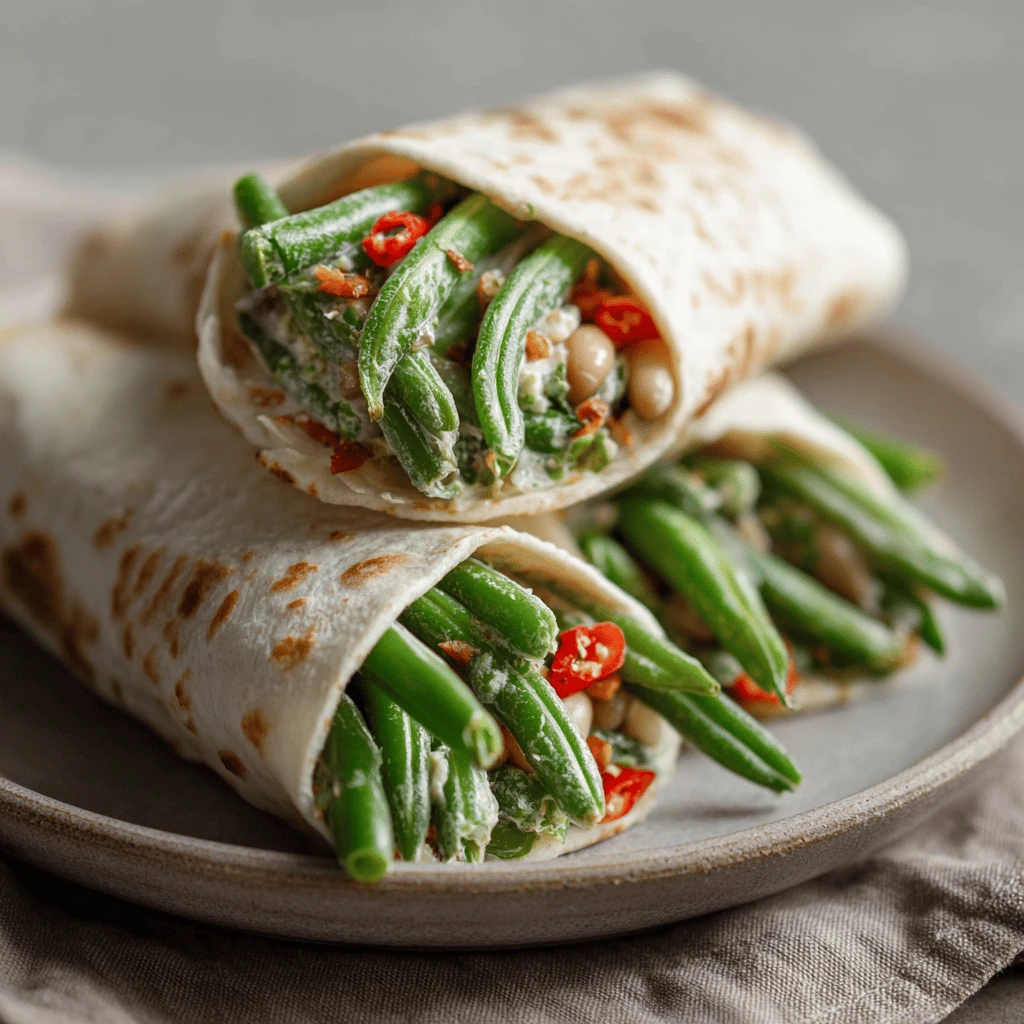
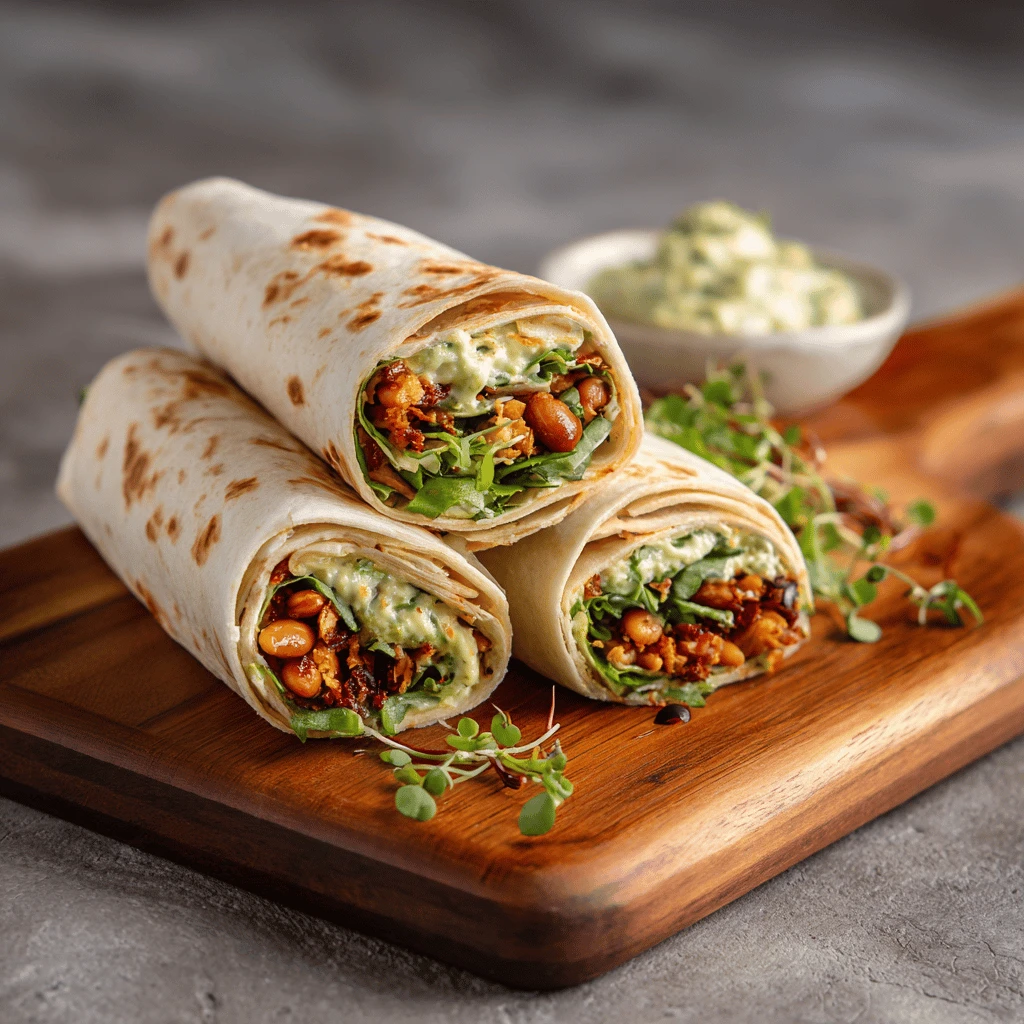
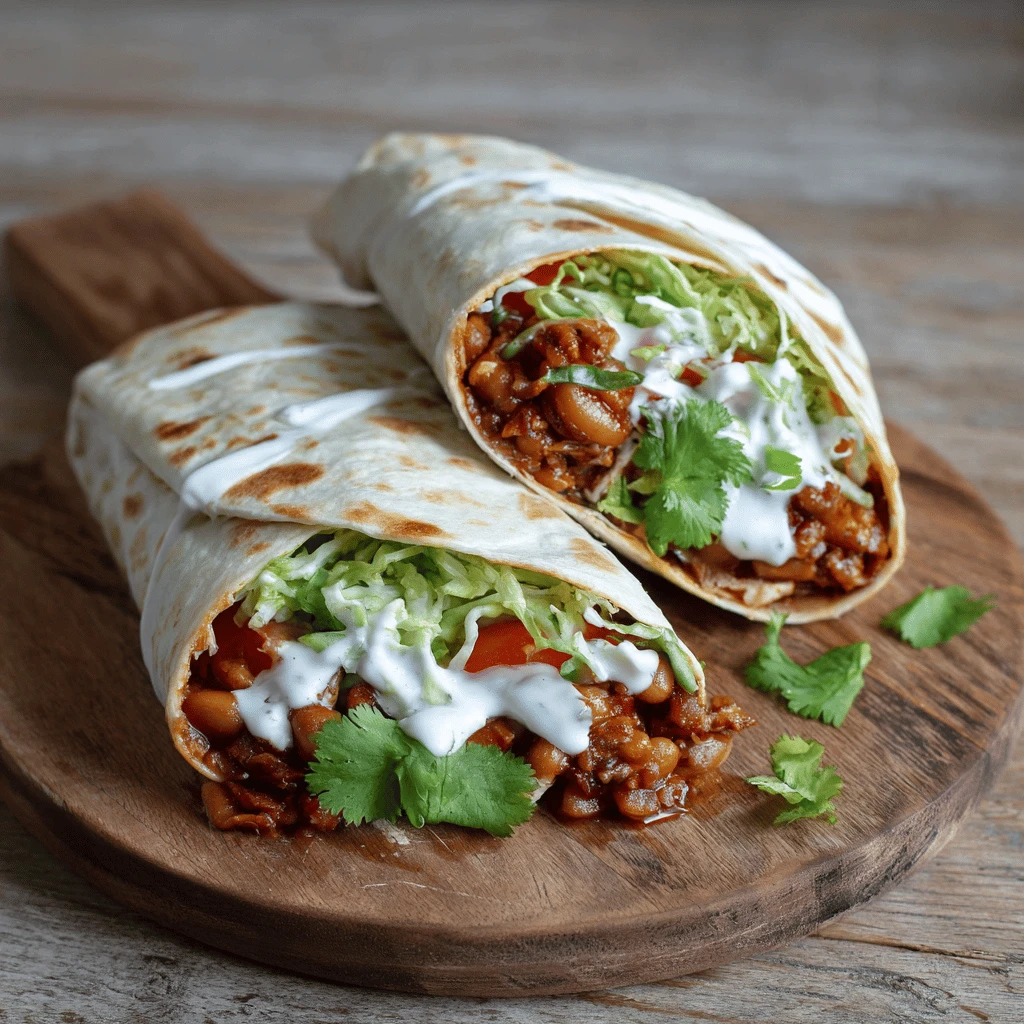
Finding healthy and delicious meals that appeal to the entire family can be a challenge. Enter Garlic Beans Wraps! These versatile wraps are packed with flavor, easy to customize, and a hit with both kids and adults. This guide will walk you through creating the perfect family-friendly Garlic Beans Wraps, offering tips, variations, and everything you need to make this a go-to meal in your household.
Why Garlic Beans Wraps Are a Family Favorite
Garlic Beans Wraps offer a multitude of benefits, making them a fantastic choice for busy families.
- Nutritional Powerhouse: Beans are an excellent source of protein, fiber, and essential vitamins and minerals. Paired with fresh vegetables and whole-grain tortillas, these wraps provide a balanced and nutritious meal.
- Kid-Friendly Appeal: The mild garlic flavor and customizable fillings allow kids to participate in creating their own wraps, increasing their enthusiasm for trying new foods. The “wrap” format is also generally more appealing than simply serving beans as a side dish.
- Quick and Easy to Prepare: With minimal cooking time and simple ingredients, Garlic Beans Wraps are perfect for weeknight dinners or a quick lunch. You can even prepare the bean mixture ahead of time for even faster assembly.
- Versatile and Customizable: The fillings can be easily adapted to suit individual preferences and dietary needs. From adding cheese and salsa to incorporating different vegetables, the possibilities are endless.
- Budget-Friendly: Beans are an affordable staple, making this a cost-effective meal option for families on a budget.
Crafting the Perfect Garlic Beans Filling
The heart of any great Garlic Beans Wrap is, of course, the garlic beans filling. Here’s how to create a flavorful and satisfying base:
Selecting Your Beans
The choice of beans is entirely up to you. Pinto beans, black beans, and kidney beans are all excellent choices and readily available.
- Pinto Beans: These beans have a mild, earthy flavor and creamy texture, making them a popular choice for refried beans and wraps.
- Black Beans: Black beans offer a slightly sweeter and more robust flavor. They also hold their shape well, adding a nice texture to the filling.
- Kidney Beans: Kidney beans have a firm texture and a slightly nutty flavor, adding depth to the overall taste.
- Canned vs. Dried: While canned beans are convenient, dried beans offer a more authentic flavor and are generally more economical. If using dried beans, soak them overnight and cook until tender before proceeding with the recipe.
The Garlic Infusion
Garlic is the star of the show! The key is to cook it gently to bring out its sweetness without burning it.
1. Mincing the Garlic: Finely mince the garlic to ensure it distributes evenly throughout the bean mixture.
2. Sautéing the Garlic: Heat olive oil in a skillet over medium-low heat. Add the minced garlic and sauté for 1-2 minutes, or until fragrant. Be careful not to brown or burn the garlic, as this will result in a bitter taste.
3. Adding the Beans: Add the cooked beans to the skillet and stir to combine with the garlic-infused oil.
Enhancing the Flavor Profile
To elevate the flavor of your garlic beans, consider adding the following ingredients:
- Onion: Diced onion, sautéed alongside the garlic, adds sweetness and depth.
- Chili Powder: A pinch of chili powder provides a subtle warmth and enhances the overall flavor.
- Cumin: Cumin adds an earthy and aromatic note that complements the beans perfectly.
- Smoked Paprika: Smoked paprika imparts a smoky flavor that adds complexity to the filling.
- Lime Juice: A squeeze of lime juice brightens the flavors and adds a touch of acidity.
- Vegetable Broth: Adding a splash of vegetable broth helps to create a smoother and creamier consistency.
Achieving the Perfect Texture
The texture of the bean filling is crucial for a satisfying wrap. You can adjust the texture to your liking:
- Mashing: Partially mash the beans with a fork or potato masher to create a creamy consistency while still retaining some whole beans for texture.
- Blending: For a smoother filling, use an immersion blender or regular blender to puree a portion of the beans.
- Leaving Whole: Some people prefer to leave the beans mostly whole for a more rustic texture.
Assembling Your Family-Friendly Wraps
Once you have your delicious garlic beans filling, it’s time to assemble the wraps!
Choosing Your Tortillas
The type of tortilla you choose can significantly impact the overall taste and texture of your wraps.
- Flour Tortillas: Flour tortillas are soft and pliable, making them easy to roll and fold. They are a classic choice for wraps and come in various sizes. Whole wheat flour tortillas offer a healthier option.
- Corn Tortillas: Corn tortillas have a more distinct flavor and slightly coarser texture. They are a good option for those who prefer a gluten-free alternative. However, corn tortillas can be more prone to cracking, so be sure to warm them before filling.
- Spinach Tortillas: Spinach tortillas add a touch of green and a subtle spinach flavor. They are also a good source of vitamins and minerals.
Preparing the Tortillas
Warming the tortillas before filling them makes them more pliable and less likely to tear.
- Microwave: Wrap the tortillas in a damp paper towel and microwave for 15-20 seconds.
- Skillet: Heat a dry skillet over medium heat. Warm each tortilla for 10-15 seconds per side, until pliable.
- Oven: Wrap the tortillas in foil and heat in a preheated oven at 350°F (175°C) for 10-15 minutes.
Selecting Your Fillings
This is where you can get creative and customize the wraps to your family’s preferences.
- Vegetables: Shredded lettuce, diced tomatoes, sliced avocados, chopped onions, bell peppers, corn, and shredded carrots are all great additions.
- Cheese: Shredded cheddar, Monterey Jack, or pepper jack cheese add flavor and creaminess. Vegan cheese alternatives are also available.
- Salsa: Choose your favorite salsa, from mild to spicy, to add a zesty kick.
- Sour Cream or Yogurt: A dollop of sour cream or Greek yogurt adds a creamy tang.
- Guacamole: Guacamole is a healthy and delicious addition, providing healthy fats and a creamy texture.
- Hot Sauce: For those who like a little heat, a dash of hot sauce can add a fiery kick.
Assembling the Wraps: A Step-by-Step Guide
1. Lay out a warm tortilla.
2. Spread a layer of garlic beans filling down the center of the tortilla, leaving about an inch of space on each end.
3. Add your desired fillings on top of the beans.
4. Fold in the sides of the tortilla.
5. Fold up the bottom edge tightly over the fillings.
6. Roll the wrap forward until it is completely sealed.
7. Cut in half (optional) and serve immediately.
Variations and Adaptations for Every Palate
Garlic Beans Wraps are incredibly versatile and can be adapted to suit a wide range of dietary needs and preferences.
Vegetarian and Vegan Options
- Vegan Cheese: Substitute dairy cheese with vegan cheese alternatives.
- Plant-Based Sour Cream: Use plant-based sour cream or yogurt.
- Guacamole: Add extra guacamole for creaminess and healthy fats.
- Tofu or Tempeh: Incorporate crumbled tofu or tempeh for added protein.
Gluten-Free Options
- Corn Tortillas: Use corn tortillas instead of flour tortillas.
- Lettuce Wraps: For a low-carb option, use large lettuce leaves instead of tortillas.
Spice Level Adjustments
- Mild: Omit chili powder and hot sauce for a milder flavor.
- Medium: Add a pinch of chili powder and a mild salsa.
- Spicy: Use a spicy salsa, add a dash of hot sauce, and incorporate jalapeños or other spicy peppers.
Global Flavors
- Mexican: Add shredded lettuce, diced tomatoes, salsa, and sour cream.
- Mediterranean: Incorporate hummus, feta cheese, Kalamata olives, and cucumbers.
- Asian: Add shredded cabbage, carrots, sesame seeds, and a drizzle of soy sauce or teriyaki sauce.
Make-Ahead Tips
- Prepare the bean filling in advance: The garlic beans filling can be made up to 3 days in advance and stored in the refrigerator.
- Chop vegetables ahead of time: Chop all your vegetables and store them in airtight containers in the refrigerator.
- Assemble wraps ahead of time: Assemble the wraps and store them in the refrigerator for a quick and easy meal. Wrap them tightly in plastic wrap to prevent them from drying out.
Tips for Success and Serving Suggestions
To ensure your Garlic Beans Wraps are a resounding success, consider these helpful tips and serving suggestions.
- Don’t overfill the wraps: Overfilling the wraps can make them difficult to roll and can cause them to tear.
- Warm the tortillas properly: Warm tortillas are more pliable and less likely to crack.
- Use high-quality ingredients: Fresh, high-quality ingredients will result in the best flavor.
- Get the kids involved: Let the kids help with preparing the fillings and assembling the wraps. This will make them more likely to enjoy the meal.
Serving Suggestions
- Serve with a side of tortilla chips and salsa.
- Add a side salad for a complete meal.
- Pack the wraps for lunch or a picnic.
- Serve with a dollop of sour cream or guacamole.
Frequently Asked Questions (FAQ)
- Can I freeze Garlic Beans Wraps?
Yes, you can freeze assembled Garlic Beans Wraps. Wrap them tightly in plastic wrap and then in foil. They can be stored in the freezer for up to 2 months. Thaw in the refrigerator overnight before reheating.
- How long do Garlic Beans Wraps last in the refrigerator?
Assembled Garlic Beans Wraps will last for 2-3 days in the refrigerator. Store them in an airtight container to prevent them from drying out.
- Can I use different types of beans?
Absolutely! Feel free to experiment with different types of beans, such as kidney beans, cannellini beans, or great northern beans.
- How can I make the wraps more kid-friendly?
Offer a variety of fillings and let the kids choose their own. Cut the wraps into smaller pieces for easier handling.
- What are some healthy filling options?
Healthy filling options include shredded lettuce, diced tomatoes, sliced avocados, chopped onions, bell peppers, corn, and shredded carrots.


