

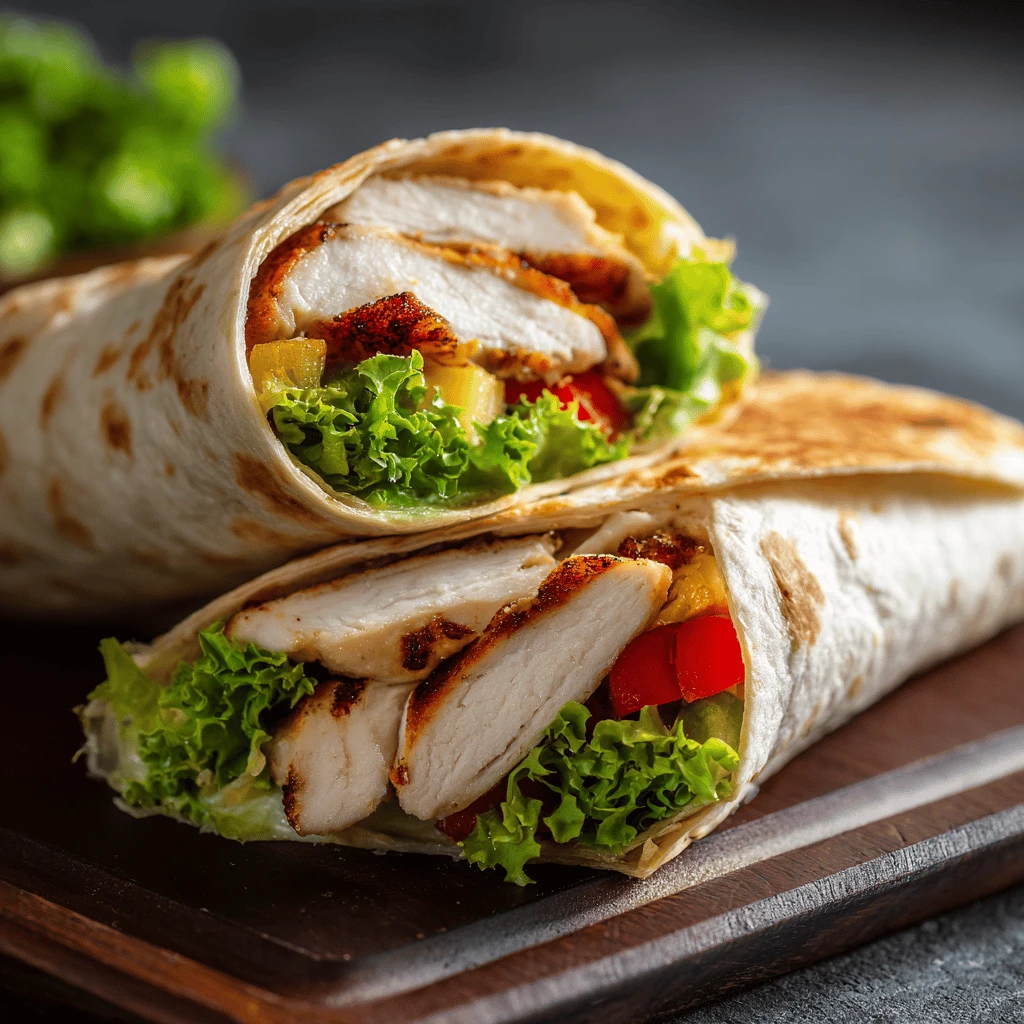
Family-Friendly Baked Chicken Breast Wrap
Baked chicken breast wraps are a fantastic option for a quick, healthy, and delicious meal the whole family will love. They’re versatile, easy to customize, and perfect for lunchboxes, picnics, or a light dinner. This guide provides everything you need to create the perfect family-friendly baked chicken breast wrap, from essential ingredients to variations and tips for picky eaters.
The Foundation: Perfect Baked Chicken Breast
The key to a great chicken wrap is, of course, the chicken. Baking chicken breast ensures a moist and tender result, crucial for avoiding dry, unappetizing wraps.
Choosing the Right Chicken
Opt for boneless, skinless chicken breasts. These are readily available and cook quickly and evenly. Look for breasts that are similar in size to ensure uniform cooking times. Organic or free-range chicken breasts can offer enhanced flavor and texture, but regular chicken breasts work just as well for a budget-friendly option.
Baking for Perfection
Baking chicken breasts doesn’t need to be complicated. Here’s a simple method for consistently juicy results:
1. Preheat: Preheat your oven to 375°F (190°C).
2. Prepare: Lightly pound the chicken breasts to an even thickness (about 1/2 inch). This ensures even cooking and prevents dry edges.
3. Season: Generously season with salt, pepper, garlic powder, onion powder, paprika, and any other favorite herbs and spices. A simple mixture of olive oil and lemon juice can also add moisture and flavor.
4. Bake: Place the seasoned chicken breasts on a baking sheet lined with parchment paper. Bake for 20-25 minutes, or until the internal temperature reaches 165°F (74°C).
5. Rest: Let the chicken rest for 5-10 minutes before slicing or shredding. This allows the juices to redistribute, resulting in a more tender and flavorful product.
Tips for Extra Flavor
- Marinade: Marinating the chicken for at least 30 minutes (or even overnight) can significantly enhance its flavor. Try a simple marinade of olive oil, lemon juice, garlic, and herbs.
- Brining: Brining the chicken in a saltwater solution for an hour before baking can also help to keep it moist and flavorful.
- Cheese: Place a thin slice of mozzarella or provolone cheese on top of the chicken during the last few minutes of baking for an added layer of cheesy goodness.
Assembling the Perfect Wrap: Ingredients and Combinations
Once the chicken is cooked and ready, it’s time to assemble the wraps. The options are endless, but here are some popular and family-friendly choices:
Wrap Options
- Flour Tortillas: These are the most common and readily available option. Choose whole wheat tortillas for added fiber.
- Spinach Tortillas: A great way to sneak in some extra greens.
- Gluten-Free Tortillas: Essential for those with gluten sensitivities.
- Lettuce Wraps: For a low-carb option, use large lettuce leaves (like romaine or butter lettuce) instead of tortillas.
Sauce Sensations
The sauce is what ties all the flavors together and adds moisture.
- Hummus: A healthy and flavorful option, packed with protein and fiber.
- Ranch Dressing: A classic choice that kids often love. Opt for a lower-fat version or make your own.
- Honey Mustard: A sweet and tangy option that pairs well with chicken and vegetables.
- Guacamole: Adds creaminess and healthy fats.
- Plain Yogurt: A tangy, low-fat option to use as a base for other flavors. Mix with herbs, lemon juice, or spices.
Veggie Variety
Adding vegetables not only enhances the nutritional value of the wrap but also adds flavor and texture.
- Lettuce: Romaine, spinach, or mixed greens provide a crisp base.
- Tomato: Sliced or diced tomatoes add juiciness and acidity.
- Cucumber: Adds a refreshing crunch.
- Bell Peppers: Sliced bell peppers add sweetness and color.
- Avocado: Adds creaminess and healthy fats.
- Carrots: Shredded carrots add sweetness and a satisfying crunch.
- Sprouts: Alfalfa or bean sprouts add a delicate crunch and a boost of nutrients.
Cheese Please!
Cheese adds flavor and helps to bind the ingredients together.
- Cheddar: A classic choice that’s mild and universally liked.
- Monterey Jack: A mild and creamy cheese that melts well.
- Mozzarella: Adds a subtle flavor and a gooey texture when warmed.
- Feta: Adds a salty and tangy flavor (use sparingly, as it can be overpowering).
Wrap Combinations for Every Palate
Here are some popular wrap combinations to get you started:
- Classic Chicken Ranch: Baked chicken, romaine lettuce, tomato, cheddar cheese, and ranch dressing.
- Mediterranean Chicken Wrap: Baked chicken, spinach, cucumber, feta cheese, hummus, and a drizzle of olive oil.
- Chicken Caesar Wrap: Baked chicken, romaine lettuce, Parmesan cheese, and Caesar dressing.
- Spicy Southwest Chicken Wrap: Baked chicken, lettuce, tomato, avocado, Monterey Jack cheese, and a spicy chipotle mayo.
- Honey Mustard Chicken Wrap: Baked chicken, lettuce, tomato, shredded carrots, and honey mustard dressing.
Tips and Tricks for Picky Eaters
Getting kids to eat healthy can be a challenge, but wraps are a great way to sneak in extra nutrients. Here are some tips for catering to picky eaters:
- Deconstruct the Wrap: Let kids choose their own ingredients and assemble their own wraps. This gives them a sense of control and makes them more likely to try new things.
- Offer Variety: Provide a wide range of ingredients and let kids experiment with different combinations.
- Sneak in Veggies: Finely chop or shred vegetables and mix them into sauces or dressings.
- Make it Fun: Use cookie cutters to cut the wraps into fun shapes or arrange the ingredients in a creative way.
- Lead by Example: Show your kids that you enjoy eating healthy foods by eating your own wraps with enthusiasm.
- Don’t Force It: If your child refuses to try something, don’t force them. Simply offer it again another time.
- Start Small: Introduce new ingredients gradually, one at a time.
- Dip It: Offer dips like ranch, hummus, or yogurt to make vegetables more appealing.
Beyond the Basics: Variations and Creative Twists
Once you’ve mastered the basics, you can start experimenting with different variations and creative twists.
Global Flavors
- Asian-Inspired: Use a soy sauce and ginger marinade for the chicken, and add shredded cabbage, carrots, and a sesame ginger dressing.
- Mexican Fiesta: Season the chicken with chili powder and cumin, and add black beans, corn, salsa, and guacamole.
- Greek Delight: Marinate the chicken in lemon juice, garlic, and oregano, and add cucumber, tomato, red onion, feta cheese, and a tzatziki sauce.
- Italian Twist: Add sun-dried tomatoes, mozzarella cheese, and a pesto mayo to your wrap.
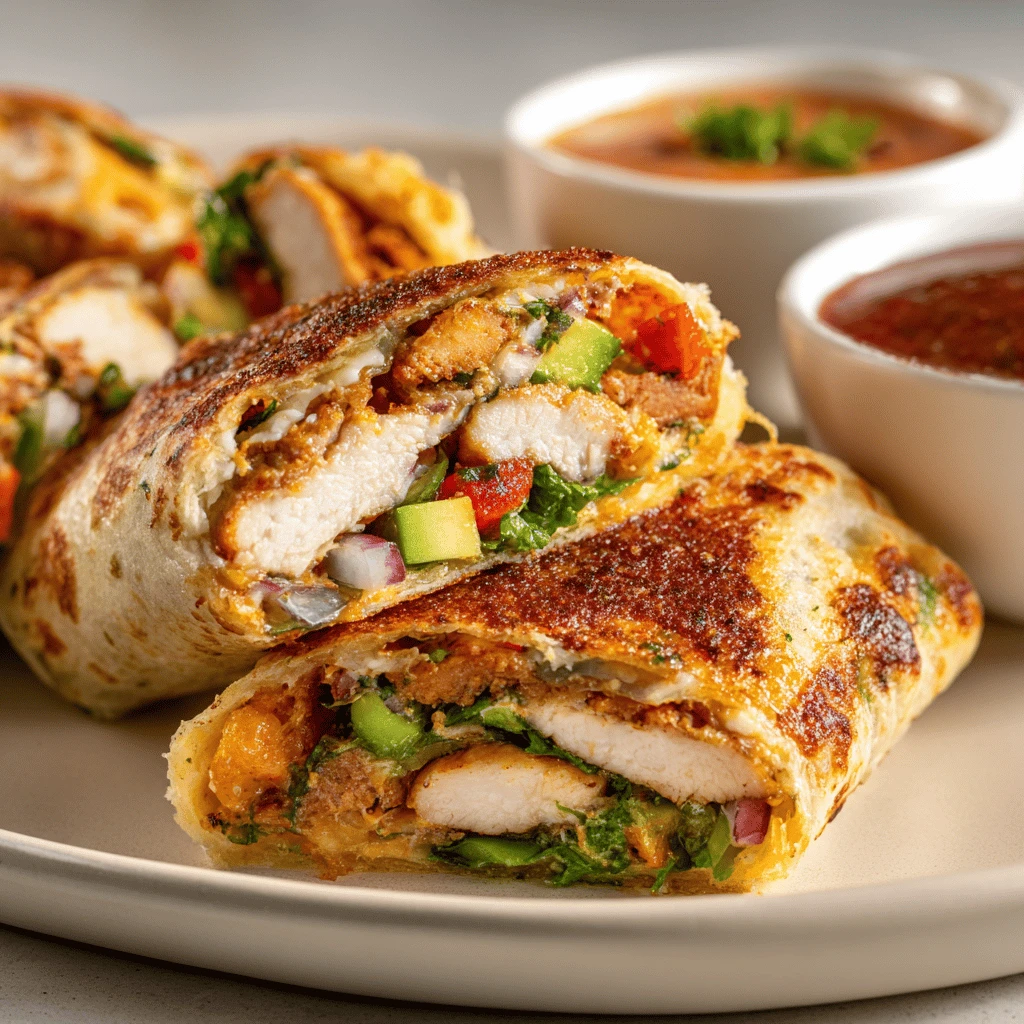
Temperature Play
- Warm Wraps: Briefly warm the assembled wrap in a panini press or skillet for a melty, gooey experience.
- Cold Wraps: Perfect for lunchboxes and picnics, cold wraps are refreshing and easy to eat on the go.
- Grilled Wraps: Grill the assembled wraps for a smoky flavor and a crispy exterior.
Protein Power-Ups
- Add Beans: Black beans, chickpeas, or kidney beans add extra protein and fiber.
- Include Quinoa: Cooked quinoa adds a nutty flavor and a boost of nutrients.
- Toss in Eggs: Scrambled or hard-boiled eggs add protein and a creamy texture.
- Use Leftover Roast Chicken: An efficient use for leftover poultry.
Storage and Make-Ahead Tips
Wraps are a convenient meal option, but proper storage is crucial to maintain freshness and prevent spoilage.
Storing Assembled Wraps
Assembled wraps are best consumed within a few hours of preparation. If you need to store them for longer, wrap them tightly in plastic wrap and refrigerate them for up to 24 hours. Be aware that the tortillas may become soggy over time, especially if they contain wet ingredients.
Storing Individual Ingredients
Individual ingredients, such as cooked chicken, chopped vegetables, and sauces, can be stored separately in airtight containers in the refrigerator for up to 3-4 days. This allows you to prepare the ingredients in advance and assemble the wraps when you’re ready to eat.
Make-Ahead Strategies
- Prep the Chicken: Cook and shred or slice the chicken in advance and store it in the refrigerator.
- Chop the Veggies: Chop all your vegetables ahead of time and store them in airtight containers.
- Make the Sauce: Prepare your favorite sauces and dressings and store them in the refrigerator.
- Assemble the Wraps in Stages: If you’re making wraps for lunchboxes, you can assemble them partially the night before. For example, you can spread the sauce and add the lettuce, but wait to add the chicken and other ingredients until the morning to prevent the tortilla from becoming soggy.
Frequently Asked Questions (FAQ)
Can I use rotisserie chicken instead of baking my own?
Yes, rotisserie chicken is a great shortcut! Just shred the chicken and use it in your wraps.
How do I prevent my wraps from getting soggy?
Avoid adding too much sauce and wrap them tightly. Consider using a layer of lettuce as a barrier between the sauce and the tortilla.
Can I freeze chicken wraps?
It’s not recommended to freeze assembled chicken wraps as the texture of the tortillas and vegetables may change. However, you can freeze the cooked chicken separately.
What are some healthy wrap options?
Use whole wheat tortillas, lean protein like baked chicken, plenty of vegetables, and healthy sauces like hummus or plain yogurt.
What can I add to chicken wraps for extra flavor?
Try adding herbs, spices, marinated vegetables, or a sprinkle of cheese. A little hot sauce can also kick up the flavor.
Are chicken wraps good for weight loss?
Yes, if you choose healthy ingredients, chicken wraps can be a great part of a weight loss plan. Focus on lean protein, lots of vegetables, and whole-wheat tortillas.
How do I make chicken wraps for a crowd?
Prepare all the ingredients in advance and set up a wrap-making station. Let everyone assemble their own wraps!
