Halloween Bark Recipe – Easy & Spooky No-Bake Treat

Halloween Bark – The Perfect Festive Treat for Spooky Celebrations

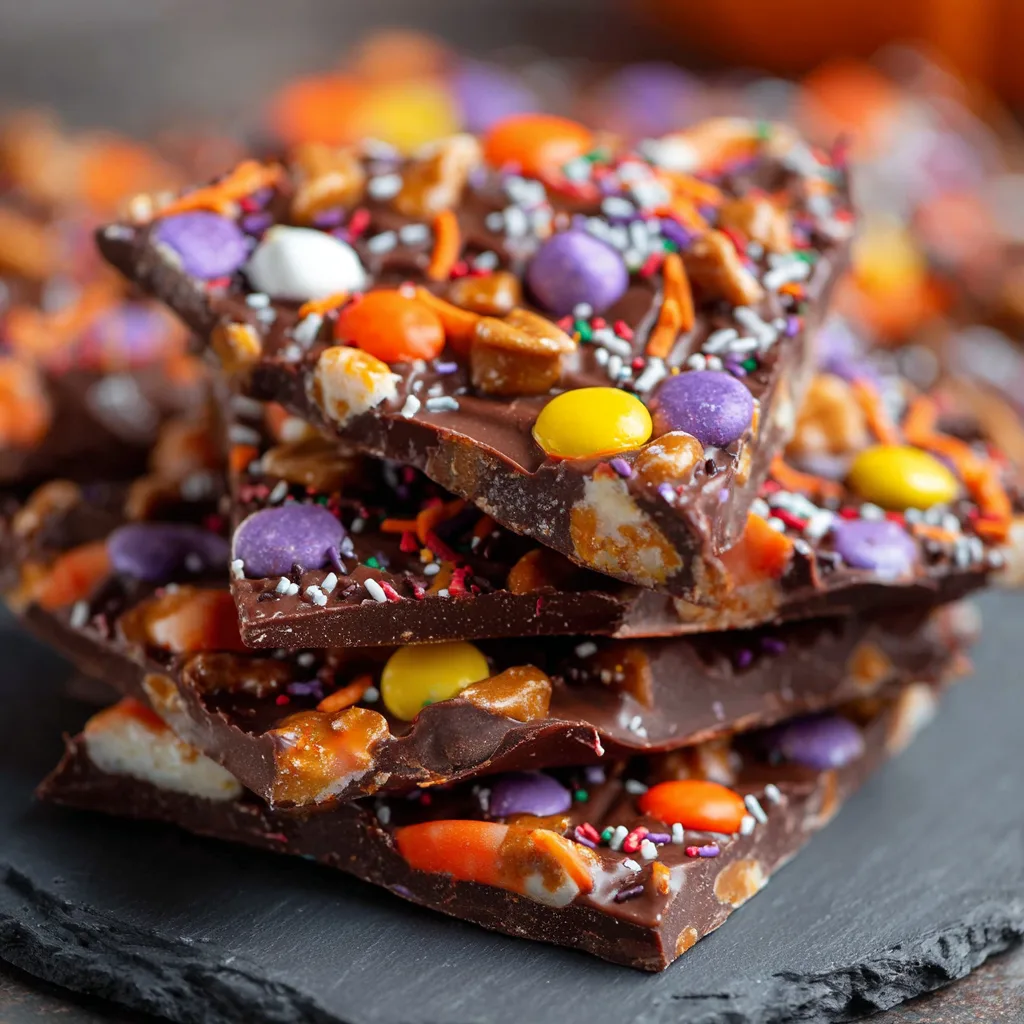
Halloween bark stands out as a fun and festive treat that brings the spirit of the season to life. This simple dessert consists of a thin layer of chocolate or candy base, generously topped with colorful candies, nuts, and seasonal decorations. It’s a crowd-pleaser that combines sweet flavors with playful textures, making it a favorite among both kids and adults.

The popularity of Halloween bark surges each year during the spooky season because it offers a quick, customizable way to create themed treats. Unlike complicated desserts, bark requires minimal effort but delivers maximum impact. Its versatility allows you to mix and match ingredients, from candy corn and pretzels to edible glitter and pumpkin spice, making it easy to personalize for any Halloween party or gift.

What truly makes Halloween bark irresistible is its combination of eye-catching colors and delicious flavors. Whether you’re hosting a gathering or preparing treats for trick-or-treaters, this dessert fits perfectly. It doubles as a creative project for families and a stylish addition to any dessert table.

This article will guide you through everything you need to know about Halloween bark. From popular flavor combinations and simple step-by-step instructions to clever presentation ideas and allergy-friendly tips, you’ll find all the essentials to make your Halloween celebration extra sweet. Plus, a detailed recipe card awaits at the end to help you get started with ease.

Classic Halloween Bark Flavors and Ingredients: Traditional Choices for Spooky Sweetness

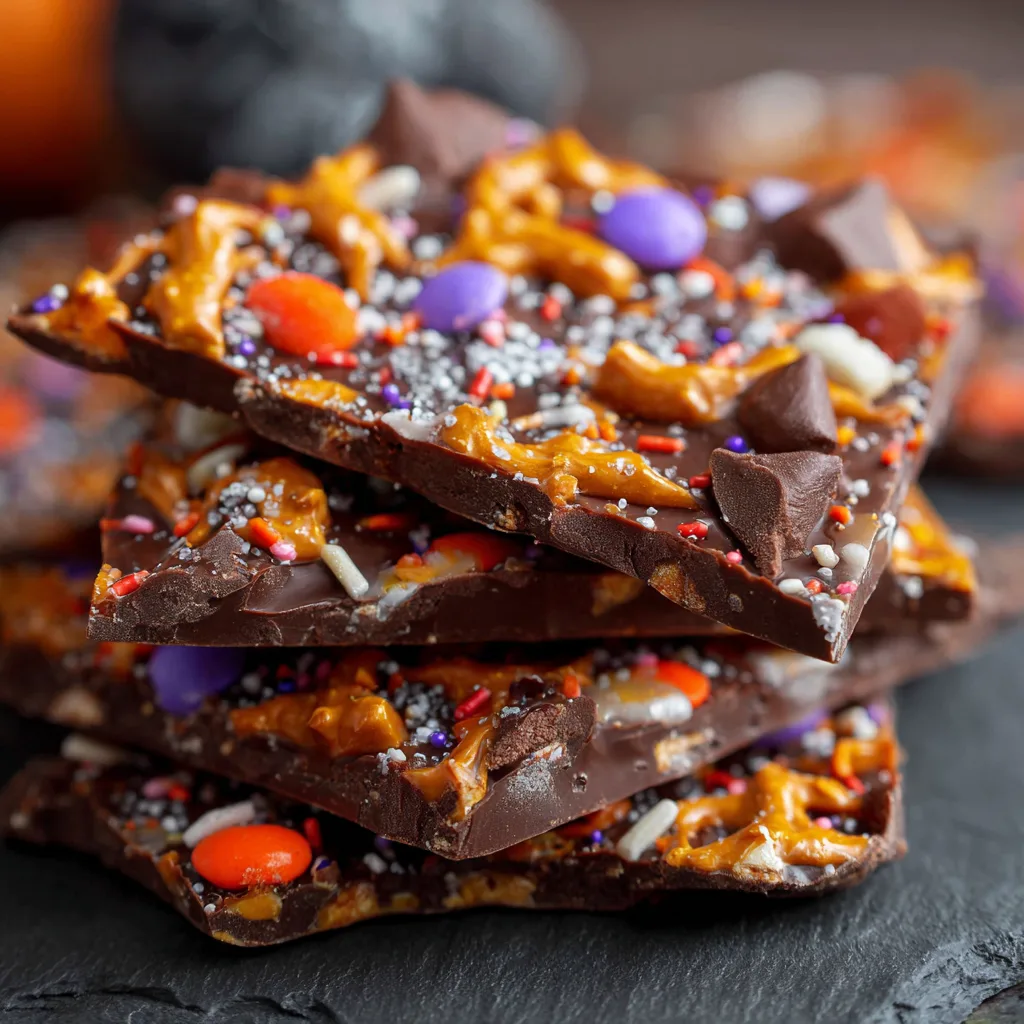
Halloween bark starts with a solid chocolate base, and the most common choices include dark, milk, or white chocolate. Each type brings its own flavor profile: dark chocolate adds richness and slight bitterness, milk chocolate offers creamy sweetness, and white chocolate provides a smooth, sugary canvas. These chocolates melt easily and harden into a perfect surface for toppings.

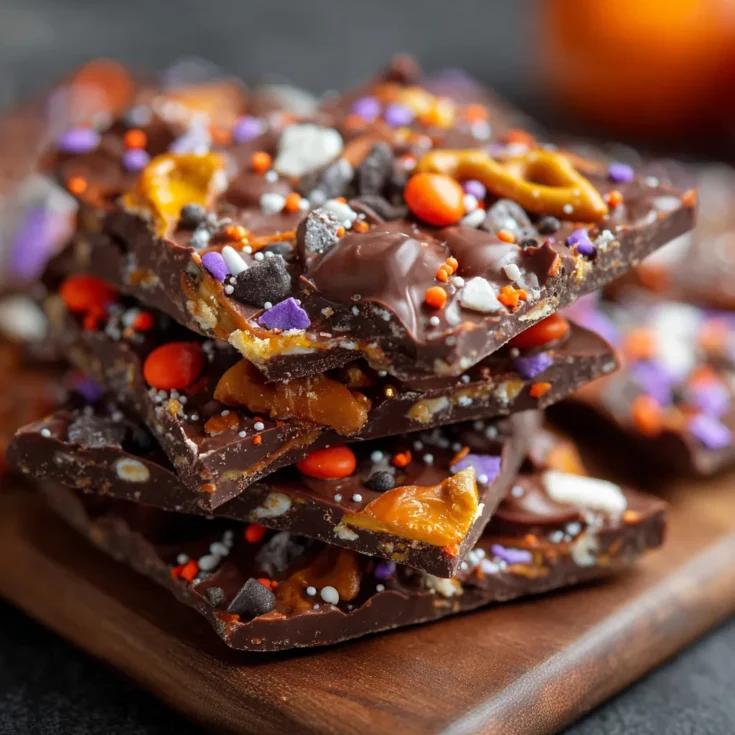
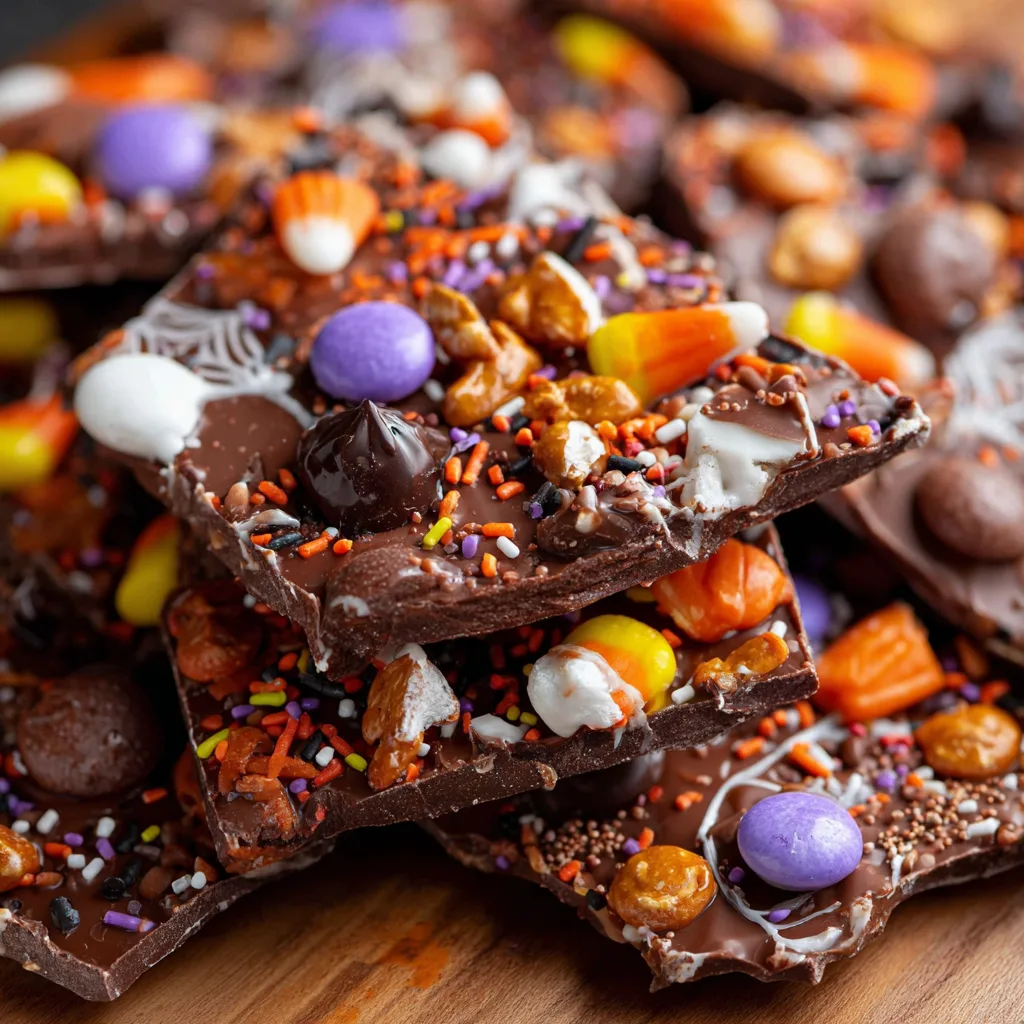
Mix-ins add texture and festive flair. Candy corn remains a seasonal favorite, with its iconic orange, yellow, and white hues. Colorful sprinkles introduce crunch and whimsy. Pretzels add a salty contrast that balances the sweetness, while chopped nuts bring crunch and depth. Seasonal candies shaped like pumpkins, ghosts, or bats complete the Halloween vibe, making the bark visually exciting and fun to eat.

Creative and Unique Halloween Bark Variations: Gluten-Free, Vegan, and Flavor Twists

For those with dietary restrictions, Halloween bark offers plenty of flexibility. Gluten-free versions simply swap out any wheat-based toppings for naturally gluten-free treats like nuts, seeds, or gluten-free candy. This ensures everyone can enjoy the festive snack without worry.

Vegan and dairy-free bark options use plant-based chocolate alternatives, such as coconut or almond milk chocolates. These choices keep the bark creamy and rich while avoiding dairy. Some even use dark chocolate naturally free of dairy.

To surprise your guests, try spicy or savory twists. Chili chocolate bark pairs rich cocoa with a hint of heat, adding excitement to your dessert table. Seasonal flavors like pumpkin spice, caramel drizzle, or peppermint extract transform the bark into a holiday-themed experience. These subtle flavor boosts keep the bark fresh and memorable.

Color and Decoration Ideas to Make Halloween Bark Stand Out: Bright, Bold, and Beautiful

Visual appeal matters when it comes to Halloween bark. Colored melts, available in orange, green, purple, and black, help craft spooky designs or vibrant layers. Adding a few drops of food coloring to white chocolate melts allows you to customize hues for unique effects.

Decorate the bark with edible glitter, which sparkles under party lights, creating a magical look. Candy eyes give the bark a playful, eerie character. Themed sprinkles in shapes like bats, skulls, or pumpkins add texture and reinforce the Halloween spirit.

When presenting Halloween bark, packaging and display elevate the experience. Arrange pieces on a decorative platter or wrap in clear cellophane tied with festive ribbons. These simple touches make the bark perfect for gifting or as a standout centerpiece at any Halloween party.

Essential Tools and Ingredients for Halloween Bark: What You Need to Get Started

Before making Halloween bark, gather a few simple kitchen tools to ensure a smooth process. You’ll need a baking sheet to spread the chocolate, preferably one with a rim to prevent spills. Line it with parchment paper for easy removal and cleanup. Use a spatula or offset knife to spread the melted chocolate evenly. A microwave-safe bowl or heatproof mixing bowl works well for melting chocolate, especially if you’re using a double boiler setup.

Choosing quality ingredients makes a huge difference. Select high-quality chocolate bars or melting wafers with a smooth texture and rich flavor. Avoid chips meant only for baking, as they may not melt as smoothly. For toppings, pick fresh candy and nuts, and check for any signs of spoilage. Seasonal candies with vibrant colors and fun shapes will enhance both taste and appearance.

Step-by-Step Preparation and Assembly Instructions: Easy Steps for Perfect Halloween Bark

Start by melting the chocolate carefully. You can use a microwave in short bursts of 20-30 seconds, stirring in between to prevent burning. Alternatively, a double boiler method uses a bowl set over simmering water. This method provides gentle, even heat and reduces the risk of overheating.

Once melted, pour the chocolate onto the parchment-lined baking sheet. Use your spatula to spread it evenly into a thin, uniform layer, about ¼ inch thick. The even spread ensures consistent setting and makes breaking into pieces easier.

Before the chocolate cools and hardens, sprinkle your chosen toppings generously over the surface. Press some toppings lightly into the chocolate to help them stick. Work quickly, as chocolate sets fast at room temperature.

Let the bark cool completely. You can leave it at room temperature or place it in the refrigerator for about 20-30 minutes to speed up the process. Make sure it’s fully firm before breaking it into pieces for serving or packaging.

Storage and Serving Tips: Keep Your Halloween Bark Fresh and Festive

Store Halloween bark in an airtight container to maintain freshness and prevent moisture buildup. Keep it in a cool, dry place away from direct sunlight or heat sources to avoid melting or blooming (white streaks on chocolate).

For parties, arrange bark pieces on a decorative tray alongside other seasonal treats to create an inviting dessert spread. If gifting, wrap the pieces in cellophane bags tied with festive ribbons or place them in decorative boxes. Including a small note or label adds a personal touch.

Serve Halloween bark at room temperature for the best texture and flavor. If chilled, allow it to warm slightly before serving to soften the chocolate and release its full taste. These simple tips help your bark remain a highlight of any spooky celebration.


Incorporating Halloween Bark into Party Menus: Sweet Highlights for Your Spooky Spread

Halloween bark fits seamlessly into any party menu. Its colorful appearance and rich flavors make it a perfect complement to other seasonal treats. Pair it with pumpkin-flavored cookies, caramel apples, or spiced popcorn for a balanced dessert table. The mix of textures and tastes keeps guests excited and satisfied.

Use Halloween bark as unique party favors. Breaking it into small pieces and packaging them individually allows guests to take home a delicious memory of your celebration. You can also place large chunks on serving platters as edible table decorations. These edible accents add festive charm and spark conversation.

Creative Packaging and Presentation Ideas: Making Halloween Bark Gift-Ready

When gifting Halloween bark, presentation matters. Wrap pieces in clear cellophane bags, then tie them with orange, black, or purple ribbons. Adding small themed tags or stickers creates a personalized feel. Consider using decorative boxes or tins lined with tissue paper for an extra special touch.

Label homemade treats clearly, especially if sharing with friends or neighbors. Adding a simple note with the flavor details or ingredients shows care and helps recipients appreciate your effort. You can also include storage instructions or allergy information to make the gift more thoughtful.

Safety and Allergy Considerations: Making Halloween Bark Safe for Everyone

Many Halloween treats pose allergy risks, but you can easily create safe versions of bark. Use nut-free toppings and select candies free from common allergens like gluten or dairy. Vegan and gluten-free chocolate options make the treat accessible to more guests.

Always label your Halloween bark with ingredients to alert guests about potential allergens. Clear communication helps avoid unwanted reactions and shows you value everyone’s health and enjoyment. Taking these precautions ensures your festive bark remains a worry-free treat for all.

Frequently Asked Questions About Halloween Bark

What is Halloween bark made of?
Halloween bark typically features a base of melted chocolate—dark, milk, or white—topped with festive candies, nuts, and sprinkles. Common additions include candy corn, pretzels, and themed Halloween candies that add color and crunch.

How long does Halloween bark last?
Stored properly in an airtight container, Halloween bark usually stays fresh for up to two weeks at room temperature. If kept in a cool, dry place away from heat, it maintains its texture and flavor well.

Can I make Halloween bark ahead of time?
Yes! Halloween bark can be prepared several days or even a week in advance. Just store it carefully to keep it from absorbing odors or moisture. Making it ahead saves time on party day.

How do I store Halloween bark properly?
Store bark in an airtight container at room temperature in a cool, dry place. Avoid humid areas or direct sunlight, as these can cause the chocolate to melt or develop a white coating called bloom. Refrigeration is possible but may affect texture.

What are some good substitutions for common allergens in Halloween bark?
For nut allergies, use seeds like pumpkin or sunflower instead of nuts. Opt for dairy-free chocolate to accommodate lactose intolerance or vegan diets. Gluten-free candy toppings ensure safety for gluten-sensitive individuals.

Can Halloween bark be frozen?
Freezing is possible but not ideal. Chocolate can develop condensation when thawed, affecting texture and appearance. If freezing, wrap the bark tightly and thaw slowly at room temperature before serving.

What candies work best in Halloween bark?
Candy corn, mini chocolate chips, crushed candy bars, pretzels, and festive sprinkles all work well. Choose candies that hold their shape and won’t melt easily when mixed with warm chocolate. Edible decorations like candy eyes or colored sugar add fun details.

Yield: 12 servings

Halloween Bark Recipe – Easy & Spooky No-Bake Treat

Halloween Bark Recipe 1

This Halloween bark combines rich chocolate with festive candy toppings for a quick and colorful seasonal treat everyone will love.

Prep Time: 10 minutes
Total Time: 10 minutes

Ingredients

  • 12 oz dark, milk, or white chocolate (choose your favorite)
  • 1 cup candy corn
  • ½ cup chopped nuts (optional, use seeds for nut-free)
  • ½ cup Halloween-themed sprinkles
  • ¼ tsp pumpkin spice (optional)
  • ½ cup pretzels, roughly chopped (optional)

Instructions

  • Melt the chocolate using a microwave or double boiler, stirring frequently to avoid burning.
  • Spread the melted chocolate evenly over a parchment-lined baking sheet, about ¼ inch thick.
  • Sprinkle candy corn, nuts, sprinkles, and pretzels evenly over the warm chocolate. Press toppings lightly to stick.
  • Allow the bark to cool and harden at room temperature or place it in the fridge for 20-30 minutes.
  • Once set, break the bark into irregular pieces for serving.
  • Store the pieces in an airtight container at room temperature.
  • Notes

  • Use high-quality chocolate for smooth melting and better flavor.
  • For a vegan or dairy-free option, select plant-based chocolate and dairy-free toppings.
  • Avoid humidity and heat when storing to prevent melting or blooming.
  • Substitute nuts with seeds to accommodate nut allergies.
  • Customize toppings based on taste and dietary needs.
  •  


    Leave a Comment

    Skip to Recipe