
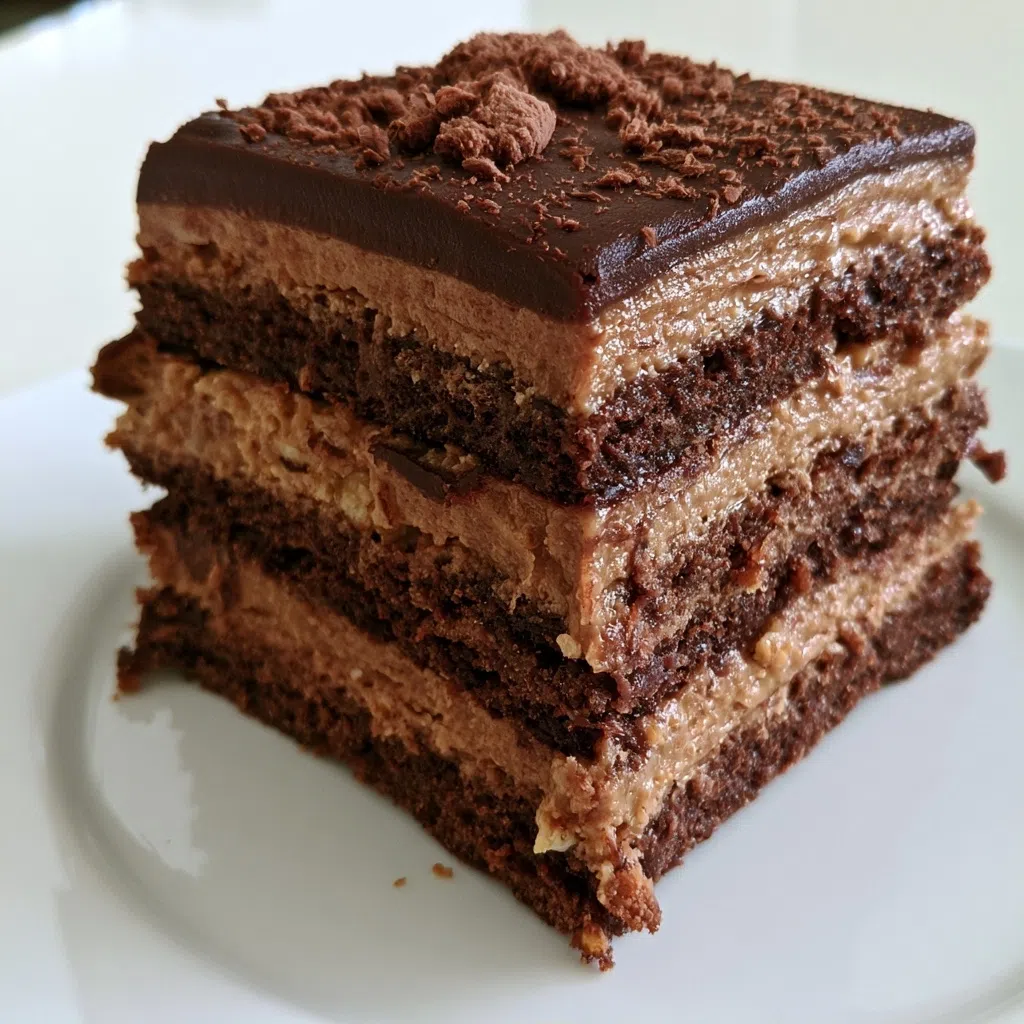
Chocolate Paçoca Layer Cake – Moist & Nutty Delight
Imagine the aroma of rich chocolate mingling with the buttery, peanut‑toasted scent of paçoca as you slice into this Chocolate Paçoca Layer Cake.
I first baked it on a rainy Sunday in my tiny kitchen, the rain drumming on the windows while I whisked in a handful of toasted peanuts that reminded me of my grandmother’s kitchen in Minas Gerais.
The first bite revealed a silky chocolate crumb hugging a crunchy paçoca layer – instantly, it became a cherished family favorite.
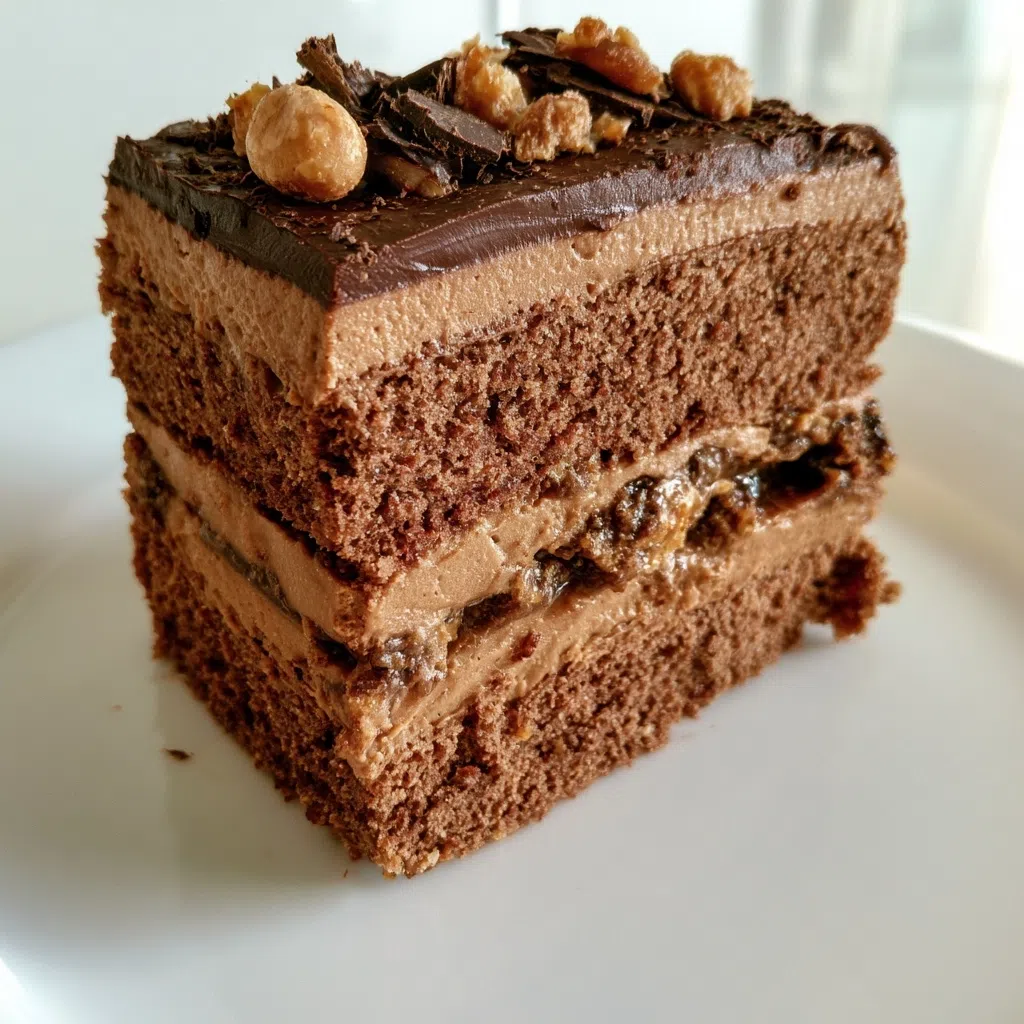
Why You’ll Love This Chocolate Paçoca Layer Cake
- Moist chocolate sponge contrasted with crunchy paçoca crumbs
- Deep cocoa flavor meets sweet, nutty peanut notes
- Ready in about 1 hour and 20 minutes total
- Foolproof: the batter stays glossy, preventing dryness
- Perfect for birthdays, family gatherings, or a cozy night in
Ingredients You’ll Need
- 1 cup all-purpose flour
- 1 cup whole wheat flour
- 1/2 cup cocoa powder
- 1 tsp baking powder
- 1 tsp baking soda
- 1/2 tsp salt
- 1 cup unsalted butter, softened
- 1 cup granulated sugar
- 2 large eggs
- 1 tsp vanilla extract
- 1 cup buttermilk
- 1 cup paçoca (Brazilian chocolate and manioc flour blend)
- 1/2 cup melted dark chocolate
- 1/4 cup milk
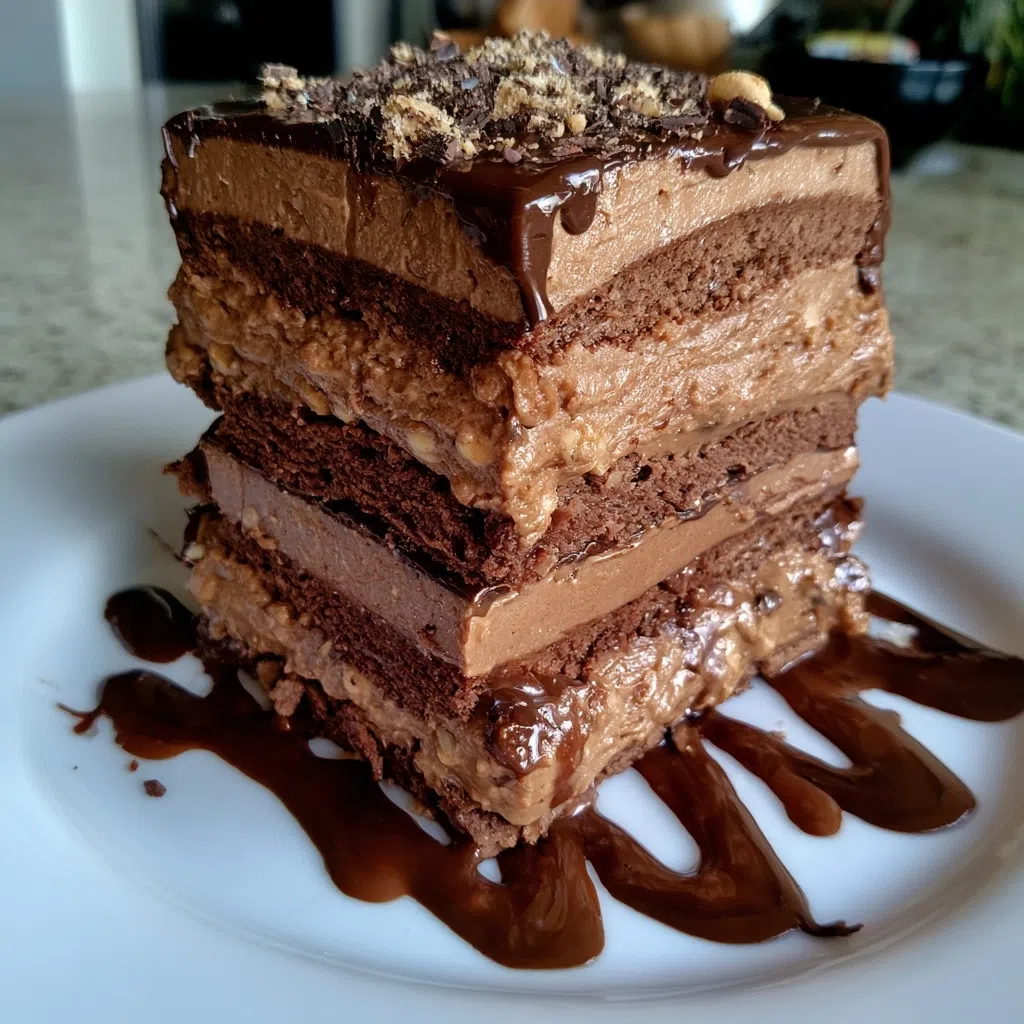
The star ingredients – high‑quality dark chocolate and authentic Brazilian paçoca – bring a luxurious depth and a nostalgic crunch that make every slice unforgettable.
Expert Tips for the Best Chocolate Paçoca Layer Cake
- Temper the chocolate gently to keep the crumb shiny and smooth
- Don’t over‑mix the batter; over‑mixing creates a dense texture – fold just until combined
- Upgrade with a splash of espresso for intensified chocolate depth
- Check doneness with a toothpick – it should come out with a few moist crumbs
- Make the cake a day ahead; the flavors meld beautifully overnight
Variations and Substitutions
Swap regular paçoca for a gluten‑free version made with rice flour, replace peanuts with almond flour for a different nutty profile, or drizzle a hint of orange zest‑infused ganache for a bold, citrus twist.
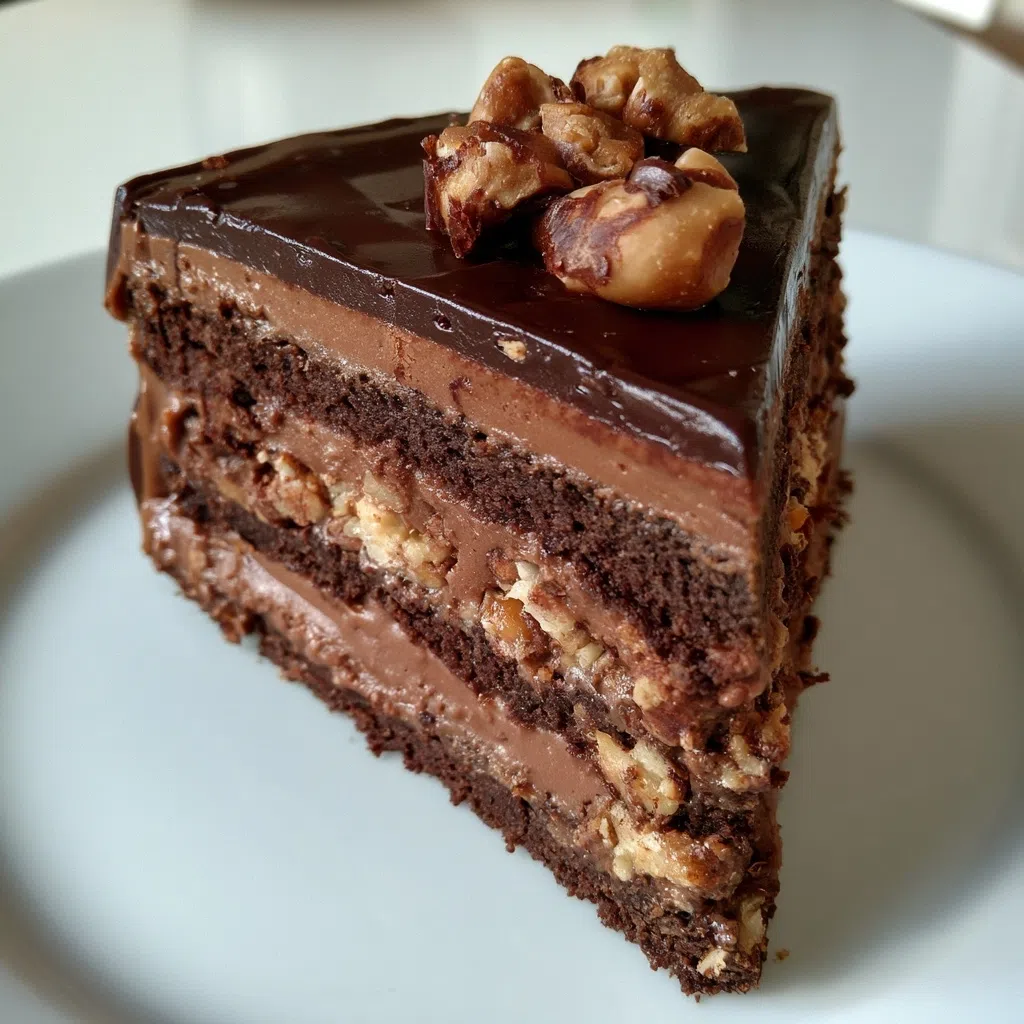
How to Store and Reheat
Keep the cake covered in the fridge for up to 4 days in an airtight container; reheat individual slices in a 300°F oven for 8‑10 minutes. Freeze wrapped portions for up to 2 months and thaw overnight in the fridge.
Frequently Asked Questions
Can I make this cake dairy‑free?
Yes – swap butter for coconut oil and use a plant‑based milk; the texture stays moist and the flavor stays rich.
What’s the best way to layer the paçoca?
Toast the peanuts lightly, crumble the paçoca, and sprinkle it evenly between each cooled cake layer for consistent crunch.
How long can I freeze the cake?
Wrap tightly in plastic wrap and foil; it freezes well for up to 2 months without losing texture.
I can’t wait for you to try this and see your loved ones’ eyes light up. Grab your whisk, and let’s bake some memories together!
Chocolate Paçoca Layer Cake
🧂 Ingredients
👩🍳 Instructions
-
1Preheat oven to 350°F (175°C). Grease and flour two 9-inch cake pans.
-
2In a medium bowl, whisk together all-purpose flour, whole wheat flour, cocoa powder, baking powder, baking soda, and salt.
-
3In a large bowl, beat butter and sugar until light and fluffy. Add eggs one at a time, then vanilla. Mix in buttermilk until smooth.
-
4Gradually add dry ingredients to the wet mixture, mixing just until combined. Fold in paçoca and melted dark chocolate.
-
5Divide batter evenly between prepared pans. Bake for 25-30 minutes or until a toothpick comes out clean. Let cakes cool in pans for 10 minutes, then transfer to a wire rack to cool completely.
-
6For the filling, whisk together 1/4 cup milk and 1/2 cup paçoca until smooth. Spread the mixture evenly over one cake layer, then place the second layer on top.
-
7Optional: frost with a chocolate ganache or simple buttercream. Slice and serve.