
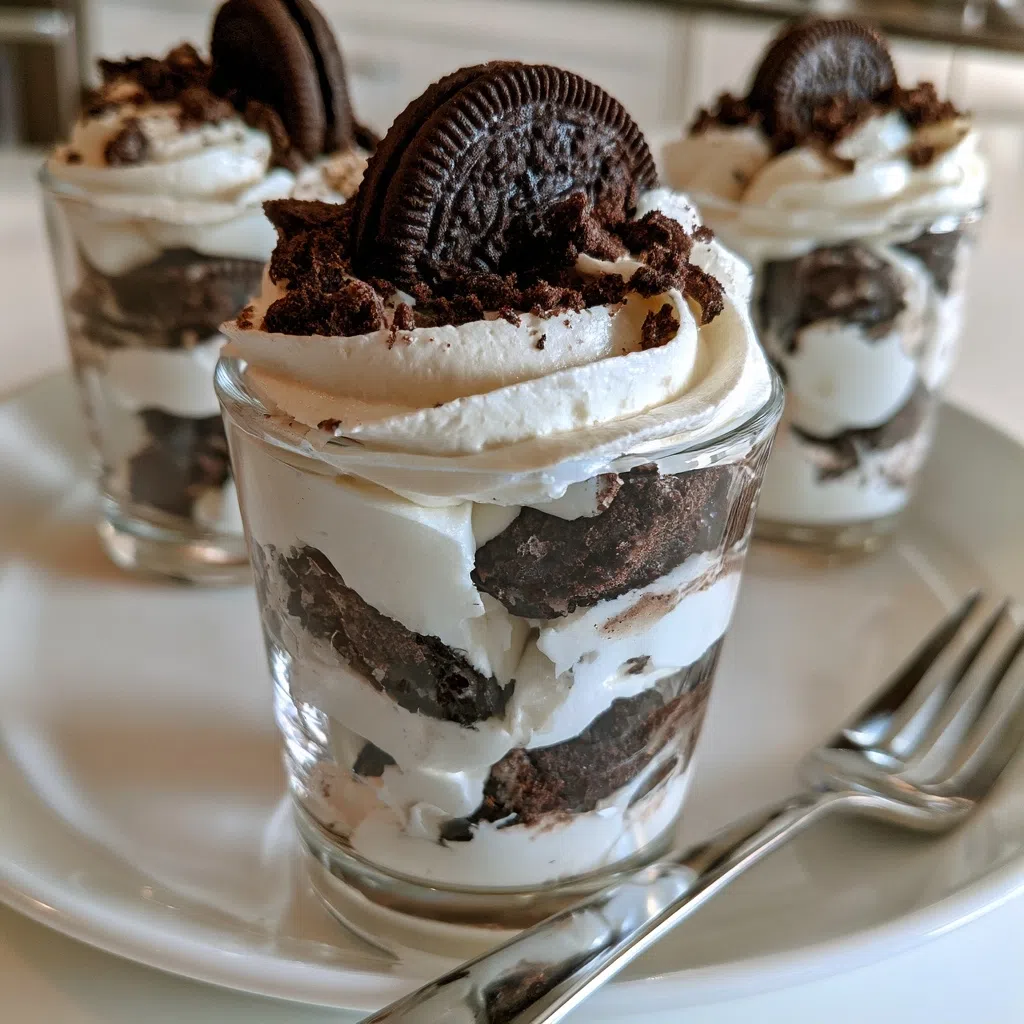
No-Bake Oreo Cheesecake Dessert Cups – Easy Sweet Treat
Imagine the buttery crunch of Oreo crumbs meeting a silky, tangy cream cheese swirl in a single bite of No-Bake Oreo Cheesecake Dessert Cups.
I first whipped these up on a rainy Saturday afternoon in my kitchen, the scent of fresh coffee mingling with the sweet aroma of chocolate as my kids gathered around the counter, eyes wide for the first taste.
When the creamy filling set, I knew we’d found a new family favorite. This No-Bake Oreo Cheesecake Dessert Cups quickly became a cherished family favorite.
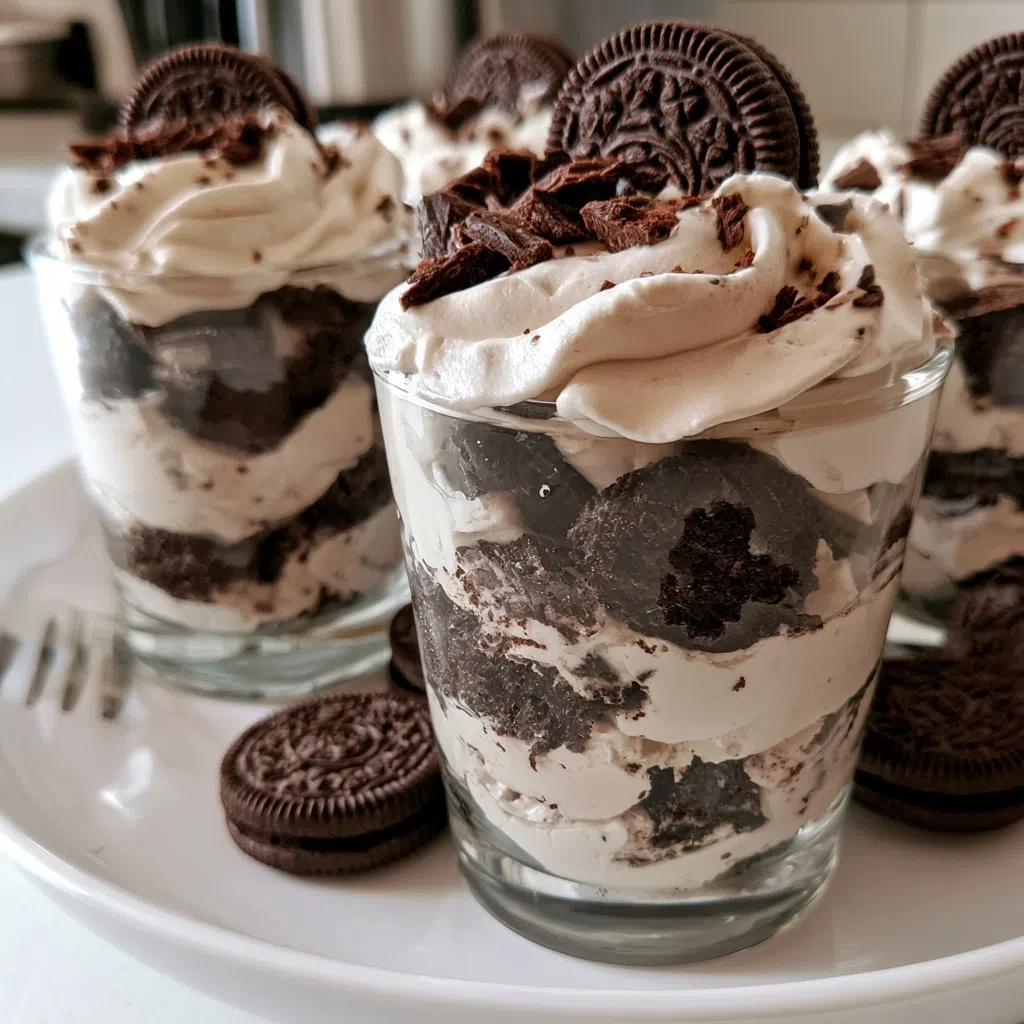
Why You’ll Love This No-Bake Oreo Cheesecake Dessert Cups
- Layered texture: crunchy crust, creamy middle, chocolate topping.
- Rich chocolate‑cheese flavor with just the right hint of sweetness.
- Ready in under 30 minutes – perfect for last‑minute gatherings.
- Foolproof no‑bake method that never cracks.
- Ideal for birthdays, potlucks, or a cozy night in.
Ingredients You’ll Need
- 1 1/2 cups Oreo cookie crumbs
- 1/4 cup butter, melted
- 8 oz cream cheese, softened
- 1/2 cup powdered sugar
- 1 tsp vanilla extract
- 1 cup heavy cream, whipped
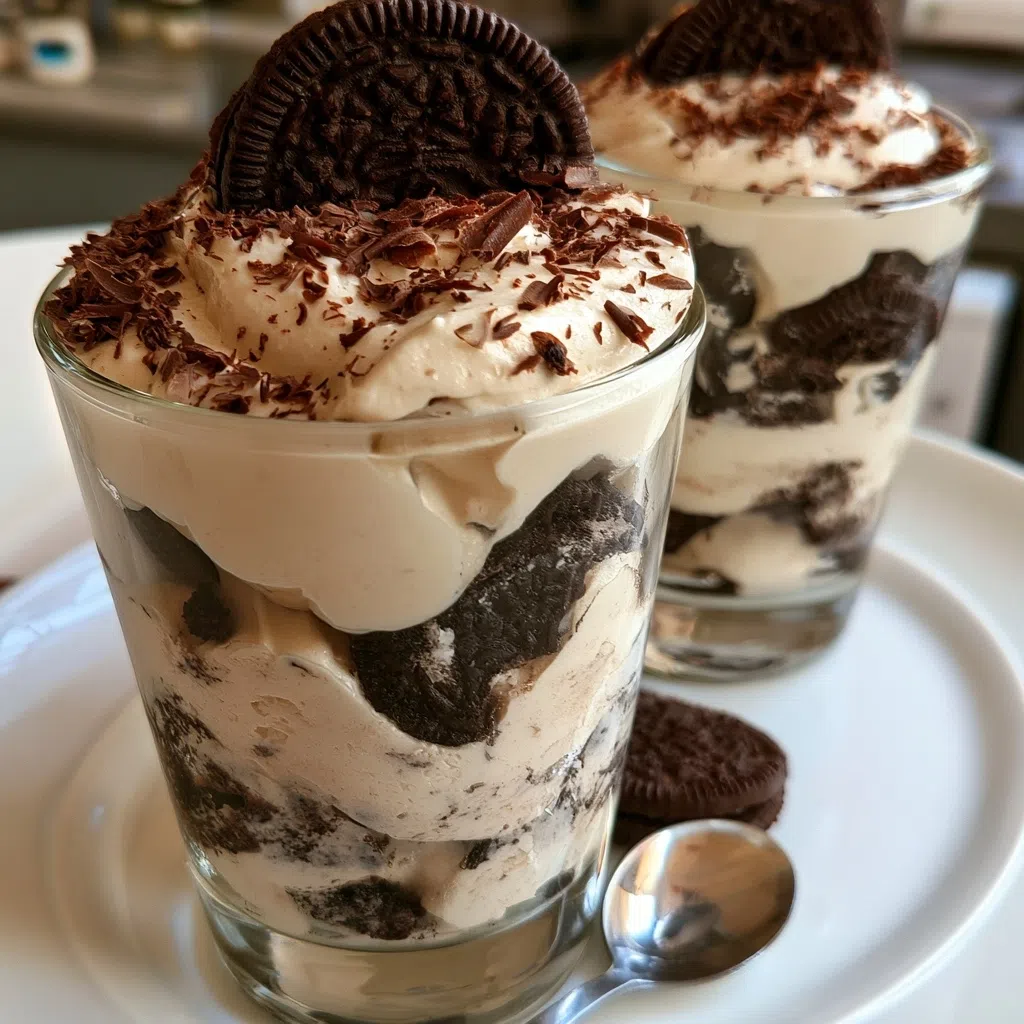
The star ingredients – buttery Oreo crumbs and velvety cream cheese – create a contrast that’s both nostalgic and luxurious.
Expert Tips for the Best No-Bake Oreo Cheesecake Dessert Cups
- Press the crust firmly – it prevents sogginess later.
- Don’t over‑beat the cream cheese; it can become grainy – mix just until smooth.
- Top with a drizzle of melted chocolate for a pro‑level finish.
- The filling is set when it no longer jiggles when the cup is gently tapped.
- Make the cups a day ahead and keep chilled for firmer slices.
Variations and Substitutions
Swap regular Oreos for gluten‑free ones, blend in Greek yogurt for extra protein, or swirl in caramel for a bold flavor twist.
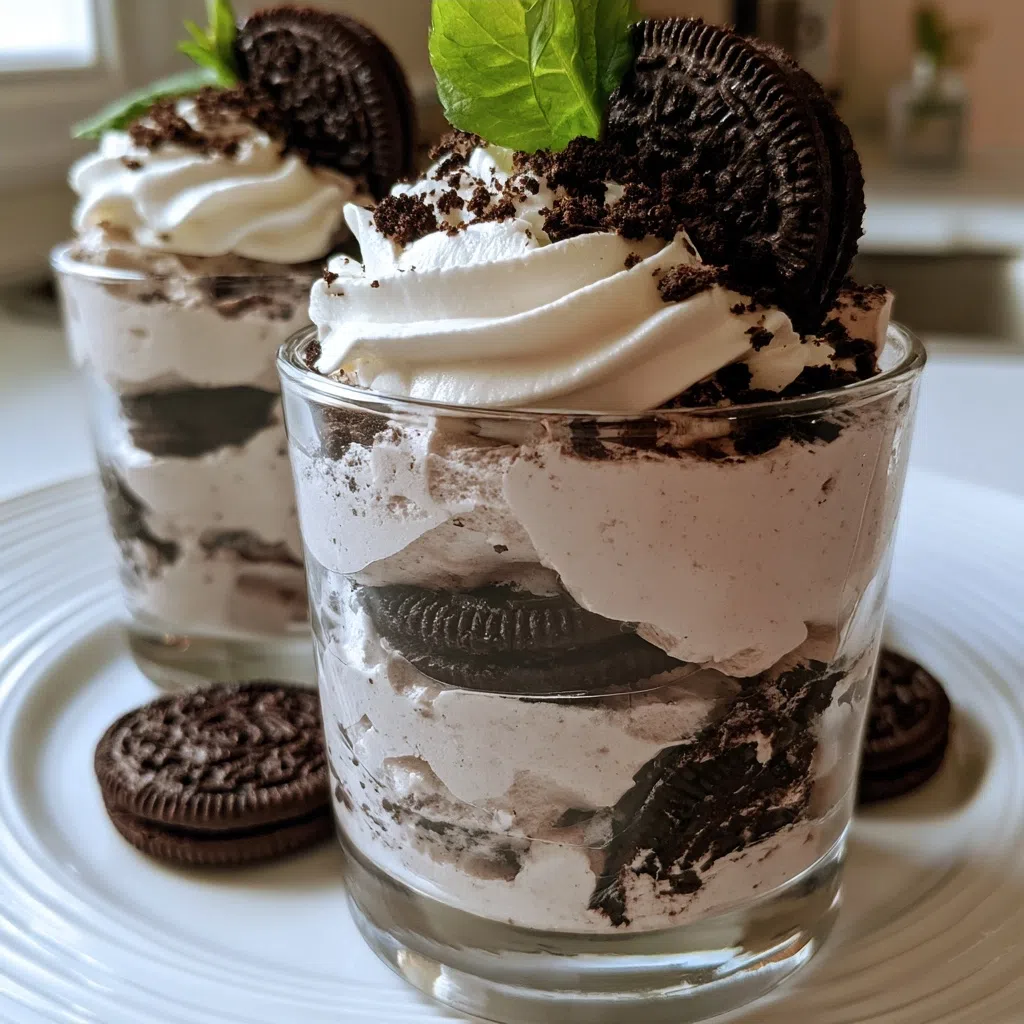
How to Store and Reheat
Store in an airtight container in the fridge for up to 3 days; serve chilled. If you prefer a warm touch, microwave a cup for 10‑15 seconds – no need to freeze, but you can for up to a month.
Frequently Asked Questions
Can I make these dessert cups ahead of time?
Absolutely – they actually taste better after the flavors meld for a few hours in the fridge.
What if I don’t have a food processor for the crust?
Place the Oreos in a zip‑top bag and crush with a rolling pin; it works just as well.
Can I use a different topping?
Sure! Try toasted coconut, crushed pretzels, or a drizzle of raspberry coulis for a fresh twist.
I can’t wait for you to try these sweet, creamy cups – they’re sure to bring smiles to every table. Grab your ingredients and let’s create some delicious memories together!
Oreo Cheesecake Cups
🧂 Ingredients
👩🍳 Instructions
-
1In a bowl, combine Oreo crumbs and melted butter; press mixture into the bottom of 8 small dessert cups or glasses. Chill in the refrigerator while preparing the filling. In another bowl, beat the softened cream cheese until smooth. Gradually add powdered sugar and vanilla, mixing until creamy. Fold in the whipped heavy cream until well combined. Spoon or pipe the cheesecake filling over the Oreo crusts. Return the cups to the fridge and chill for at least 2 hours or until set. Serve chilled, optionally garnished with extra Oreo crumbs or a drizzle of chocolate sauce.