
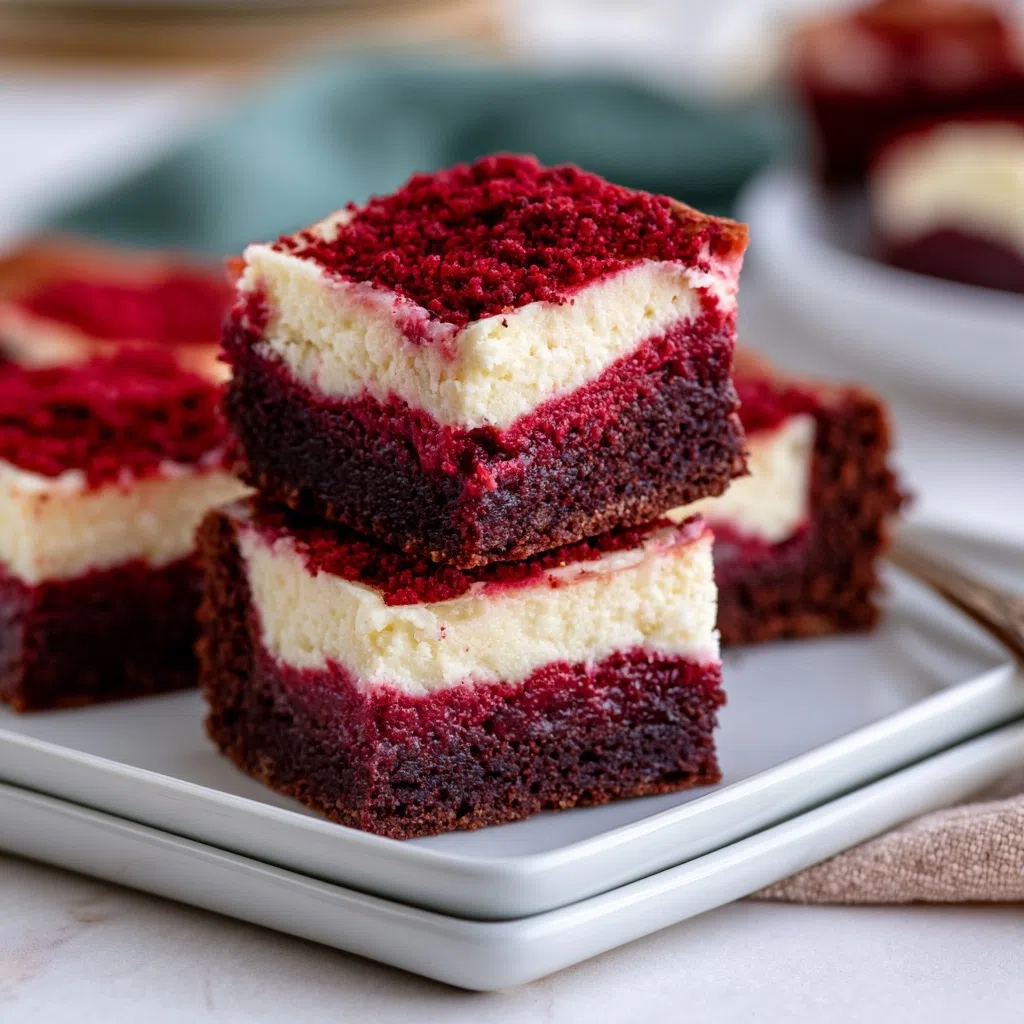
Red Velvet Cheesecake Brownies Recipe
The moment I took a bite of these Red Velvet Cheesecake Brownies, I knew I was in for a treat – the deep, velvety chocolate and subtle tang of cream cheese had me hooked!
I remember making these brownies on a chilly winter evening, with a cup of hot coffee in hand, and the aroma of cocoa powder filling the air.
It was a revelation – the combination of textures and flavors was like a party in my mouth! This Red Velvet Cheesecake Brownies quickly became a cherished family favorite.
Why You’ll Love This Red Velvet Cheesecake Brownies
- Rich, fudgy, and creamy texture
- Deep, velvety chocolate flavor
- Ready in just 35 minutes
- Foolproof recipe with easy-to-follow steps
- Perfect for any occasion, from birthdays to potlucks
Ingredients You’ll Need
- 1 and 1/2 sticks unsalted butter, plus more for greasing
- 2 cups sugar
- 4 large eggs
- 2 teaspoons red food coloring
- 1 teaspoon vanilla extract
- 1/4 cup unsweetened cocoa powder
- 1 and 1/4 cups all-purpose flour
- 1 teaspoon salt
- 1 cup semi-sweet chocolate chips
- 1/2 cup cream cheese, softened
- 1/2 cup granulated sugar
- 2 large eggs
- 1 teaspoon vanilla extract
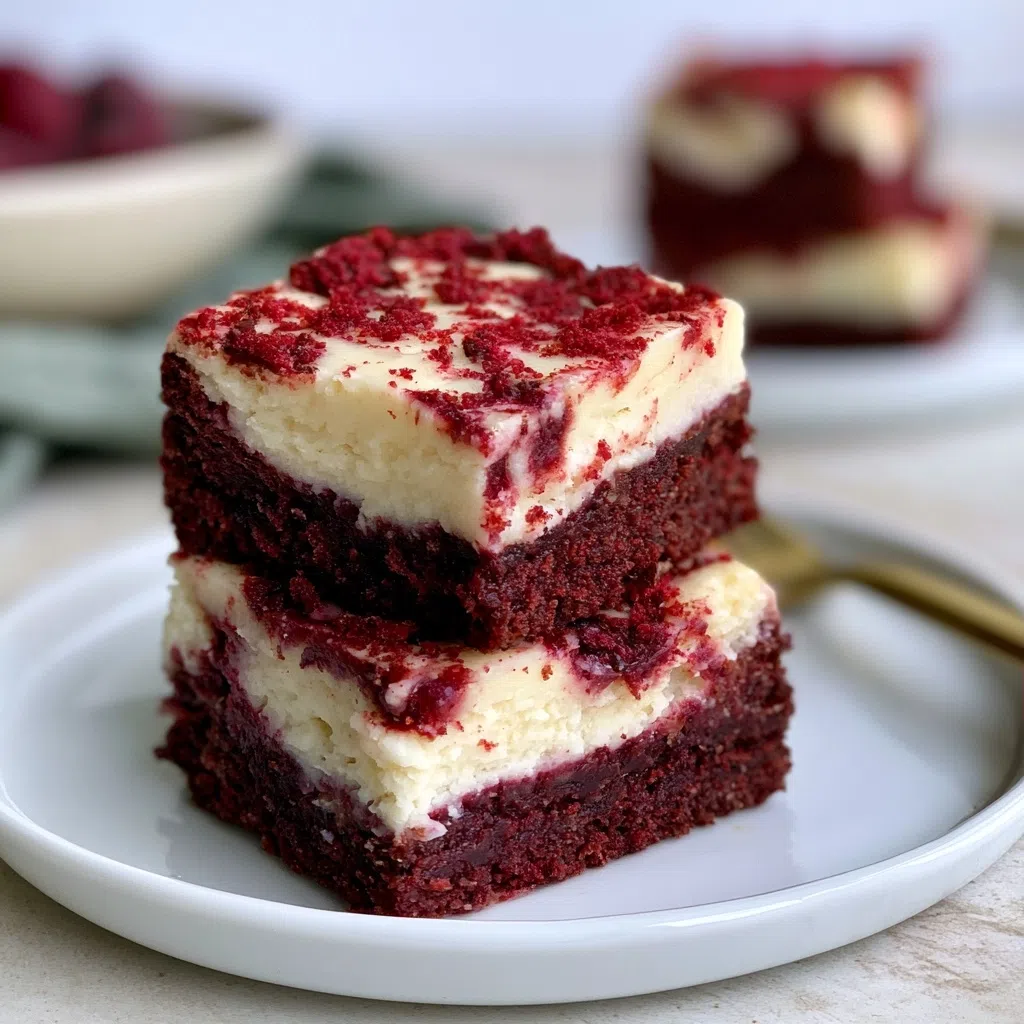
The unsweetened cocoa powder gives these brownies their signature deep, rich flavor, while the cream cheese adds a tangy and creamy element.
Expert Tips for the Best Red Velvet Cheesecake Brownies
- Don’t overmix the batter, or the brownies will be tough
- Use high-quality cocoa powder for the best flavor
- Add a sprinkle of sea salt on top for a salty-sweet contrast
- Check for doneness with a toothpick – it should come out with a few moist crumbs
- Make ahead and refrigerate overnight for even more flavor
Variations and Substitutions
Try substituting gluten-free flour for a gluten-free version, or adding some chopped nuts for extra texture. For a bold flavor twist, add a teaspoon of espresso powder to intensify the chocolate flavor.
How to Store and Reheat
Store in an airtight container in the fridge for up to 5 days. Reheat in the microwave or oven until warm and gooey. Freeze for up to 2 months and thaw at room temperature.
Frequently Asked Questions
Can I use gluten-free flour?
Yes, you can substitute gluten-free flour, but you may need to adjust the ratio of flours. Try using a 1:1 ratio of gluten-free flour to all-purpose flour.
How do I ensure the cheesecake layer is set?
Check the cheesecake layer after 25 minutes of baking – it should be set and slightly puffed. If not, bake for an additional 5-10 minutes.
Can I make these brownies ahead?
Yes, make the brownies ahead and refrigerate overnight. Allow them to come to room temperature before serving.
I hope you love these Red Velvet Cheesecake Brownies as much as I do – give them a try and let me know what you think! Don’t be shy to experiment and make them your own.
Red Velvet Cheesecake Brownies
🧂 Ingredients
👩🍳 Instructions
-
1Preheat oven to 350°F. Grease an 8-inch square baking pan.
-
2Melt butter and sugar in a medium saucepan over low heat.
-
3Remove from heat and stir in cocoa powder.
-
4Let cool slightly, then stir in eggs one at a time.
-
5Stir in flour and salt.
-
6Melt chocolate chips and stir into batter.
-
7Pour half of batter into prepared pan.
-
8Beat cream cheese and granulated sugar until smooth.
-
9Beat in eggs and vanilla extract.
-
10Pour cheesecake batter over brownie layer.
-
11Pour remaining brownie batter over cheesecake layer.
-
12Bake for 35 minutes or until edges are set.
-
13Let cool completely in pan before cutting into squares.