

Rhubarb Dream Bars Recipe
As I took my first bite of these Rhubarb Dream Bars Recipe, the combination of the crumbly crust and the sweet, tangy filling transported me back to my grandmother’s kitchen on a sunny summer afternoon.
I vividly remember the summer I spent at my grandparents’ house, where my grandmother would often bake with fresh rhubarb from their garden, filling the entire house with the most heavenly aroma.
It was during one of those afternoons that I first tasted these Rhubarb Dream Bars, and I was instantly hooked – the perfect balance of flavors and textures that just melted in my mouth. This Rhubarb Dream Bars Recipe quickly became a cherished family favorite.
Why You’ll Love This Rhubarb Dream Bars Recipe
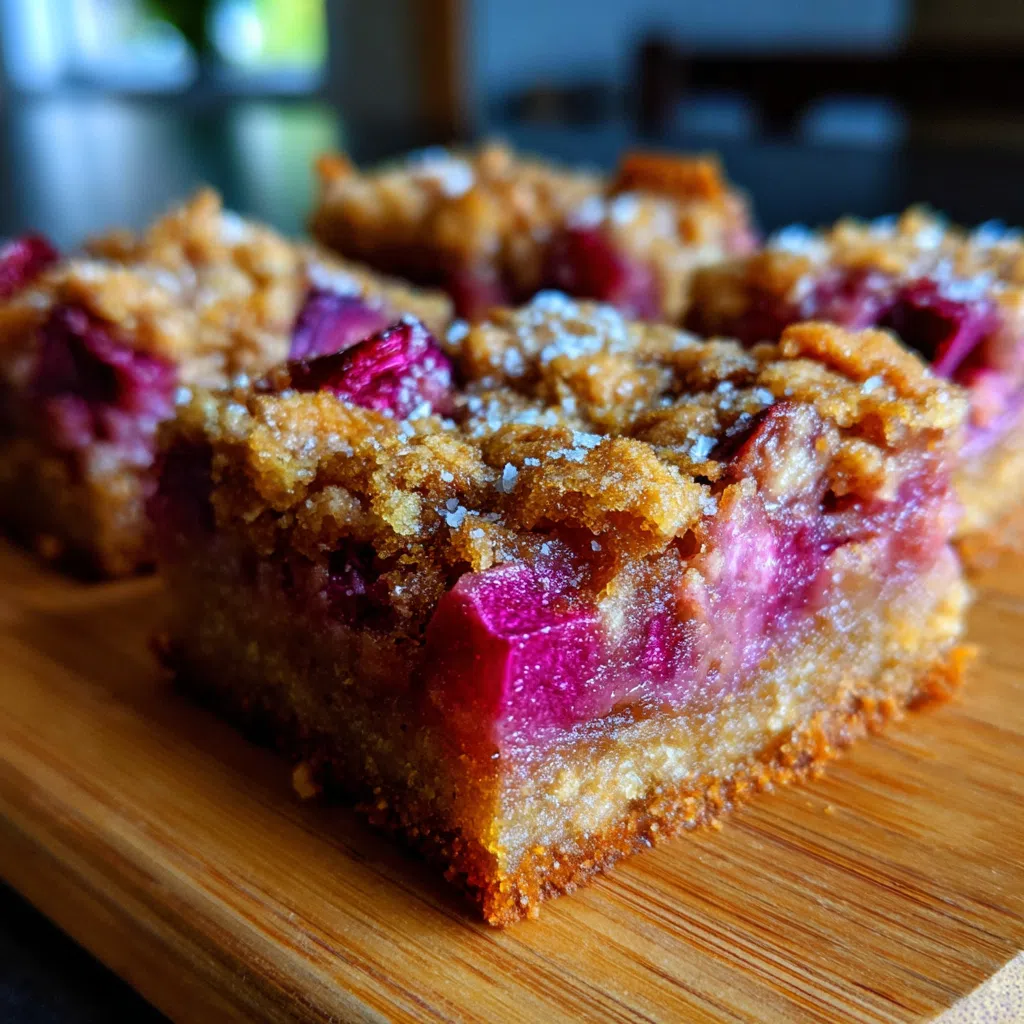
- The shortbread-like crust and the soft, chewy filling provide a delightful texture contrast that will leave you wanting more.
- The sweetness of the sugar and the tartness of the rhubarb create a beautifully balanced flavor profile that’s both refreshing and decadent.
- These bars can be prepared and baked in under 45 minutes, making them the perfect dessert for a quick weeknight treat or a special occasion.
- The simple and forgiving recipe makes it almost foolproof, allowing you to achieve perfect results even if you’re a beginner baker.
- They’re perfect for potlucks, picnics, or as a sweet treat to share with friends and family.
Ingredients You’ll Need
- 1 and 1/2 cups all-purpose flour
- 1/2 cup packed brown sugar
- 1/2 cup granulated sugar
- 1/2 cup unsalted butter, softened
- 2 large eggs
- 1 teaspoon vanilla extract
- 1 cup chopped rhubarb
- 1 cup chopped walnuts (optional)
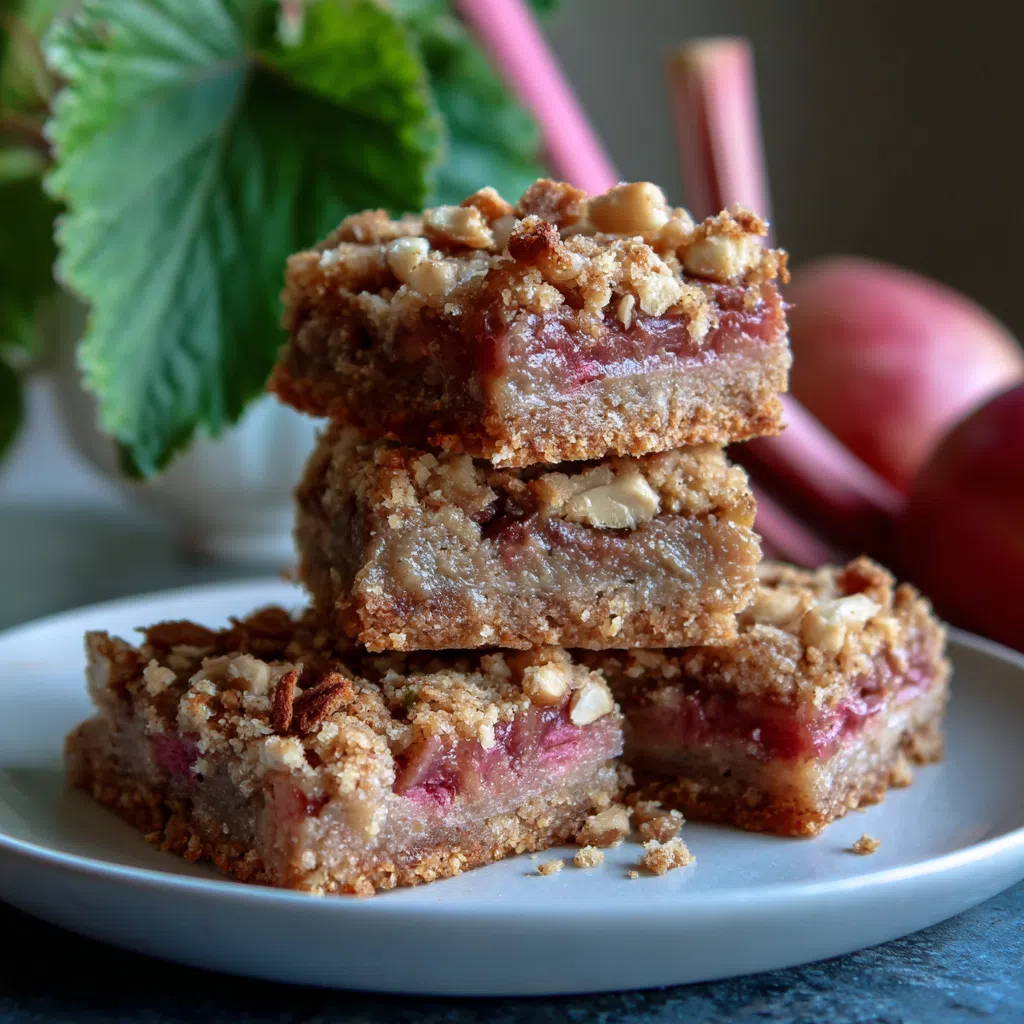
The star ingredients in this recipe are the fresh rhubarb and the brown sugar, which add a deep, rich flavor to the bars. The combination of the tart rhubarb and the sweetness of the sugar creates a beautiful harmony of flavors that will leave your taste buds singing.
Expert Tips for the Best Rhubarb Dream Bars Recipe
- Make sure to not overmix the crust mixture, as this can lead to a tough and dense texture – simply press it into the baking dish and bake until lightly golden.
- A common mistake when working with rhubarb is not removing the toxic leaves, which can be harmful if ingested – be sure to only use the stalks and discard the leaves.
- To take these bars to the next level, try adding a sprinkle of sea salt on top of the filling before baking – this will enhance the flavors and add a touch of sophistication.
- The bars are done when the filling is set and the crust is lightly golden – if you’re unsure, simply check the edges and make sure they’re not too brown.
- You can make these bars ahead of time and store them in an airtight container in the fridge for up to 3 days – simply let them come to room temperature before serving.
Variations and Substitutions
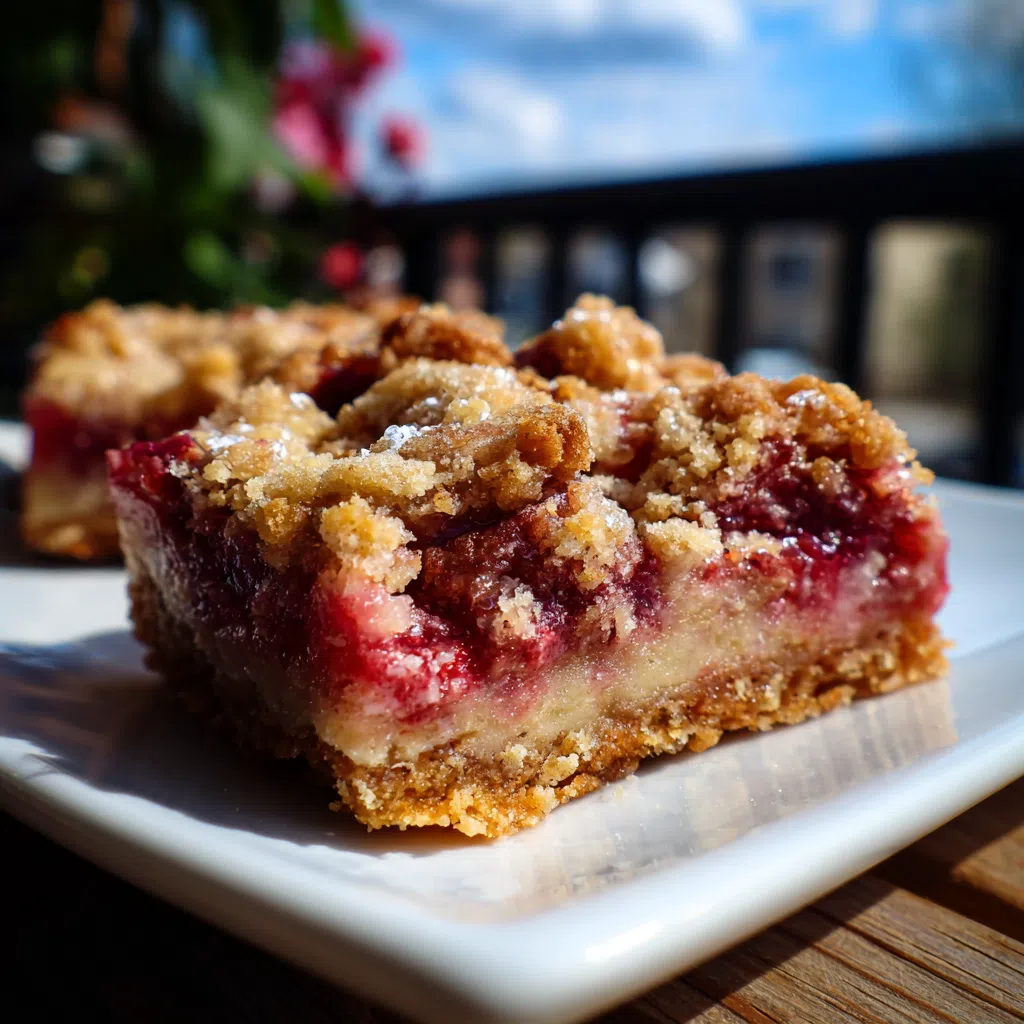
To make these bars gluten-free, simply substitute the all-purpose flour with a gluten-free flour blend – you can also swap the sugar with honey or maple syrup for a slightly different flavor profile. For an added twist, try adding some diced strawberries or raspberries to the filling for a pop of color and extra flavor.
How to Store and Reheat
These bars can be stored in an airtight container in the fridge for up to 5 days – simply let them come to room temperature before serving. To reheat, simply place them in the microwave for a few seconds or in the oven at 350°F for a few minutes. You can also freeze them for up to 2 months – simply thaw at room temperature or reheat in the microwave.
Frequently Asked Questions
Can I use frozen rhubarb for this recipe?
Yes, you can use frozen rhubarb for this recipe – simply thaw it first and pat dry with paper towels to remove excess moisture. Keep in mind that frozen rhubarb may be more prone to releasing water during baking, so you may need to adjust the baking time slightly.
How do I prevent the crust from becoming too brown?
To prevent the crust from becoming too brown, simply keep an eye on it while it’s baking and cover the edges with foil if necessary – you can also try baking it at a lower temperature for a longer period of time.
Can I serve these bars at room temperature?
Yes, these bars can be served at room temperature – simply let them come to room temperature before serving. Keep in mind that they may be more prone to crumbling if they’re not served chilled, so you may want to consider serving them straight from the fridge.
I hope you enjoy these Rhubarb Dream Bars as much as my family and I do – they’re the perfect treat to share with loved ones and create lasting memories. So go ahead, give this recipe a try, and let the sweet and tangy flavors transport you to a sunny summer afternoon filled with love and laughter.
Rhubarb Dream Bars
🧂 Ingredients
👩🍳 Instructions
-
1Preheat oven to 350°F (180°C). Line an 8-inch square baking dish with parchment paper.
-
2In a medium bowl, whisk together flour, brown sugar, granulated sugar, and salt.
-
3Add the softened butter and mix until the mixture resembles coarse crumbs.
-
4Press the mixture into the prepared baking dish.
-
5Bake for 20 minutes.
-
6While the crust is baking, prepare the filling. In a large bowl, whisk together eggs, sugar, and vanilla extract.
-
7Add the chopped rhubarb and mix until well combined.
-
8Remove the crust from the oven and pour the filling over it.
-
9Bake for an additional 20-25 minutes, or until the filling is set and the top is golden brown.
-
10Let the bars cool completely in the pan before cutting into squares and serving.
