
The Ultimate No-Churn Oreo Ice Cream: Your New Favorite Homemade Treat
Do you remember those scorching summer days as a kid, when the only thing that could truly make everything better was a scoop (or three!) of your favorite ice cream? For me, it was always something with chunks of cookies, and Oreo Icecream🤤 held a special place in my heart. I vividly recall one particularly sweltering afternoon when the neighborhood ice cream truck broke down, leaving a trail of disappointed faces. My grandma, ever the magician in the kitchen, swooped in to save the day, promising us a homemade treat that would rival any store-bought delight.
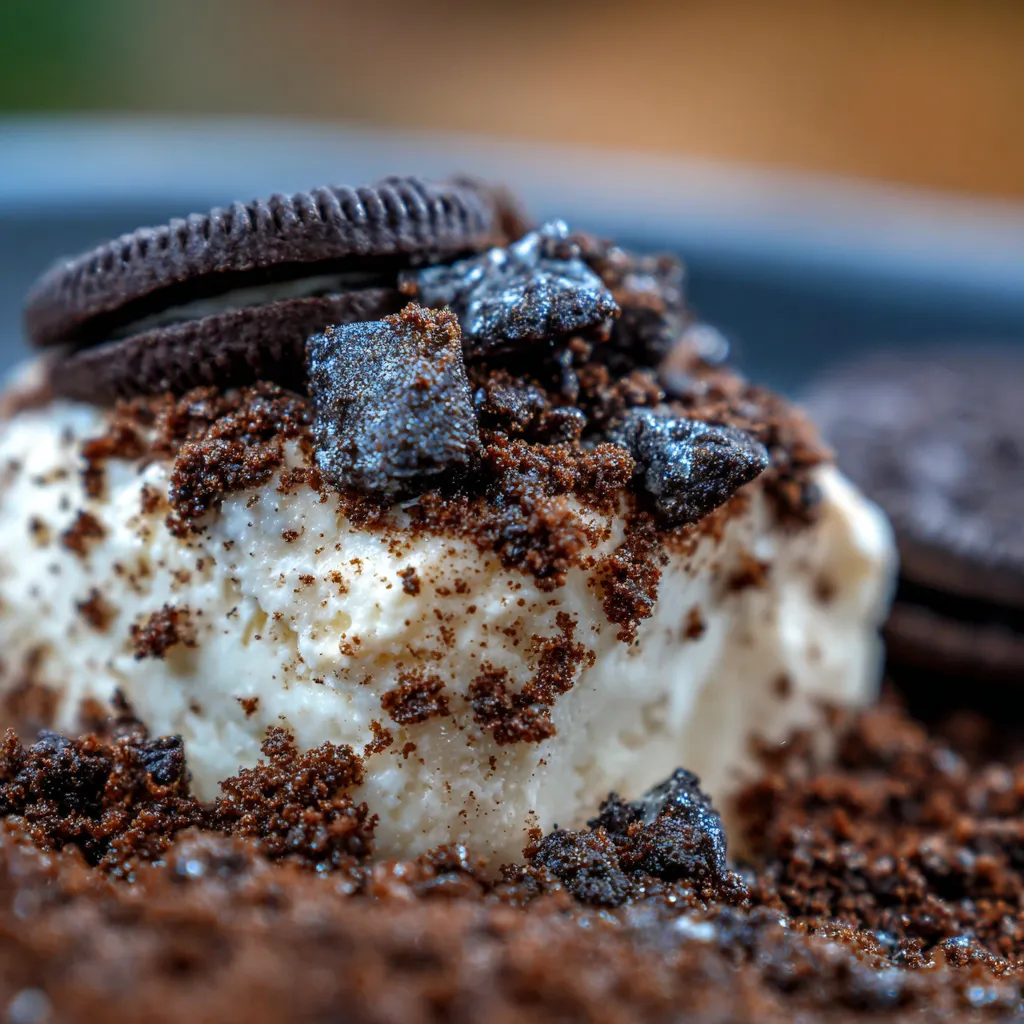
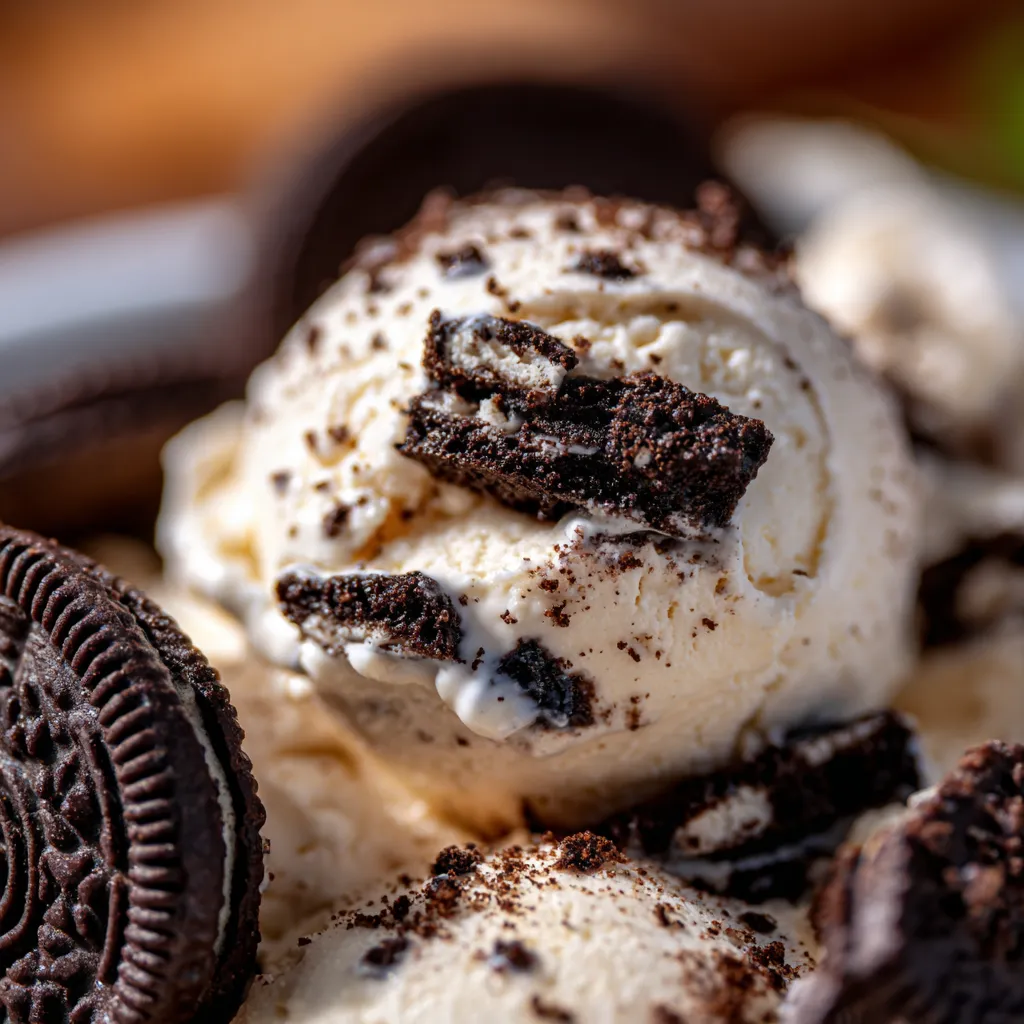
That day, she whipped up the most incredible no-churn Oreo ice cream, a simple dessert that felt like pure magic. The way the creamy, sweet base perfectly hugged those crunchy, chocolatey cookie bits was an absolute revelation. It quickly became our go-to for family gatherings, movie nights, and frankly, any time we needed a little comfort food. It’s an easy dessert that brings smiles to every face.
Years later, I’m still chasing that nostalgic joy, and I’m thrilled to share my perfected version of this family favorite with you. This recipe for Oreo Icecream🤤 is tried, tested, and guaranteed to bring that same delightful magic to your home, without the need for an ice cream machine. Get ready to create some sweet memories!
Why You’ll Love This Recipe
❤️ Oh, my goodness, where do I even begin? This homemade Oreo Icecream🤤 isn’t just a dessert; it’s a culinary hug, a burst of pure joy in every spoonful. Here’s why it’s about to become your absolute favorite:
- No Ice Cream Machine Needed: That’s right! Forget about specialized equipment taking up precious counter space. This recipe relies on a simple technique that yields perfectly creamy, scoopable ice cream every single time. It’s truly hassle-free and perfect for any kitchen.
- Incredibly Easy to Make: With just a few basic ingredients and minimal effort, you’ll be whipping up a batch of this delightful treat. It’s perfect for beginner cooks or anyone looking for a quick yet impressive dessert solution. The steps are straightforward, making it a stress-free baking (or rather, no-baking!) experience.
- Customizable to Your Heart’s Content: While classic Oreo is utterly divine, this recipe is a fantastic canvas for your creativity. Feel free to experiment with different types of cookies, candies, or even a swirl of chocolate fudge. Make it uniquely yours every single time you prepare it.
- Crowd-Pleasing Perfection: Whether you’re hosting a summer barbecue, a birthday party, or just having a cozy family movie night, this Oreo ice cream is always a hit. Its familiar, beloved flavor appeals to all ages, ensuring empty bowls and happy faces. It’s the ultimate dessert for any occasion, big or small.
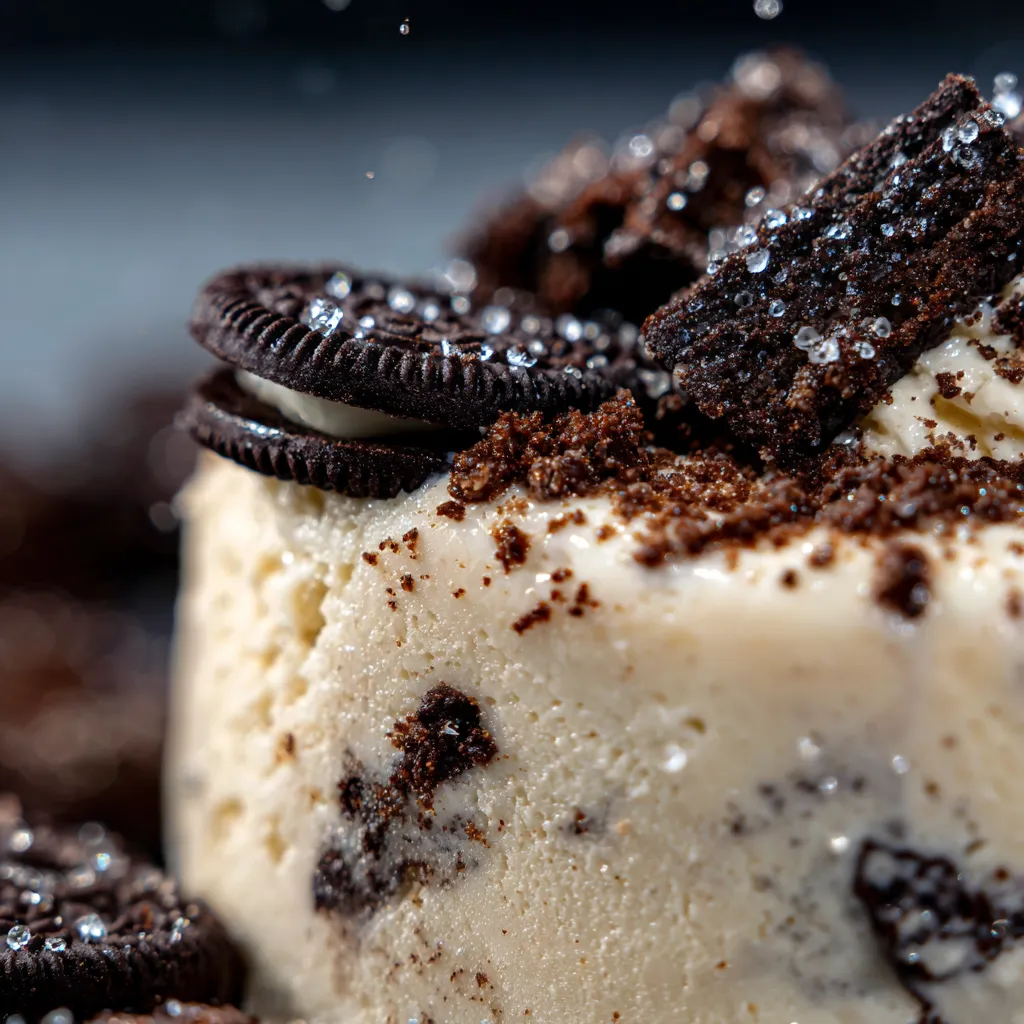
- Rich, Creamy Texture: Prepare for an incredibly luscious, smooth, and velvety ice cream base that melts delightfully on your tongue. The secret lies in the combination of heavy cream and sweetened condensed milk, creating a texture that rivals gourmet ice cream shops. It’s a truly indulgent experience.
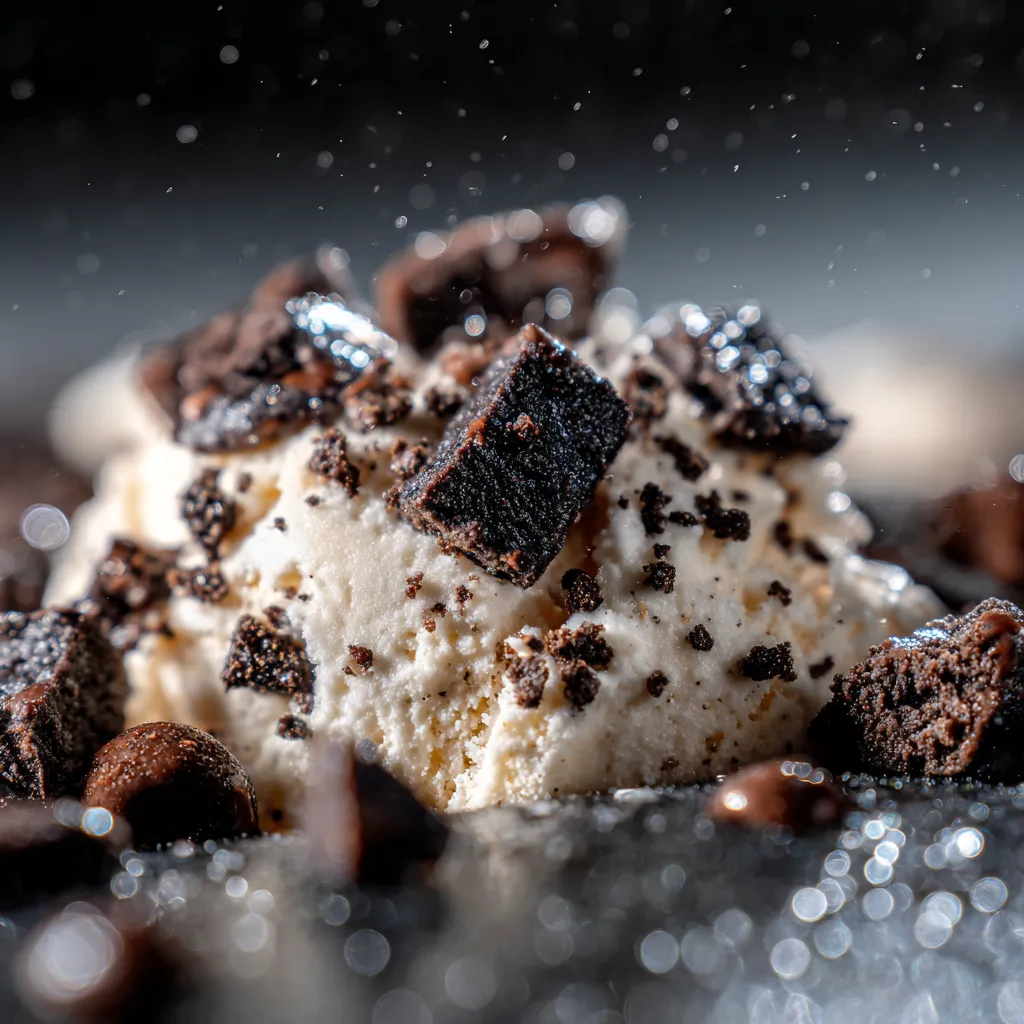
- Irresistible Oreo Crunch: The star of the show! Generous chunks of crunchy Oreo cookies are folded into every spoonful, providing that satisfying textural contrast that we all crave. Each bite offers a perfect balance of creamy sweetness and chocolatey cookie goodness. You can even adjust the size of your crushed Oreos for more or less crunch!
- Budget-Friendly Dessert: Making ice cream at home is often much more economical than buying premium tubs from the store. You get a huge batch of incredibly delicious dessert for a fraction of the cost, making it a smart choice for families and entertaining. Plus, you control the quality of the ingredients!
- Pure Nostalgic Joy: For many, Oreo cookies evoke wonderful childhood memories. This ice cream captures that same feeling of simple, unadulterated happiness. It’s a comforting treat that brings back sweet recollections and creates new ones with every serving. Share the joy with loved ones!
- Perfect for Any Season: While often associated with summer, ice cream is truly a year-round delight. This Oreo Icecream🤤 is equally perfect for cooling down on a hot day or snuggling up with a bowl on a chilly evening. It’s versatile and always welcome.
What You Need
You only need a few simple pantry staples for this recipe! We’re talking about basic ingredients that come together to create something truly magical. Check the full printable recipe card below for detailed measurements and a complete list.
Expert Tips
💡 Ready to make the best Oreo Icecream🤤 of your life? These insider tips will elevate your homemade treat from great to absolutely unforgettable!
- Chill Your Bowl and Whisk: For the fluffiest, most stable whipped cream, place your mixing bowl and whisk (or mixer attachments) in the freezer for about 15-20 minutes before you start. This helps the heavy cream whip up faster and achieve beautiful, firm peaks. It’s a small step that makes a huge difference in texture.
- Use Very Cold Heavy Cream: Ensure your heavy cream is straight from the fridge and super cold. Warm cream simply won’t whip up as effectively, leading to a thinner, less luxurious ice cream base. Cold is key for that rich, airy texture.
- Don’t Over-Whip the Cream: Whip the heavy cream until it forms firm peaks, meaning when you lift the whisk, the peak holds its shape without drooping. Over-whipping can turn it grainy or even buttery, which we definitely don’t want for our smooth ice cream. Stop just as the peaks form!
- Gently Fold, Don’t Stir: When combining the whipped cream with the sweetened condensed milk and crushed Oreos, use a gentle folding motion with a spatula. This preserves the airiness of the whipped cream, which is crucial for the light, creamy texture of no-churn ice cream. Over-mixing will deflate it.
- Crush Oreos Strategically: For varied texture, crush your Oreos into different sizes. Some fine crumbs for flavor distribution, and some larger chunks for satisfying bites. You can put them in a zip-top bag and use a rolling pin, or pulse them briefly in a food processor. Don’t turn them into dust!
- Don’t Skimp on the Freezing Time: Patience is a virtue, especially with no-churn ice cream! Allow at least 6-8 hours, or ideally overnight, for the ice cream to fully set. Rushing it will result in a softer, less satisfying consistency. A properly frozen batch scoops like a dream.
- Use an Air-Tight Container: Store your ice cream in a freezer-safe, airtight container to prevent ice crystals from forming and keep it tasting fresh. A loaf pan covered tightly with plastic wrap and foil works well, or a specialized ice cream container. This helps maintain that wonderfully smooth texture.
- Add a Swirl of Flavor: For an extra layer of decadence, drizzle in some hot fudge, caramel sauce, or a melted peanut butter swirl just before the final freeze. Gently swirl it with a knife for a beautiful marbling effect and added flavor complexity.
- Warm Your Scoop: For easy scooping, dip your ice cream scoop in hot water for a few seconds before each scoop. This helps it glide smoothly through the frozen dessert, giving you perfect, round portions every time.
- Experiment with Toppings: While delicious on its own, a sprinkle of extra crushed Oreos, a dollop of whipped cream, or a drizzle of chocolate syrup can take your serving to the next level. Let your imagination run wild with garnish ideas!
Variations & Substitutions
One of the best things about homemade ice cream is how easily you can customize it! While the classic Oreo Icecream🤤 is divine, feel free to get creative with these delicious variations:
- Mint Oreo Dream: Add a teaspoon of peppermint extract to the whipped cream mixture and use mint-flavored Oreos for a refreshing twist. A few drops of green food coloring can make it extra festive!
- Peanut Butter Blast: Swirl in 1/2 cup of creamy peanut butter (warmed slightly for easier mixing) with the condensed milk, and use peanut butter-filled Oreos or add a handful of chopped Reese’s peanut butter cups.
- Coffee Lover’s Delight: Dissolve 1-2 tablespoons of instant coffee or espresso powder in a tablespoon of hot water, then stir it into the condensed milk mixture before folding it into the cream.
- Vegan/Dairy-Free Delight: Use full-fat canned coconut cream (chilled overnight, scoop out the thick cream) instead of heavy cream, and a vegan sweetened condensed milk alternative. Ensure your Oreos are certified vegan (most regular Oreos are, but always check labels!).
- Gluten-Free Option: Swap out traditional Oreos for a certified gluten-free chocolate sandwich cookie. Many brands offer delicious GF versions that will work perfectly here, ensuring everyone can enjoy this treat!
- Extra Chocolatey: Fold in a handful of chocolate chips or mini chocolate chunks along with the crushed Oreos for an even more intense chocolate experience. A chocolate fudge swirl also works wonders!
Storage & Freezing
Proper storage is key to keeping your homemade Oreo Icecream🤤 fresh, creamy, and free from pesky ice crystals. Here’s how to store it like a pro:
- Airtight is Best: Always transfer your ice cream to a freezer-safe, airtight container immediately after churning (or, in this case, after the initial freeze). This prevents freezer burn and keeps unwanted odors from seeping in.
- Cover Surface: For extra protection, press a piece of plastic wrap directly onto the surface of the ice cream before sealing the container. This creates an additional barrier against air exposure.
- Optimal Placement: Store the container in the coldest part of your freezer, typically towards the back, rather than near the door where temperatures fluctuate more.
- How Long Will It Last?: When stored correctly, homemade no-churn ice cream will maintain its best quality for up to 2-3 weeks. After that, while still safe to eat, its texture might start to degrade slightly.
- Thawing Tips: If your ice cream is rock hard from extended freezing, let it sit on the counter for 5-10 minutes before scooping. This allows it to soften just enough for perfect scoops without melting entirely.
FAQ
Q: Can I use low-fat milk or half-and-half instead of heavy cream?
A: Unfortunately, no. Heavy cream (with at least 36% fat content) is crucial for the rich, creamy texture and stability of no-churn ice cream. Lower fat alternatives won’t whip up correctly and will result in an icy, rather than creamy, dessert.
Q: Why is my ice cream icy?
A: Icy ice cream usually means there wasn’t enough fat or too much water. Ensure you’re using full-fat heavy cream, chilling your bowl and whisk, and gently folding the ingredients to maintain air in the mixture. Also, make sure it freezes completely.
Q: Can I make this ahead for a party?
A: Absolutely! This Oreo Icecream🤤 is a fantastic make-ahead dessert. Prepare it a day or two in advance and keep it stored in an airtight container in the freezer. It will be perfectly ready to serve when your guests arrive.
Q: How finely should I crush the Oreos?
A: This is a matter of personal preference! For varied texture, aim for a mix of fine crumbs and larger, pea-sized chunks. Some people like very small pieces for integrated flavor, while others prefer big chunks for a satisfying crunch. Don’t pulverize them into dust.
And there you have it – your guide to crafting the most irresistible homemade Oreo Icecream🤤! This recipe is more than just a dessert; it’s a ticket to pure joy, nostalgic memories, and countless smiles. Whether you’re whipping it up for a special occasion or just a sweet treat for yourself, I promise it will be a resounding success.
Don’t forget to Pin this recipe for later so you always have this deliciousness at your fingertips! Happy scooping!
The Ultimate No-Churn Oreo Ice Cream (Easy Recipe!)
Ingredients
- 2 cups (480ml) cold heavy cream (at least 36% fat)
- 1 can (14oz / 397g) sweetened condensed milk, chilled
- 1 teaspoon pure vanilla extract
- 15-20 Oreo cookies, coarsely crushed (about 1 ½ cups)
Instructions
- Step 1 Chill a large mixing bowl and whisk attachment (if using an electric mixer) in the freezer for 15-20 minutes.
- Step 2 In the chilled bowl, whip the cold heavy cream on medium-high speed until stiff peaks form. Be careful not to over-whip.
- Step 3 In a separate bowl, combine the chilled sweetened condensed milk and vanilla extract. Stir well.
- Step 4 Gently fold the condensed milk mixture into the whipped cream using a spatula, until just combined. Be careful not to deflate the cream.
- Step 5 Fold in the coarsely crushed Oreo cookies until evenly distributed. Save a few extra crumbs for garnish, if desired.
- Step 6 Pour the mixture into a freezer-safe container (such as a 9x5 inch loaf pan). Cover tightly with plastic wrap, pressing it directly onto the surface of the ice cream, then cover with foil or an airtight lid.
- Step 7 Freeze for at least 6 hours, or preferably overnight, until firm.
- Step 8 When ready to serve, let the ice cream sit at room temperature for 5-10 minutes to soften slightly, then scoop and enjoy!
