
The BEST Easy Lemonies Recipe: Zesty Lemon Bars for Any Occasion!
I remember a crisp autumn afternoon, the kind where the air hints at winter but the sun still warms your face. My grandma, bless her heart, had just pulled a batch of her famous lemon bars from the oven. The scent of bright citrus filled her kitchen, chasing away any lingering chill, and that first bite was pure bliss. It’s a memory etched in my heart, a taste of comfort and home.
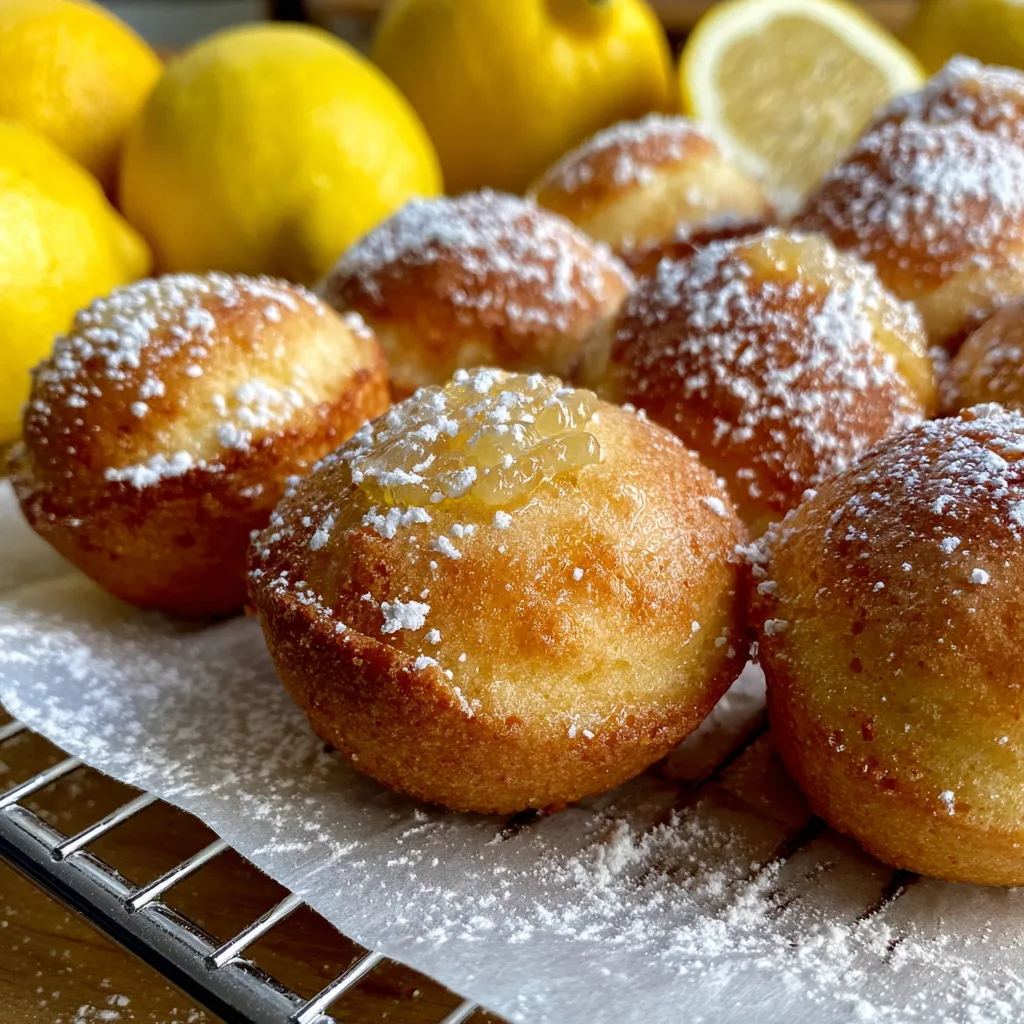
Fast forward to today, and that cherished memory is the inspiration for my own take on these incredible Lemonies! Lemon bars! EASY! Recipe in details. They’re not just a dessert; they’re a slice of sunshine, a taste of pure joy that instantly lifts your spirits. This recipe brings all that nostalgic warmth right into your kitchen.
This particular version has been a tried-and-true family favorite for years, perfected to ensure a perfectly balanced sweet-tart flavor with minimal effort. It’s the ultimate easy dessert to brighten any day, making it a perfect comfort food when you need a little lift. Get ready to bake a batch of pure happiness!

Why You’ll Love This Recipe
- ❤️ Irresistibly Zesty & Sweet: These Lemonies strike the perfect balance between bright, tangy lemon and sweet, buttery goodness. Every bite is a burst of sunshine that will wake up your taste buds and leave you craving more. It’s that classic sweet-tart combo everyone adores, made perfectly just for you!
- ❤️ Incredibly Easy to Make: Forget complicated steps and fancy techniques. This recipe is designed for home bakers of all skill levels, from beginners to seasoned pros. With straightforward instructions and simple pantry ingredients, you’ll have a stunning dessert ready in no time. It’s truly an “EASY” recipe, making dessert a breeze!
- ❤️ Crowd-Pleasing Perfection: Whether you’re hosting a brunch, bringing a dish to a potluck, or simply treating your family, these lemon bars are guaranteed to be a hit. They disappear fast, always drawing compliments and requests for the recipe. They’re a universal favorite for a reason, always bringing smiles!
- ❤️ Make-Ahead Friendly: Need to plan ahead? No problem! These Lemonies taste even better the next day after the flavors have had a chance to meld and intensify. They’re perfect for prepping in advance, taking the stress out of entertaining or meal planning. Just chill and enjoy later!
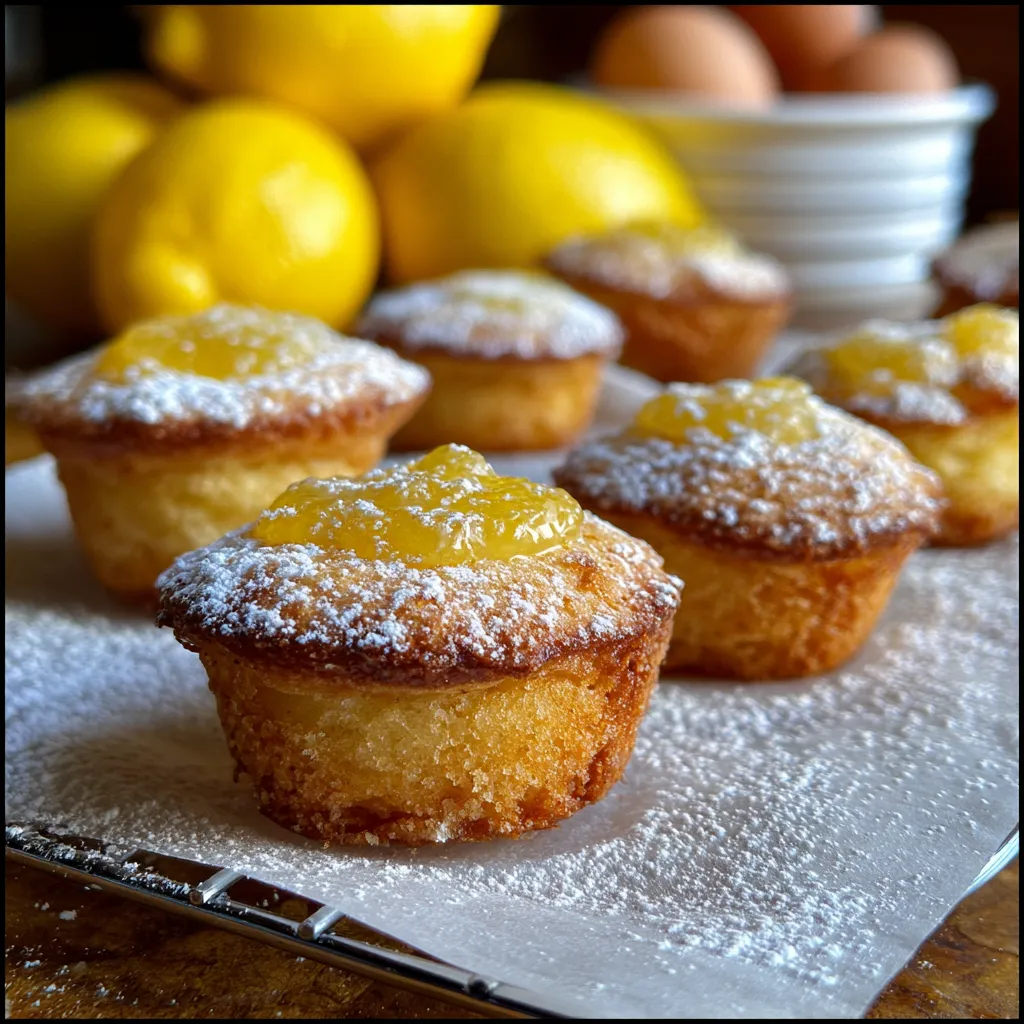
- ❤️ Versatile for Any Occasion: From casual afternoon snacks to elegant dessert tables, Lemonies fit right in. Their cheerful yellow hue and delightful flavor make them ideal for spring gatherings, summer picnics, holiday treats, or just a cozy night in. They truly are suitable for “Any Occasion!”
- ❤️ Comforting & Nostalgic: For many, the taste of lemon bars evokes fond memories of childhood and grandma’s kitchen. This recipe carries that same comforting, timeless appeal, offering a warm hug in every delicious square. It’s a dessert that feels like home, no matter where you are.
What You Need
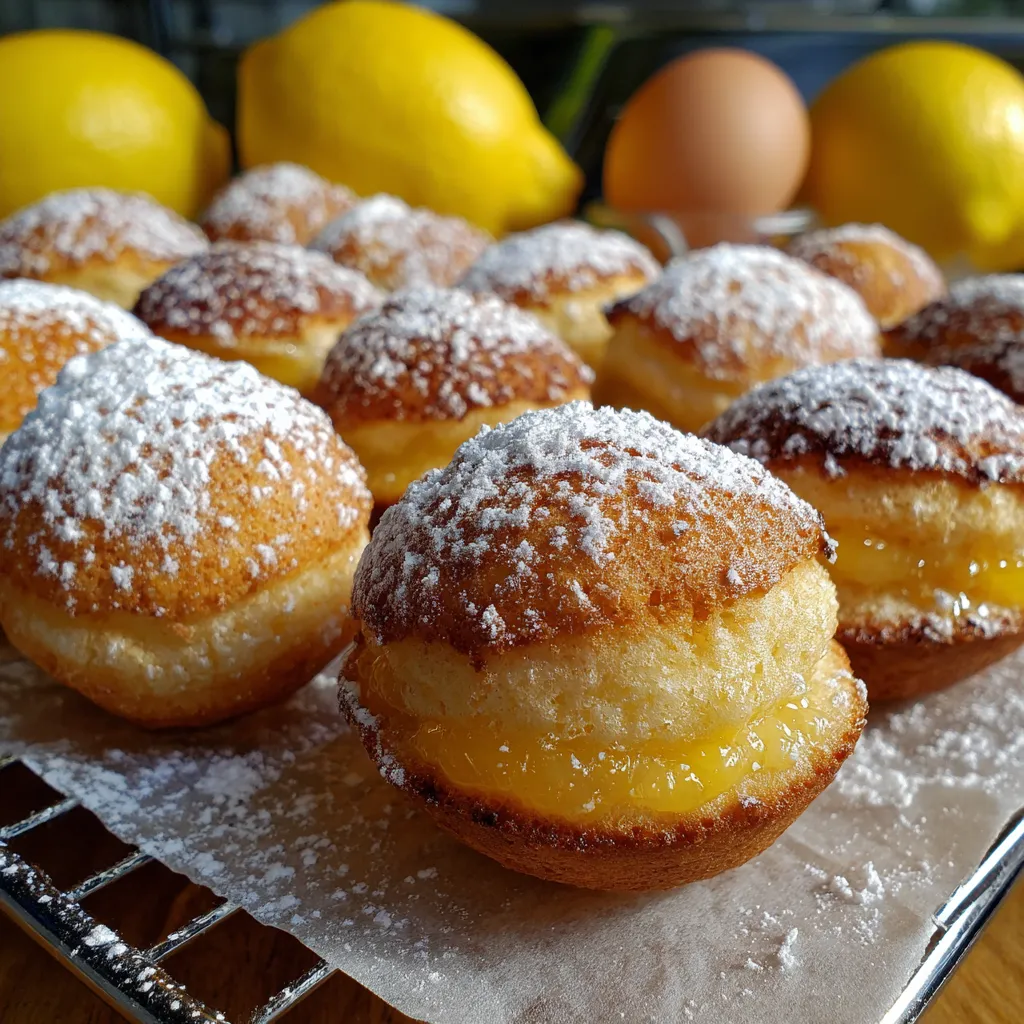
You only need a few simple pantry staples for this recipe! Think all-purpose flour, granulated sugar, butter, eggs, and, of course, plenty of fresh lemons. These common ingredients come together to create something truly magical without requiring any special trips to the store. Check the full printable recipe card below for detailed measurements and a complete list of ingredients.
Expert Tips
- 💡 Always Use Fresh Lemon Juice and Zest: This is perhaps the most critical tip for incredible lemon bars. Bottled lemon juice simply won’t give you the vibrant, authentic citrus flavor and aroma that fresh lemons provide. The zest, in particular, carries much of the lemon’s essential oils, adding depth and brightness. Don’t skip it; fresh is always best here!
- 💡 Zest Before Juicing: For maximum efficiency and ease, always zest your lemons before you cut them in half to juice them. It’s much easier to get all that fragrant zest from a firm, whole lemon rather than trying to do so from a squeezed, soft half. Use a microplane zester for the finest, most flavorful zest.
- 💡 Don’t Overbake the Crust: The crust should be lightly golden brown and just set. Overbaking can lead to a tough or crumbly base, which isn’t ideal for holding the luscious lemon filling. Keep a close eye on it during its initial bake time to ensure it’s perfectly tender and golden.
- 💡 Watch the Filling Carefully: The lemon filling is done when the edges are set and slightly golden, but the very center still has a slight jiggle. It will continue to set as it cools. Overbaking can result in a rubbery texture, while underbaking means it won’t set properly. Aim for that perfect jiggly middle for the ultimate creamy texture!
- 💡 Chill Thoroughly for Clean Cuts: Patience is key here! While it’s tempting to dive right in, chilling your Lemonies completely (ideally for at least 2 hours, or even overnight) is crucial for neat, clean squares. A cold filling means less crumbling, a firmer texture, and a much more appealing presentation.
- 💡 Use a Warm, Clean Knife for Cutting: For professional-looking bars, dip your sharp knife in hot water, wipe it clean, and then make your cuts. Repeat this process for each cut. This simple trick prevents the filling from sticking to the knife and ensures beautifully defined, sharp-edged squares every time.
- 💡 Dust with Powdered Sugar Just Before Serving: For that classic, elegant finish and a little extra sweetness, dust your cooled lemon bars generously with powdered sugar right before you serve them. It adds a beautiful visual appeal and a delicate touch that perfectly complements the tartness of the lemon.
Variations & Substitutions
While this recipe is perfect as is, it’s also wonderfully adaptable! Feel free to get creative and make it your own:
- Gluten-Free: Simply swap out the all-purpose flour in both the crust and the filling for a 1:1 gluten-free baking blend. Ensure your blend contains xanthan gum for the best texture.
- Add Berries: For a delightful twist, sprinkle a handful of fresh blueberries, raspberries, or chopped strawberries over the pre-baked crust before pouring in the lemon filling. The berries burst with flavor as they bake, adding another layer of deliciousness.
- Different Citrus: Experiment with lime juice and zest for a Key Lime Bar vibe, or even a mix of lemon and orange for a slightly sweeter, milder citrus flavor.
- Coconut Crust: For extra texture and flavor, mix 1/2 cup of shredded coconut into your crust mixture before pressing it into the pan. This adds a lovely tropical note.
Storage & Freezing
Lemonies are fantastic for making ahead and storing!
- Refrigerator: Store leftover lemon bars in an airtight container in the refrigerator for up to 5-7 days. The flavors actually meld and deepen beautifully over time!
- Freezing: For longer storage, you can freeze cooled and cut lemon bars. Arrange them in a single layer on a baking sheet and freeze until solid. Then, transfer them to a freezer-safe airtight container or bag, separating layers with parchment paper. They will keep well for up to 2-3 months. Thaw in the refrigerator before serving.
FAQ
Q: Why are they called “Lemonies”?
A: The term “Lemonies” is a playful, endearing nickname for lemon bars, much like “brownies” for chocolate squares. It simply refers to these delightful, fudgy-like lemon squares!
Q: Can I use bottled lemon juice instead of fresh?
A: While you can technically use bottled lemon juice, for the absolute best flavor, fresh lemon juice is highly recommended. Bottled juice often lacks the bright, zesty notes and complexity that fresh lemons provide, which are crucial for the vibrant taste of these bars.
Q: How do I know when the lemon filling is baked through?
A: The filling is done when the edges are set and a very light golden color, and the center still has a slight jiggle when you gently shake the pan. It will continue to firm up as it cools. Overbaking can lead to a less creamy, more rubbery texture.
Q: Can I make these lemon bars ahead of time?
A: Absolutely! These Lemonies are an excellent make-ahead dessert. In fact, they often taste even better the next day after the flavors have had a chance to fully develop and the bars have thoroughly chilled. Just store them in an airtight container in the refrigerator.
There you have it! Your new go-to recipe for the most delightful Lemonies. Whether you’re sharing them with loved ones or enjoying a quiet moment of bliss, these lemon bars are sure to bring a smile to your face and a burst of sunshine to your day. They’re simply irresistible! Don’t forget to pin this recipe for later and share your delicious creations with me!
Easy Lemonies Recipe: Zesty Lemon Bars for Any Occasion!
Ingredients
- 1 1/2 cups all-purpose flour (for crust)
- 1/2 cup granulated sugar (for crust)
- 1/2 cup unsalted butter, cold and cubed
- Pinch of salt
- 4 large eggs
- 1 1/2 cups granulated sugar (for filling)
- 1/3 cup fresh lemon juice (from 2-3 lemons)
- 2 tbsp lemon zest (from 2-3 lemons)
- 1/4 cup all-purpose flour (for filling)
- 1/2 tsp baking powder
- Powdered sugar for dusting
Instructions
- Step 1 Preheat your oven to 350°F (175°C). Line a 9x13 inch baking pan with parchment paper, leaving an overhang on two sides to easily lift the bars out later.
- Step 2 For the crust, combine 1 1/2 cups all-purpose flour, 1/2 cup granulated sugar, and a pinch of salt in a medium bowl. Add the cold, cubed unsalted butter. Cut the butter into the flour mixture using a pastry blender, two forks, or your fingertips, until coarse crumbs form. Press the mixture firmly and evenly into the bottom of the prepared baking pan.
- Step 3 Bake the crust for 15-20 minutes, or until it's lightly golden around the edges and set. While the crust is baking, prepare the lemon filling.
- Step 4 For the filling, in a separate large bowl, whisk together the 4 large eggs, 1 1/2 cups granulated sugar, 1/3 cup fresh lemon juice, 2 tbsp lemon zest, 1/4 cup all-purpose flour, and 1/2 tsp baking powder until the mixture is smooth and well combined.
- Step 5 Carefully pour the lemon filling evenly over the hot, pre-baked crust in the pan.
- Step 6 Return the pan to the oven and bake for another 20-25 minutes, or until the edges of the filling are set and lightly golden, and the center still has a slight, gentle jiggle when the pan is moved. Be careful not to overbake, as this can make the filling rubbery.
- Step 7 Remove the pan from the oven and let the lemon bars cool completely on a wire rack at room temperature. Once cooled, transfer the pan to the refrigerator and chill for at least 2 hours (or preferably overnight) before cutting. Chilling is crucial for clean, neat squares.
- Step 8 Once thoroughly chilled, use the parchment paper overhang to lift the entire slab of lemon bars out of the pan. Place on a cutting board. For clean cuts, dip a sharp knife in hot water, wipe it clean, and then cut the bars into squares or rectangles. Repeat for each cut.
- Step 9 Just before serving, dust generously with powdered sugar. Serve and enjoy your homemade Lemonies!
