
Zesty & Sweet: The Best Easy Lemon Bar Recipe You’ll Ever Make
My earliest memories of baking always involve lemons. There’s something so comforting and bright about their scent, isn’t there? I remember rainy Saturday afternoons at my grandmother’s house, the kitchen filled with sunshine even when the sky was gray outside. She’d pull out her well-worn recipe card, a splash of flour on her cheek, and we’d whip up a batch of her famous lemon bars. That classic taste of sweet-tart lemon filling cradled in a buttery shortbread crust became my ultimate comfort food. This Easy Lemon Bar Recipe is directly inspired by those cherished moments, perfected over years of baking to bring you the very best.
This isn’t just any recipe; it’s a slice of pure sunshine, guaranteed to brighten any day or occasion. Whether you’re a seasoned baker or just starting out, you’ll find this tested, family-favorite recipe incredibly straightforward and utterly irresistible. It’s the perfect easy dessert for potlucks, brunches, or simply a delightful treat to enjoy with your afternoon tea.
Why You’ll Love This Recipe
❤️ Here’s why this Easy Lemon Bar Recipe will become your new go-to:
- Irresistibly Zesty: The perfect balance of sweet and tart, bursting with fresh lemon flavor in every bite.
- Buttery Shortbread Crust: A dreamily tender and rich crust that practically melts in your mouth, providing the ideal counterpoint to the vibrant lemon filling.
- Surprisingly Simple: Don’t let their elegant appearance fool you! These bars come together with minimal effort and common pantry ingredients. It’s a fantastic easy dessert for beginners and experienced bakers alike.
- Crowd-Pleaser Guaranteed: From family gatherings to potlucks and holiday celebrations, these lemon bars disappear quickly. Everyone asks for the recipe!
- Make Ahead Magic: They taste even better the next day, making them perfect for meal prepping your desserts or entertaining.
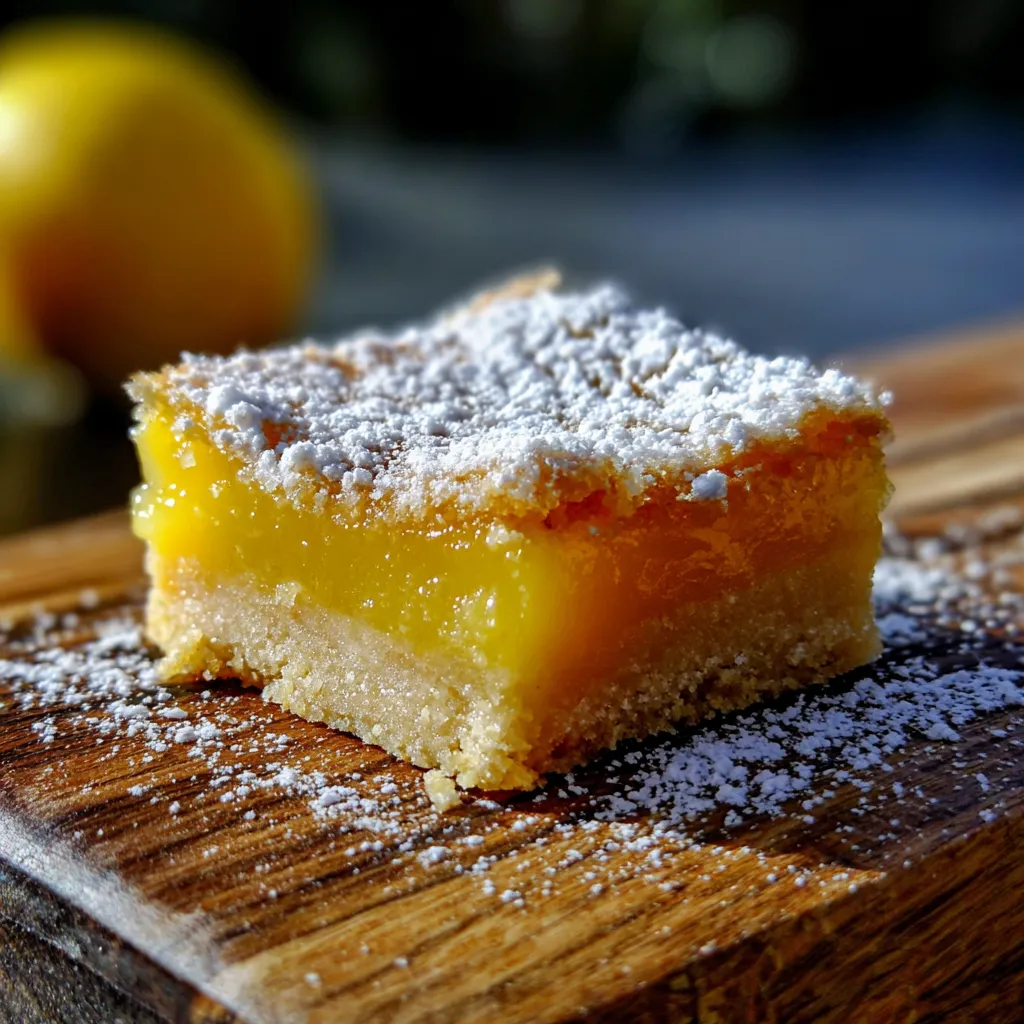
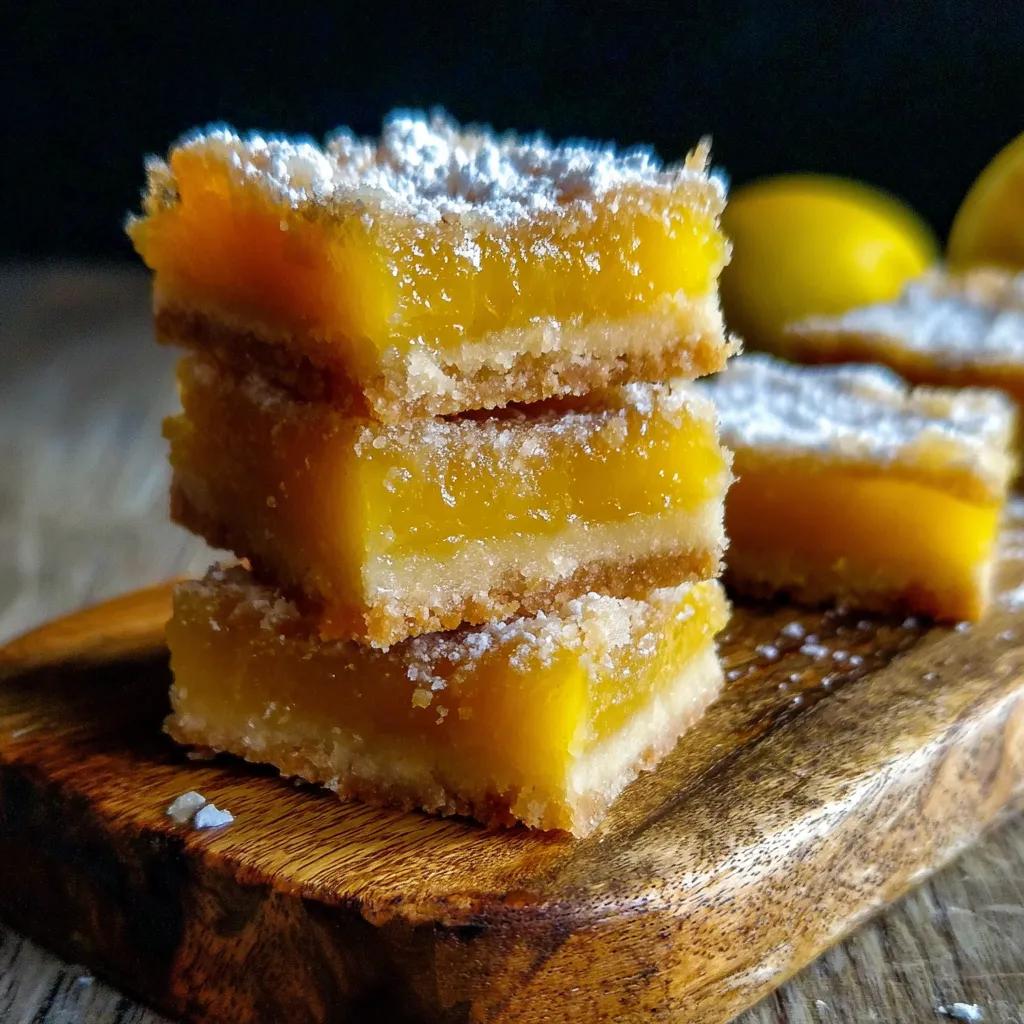
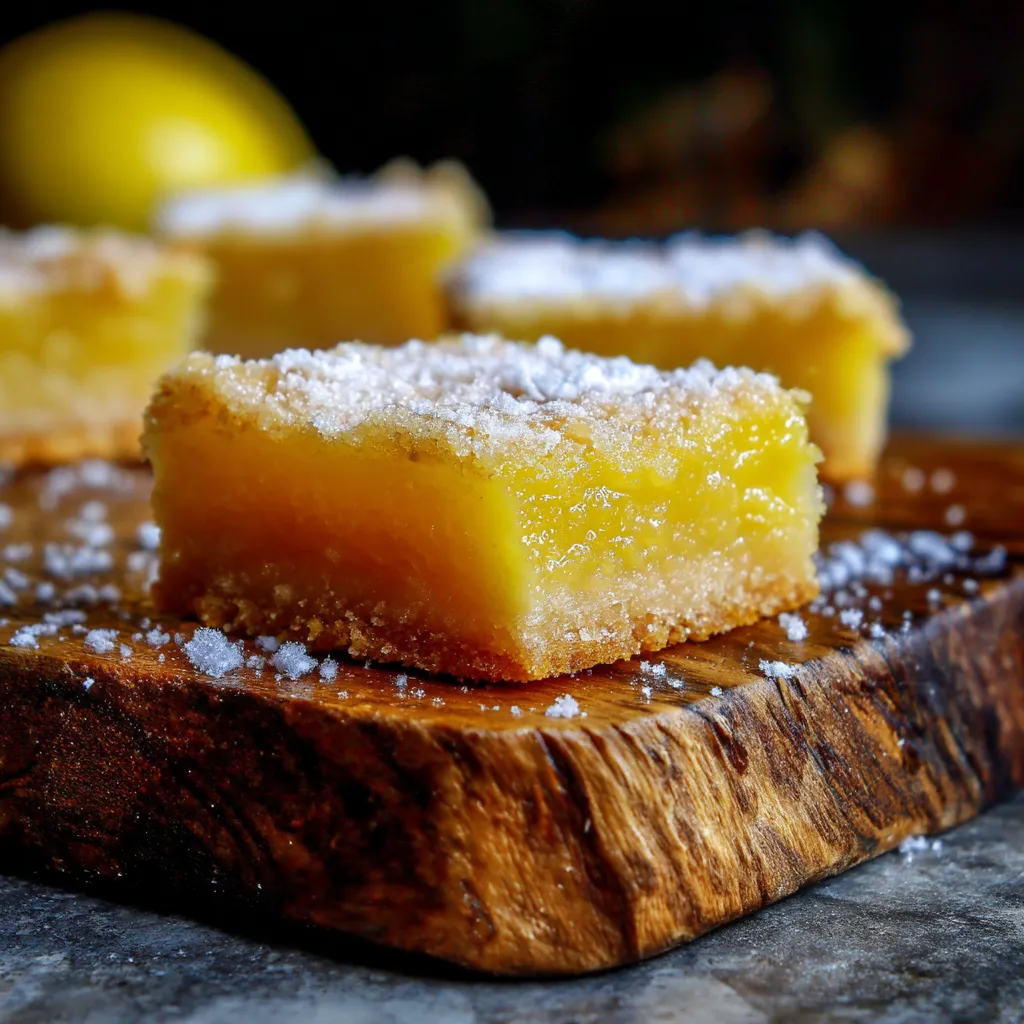
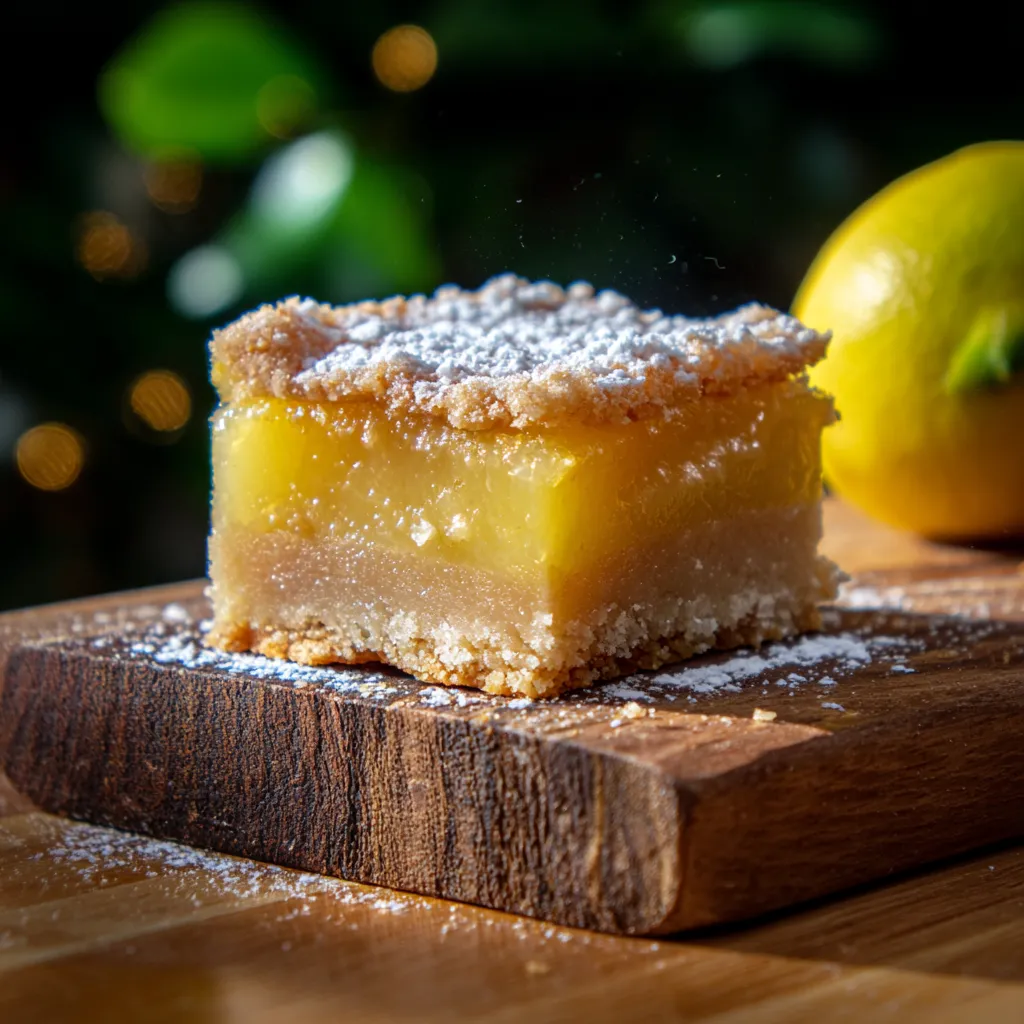
- Visually Stunning: Dusted with a delicate layer of powdered sugar, they look as good as they taste, adding a touch of sophisticated charm to any dessert spread.
- Versatile Treat: Perfect for brunches, afternoon tea, picnics, or as a bright finish to any meal. They’re a true year-round delight!
- Texture Perfection: A silky-smooth, almost custardy lemon filling sits atop a crumbly, golden-brown shortbread crust, creating a delightful textural contrast.
What You Need
You only need a few simple pantry staples for this recipe! We’re talking flour, sugar, butter, eggs, and of course, those glorious lemons. These basic ingredients transform into something truly magical with very little fuss. No fancy equipment or exotic items required. Check the full printable recipe card below for detailed measurements and a complete list of what you’ll need to create these bright, beautiful bars!
Expert Tips
💡 Master your lemon bars with these pro tips:
- Don’t Overmix the Crust: For a tender shortbread, mix the crust ingredients just until combined. Overmixing can lead to a tough, dense crust.
- Chill the Crust: A quick chill of the pressed crust (about 15-20 minutes in the fridge) before baking helps prevent it from shrinking and makes for a more stable base.
- Zest First, Juice Second: Always zest your lemons before you cut and juice them. It’s much easier to get all that aromatic zest from a whole lemon.
- Fresh Lemon Juice is Key: While bottled juice can work in a pinch, fresh lemon juice provides that bright, vibrant, authentic flavor that truly makes these bars shine. Don’t skip it!
- Sift Your Powdered Sugar: For that beautiful, delicate dusting on top, sift your powdered sugar before sprinkling. This prevents clumps and gives a professional finish.
- Don’t Overbake the Filling: The lemon filling should be just set, with a slight jiggle in the center. It will continue to firm up as it cools. Overbaking can result in a rubbery texture.
- Cool Completely: Patience is a virtue here! Lemon bars need to cool completely at room temperature, then ideally chill in the refrigerator for at least 2-3 hours (or overnight) before cutting. This ensures clean, perfectly set slices.
- Line Your Pan: For easy removal, line your baking pan with parchment paper, leaving an overhang on the sides. You can then just lift the entire slab out before cutting.
- Adjust Sweetness: Taste your lemon juice! If your lemons are exceptionally tart, you might want to add a tablespoon or two more sugar to the filling. If they’re milder, you might need a tiny bit less.
- Room Temperature Eggs: For a smoother, more emulsified filling, use room temperature eggs. They incorporate better into the sugar and lemon juice mixture.
Variations & Substitutions
While this classic Easy Lemon Bar Recipe is perfect as is, you can always get creative!
- Lime Bars: Substitute fresh lime juice and zest for a tangy Key Lime Pie inspired treat.
- Orange Bars: For a sweeter, milder citrus flavor, use fresh orange juice and zest.
- Berry Swirl: Swirl in a few tablespoons of raspberry or blueberry jam into the lemon filling before baking for a fruity twist.
- Gluten-Free: Use a 1:1 gluten-free all-purpose flour blend for the crust. Ensure your blend contains xanthan gum.
- Vegan Option: Replace butter with a plant-based butter alternative and eggs with flax eggs (1 tbsp ground flaxseed + 3 tbsp water per egg, let sit for 5 mins). Note: the texture might be slightly different.
- Almond Extract: Add 1/4 teaspoon of almond extract to the shortbread crust for a subtle, nutty undertone.
Storage & Freezing
These Easy Lemon Bars are fantastic for making ahead and storing!
- Countertop: While delicious, lemon bars with a custard-like filling are best stored in the refrigerator due to the egg content.
- Refrigerator: Store leftover lemon bars in an airtight container in the refrigerator for up to 4-5 days. Separate layers with parchment paper if stacking.
- Freezing: You can absolutely freeze lemon bars!
- First, bake and cool them completely.
- Cut into individual squares.
- Place the bars on a baking sheet and freeze for about an hour until firm.
- Transfer the frozen bars to an airtight freezer-safe container or freezer bag, separating layers with parchment paper.
- They can be frozen for up to 2-3 months.
- Thaw in the refrigerator overnight or at room temperature for an hour or two before serving.
FAQ
Q: Why are my lemon bars gooey or runny?
A: This usually happens if the filling hasn’t been cooked long enough. The center should be just set with a slight wobble. They also need to be completely cooled and chilled before cutting, as the filling continues to set as it cools.
Q: Can I use bottled lemon juice?
A: While fresh lemon juice is highly recommended for the best flavor, you can use bottled lemon juice in a pinch. Just be aware the flavor might not be as bright and vibrant.
Q: How do I get clean cuts?
A: The secret to clean cuts is a very sharp knife and chilling the bars thoroughly! Wipe your knife clean with a damp cloth after each cut for the best results.
Q: My crust is tough, what went wrong?
A: A tough crust is usually a sign of overmixing the dough. Mix the butter, flour, and sugar just until crumbs form and you can press it together.
Q: Can I make these without a stand mixer?
A: Absolutely! You can make the crust by hand or with a pastry blender. For the filling, a whisk and a bowl are all you need.
Conclusion
There you have it – your new favorite way to bring a little sunshine into your kitchen! This Easy Lemon Bar Recipe is more than just a dessert; it’s a bright, comforting, and utterly delicious experience waiting to happen. I truly hope you enjoy making (and devouring!) these as much as I do. Don’t forget to Pin this recipe for later and share your beautiful creations with me! Happy baking!
Easy Lemon Bar Recipe: Zesty Sweet & Simple Dessert
Ingredients
- 1 ½ cups (180g) all-purpose flour, divided
- ½ cup (100g) granulated sugar, divided
- ¾ cup (170g) cold unsalted butter, cubed
- 4 large eggs
- 1 cup (200g) granulated sugar
- ¼ cup (30g) all-purpose flour
- ½ cup (120ml) fresh lemon juice (from 3-4 lemons)
- 1 tablespoon lemon zest
- Powdered sugar, for dusting
Instructions
- Step 1 Preheat oven to 350°F (175°C). Line an 8x8 or 9x9 inch baking pan with parchment paper, leaving an overhang on two sides.
- Step 2 Make the crust: In a medium bowl, combine 1 ½ cups flour and ½ cup granulated sugar. Cut in cold butter with a pastry blender or your fingertips until crumbly. Press mixture evenly into the prepared pan. Bake for 15-20 minutes, or until lightly golden.
- Step 3 While crust bakes, prepare the filling: In a separate bowl, whisk together 4 eggs, 1 cup granulated sugar, ¼ cup flour, lemon juice, and lemon zest until smooth.
- Step 4 Pour the lemon filling over the warm, pre-baked crust.
- Step 5 Return to the oven and bake for an additional 20-25 minutes, or until the filling is set with a slight jiggle in the center. Do not overbake.
- Step 6 Remove from oven and let cool completely on a wire rack at room temperature. Once cool, refrigerate for at least 2-3 hours (preferably overnight) before cutting.
- Step 7 Using the parchment overhang, lift the entire slab out of the pan. Dust generously with powdered sugar before slicing into squares. Wipe your knife clean between cuts for neat edges.
