
The Best Ever Fresh Rhubarb Pie Recipe: Sweet, Tart & Utterly Irresistible!
There are some flavors that just instantly transport you, aren’t there? For me, it’s the bright, tangy taste of fresh rhubarb. I remember my grandmother, Nana Rose, used to have the most sprawling rhubarb patch in her garden. Every spring, without fail, she’d harvest those crimson stalks and transform them into the most magical desserts. Her Fresh Rhubarb Pie Recipe was legendary – a true rite of passage for spring, signaling warmer days and sweet, comforting moments shared around the kitchen table. It was more than just a pie; it was a memory in the making.
That tradition of simple, honest baking, using the freshest seasonal ingredients, stuck with me. While Nana’s version was truly special, I’ve spent years perfecting my own twist on her classic, making it even more approachable for today’s busy home baker. This tested and cherished recipe balances that signature rhubarb tartness with just the right amount of sweetness, all encased in a perfectly flaky, golden crust. Get ready to fall in love with a truly easy baking experience that delivers big on comforting flavor!
If you’re looking for that perfect spring dessert or a comforting finish to any meal, this Fresh Rhubarb Pie Recipe is it. It’s a guaranteed crowd-pleaser and a beautiful way to celebrate the season’s bounty. Trust me, your kitchen is about to smell incredible, and your taste buds are in for a treat with this ultimate comfort food!
Why You’ll Love This Fresh Rhubarb Pie Recipe
❤️ Oh, let me count the ways! This isn’t just any pie; it’s a slice of pure joy. Here’s why this Fresh Rhubarb Pie will quickly become your new favorite:
- Perfect Balance of Sweet & Tart: We’ve meticulously crafted the filling to ensure the rhubarb’s delightful tang shines through, complemented by just enough sweetness. It’s never cloyingly sweet, allowing the natural flavor of the fresh rhubarb to truly sing. This is key to a truly sophisticated and enjoyable pie experience.
- Flaky, Golden Crust: A pie is only as good as its crust, right? Our recipe ensures you get a beautifully golden, incredibly flaky, and buttery crust every single time. Whether you opt for homemade or a good quality store-bought crust, we provide tips to guarantee that irresistible texture that makes every bite perfect.
- Vibrant Seasonal Flavor: Rhubarb is a true harbinger of spring and early summer. This pie harnesses its unique, vibrant flavor, bringing that fresh, seasonal goodness right to your table. There’s nothing quite like baking with ingredients that are at their peak freshness.
- Surprisingly Simple to Make: Don’t be intimidated! While it looks impressive, this recipe is designed to be straightforward and approachable for bakers of all skill levels. We break down each step so you can create a show-stopping dessert with ease. Even if you’re new to pie making, you’ll feel confident tackling this one.
- Pure Comfort Food: There’s something inherently comforting about a warm slice of homemade pie. This rhubarb pie evokes feelings of nostalgia, home, and warmth. It’s the perfect dessert for a family gathering, a quiet evening at home, or sharing with friends.
- Crowd-Pleasing Potential: Seriously, this pie disappears fast! The unique flavor profile and stunning appearance make it an absolute hit at potlucks, parties, and special occasions. Be prepared to share the recipe, because everyone will ask for it!
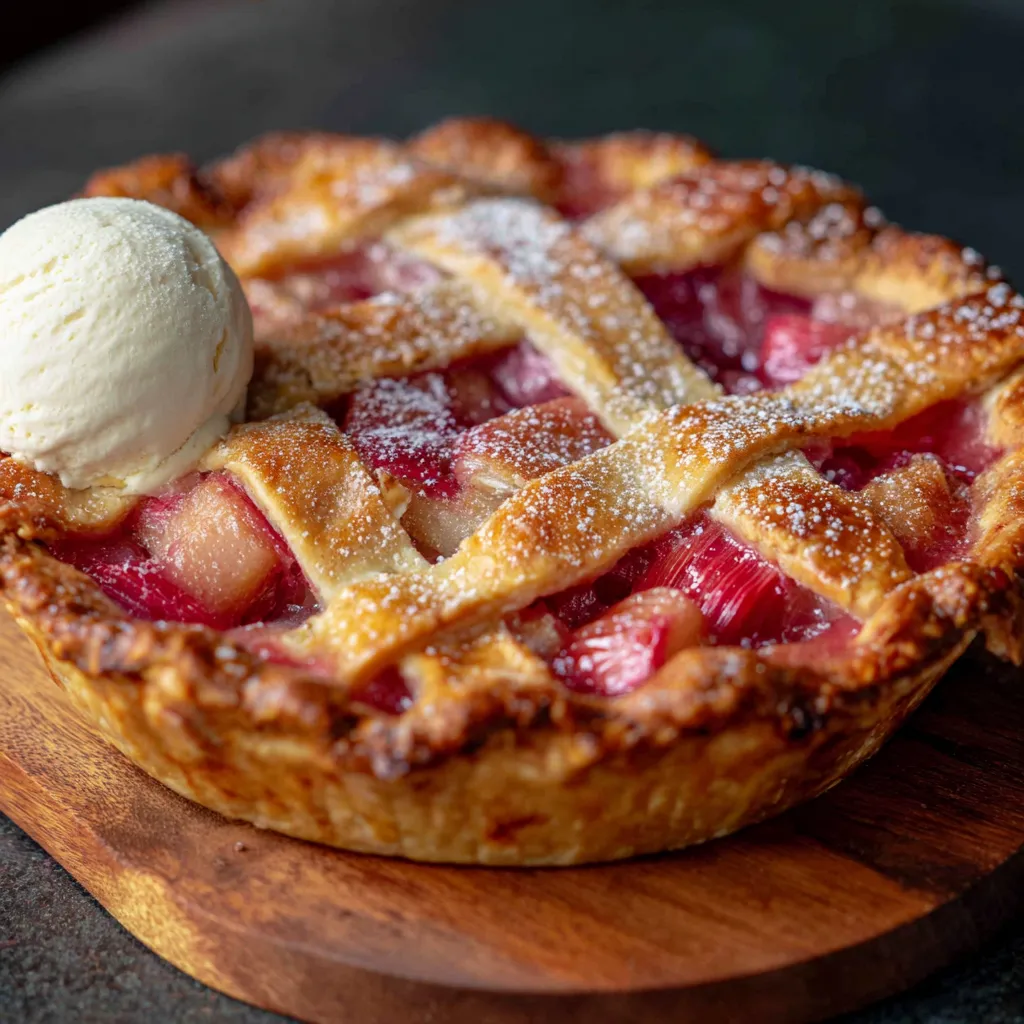
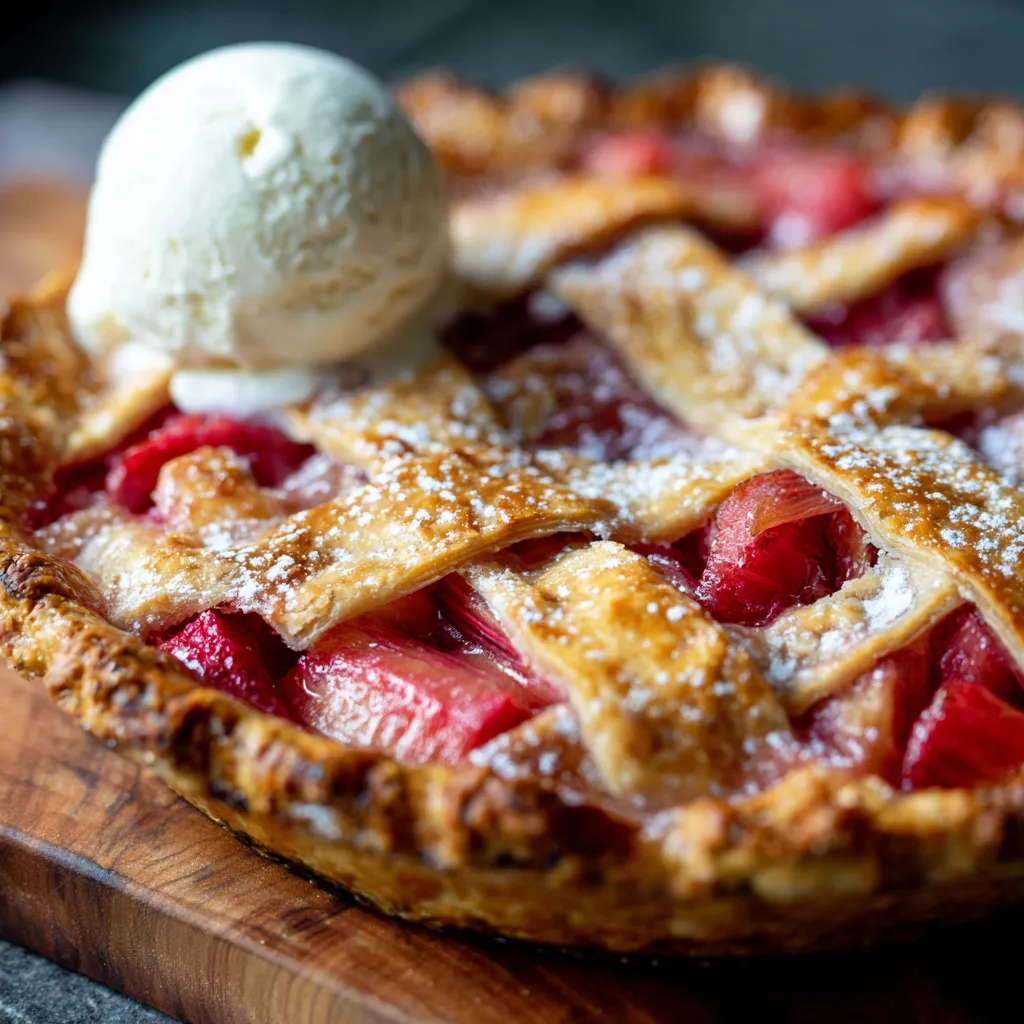
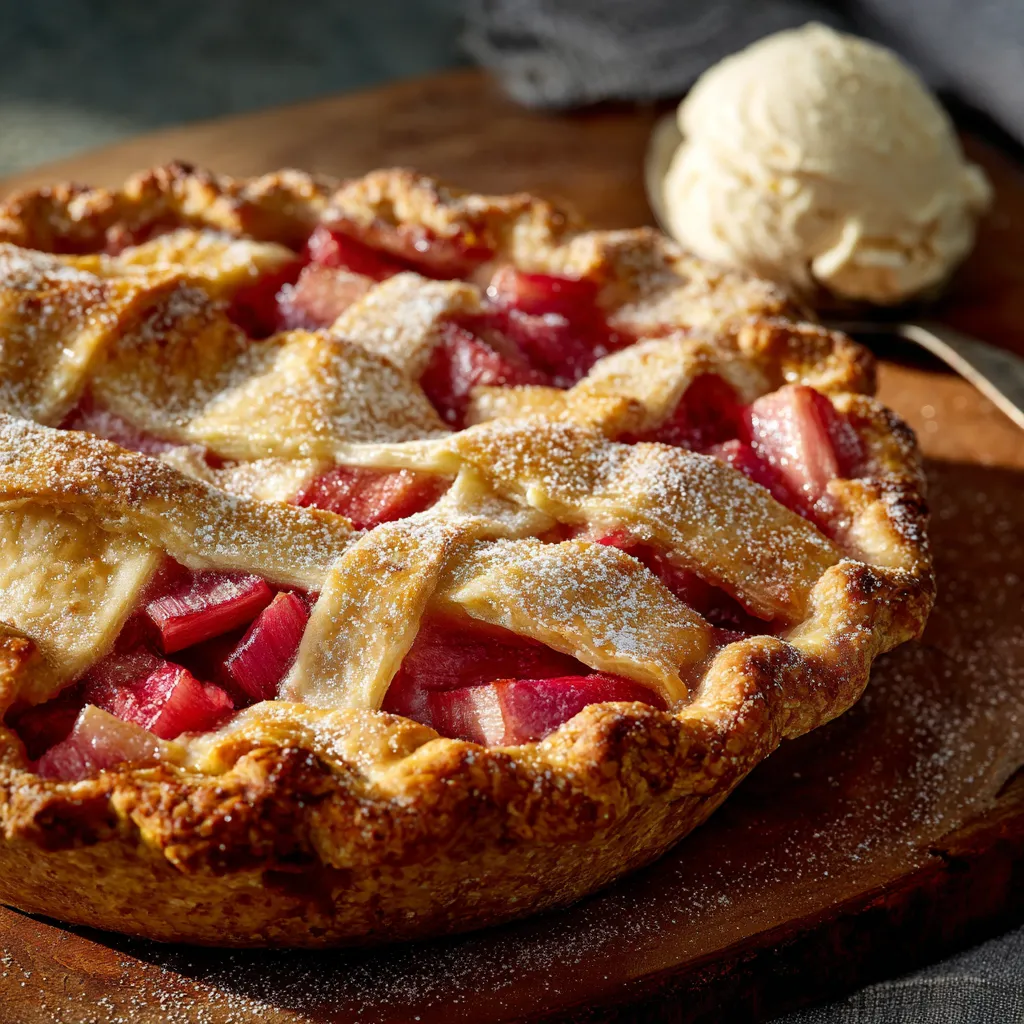
- Versatile Serving Options: Enjoy it warm with a scoop of vanilla bean ice cream (my personal favorite!), a dollop of fresh whipped cream, or simply on its own. It’s delicious any way you slice it, making it adaptable to your mood and company.
What You Need
You only need a few simple pantry staples and, of course, that gorgeous fresh rhubarb for this recipe! Check the full printable recipe card below for detailed measurements and a complete list of ingredients.
Expert Tips for the Best Rhubarb Pie
💡 Achieving pie perfection is easier than you think! Here are my top expert tips to ensure your Fresh Rhubarb Pie turns out absolutely flawless:
- Choose Fresh, Firm Rhubarb: The quality of your rhubarb makes a huge difference. Look for firm, bright pink or reddish-green stalks. Avoid any that are limp or bruised. Freshness equals flavor! If your rhubarb is very green, it might be a bit more tart, so you might add an extra tablespoon of sugar to the filling.
- Don’t Skip the Maceration Step: Letting the sliced rhubarb sit with sugar for a bit before baking allows it to release its natural juices. This not only prevents a watery pie filling but also helps the sugar dissolve and penetrate the rhubarb more evenly, intensifying its flavor. It’s a simple step with a big impact.
- Proper Thickener is Key: Rhubarb releases a lot of moisture. A combination of flour or cornstarch (the recipe specifies the best one) is crucial to ensure your pie filling sets up beautifully and isn’t runny. Make sure to whisk it well with the sugar before adding to the rhubarb. Too little thickener, and you’ll have a soupy mess; too much, and it will be gummy.
- Chill Your Pie Crust: Whether homemade or store-bought, always ensure your pie crust is very cold before rolling and baking. Cold butter in the crust creates steam, which results in those coveted flaky layers. If your dough gets too warm, pop it back in the fridge for 15-20 minutes.
- Vent the Top Crust: If you’re doing a full top crust, remember to cut several slits or a decorative pattern. This allows steam to escape during baking, preventing a soggy crust and ensuring the filling cooks evenly without bubbling over too much. For a lattice top, this is naturally taken care of!
- Protect the Edges: Pie crust edges can brown quickly. If you notice them getting too dark halfway through baking, loosely cover the edges with aluminum foil or use a pie shield. This ensures a golden-brown crust all over, without burnt edges.
- Don’t Underbake: A common mistake! Ensure your pie is baked until the crust is deeply golden brown and the filling is visibly bubbling in the center. This indicates that the thickener has properly activated and the rhubarb is tender. An instant-read thermometer can help; the center should reach about 200-210°F (93-99°C).
- Cool Completely: This is arguably the hardest tip to follow, but it’s essential! Let your pie cool for at least 3-4 hours, or even longer, before slicing. This allows the filling to fully set, preventing it from oozing out when cut. Patience is a virtue when it comes to pie!
Variations & Substitutions
While this Fresh Rhubarb Pie Recipe is perfect as is, you can certainly play around with it! Get creative and make it your own:
- Strawberry Rhubarb Pie: The classic pairing! Substitute half of the rhubarb with sliced fresh strawberries for a sweeter, fruitier twist. Adjust sugar slightly to taste.
- Ginger Kick: Add 1-2 teaspoons of finely grated fresh ginger to the filling for a warm, spicy note that complements rhubarb beautifully.
- Spice It Up: A pinch of nutmeg or a dash of cardamom can add another layer of complexity to the filling.
- Crumb Topping: Not a fan of a double crust? Skip the top crust and instead sprinkle a delicious oat or streusel crumb topping over the filling before baking.
- Gluten-Free Option: Use your favorite gluten-free pie crust mix or a homemade gluten-free pie dough, and ensure your thickener (flour) is a GF blend.
- Vegan Version: Use a vegan pie crust (many store-bought options are accidentally vegan, or make your own with vegetable shortening/vegan butter) and ensure any butter used in the filling is a high-quality vegan butter substitute.
Storage & Freezing
Want to enjoy your Fresh Rhubarb Pie for longer? Here’s how to store it:
- At Room Temperature: A freshly baked pie can be left at room temperature, loosely covered, for up to 24 hours. If your kitchen is very warm, consider refrigerating sooner.
- In the Refrigerator: For longer storage, cover the pie loosely with plastic wrap or aluminum foil and refrigerate for up to 3-4 days. It’s delicious cold, or you can gently reheat individual slices in the microwave or oven.
- Freezing Baked Pie: Allow the pie to cool completely. Wrap it tightly in several layers of plastic wrap, then a layer of aluminum foil. Freeze for up to 3 months. To serve, thaw overnight in the refrigerator, then reheat in a 350°F (175°C) oven until warmed through (about 20-30 minutes).
- Freezing Unbaked Pie: Assemble the pie completely, then wrap tightly as described above. Freeze for up to 2-3 months. When ready to bake, place the frozen pie directly into a preheated oven (no need to thaw), adding about 20-30 minutes to the baking time. Cover edges with foil if browning too quickly.
FAQ: Your Rhubarb Pie Questions Answered!
Q: Do I need to peel rhubarb?
A: Generally, no! Rhubarb stalks are perfectly edible with their skin on. Just give them a good wash and trim off the very ends. Peeling is only necessary if the stalks are exceptionally tough or fibrous, which is rare for fresh, young rhubarb.
Q: Can I use frozen rhubarb?
A: Yes, you can! If using frozen rhubarb, thaw it completely and drain off any excess liquid before using it in the filling. This is important to prevent a watery pie. You might also want to add an extra tablespoon of thickener (flour or cornstarch) as frozen rhubarb tends to release more moisture.
Q: My pie filling is too runny. What went wrong?
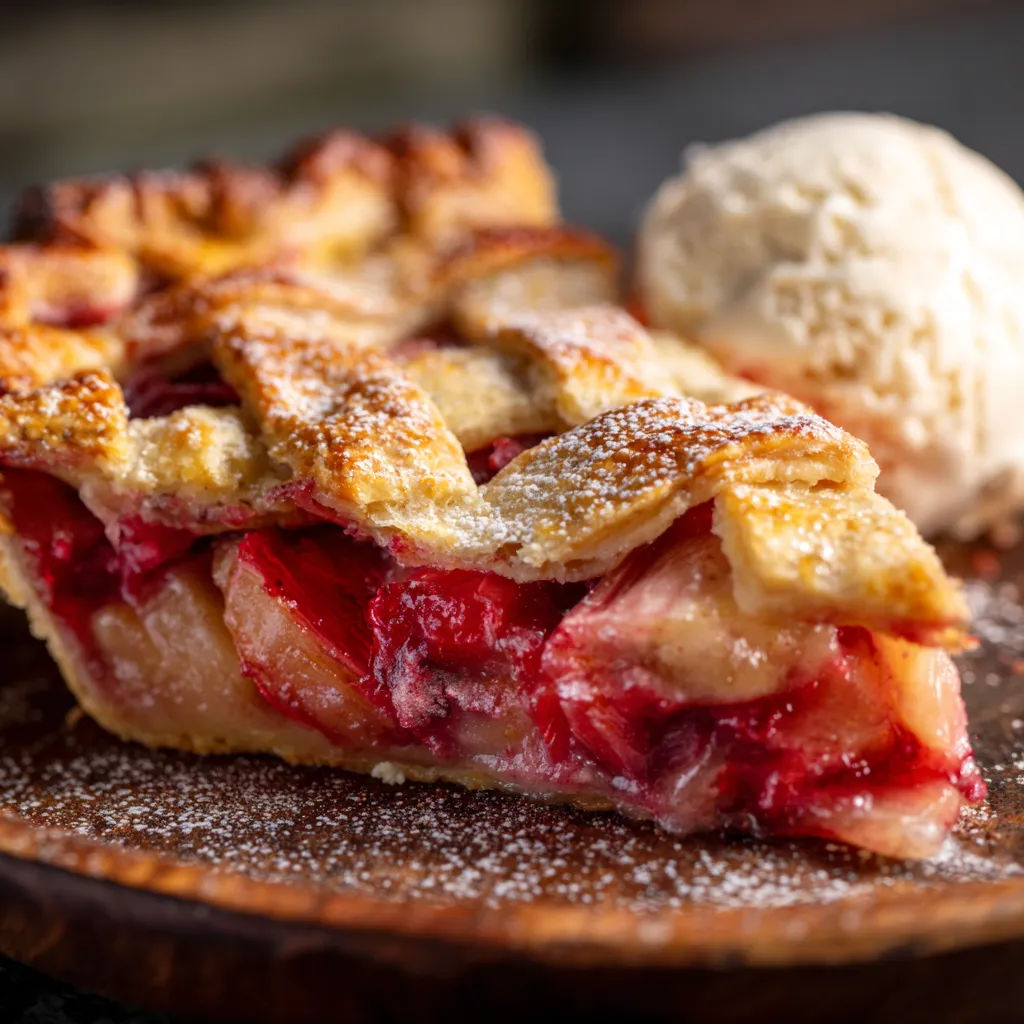
A: A runny filling is usually due to insufficient thickener or not letting the pie cool completely. Ensure you measure your thickener accurately and, most importantly, allow the pie to cool for several hours before slicing. The filling continues to set as it cools.
Q: What’s the best way to serve rhubarb pie?
A: Warm, with a scoop of vanilla bean ice cream or a dollop of freshly whipped cream, is undeniably the best! The cold, creamy topping beautifully complements the warm, tart fruit filling. It’s also delightful on its own, either warm or at room temperature.
There you have it – my tried-and-true Fresh Rhubarb Pie Recipe, brimming with all the warmth, flavor, and nostalgia of spring. I hope this recipe brings as much joy to your kitchen and your family as it does to mine. Don’t forget to Pin this recipe for later and share your beautiful creations with me on social media! Happy baking!
Best Ever Fresh Rhubarb Pie Recipe | Sweet & Tart Perfection
Ingredients
- 2 unbaked pie crusts (store-bought or homemade)
- 6 cups fresh rhubarb, trimmed and cut into ½-inch pieces (about 1 ½ pounds)
- 1 ½ cups granulated sugar (adjust to taste based on rhubarb tartness)
- ¼ cup all-purpose flour (or cornstarch for gluten-free option)
- 1 teaspoon ground cinnamon
- ¼ teaspoon ground nutmeg (optional)
- 1 tablespoon lemon juice
- 2 tablespoons unsalted butter, cut into small pieces
- 1 egg (for egg wash, optional)
- 1 tablespoon water (for egg wash, optional)
- 1 tablespoon coarse sugar (for sprinkling, optional)
Instructions
- Step 1 Prepare your pie crusts: If using homemade, ensure they are chilled. Roll out one crust and carefully place it into a 9-inch pie plate. Trim edges, leaving a ½-inch overhang. Chill while preparing the filling.
- Step 2 Prepare the rhubarb filling: In a large bowl, combine the chopped rhubarb, granulated sugar, flour (or cornstarch), cinnamon, and nutmeg (if using). Stir gently until the rhubarb is evenly coated. Let stand for 15-20 minutes to allow the rhubarb to release some of its juices.
- Step 3 Add lemon juice and stir again. Pour the rhubarb mixture into the chilled pie crust. Dot the top of the filling with the small pieces of butter.
- Step 4 Prepare the top crust: Roll out the second pie crust. You can either place it whole over the filling and cut several slits for venting, or create a lattice top. If making a lattice, cut the crust into ½-inch to 1-inch strips and weave them over the filling.
- Step 5 Seal and crimp edges: Trim any excess top crust. Fold the top crust over the bottom crust's overhang and crimp the edges decoratively to seal. If using a whole top crust, brush with an egg wash (1 egg beaten with 1 tablespoon water) and sprinkle with coarse sugar for a golden finish.
- Step 6 Bake the pie: Preheat your oven to 425°F (220°C). Place the pie on a baking sheet (to catch any drips) and bake for 15 minutes. This high initial heat helps set the crust.
- Step 7 Reduce heat and continue baking: Reduce the oven temperature to 375°F (190°C) and continue baking for another 35-45 minutes, or until the crust is deeply golden brown and the filling is bubbling thickly. If the edges of the crust start to brown too quickly, loosely cover them with aluminum foil or a pie shield.
- Step 8 Cool completely: Remove the pie from the oven and place it on a wire rack to cool completely for at least 3-4 hours before slicing and serving. This allows the filling to set properly.
