

Irresistible No-Bake Butterfinger Pie: Your New Favorite Dessert!
I remember one scorching summer evening when my mom, bless her heart, surprised us with a no-bake dessert after a long day of outdoor play. The moment she pulled that cool, creamy Butterfinger Pie from the fridge, my eyes lit up. It was pure magic! The distinct crunch of the candy bar combined with the silky smooth filling was an instant hit, and from that day forward, it became our ultimate summer indulgence, a true family favorite.
There’s something truly special about a dessert that requires no oven, yet delivers such an incredible burst of flavor and texture. This easy Butterfinger Pie recipe isn’t just about combining ingredients; it’s about creating joyful memories. It’s the perfect crowd-pleaser for potlucks, family gatherings, or just a quiet evening when you’re craving something decadently sweet and wonderfully crunchy.
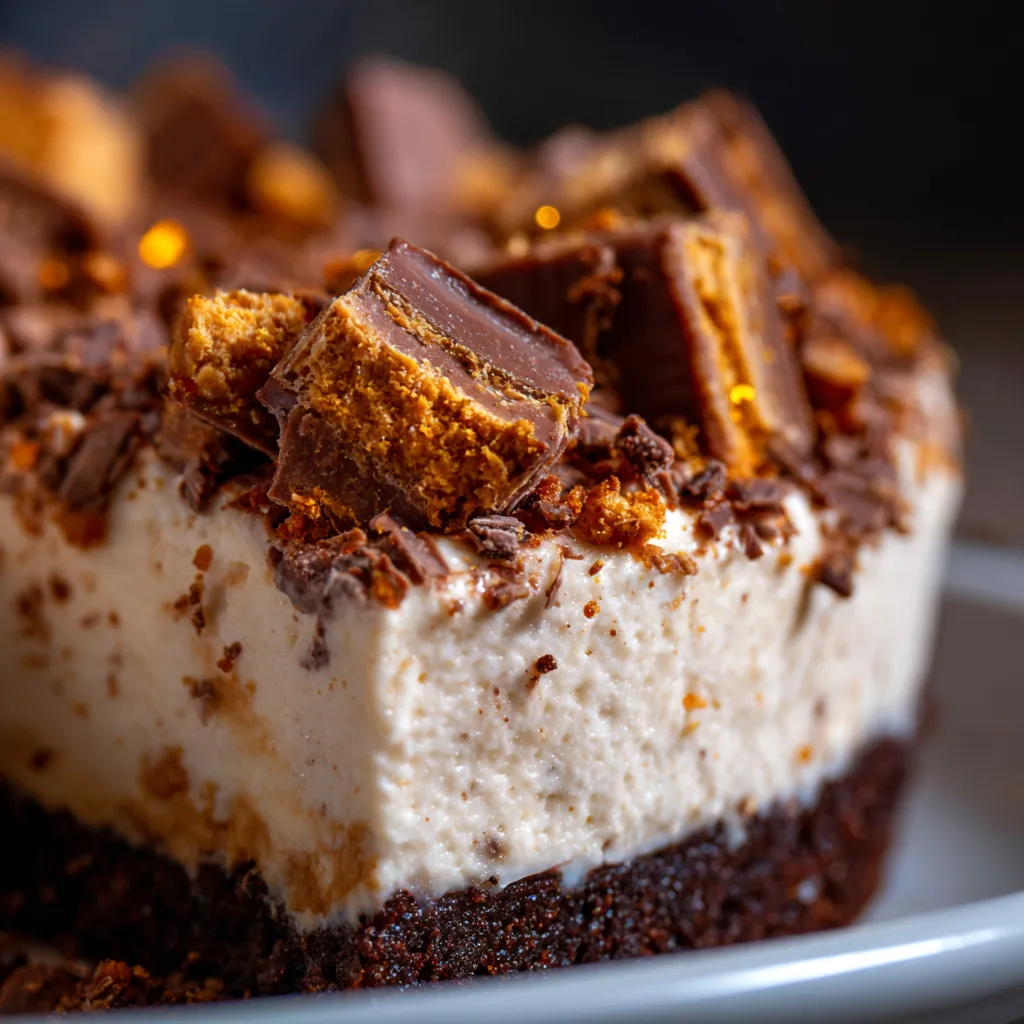
This tested and perfected recipe brings together the iconic crispety, crunchety, peanut-buttery goodness of Butterfinger bars with a rich, creamy filling, all nestled in a delicious chocolate cookie crust. It’s an easy dessert that promises pure delight with every single forkful. Get ready to fall in love with your new go-to no-bake treat!
Why You’ll Love This Recipe
- ❤️ No-Bake Wonder: Say goodbye to turning on the oven, especially during those scorching summer months! This pie is a dream come true for anyone who loves delicious desserts without the heat or fuss of baking. It’s the ultimate stress-free sweet treat.
- ❤️ Crowd-Pleasing Flavor: The unique combination of creamy, tangy cream cheese, sweet whipped topping, and the unmistakable crunch of Butterfinger candy bars creates a flavor profile that everyone adores. It’s a guaranteed hit at any gathering, leaving guests asking for the recipe!
- ❤️ Versatile & Customizable: While the classic recipe is perfect as is, this pie is wonderfully adaptable. Want to try a different crust? Go for it! Craving extra chocolate? Drizzle away! It’s your canvas for dessert creativity.
- ❤️ Make-Ahead Magic: Hosting a dinner party or holiday meal? This Butterfinger Pie is your best friend. It needs time to chill, making it the ideal dessert to prepare a day or even two in advance. Less stress on the day of your event means more time to enjoy.
- ❤️ Budget-Friendly Bliss: You don’t need exotic or expensive ingredients to create this showstopper. Most components are simple pantry staples, making this a delicious and economical choice for a satisfying sweet fix.
- ❤️ Irresistible Texture Play: From the crisp chocolate cookie crust to the smooth, velvety filling, and then the delightful, crunchy shards of Butterfinger candy, every bite offers an exciting symphony of textures. It’s truly a textural masterpiece!
- ❤️ Kid-Friendly Fun: This recipe is so straightforward, it’s a fantastic opportunity to get the kids involved in the kitchen. Crushing candy bars, stirring, and sprinkling are all fun tasks for little hands, making it a wonderful family activity.
- ❤️ Speedy Sweet Fix: While it requires chilling, the actual hands-on prep time for this pie is incredibly minimal. If you have an unexpected dessert craving or last-minute guests, you can whip up the filling in a flash and let the fridge do the rest of the work.
- ❤️ Perfect for Any Occasion: Whether it’s a casual weeknight treat, a celebratory birthday, or a festive holiday gathering, this Butterfinger Pie fits seamlessly into any event. It’s universally loved and always a welcomed addition to the dessert table.
What You Need
You only need a few simple pantry staples for this show-stopping dessert! The magic happens with creamy filling and those iconic Butterfinger candy bars. Check the full printable recipe card below for detailed measurements of all ingredients.
Expert Tips
- 💡 Crust Perfection: A Solid Foundation is Key: Achieving a perfectly firm, yet yielding, chocolate cookie crust is fundamental to this pie’s success. When pressing the crumbs into your pie plate, don’t be shy! Use the flat bottom of a drinking glass or a measuring cup to compact them as densely as possible. This creates a sturdy base that won’t crumble when you slice into your pie. For an extra layer of security and to prevent any sogginess, you can also bake a store-bought crust for 5-7 minutes at 350°F and let it cool completely, or briefly chill your homemade crumb crust in the freezer for about 15-20 minutes before adding the filling.
- 💡 Cream Cheese Softening: The Secret to Silky Smoothness: This might seem like a small detail, but using truly softened cream cheese is absolutely critical. Take your block of cream cheese out of the refrigerator at least one hour before you plan to start mixing. If you’re short on time, you can microwave it in its foil packaging (or unwrapped on a plate) for 15-20 seconds on low power, checking frequently. Properly softened cream cheese will blend effortlessly into a smooth, lump-free filling, ensuring a luxurious, velvety texture that’s simply irresistible.
- 💡 Whipped Topping Secrets: Maintaining That Airy Lightness: For the best results, ensure your frozen whipped topping (like Cool Whip) is completely thawed but still very cold. The colder it is, the better it will hold its shape. When incorporating it into the cream cheese mixture, use a gentle folding technique rather than vigorous stirring. This preserves the airy, light texture of the whipped topping, which contributes significantly to the overall lightness and creaminess of the pie. Overmixing can deflate the whipped topping, resulting in a denser filling.
- 💡 Candy Bar Crushing: Texture, Not Powder: The hallmark of a great Butterfinger Pie is that delightful crunch! When crushing your candy bars, aim for a variety of textures – a mix of fine crumbs and satisfyingly larger, irregular chunks. This provides interesting textural contrast in every bite. Place the unwrapped bars in a sturdy Ziploc bag, seal it, and gently tap with a rolling pin, the flat side of a meat mallet, or even your fist. Avoid using a food processor for this step unless you use very short pulses, as it can quickly turn the bars into a fine powder, losing that desired “crispety, crunchety” appeal.
- 💡 Chilling is Key: Patience is a Virtue: This is perhaps the most important tip for any no-bake pie. A minimum of 4-6 hours of refrigeration is essential for the filling to fully set and firm up. Ideally, an overnight chill (8 hours or more) will yield the best results, ensuring clean, defined slices and a perfectly stable pie. Resist the urge to cut into it too early! The chilling process allows the cream cheese and whipped topping to bind properly, creating that wonderful, sliceable texture we all love.
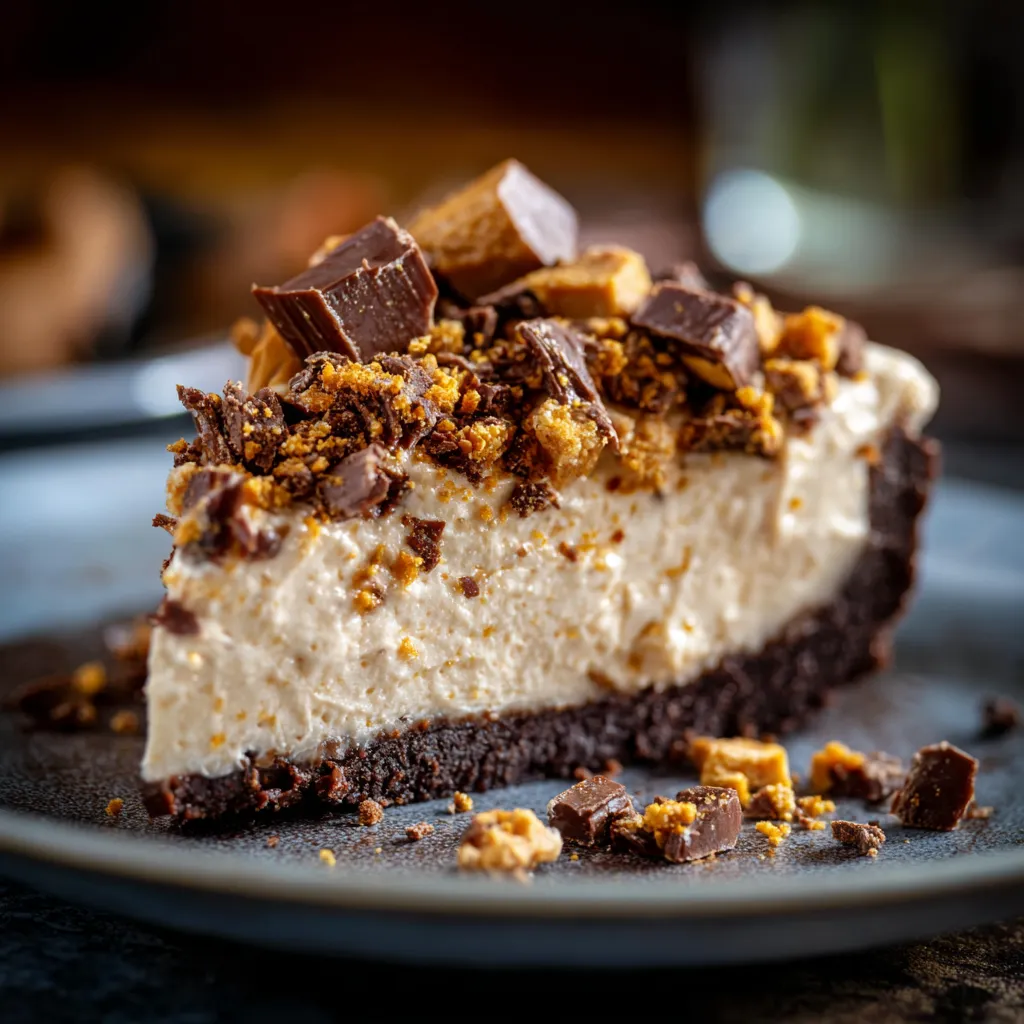
- 💡 Garnish Like a Pro: Elevate Your Presentation: Don’t underestimate the power of a beautiful garnish! Before serving, reserve a small handful of extra crushed Butterfinger candy bars, or perhaps some elegant chocolate shavings, and sprinkle them artfully over the top of the pie. A delicate drizzle of chocolate syrup or caramel sauce can also add a touch of gourmet flair. These finishing touches not only make your pie look professionally prepared but also offer an extra burst of flavor and visual appeal.
- 💡 Portion Control: A Rich Indulgence: This pie is incredibly rich and decadent, so a little goes a long way! Consider cutting slightly smaller slices than you might for a traditional fruit pie. For the cleanest cuts, use a sharp, thin-bladed knife, wiping it clean with a damp cloth between each slice. This prevents the filling from sticking and ensures every slice looks as good as it tastes.
- 💡 Flavor Enhancements: Subtle Twists: To truly make the sweet and peanut butter flavors sing, a tiny pinch of sea salt added to the filling mixture can work wonders, balancing the sweetness and intensifying the other notes. A teaspoon of pure vanilla extract also adds a beautiful layer of warmth and complexity to the creamy base. Experiment with these subtle additions to find your perfect flavor balance.
- 💡 Alternative Crusts: Beyond Chocolate: While the chocolate cookie crust is a classic pairing, feel free to explore! A buttery graham cracker crust offers a delightful, slightly spiced counterpoint to the rich filling. For a more sophisticated twist, consider a shortbread cookie crust. Each option provides a unique base that can complement the Butterfinger flavor in a different, delicious way.
- 💡 Avoid Watery Filling: The Temperature Factor: If your pie filling seems too loose or watery, it’s often due to ingredients being too warm or overmixed. Ensure your cream cheese is softened but not melted, and your whipped topping is cold. If you opt for homemade whipped cream, ensure it’s whipped to firm peaks and folded in carefully. Excess moisture or heat can prevent the pie from setting properly.
Variations & Substitutions
- Gluten-Free: Easily adapt by using a gluten-free chocolate cookie crust or a simple, pre-made gluten-free graham cracker crust. Always double-check that your Butterfinger candy bars are certified gluten-free, although they typically are.
- Nut-Free (with caution): Given Butterfinger’s peanut-based nature, achieving a completely nut-free version requires substituting the candy bar entirely. Consider crushed chocolate bars with toffee bits or pretzel pieces for a similar crunch and salty-sweet profile.
- Different Candy Bars: Get creative! This recipe is incredibly versatile. Try substituting Butterfingers with other favorites like crushed Reese’s Peanut Butter Cups, chopped Snickers bars, or even a mix of chocolate-covered toffee pieces for a unique twist.
- Lighter Version: For a slightly lighter take, opt for reduced-fat cream cheese and a sugar-free whipped topping. While the texture and sweetness might vary a little, it will still deliver a satisfyingly delicious treat.
- Extra Chocolate: For the ultimate chocolate lover, consider adding a layer of chocolate ganache over the set pie, or simply sprinkle extra mini chocolate chips or cocoa powder over the top just before serving.
- Individual Servings: Instead of a whole pie, layer the crushed crust, creamy filling, and candy bar pieces in individual dessert cups, mason jars, or ramekins. These are perfect for portion control and elegant presentation.
Storage & Freezing
Storage: Keep any leftover Butterfinger Pie tightly covered with plastic wrap or in an airtight container in the refrigerator for up to 3-4 days. While the crust might soften slightly over time, the delicious flavor and creamy texture of the filling will remain fantastic.
Freezing: This no-bake pie freezes wonderfully! Once the pie is completely set and firm from refrigeration, you can prepare it for the freezer. For individual portions, wrap each slice tightly in plastic wrap, then place them in an airtight freezer-safe container. For a whole pie, wrap it securely in multiple layers of plastic wrap, followed by a layer of aluminum foil. Freeze for up to 1 month. To enjoy, thaw the pie or individual slices in the refrigerator overnight before serving. The texture might be a tiny bit softer after thawing, but it will still be a delightful, refreshing treat.
FAQ
Q: Can I use real whipped cream instead of store-bought whipped topping?
A: Absolutely, you can! For a homemade touch, whip 2 cups of heavy cream with 1/4 cup powdered sugar and 1 teaspoon of vanilla extract until stiff peaks form. The key is to fold this gently into your cream cheese mixture to maintain its airiness. Keep in mind that real whipped cream can be a bit less stable than store-bought whipped topping, so ensuring your pie gets ample chilling time (at least 6-8 hours or overnight) is crucial for a firm set.
Q: Why is my Butterfinger Pie not setting up properly or looking too runny?
A: There are a few common culprits! The most frequent reason is insufficient chilling time; this pie truly needs those 4-6 hours (or more!) to firm up. Another factor could be cream cheese that wasn’t properly softened (leading to lumps that prevent smooth integration) or, conversely, cream cheese that was too warm. Lastly, if using store-bought whipped topping, ensure it’s completely thawed but still very cold, and avoid overmixing, which can deflate it. Patience with the chilling process is your best friend here!
Q: Can I make this Butterfinger Pie a day ahead of time for a party?
A: Yes, absolutely and enthusiastically! This pie is actually one of those magical desserts that benefits from being made a day in advance. The extra chilling time allows all the flavors to meld together beautifully, creating an even more harmonious and delicious taste. Plus, it ensures the pie is perfectly set for easy, clean slicing, making it an ideal, stress-free make-ahead option for any gathering, potluck, or special occasion.
Q: What kind of crust works best for this no-bake Butterfinger Pie?
A: A pre-made or homemade chocolate cookie crust is traditionally the most popular choice for Butterfinger Pie, as the rich chocolate complements the peanut butter and toffee flavors perfectly. However, a classic graham cracker crust is also an excellent option, offering a slightly different, comforting flavor profile. You could even experiment with a vanilla wafer crust for a sweeter, buttery base. All will work wonderfully with the creamy Butterfinger filling!
Q: Can I add other ingredients or toppings to customize my Butterfinger Pie?
A: Definitely! This pie is fantastic for customization. Consider drizzling with warm caramel sauce or chocolate fudge sauce before serving for an extra layer of decadence. A sprinkle of mini chocolate chips or chopped roasted peanuts can also enhance the texture and flavor. For a more adventurous twist, a touch of coffee extract in the filling could add depth, or a few extra tablespoons of peanut butter could boost the nutty flavor.
Conclusion
And there you have it! Your new go-to dessert that’s guaranteed to bring smiles and satisfy even the most serious sweet cravings. This Butterfinger Pie isn’t just a recipe; it’s a moment of pure, joyful indulgence waiting to happen. So go ahead, whip one up, and watch it disappear! Don’t forget to Pin this irresistible recipe for later!
Irresistible No-Bake Butterfinger Pie: Easy & Creamy!
Ingredients
- 1 (8 ounce) package cream cheese, softened
- 1/2 cup powdered sugar
- 1/4 cup milk
- 1 (8 ounce) container frozen whipped topping, thawed
- 6-8 regular size Butterfinger candy bars, crushed (about 2 cups)
- 1 (9 inch) pre-made chocolate cookie crust
Instructions
- Step 1 In a large bowl, beat the softened cream cheese, powdered sugar, and milk until smooth and creamy.
- Step 2 Gently fold in the thawed whipped topping until no streaks remain.
- Step 3 Fold in about 1 1/2 cups of the crushed Butterfinger candy bars.
- Step 4 Pour the mixture into the chocolate cookie crust and spread evenly.
- Step 5 Sprinkle the remaining crushed Butterfinger candy bars over the top of the pie.
- Step 6 Cover loosely with plastic wrap and refrigerate for at least 4-6 hours, or preferably overnight, until firm.
- Step 7 Slice and serve cold.
