
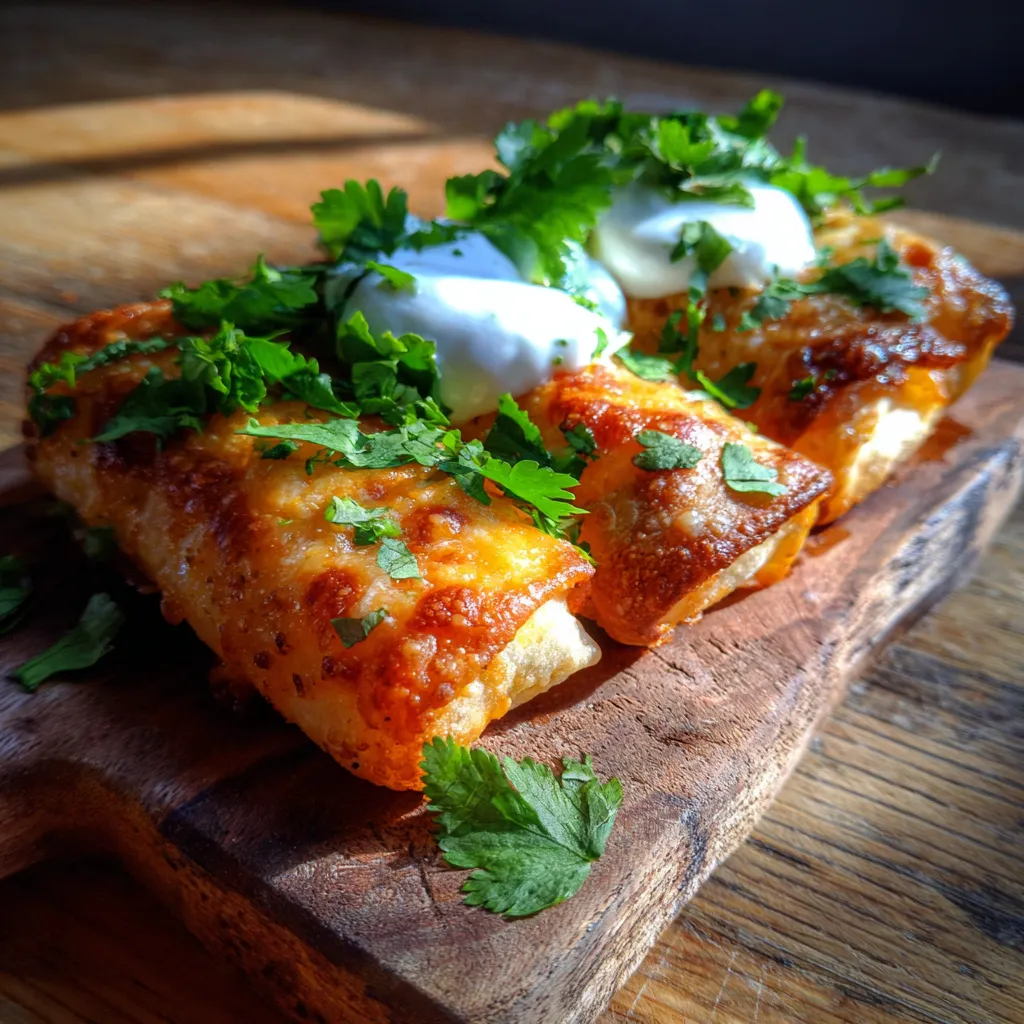
The Ultimate Easy Cheesy Taco Sticks: A Weeknight Family Favorite!
There are some recipes that just become instant legends in your home, aren’t there? For me, it’s these incredible Easy Cheesy Taco Sticks (Family Favorite). I still remember the first time I whipped these up. It was a particularly chaotic Tuesday evening – soccer practice ran late, homework was piling up, and the ‘what’s for dinner?’ question was met with collective groans. In a moment of desperation and creativity, I decided to fuse the irresistible flavors of tacos with a super fun, dippable format. The result? Pure magic!
My kids, usually masters of picky eating, devoured them like they were going out of style. My husband, who rarely praises a weeknight meal with more than a ‘good job,’ actually asked for seconds (and then thirds!). From that day on, these crunchy, cheesy, savory sticks became our go-to solution for an easy dinner that feels like a special treat. They are the ultimate comfort food, providing that perfect blend of familiar taco flavor in a convenient, handheld form.
This recipe has been tested countless times, tweaked for perfection, and is now a certified family favorite that I simply *have* to share with you. If you’re looking for a simple, crowd-pleasing meal that will make everyone at your table smile, then look no further. Get ready to add this amazing dish to your weekly rotation – you won’t regret it!
Why You’ll Love This Recipe
❤️ These Easy Cheesy Taco Sticks aren’t just a meal; they’re a revelation for busy families. Here’s why they’ll become your new favorite:
- Effortless Preparation: Say goodbye to complex recipes! These taco sticks come together with minimal fuss and everyday ingredients, making them ideal for even the busiest weeknights.
- Kid-Friendly Perfection: The fun, dippable stick shape makes them an instant hit with children. Even the pickiest eaters can’t resist the crunchy tortilla and cheesy, savory filling.
- Customizable Comfort: Easily adapt the filling with your family’s favorite proteins or veggies, and serve with a variety of toppings to suit every taste. Everyone gets exactly what they love!
- Budget-Friendly: Made with common pantry staples and affordable ground meat, this recipe won’t break the bank. It’s a fantastic way to stretch your grocery budget.
- Weeknight Winner: From prep to plate, these sticks are designed for speed. You can have a delicious, satisfying meal on the table in under an hour, perfect for those late-start evenings.
- Make-Ahead & Freezer-Friendly: Prepare a big batch and store them for future meals. They reheat beautifully, offering a convenient solution for meal prepping or unexpected cravings.
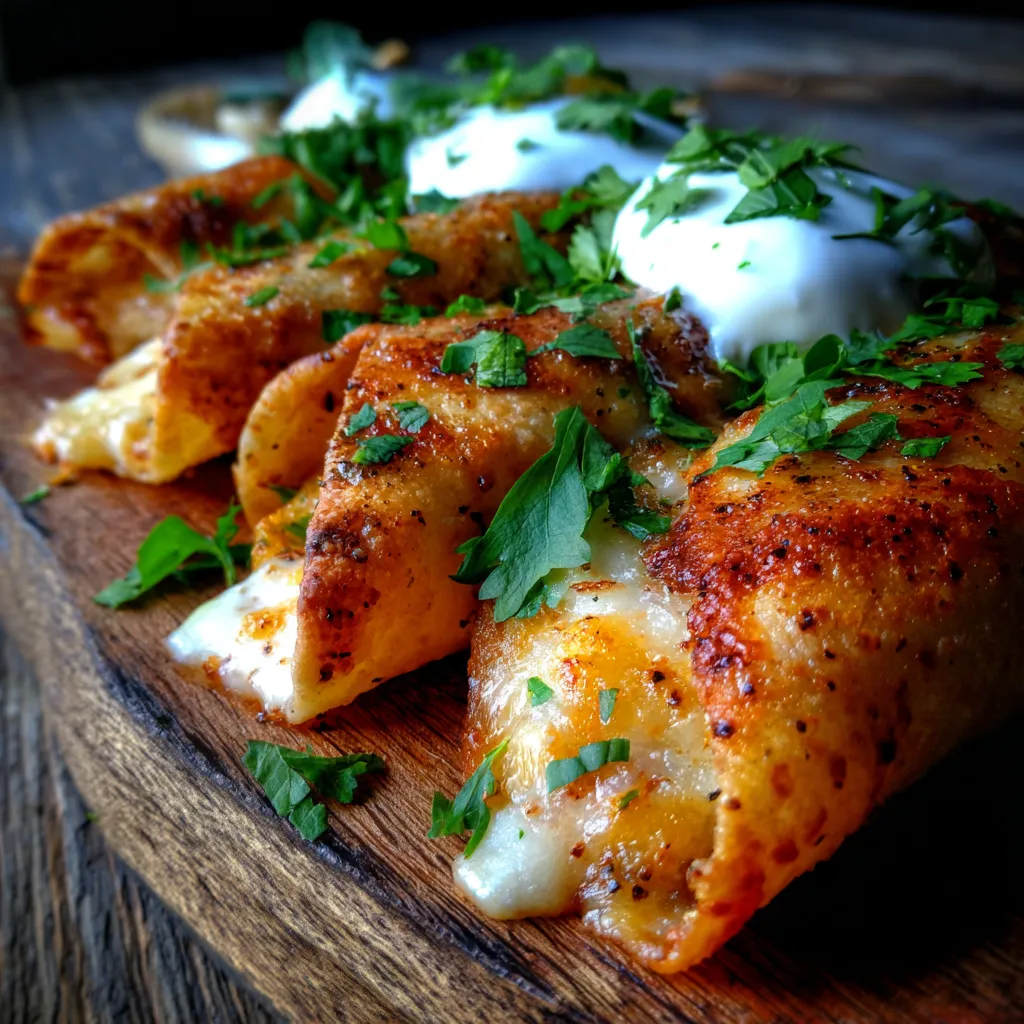
- Explosion of Flavor: Every bite delivers that classic, irresistible taco flavor you crave, wrapped in a perfectly golden, crispy tortilla with melted, gooey cheese. It’s comfort food at its finest!
What You Need
You only need a few simple pantry staples for this recipe! We’re talking ground meat, tortillas, cheese, and your favorite taco seasoning. Check the full printable recipe card below for detailed measurements of each ingredient.
Expert Tips
💡 Unlock the full potential of your Easy Cheesy Taco Sticks with these pro tips:
- Drain the Meat Thoroughly: After browning your ground beef, it’s crucial to drain any excess grease. This prevents your taco sticks from becoming greasy and ensures a perfectly crisp exterior.
- Warm Your Tortillas: Before filling and rolling, briefly warm your flour tortillas in the microwave or a dry skillet. This makes them more pliable and less likely to tear or crack during rolling.
- Don’t Overfill: While it’s tempting to load them up, overfilling your tortillas can make them difficult to roll tightly and might cause the filling to spill out during baking. A modest amount is best.
- Roll Them Tightly: A snug roll is key for maintaining the stick shape and preventing them from unraveling. Roll from one end to the other, keeping it as tight as possible.
- Brush with Olive Oil: A light brush of olive oil or cooking spray on the outside of the rolled sticks before baking will help them achieve that beautiful golden-brown color and satisfying crunch.
- Use a Baking Rack: If you have one, baking your taco sticks on an oven-safe wire rack placed over a baking sheet allows air to circulate around them, ensuring even crisping on all sides.
- Optimal Cheese Choice: While any shredded cheese works, a good quality cheddar or Mexican blend melts beautifully and adds fantastic flavor. Freshly shredded cheese melts smoother than pre-shredded.
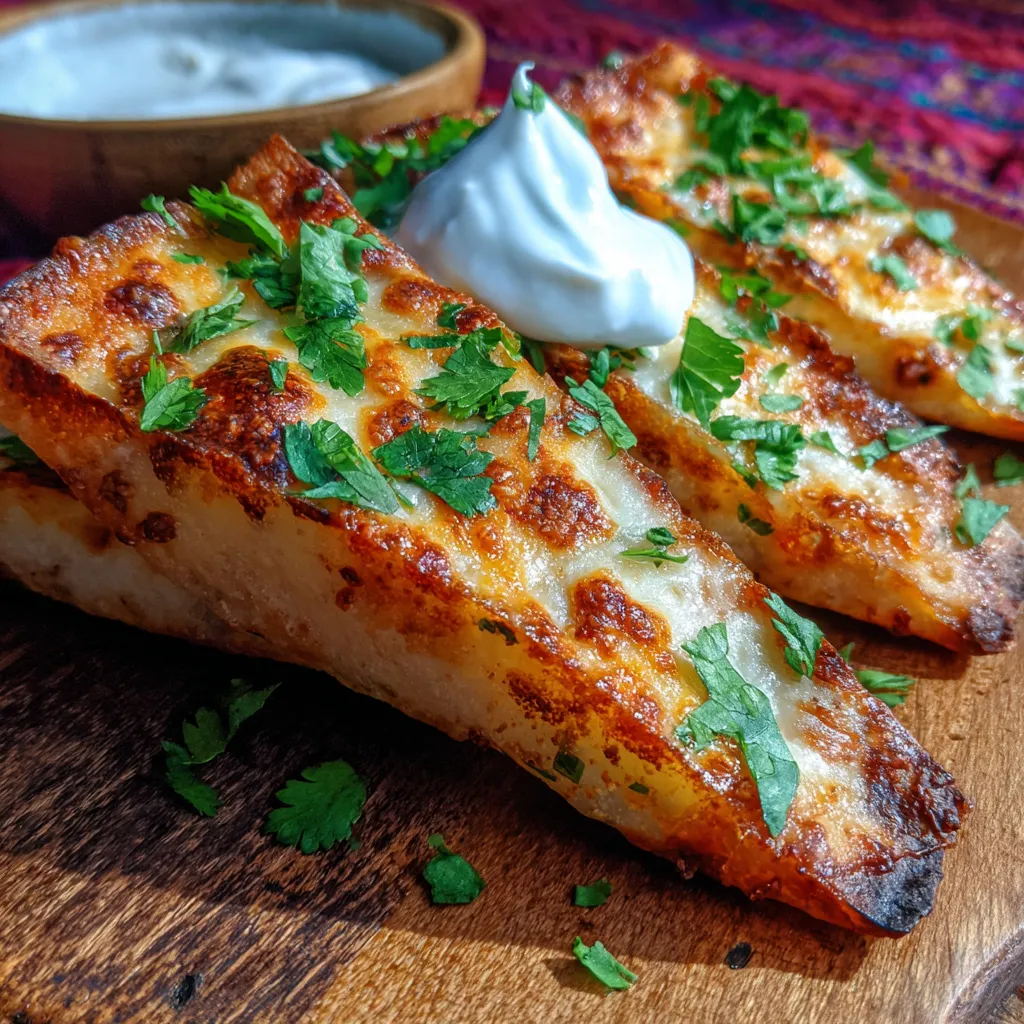
- Serve with Dipping Sauces: Elevate the experience with a variety of dipping sauces! Think salsa, guacamole, sour cream, queso, or even a spicy ranch dressing.
Variations & Substitutions
These taco sticks are incredibly versatile! Feel free to get creative and adapt them to your dietary needs or flavor preferences:
- Vegetarian Delight: Swap the ground beef for seasoned black beans, refried beans, or your favorite plant-based crumbles. You could even use a mix of finely diced bell peppers and corn.
- Keto/Low-Carb Friendly: Simply use low-carb tortillas instead of traditional flour tortillas. The filling itself is already very low-carb, making this an easy swap.
- Gluten-Free Option: Opt for gluten-free flour tortillas. Many brands offer great options that hold up well to rolling and baking.
- Protein Power: Not a fan of ground beef? Use ground turkey, ground chicken, or even shredded cooked chicken for a different twist. Season accordingly!
- Spice It Up: Add a pinch of cayenne pepper, some finely diced jalapeños (seeds removed for less heat), or a dash of hot sauce to your meat mixture for an extra kick.
- Cheese Please: Experiment with different types of cheese! Monterey Jack, Pepper Jack, Colby, or even a blend of mozzarella and cheddar can all work wonderfully.
- Add Veggies: Sneak in some finely grated zucchini, carrots, or corn into your meat mixture for added nutrients and texture.
Storage & Freezing
These Easy Cheesy Taco Sticks are fantastic for making ahead or enjoying later. Here’s how to keep them fresh:
- Refrigeration: Store any leftover baked taco sticks in an airtight container in the refrigerator for up to 3-4 days.
- Reheating: For best results, reheat them in the oven at 350°F (175°C) for 10-15 minutes, or until warmed through and crispy. An air fryer also works wonders for crisping them up quickly! Microwaving is an option, but they might lose some of their crispness.
- Freezing (Baked): Allow the baked taco sticks to cool completely. Arrange them in a single layer on a baking sheet and freeze until solid (about 1-2 hours). Once frozen, transfer them to a freezer-safe bag or container. They will keep for up to 2-3 months.
- Reheating from Frozen: You can bake them directly from frozen. Place on a baking sheet and bake at 375°F (190°C) for 20-25 minutes, or until heated through and crispy.
FAQ
Q: Can I prepare these taco sticks ahead of time?
A: Absolutely! You can assemble the taco sticks up to a day in advance and store them covered in the refrigerator. When you’re ready to eat, simply bake as directed. This makes them perfect for busy weeknights or entertaining.
Q: What kind of tortillas work best for taco sticks?
A: Small to medium (6-8 inch) flour tortillas are ideal. They are pliable enough to roll tightly without breaking and create a perfect snack-sized stick. Corn tortillas tend to break more easily when rolled, unless they are very fresh and thoroughly warmed.
Q: How do I prevent the taco sticks from getting soggy?
A: The key to preventing sogginess is to thoroughly drain any excess grease from your cooked ground meat before mixing in the seasoning and cheese. Also, baking them until golden brown and crisp will help maintain their texture.
Q: Can I air fry these taco sticks instead of baking them?
A: Yes, you can! Air frying is a fantastic option for an extra crispy result. Preheat your air fryer to 375°F (190°C). Place the taco sticks in a single layer, ensuring they don’t touch, and cook for 8-12 minutes, flipping halfway, until golden brown and hot through. Cooking time may vary by air fryer model.
Ready to Make Dinner Fun Again?
I genuinely hope these Easy Cheesy Taco Sticks bring as much joy and deliciousness to your family dinner table as they do to mine. They’re proof that simple ingredients and a little creativity can transform a hectic evening into a memorable meal. Don’t forget to customize them with your favorite toppings – a dollop of sour cream, a sprinkle of fresh cilantro, or a side of zesty salsa makes them absolutely irresistible.
If you try this recipe, I’d love to hear about it! Drop a comment below, or better yet, snap a photo and tag me on social media. Happy cooking, and remember: dinner doesn’t have to be complicated to be incredibly tasty!
Pin this recipe for later so you always have a fantastic, family-approved meal idea at your fingertips!
Easy Cheesy Taco Sticks: Ultimate Family Dinner Recipe
Ingredients
- 1 lb (450g) ground beef or turkey
- 1 packet (1 oz / 28g) taco seasoning mix
- 1/2 cup water
- 10-12 medium (6-inch) flour tortillas
- 2 cups shredded cheddar or Mexican blend cheese
- 2 tbsp olive oil or vegetable oil
- Optional toppings: salsa, sour cream, guacamole, chopped cilantro, diced tomatoes, jalapeu00f1os
Instructions
- Step 1 Preheat oven to 400°F (200°C). Lightly grease a large baking sheet or line with parchment paper. If using a wire rack for crispier results, place it on the baking sheet.
- Step 2 In a large skillet, brown the ground beef (or turkey) over medium-high heat. Break it up with a spoon as it cooks. Once no pink remains, drain off any excess grease thoroughly.
- Step 3 Stir in the taco seasoning mix and water. Bring to a simmer and cook for 5-7 minutes, or until most of the liquid has evaporated and the meat is well coated. Remove from heat and let cool slightly.
- Step 4 Once the meat mixture is slightly cooled, stir in 1 cup of the shredded cheese until well combined.
- Step 5 Lay out one flour tortilla on a clean surface. Spoon about 2-3 tablespoons of the meat and cheese mixture in a line across the center of the tortilla, leaving space at both ends.
- Step 6 Sprinkle a small amount of the remaining shredded cheese over the meat mixture.
- Step 7 Fold in the sides of the tortilla over the filling, then starting from one end, tightly roll the tortilla into a stick shape.
- Step 8 Repeat with the remaining tortillas and filling. Place the rolled taco sticks seam-side down on the prepared baking sheet.
- Step 9 Brush the tops of the taco sticks lightly with olive oil (or spray with cooking spray).
- Step 10 Bake for 18-25 minutes, or until the tortillas are golden brown and crispy, and the cheese inside is melted and bubbly. Cooking time may vary slightly depending on your oven.
- Step 11 Remove from the oven and let cool for a few minutes before serving. Serve hot with your favorite taco toppings and dipping sauces like salsa, sour cream, and guacamole.
