
Best Ever Fluffy Gluten-Free Blueberry Waffles
There’s something truly magical about a weekend morning, isn’t there? The kind where the sun streams in, your favorite mug is filled with coffee, and the smell of something sweet and comforting wafts from the kitchen. For me, that perfect picture often involves these incredible Gluten-Free Blueberry Waffles. I remember one particularly rainy Sunday, my kids were bouncing off the walls, and I decided we needed a special treat. Instead of our usual pancakes, I pulled out my trusty waffle iron and experimented with a gluten-free version of our classic blueberry waffle recipe. The result? Pure joy. The kitchen filled with laughter, sticky fingers, and the happiest crunching sounds.
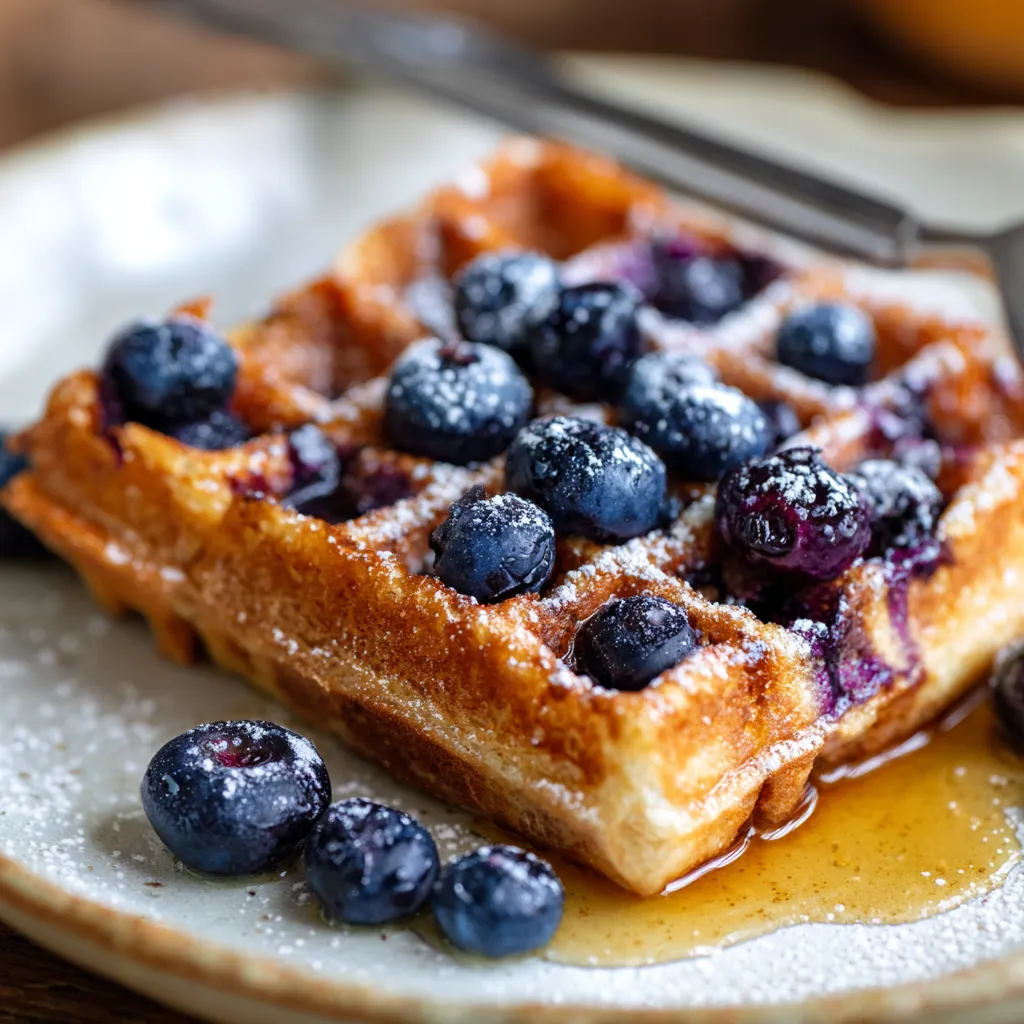
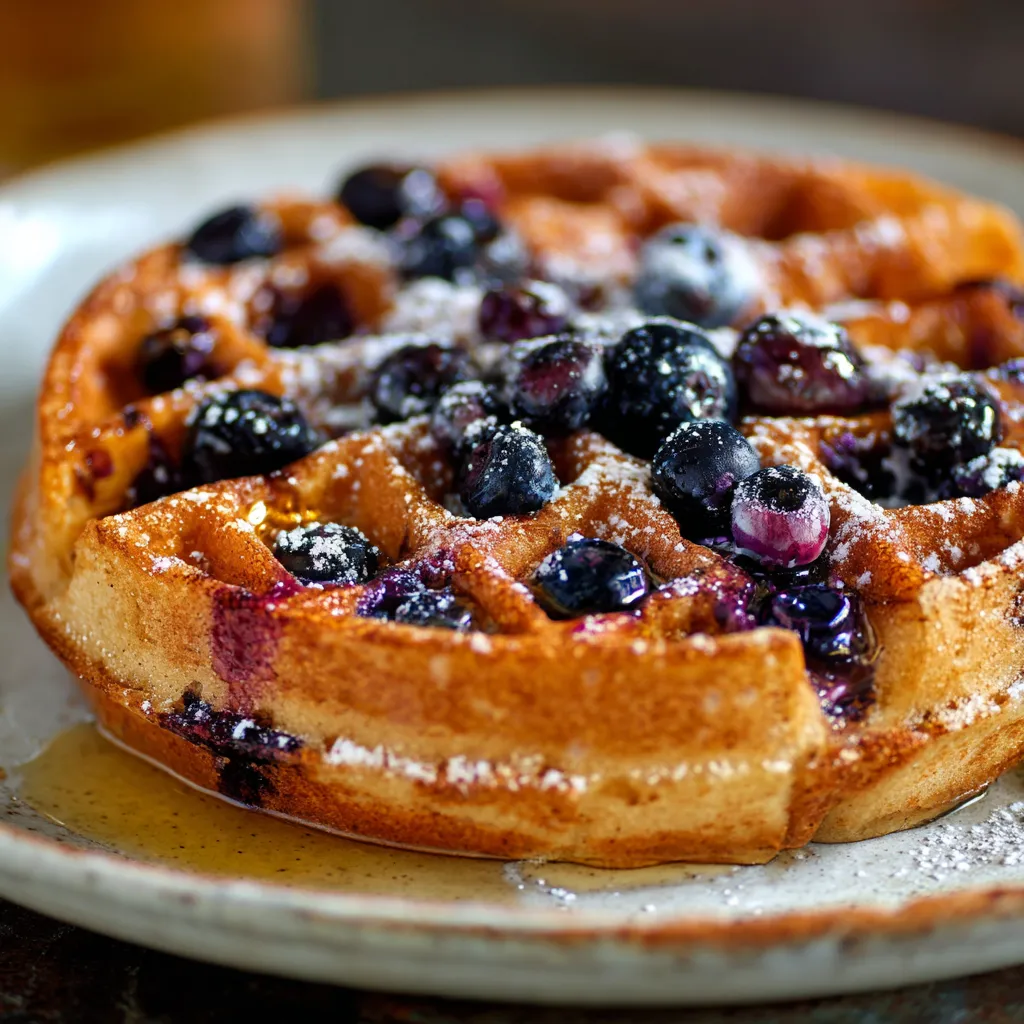
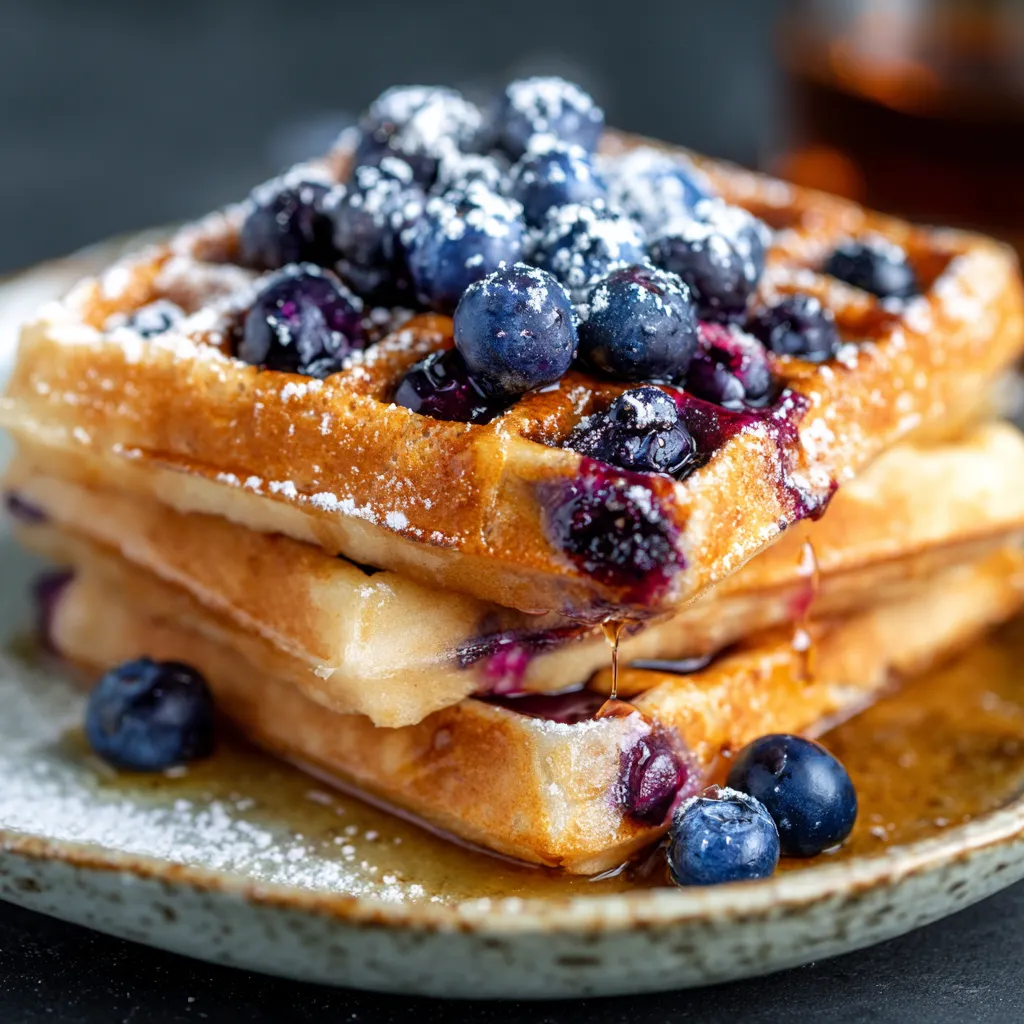
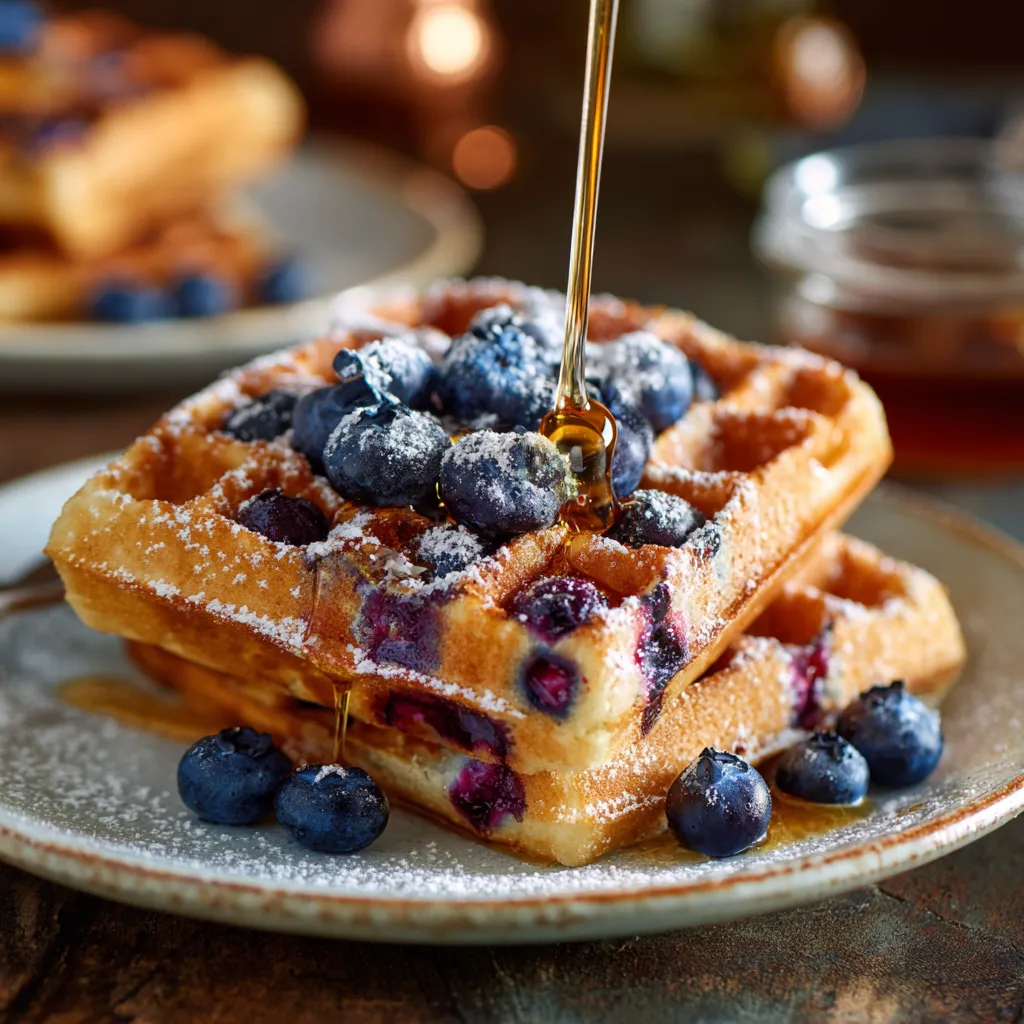
This recipe isn’t just about a delicious breakfast; it’s about creating those cozy, lasting memories. It’s a tested, family-favorite recipe that guarantees light, airy waffles with that irresistible crispy edge, bursting with juicy blueberries in every bite. Whether you’re navigating a gluten-free lifestyle or simply looking for a new, crowd-pleasing brunch recipe, these waffles are an absolute game-changer. They’re surprisingly easy to make and deliver that comforting, bakery-quality taste right in your own home. Get ready to fall in love!
I’ve perfected this recipe over countless Sunday mornings and special occasions, ensuring it’s not only simple for busy families but also delivers consistent, spectacular results. It’s become a beloved part of our routine, transforming ordinary mornings into extraordinary ones. Prepare to make these a staple in your kitchen!
Why You’ll Love This Recipe
❤️ Here’s why these Gluten-Free Blueberry Waffles will become your new go-to recipe:
- Perfectly Crispy & Fluffy: Achieves that ideal balance – golden brown and crisp on the outside, incredibly soft and tender on the inside. No more soggy waffles!
- Bursting with Blueberry Flavor: Fresh blueberries release their sweet, slightly tart juices as they cook, creating pockets of fruity deliciousness throughout. Every bite is a delightful surprise.
- Effortlessly Gluten-Free: You won’t believe these are gluten-free! The texture and taste are so spot-on, even non-GF eaters will be asking for seconds. It’s truly a seamless swap from traditional waffles.
- Quick & Easy Preparation: With simple ingredients and straightforward steps, you can have these delicious waffles on the table in under an hour, making them perfect for busy mornings or spontaneous brunch cravings.
- Customizable for Any Occasion: While fantastic on their own, these waffles are a perfect canvas for your favorite toppings – from classic maple syrup and butter to whipped cream, fresh fruit, or even a drizzle of chocolate.
- Family-Friendly & Crowd-Pleasing: This recipe is a guaranteed hit with kids and adults alike. It’s a wonderful way to bring everyone together around the breakfast table and create happy memories.
- Freezer-Friendly: Make a big batch and freeze the extras for quick, convenient breakfasts throughout the week. Just pop them in the toaster for a speedy and delicious meal.
- Uses Common Pantry Staples: No obscure ingredients here! You likely already have most of what you need in your pantry and fridge, making this an accessible recipe for anyone.
- Adaptable to Dietary Needs: Beyond being gluten-free, this recipe can be easily adapted for dairy-free needs with simple substitutions, ensuring everyone can enjoy a plate of these delightful waffles.
- Elevates Your Brunch Game: Impress your guests (or just yourself!) with these beautiful, gourmet-tasting waffles that feel fancy but are wonderfully simple to prepare. They look stunning on any brunch spread.
What You Need
You only need a few simple pantry staples for this recipe! We’re talking about gluten-free flour, a leavening agent for that irresistible fluff, a touch of sweetness, and, of course, those glorious blueberries. Check the full printable recipe card below for detailed measurements of all the essential ingredients.
💡 Expert Tips for Waffle Perfection
- Don’t Overmix the Batter: The key to tender waffles is a lightly mixed batter. Mix just until the wet and dry ingredients are combined. A few lumps are perfectly fine and actually desired! Overmixing develops gluten (even in GF flours, it can affect texture) and leads to tough waffles.
- Use Room Temperature Ingredients: Eggs and milk at room temperature emulsify better with the other ingredients, leading to a smoother, more uniform batter and a better rise. If you forget, a quick warm water bath for eggs or a few seconds in the microwave for milk can help.
- The Right Gluten-Free Flour Blend: Not all GF flours are created equal! For best results, use a high-quality gluten-free all-purpose flour blend that contains xanthan gum. This helps with the structure and elasticity often missing in GF baking. My personal favorite blends yield a superior texture every time.
- Preheat Your Waffle Iron Properly: A hot waffle iron is crucial for achieving that desired crisp exterior. Make sure your iron is fully preheated before adding the batter. Most irons have an indicator light, or you can test by dropping a tiny bit of water – it should sizzle.
- Grease Your Waffle Iron: Even if your waffle iron is non-stick, a light coating of cooking spray or melted butter between each batch can prevent sticking and promote a beautiful golden-brown crust. This is especially important for the first waffle.
- Don’t Overfill: Overfilling your waffle iron will cause batter to spill out the sides, creating a mess and oddly shaped waffles. Start with less batter than you think you need, and you can always add a tiny bit more if necessary for the next one. Roughly 1/2 to 3/4 cup per waffle (depending on your iron size) is a good starting point.
- Distribute Blueberries Evenly: Gently fold the blueberries into the batter just before cooking. You can also sprinkle a few extra blueberries directly onto the batter in the waffle iron after you’ve poured it, right before closing the lid, to ensure even distribution and lovely pockets of fruit.
- Keep Waffles Warm: As you cook batches of waffles, keep the finished ones warm and crispy by placing them in a single layer directly on a wire rack in an oven preheated to 200°F (93°C). This prevents them from steaming and becoming soggy.
- Rest the Batter (Optional but Recommended): Allowing your waffle batter to rest for 10-15 minutes after mixing lets the starches in the flour fully hydrate. This can lead to a more tender interior and slightly crisper exterior. It’s not strictly necessary, but it’s a chef’s secret for an even better waffle!
- Serve Immediately with Your Favorite Toppings: Waffles are best enjoyed fresh off the iron. Have all your toppings ready to go – warm maple syrup, a dollop of whipped cream, extra fresh blueberries, or even a sprinkle of powdered sugar – for the ultimate breakfast experience.
Variations & Substitutions
This recipe is incredibly versatile! Feel free to get creative and adapt it to your taste or dietary needs:
- Dairy-Free Option: Easily make these dairy-free by swapping regular milk for your favorite unsweetened dairy-free milk (almond, soy, oat, or coconut milk work beautifully) and using a plant-based butter alternative.
- Egg-Free/Vegan: For an egg-free version, try using flax eggs (1 tablespoon ground flaxseed + 3 tablespoons water, let sit for 5 minutes) per egg. For a full vegan option, combine this with the dairy-free swaps. The texture may be slightly denser but still delicious.
- Different Berries: Not a blueberry fan? No problem! Swap them out for raspberries, chopped strawberries, or a mix of your favorite berries. Frozen berries can also be used – no need to thaw, just add them directly to the batter.
- Citrus Zest: Add 1-2 teaspoons of lemon or orange zest to the batter for a bright, zesty flavor that pairs wonderfully with blueberries.
- Spiced Waffles: Introduce warm spices like 1/2 teaspoon of cinnamon or a pinch of nutmeg for a cozy, aromatic twist. Great for a fall brunch!
- Protein Boost: Stir in a scoop of unflavored or vanilla protein powder to the dry ingredients for an added nutritional punch. Adjust liquid slightly if the batter becomes too thick.
- Sweetness Adjustment: If you prefer less sweet waffles, slightly reduce the sugar amount. Remember, most of the sweetness comes from the toppings.
Storage & Freezing
Waffles are fantastic for meal prepping! You can easily store leftovers or make a big batch to enjoy later:
- Refrigeration: Allow leftover waffles to cool completely. Store them in an airtight container or zip-top bag in the refrigerator for up to 3-4 days. Reheat in a toaster, toaster oven, or air fryer for best crispness.
- Freezing: This is my favorite method! Once waffles are completely cooled, place them in a single layer on a baking sheet and freeze for about 30 minutes (this prevents them from sticking together). Then transfer them to a freezer-safe zip-top bag or airtight container, separated by parchment paper, for up to 2-3 months.
- Reheating from Frozen: No need to thaw! Pop frozen waffles directly into a toaster, toaster oven, or even an air fryer (at 350°F / 175°C for 5-7 minutes) until heated through and crispy. They’ll taste just as good as fresh!
FAQ
Q: Can I use frozen blueberries instead of fresh?
A: Absolutely! Frozen blueberries work just as well in this recipe. There’s no need to thaw them beforehand; simply fold them directly into the batter. They might slightly tint your batter purple, but they’ll taste delicious and burst with flavor as they cook.
Q: What’s the best way to get crispy waffles?
A: A few tricks for ultimate crispiness! First, make sure your waffle iron is fully preheated before adding the batter. Don’t overmix the batter – over-developed gluten (even in GF flours) can lead to a chewier texture. Finally, after cooking, place waffles on a wire rack to prevent them from steaming and becoming soggy. For reheating, a toaster or air fryer works wonders to restore that crispness.
Q: My waffles are sticking to the iron. What am I doing wrong?
A: This can happen even with non-stick irons! Ensure your waffle iron is properly greased between each batch, especially the very first one. Use cooking spray or brush lightly with melted butter or oil. Also, check that your waffle iron is hot enough; a cold iron can cause sticking. If you’re using a blend without xanthan gum, the lack of binding agent can sometimes contribute to sticking, so ensure your GF flour blend is suitable.
Q: Can I make the batter ahead of time?
A: You can! While fresh batter is ideal, you can prepare the batter the night before. Store it in an airtight container in the refrigerator. Just note that the baking powder will lose some of its potency overnight, so your waffles might be slightly less fluffy. To combat this, you can add an extra 1/2 teaspoon of baking powder right before cooking and give it a gentle stir.
There you have it – your new favorite way to enjoy a gluten-free breakfast or brunch! These blueberry waffles are more than just a meal; they’re an experience, a memory-maker, and a guaranteed smile-inducer. I truly hope you love them as much as my family and I do. Don’t forget to Pin this recipe for later so you can whip up this deliciousness whenever the craving strikes!
Fluffy Gluten-Free Blueberry Waffles – Easy & Delicious!
Ingredients
- 2 cups (240g) gluten-free all-purpose flour blend (with xanthan gum)
- 2 tablespoons granulated sugar
- 1 tablespoon baking powder
- 1/2 teaspoon salt
- 1 3/4 cups (420ml) milk (dairy or dairy-free)
- 2 large eggs, room temperature
- 1/4 cup (60g) unsalted butter, melted and slightly cooled (or plant-based butter)
- 1 teaspoon vanilla extract
- 1 cup (150g) fresh or frozen blueberries
Instructions
- Step 1 In a large bowl, whisk together the gluten-free flour, sugar, baking powder, and salt.
- Step 2 In a separate medium bowl, whisk together the milk, eggs, melted butter, and vanilla extract.
- Step 3 Pour the wet ingredients into the dry ingredients. Mix with a whisk or spatula until just combined. A few lumps are okay; do not overmix.
- Step 4 Gently fold in the fresh or frozen blueberries.
- Step 5 Heat your waffle iron according to the manufacturer's instructions. Lightly grease if necessary.
- Step 6 Pour about 1/2 to 3/4 cup of batter (depending on your waffle iron size) onto the hot iron. Close the lid and cook for 3-5 minutes, or until golden brown and crisp.
- Step 7 Carefully remove the waffle and place it on a wire rack to keep warm while you cook the remaining batter.
- Step 8 Serve immediately with your favorite toppings like maple syrup, powdered sugar, or whipped cream.
