
Delicious Banana Quinoa Breakfast Bread: Your New Morning Favorite!
There’s something incredibly comforting about the smell of fresh-baked bread wafting through the house, isn’t there? It always brings me back to my grandmother’s kitchen, where there was always a warm loaf cooling on the counter, ready for anyone who popped by. Those simple, cozy moments fueled by delicious, homemade treats are what I strive to recreate in my own home, especially on busy mornings.
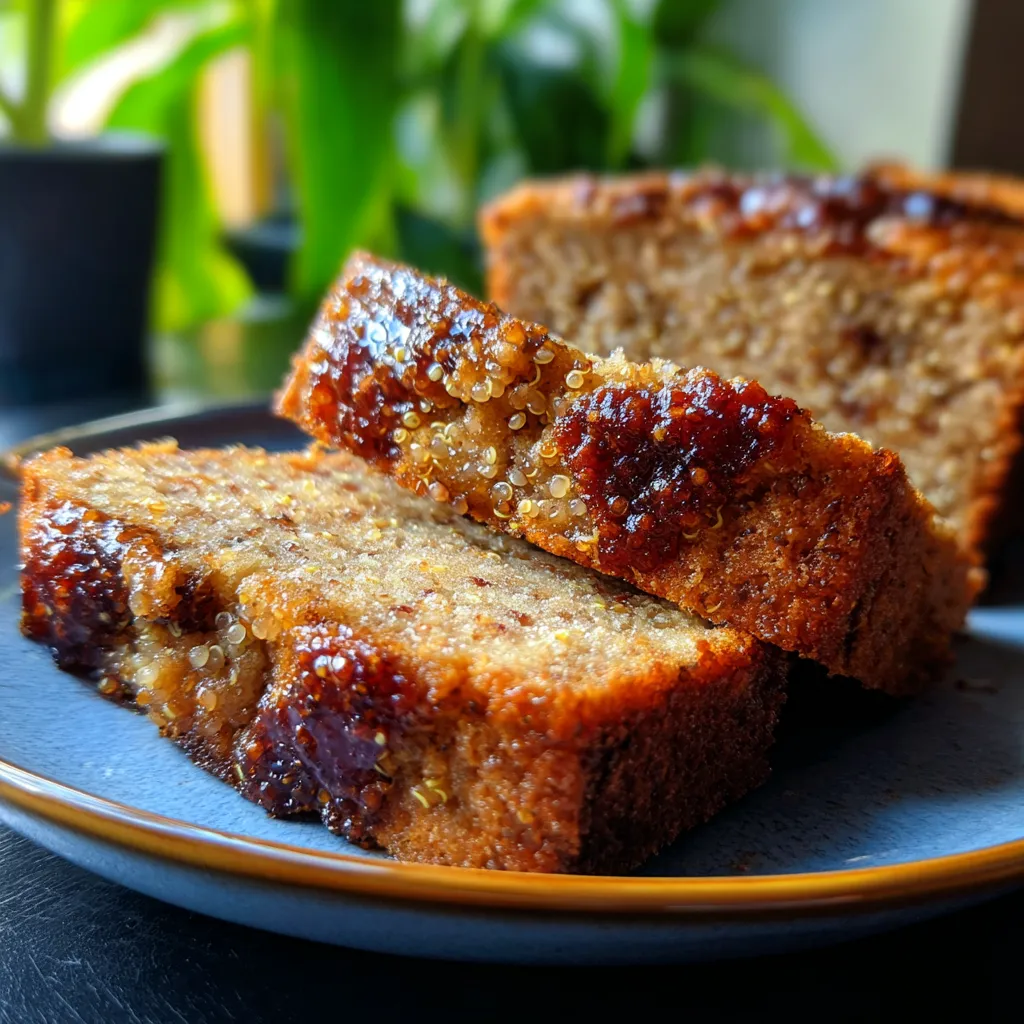
That longing for both comfort and wholesome goodness led me to perfect this incredible Banana Quinoa Breakfast Bread. It’s a delightful twist on a classic, blending the nostalgic sweetness of banana bread with the superfood power of quinoa. This isn’t just a recipe; it’s an invitation to bring warmth and nourishment into your daily routine. It’s truly an easy breakfast solution and a wonderfully comforting snack.
After countless tests and a resounding thumbs-up from my family, this recipe has become a cherished favorite. It delivers wholesome goodness and irresistible flavor in every single slice, making it a perfect start to your day or a lovely afternoon pick-me-up. Get ready to fall in love with your new go-to baked good!
Why You’ll Love This Recipe
❤️ Oh, let me count the ways you’re going to adore this Banana Quinoa Breakfast Bread! It’s more than just a tasty treat; it’s a smart choice for your whole family. You’ll find yourself baking it again and again.
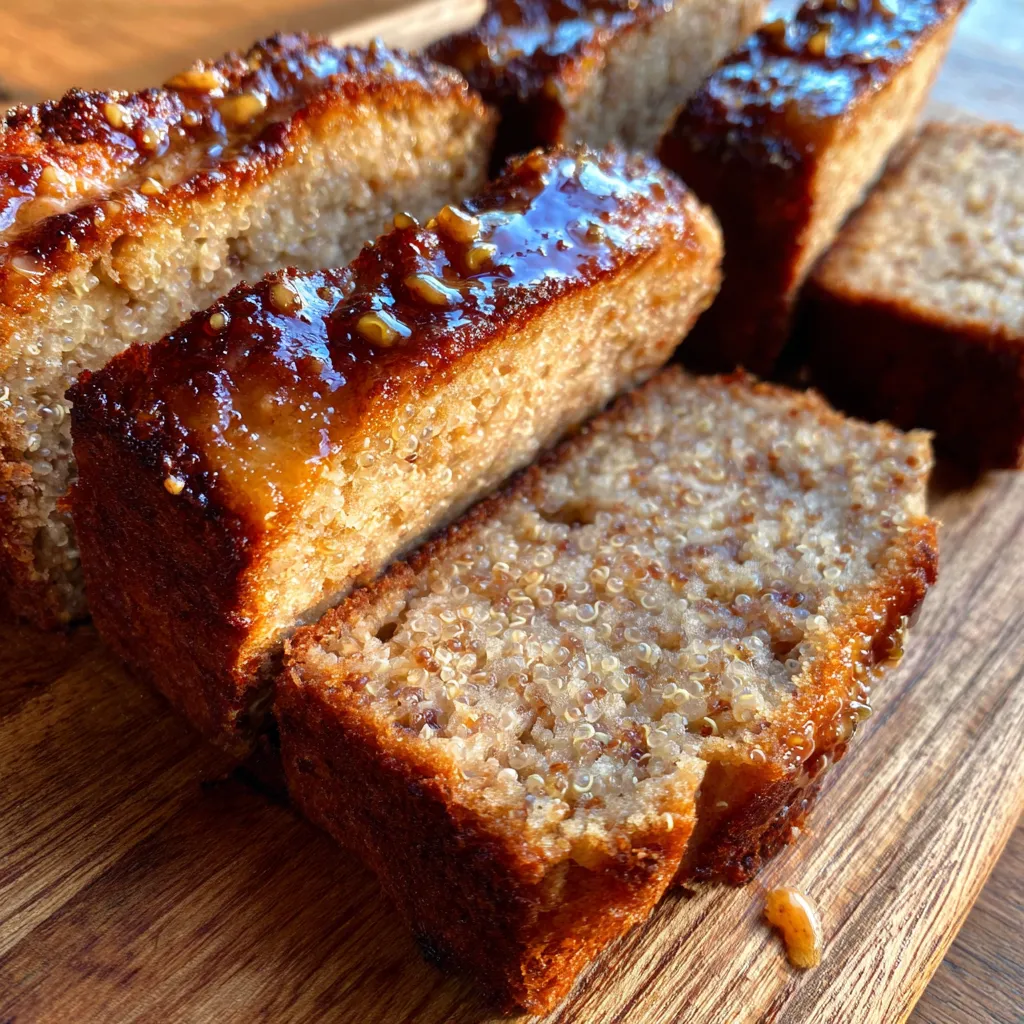
- Nutrient-Packed Powerhouse: We’re talking about a breakfast bread that’s not just delicious, but also seriously good for you! The cooked quinoa seamlessly blends in, adding a significant boost of plant-based protein, essential amino acids, and dietary fiber. This means you’ll feel fuller for longer, avoiding those mid-morning energy crashes. It’s a fantastic way to start your day with sustained energy and a happy gut.
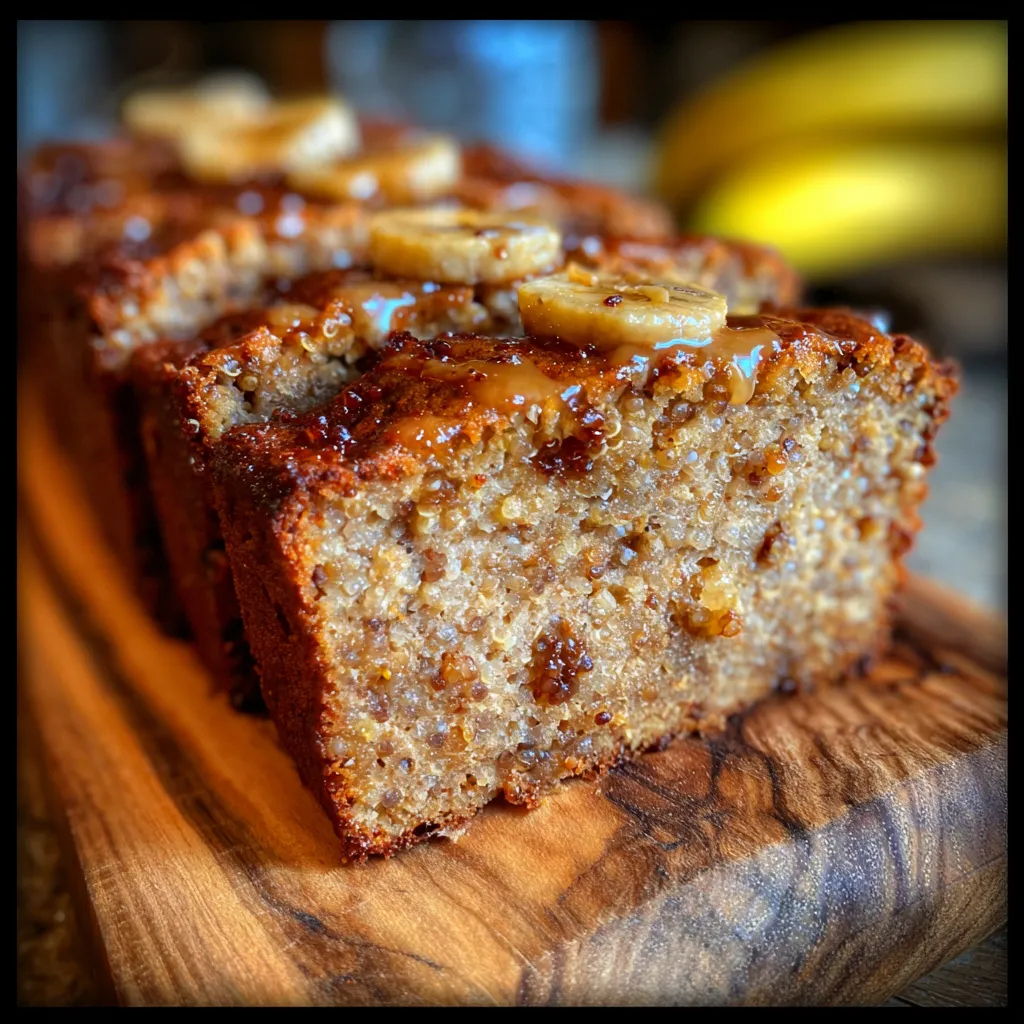
- Naturally Sweet & Wholesome: Say goodbye to excessive added sugars! This recipe truly shines by leveraging the natural sweetness of ripe bananas. The more brown spots, the better, as they bring an incredible depth of flavor and sweetness that allows us to significantly reduce or even eliminate extra sweeteners. This makes it a healthier option without sacrificing any of that beloved sweet banana bread taste.
- Incredibly Moist & Tender: No dry, crumbly bread here! The combination of mashed bananas and the subtle moisture from the cooked quinoa ensures every slice is wonderfully moist and tender. It has that perfect soft crumb texture that practically melts in your mouth. You’ll be amazed at how light yet satisfying it feels.
- Effortlessly Easy to Make: Forget complicated baking projects! This recipe is designed with simplicity in mind. It mostly involves a simple one-bowl mixing method, which means less mess and less fuss. Even if you’re a novice baker, you’ll find this incredibly straightforward to whip up on a whim. It’s perfect for busy weekends or even a quick weekday evening bake.
- Surprisingly Versatile: This bread is a chameleon! It’s absolutely fantastic for a hearty breakfast, but it doesn’t stop there. Slice it up for a fulfilling afternoon snack with your coffee, pack it in lunchboxes, or even serve it as a light, wholesome dessert with a dollop of yogurt. It adapts beautifully to whatever you need it for.
- Kid-Approved & Family-Friendly: Even the pickiest eaters won’t suspect they’re getting a dose of healthy quinoa! The rich banana flavor masks the quinoa beautifully, making it a clever way to sneak in extra nutrients for your little ones. It’s a delicious treat that parents can feel good about serving.
- Perfect for Meal Prep: Busy week ahead? This bread is your new best friend. It stores beautifully, meaning you can bake a batch (or even a double batch!) on Sunday and have nourishing breakfasts and snacks ready to go for days. It’s a fantastic time-saver for anyone looking to eat well without the daily effort.
- Freezer-Friendly Fabulousness: This recipe is a dream come true for batch baking. It freezes exceptionally well, allowing you to stock your freezer with ready-to-enjoy slices. Imagine having homemade, wholesome banana bread available whenever a craving strikes or unexpected guests arrive – pure bliss!
What You Need
You only need a few simple pantry staples for this recipe, many of which you likely already have on hand! Think ripe bananas, cooked quinoa, flour, and a few other everyday ingredients. Check the full printable recipe card below for detailed measurements and a complete list.
💡 Expert Tips for the Best Banana Quinoa Breakfast Bread
Achieving bakery-level perfection with your Banana Quinoa Breakfast Bread is totally achievable with these simple, yet impactful, expert tips. These little nuggets of wisdom will ensure your bread turns out moist, flavorful, and absolutely irresistible every single time.
- Embrace the Brown Spots: Riper Bananas are Key! This is perhaps the most crucial tip for any banana bread. Don’t be shy about using bananas that are almost entirely brown or even speckled. These super-ripe bananas are packed with natural sugars and a more intense banana flavor, which means your bread will be sweeter and more aromatic, often requiring less added sugar. They also mash much more easily, integrating smoothly into your batter.
- The Gentle Touch: Don’t Overmix the Batter! Once you combine the wet and dry ingredients, mix just until they are barely combined. A few lumps are perfectly fine and even desirable! Overmixing develops the gluten in the flour too much, leading to a tough, dense bread rather than the light, tender crumb we’re aiming for. Use a light hand and stop as soon as the flour streaks disappear.
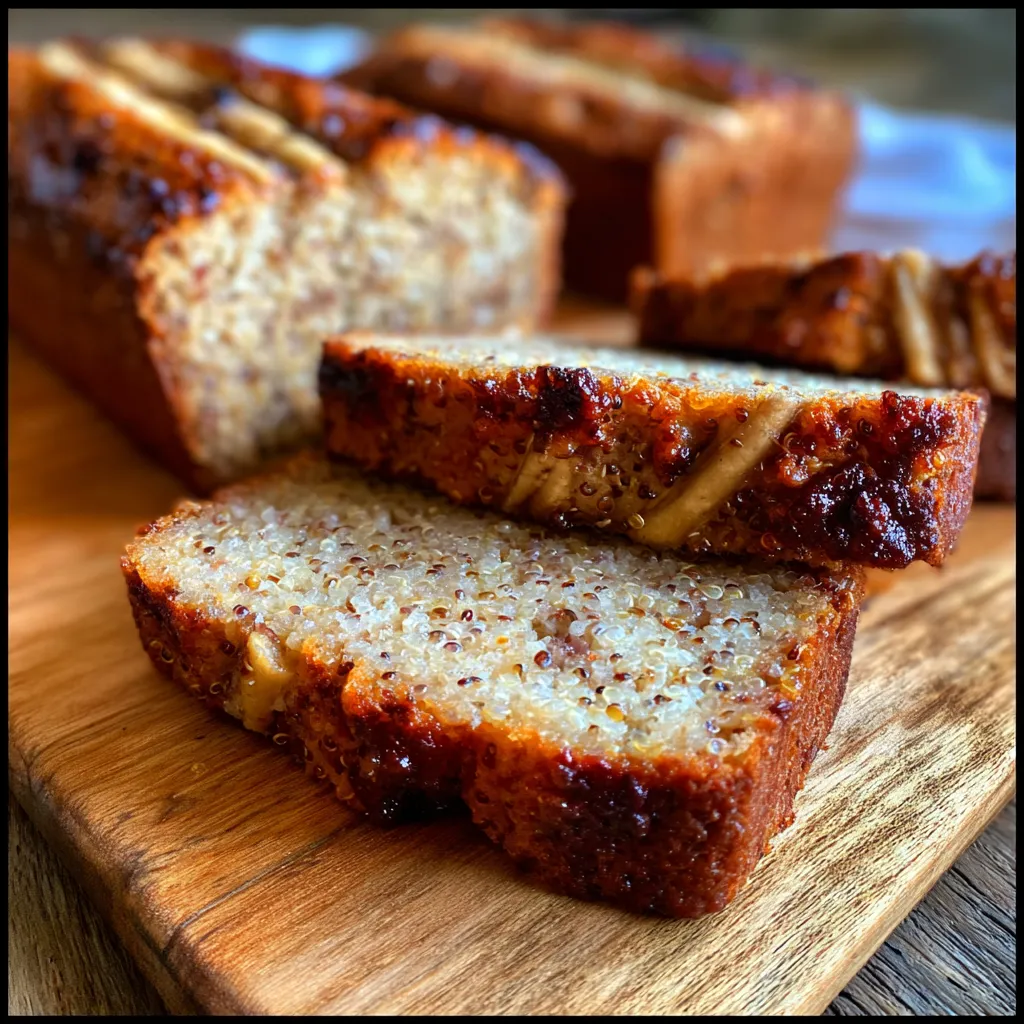
- Quinoa Prep Matters: Cooked and Cooled is Best. For the perfect texture and even distribution throughout your bread, ensure your quinoa is fully cooked and, ideally, cooled to room temperature before adding it to the batter. Hot quinoa can cook the other ingredients slightly or alter the batter’s consistency. Fluff it with a fork after cooking to prevent clumping.
- The Toothpick Test: Your Best Friend for Doneness. Oven temperatures can vary, so always rely on the toothpick test rather than just the clock. Insert a wooden skewer or toothpick into the center of the loaf. If it comes out clean or with just a few moist crumbs attached (no wet batter!), your bread is perfectly baked. If it’s still wet, give it another 5-10 minutes and test again.
- Patience, My Friend: Cool Completely Before Slicing. We know it’s hard to resist, but letting your banana bread cool completely on a wire rack is essential. Slicing into hot bread can make it gummy and difficult to cut cleanly, and it can also affect its overall structure. The cooling process allows the starches to set and the flavors to fully develop, resulting in a much better texture and taste.
- Customize Your Crunch: Optional Add-ins. Feel free to personalize your bread! A handful of chopped walnuts or pecans adds a wonderful textural contrast and nutty flavor. Mini chocolate chips are always a hit, especially if you have a sweet tooth. A sprinkle of cinnamon or nutmeg can enhance the warm, comforting aroma. Just be mindful not to add too much, as it can weigh down the batter.
- Grease and Flour Your Pan: A Non-Stick Guarantee. Even if you have a non-stick loaf pan, taking the extra step to lightly grease and flour it will ensure your bread releases perfectly every time. You can also line the bottom with parchment paper, leaving an overhang on the sides, to create a ‘sling’ for easy removal.
Variations & Substitutions
This Banana Quinoa Breakfast Bread recipe is incredibly forgiving and adaptable! Feel free to experiment with these delicious variations to suit your dietary needs or personal preferences:
- Gluten-Free: Easily swap the all-purpose flour for your favorite 1:1 gluten-free all-purpose flour blend. Ensure your blend contains xanthan gum or add 1/2 teaspoon per cup of flour for best results.
- Dairy-Free/Vegan: For a completely vegan loaf, replace the egg with a ‘flax egg’ (1 tablespoon ground flaxseed mixed with 3 tablespoons water, let sit for 5 minutes). Use a plant-based milk (almond, soy, or oat) instead of dairy milk. Ensure your chocolate chips (if using) are dairy-free.
- Nutty Twist: Fold in 1/2 cup of chopped walnuts, pecans, or almonds into the batter for an extra crunch and a boost of healthy fats.
- Chocolate Lover’s Dream: Add 1/2 cup of mini chocolate chips or chopped dark chocolate for a decadent touch. They melt into gooey pockets of deliciousness.
- Spice It Up: Enhance the warm flavors with an extra pinch of cinnamon, a dash of nutmeg, or even a touch of ground ginger. A little allspice or cardamom can also add a unique twist.
- Sweetener Swap: If you prefer, you can use maple syrup or honey instead of granulated sugar. For every 1 cup of granulated sugar, use 3/4 cup liquid sweetener and reduce other liquids in the recipe by 1/4 cup.
- Alternative Grains: While quinoa is fantastic, you could also experiment with cooked millet or even steel-cut oats for a different texture and nutritional profile.
Storage & Freezing
One of the best things about this Banana Quinoa Breakfast Bread is how well it stores, making it perfect for meal prepping and enjoying throughout the week. Here’s how to keep your loaf fresh and delicious:
- On the Countertop: Once completely cooled, store the bread in an airtight container at room temperature for up to 3-4 days. Placing a piece of paper towel at the bottom of the container can help absorb any excess moisture and prevent sogginess.
- In the Refrigerator: For a longer shelf life, you can store the bread in an airtight container in the refrigerator for up to one week. Bring slices to room temperature or gently warm them before serving for the best flavor and texture.
- Freezing for Later: This bread freezes beautifully!
- Whole Loaf: Wrap the cooled loaf tightly in plastic wrap, then again in aluminum foil. Place it in a freezer-safe bag or container. It will keep well for up to 3 months. Thaw overnight in the refrigerator or at room temperature.
- Individual Slices: For quick grab-and-go portions, slice the cooled bread and wrap each slice individually in plastic wrap, then place them all in a freezer-safe bag or container. This allows you to grab just one slice at a time. Reheat in the microwave for 30-60 seconds or in a toaster oven until warmed through.
FAQ
Q: Can I use instant or quick-cooking quinoa?
A: Yes, absolutely! Just make sure it is cooked according to package directions and then cooled completely before adding it to your bread batter. The key is to use cooked, not raw, quinoa.
Q: My bread turned out dry. What went wrong?
A: A dry loaf is usually due to one of two common issues: overmixing the batter (which develops too much gluten, making the bread tough and dry) or overbaking. Ensure you mix just until combined and always use the toothpick test to check for doneness.
Q: Can I reduce the amount of sugar in the recipe?
A: Yes, you can! If your bananas are very ripe (with lots of brown spots), they provide a significant amount of natural sweetness. You can often reduce the granulated sugar by 1/4 to 1/2 cup without drastically affecting the taste. Adjust to your personal preference for sweetness.
Q: How do I know if my bananas are ripe enough for banana bread?
A: The ideal bananas for this bread are those with plenty of brown spots on their skin, or even entirely brown. They will be soft to the touch and have a strong, sweet aroma. Avoid green or perfectly yellow bananas, as they lack the sweetness and mashability needed for the best results.
Q: Can I add nuts or chocolate chips to this recipe?
A: Absolutely! This bread is fantastic with additions. Feel free to fold in about 1/2 cup of chopped walnuts, pecans, or chocolate chips (or a mix of both!) with the dry ingredients just before combining with the wet ingredients. This adds extra flavor and texture.
Ready to Bake Your New Favorite?
There you have it – a wholesome, delicious, and utterly comforting Banana Quinoa Breakfast Bread recipe that’s destined to become a staple in your home. Whether you’re making it for a special weekend breakfast, a healthy snack, or just because, I promise it will bring a smile to your face. Don’t forget to pin this recipe for later and share your delicious creations with me!
Banana Quinoa Breakfast Bread: Healthy & Delicious Recipe
Ingredients
- 1 3/4 cups all-purpose flour
- 1 teaspoon baking soda
- 1/2 teaspoon salt
- 1 teaspoon ground cinnamon
- 1/4 teaspoon ground nutmeg
- 1/2 cup granulated sugar (or less, to taste)
- 1/4 cup packed light brown sugar
- 3 very ripe medium bananas, mashed (about 1 cup)
- 1 cup cooked quinoa, cooled
- 1/2 cup vegetable oil or melted unsalted butter
- 2 large eggs, at room temperature
- 1 teaspoon vanilla extract
- 1/4 cup milk (dairy or non-dairy)
Instructions
- Step 1 Preheat your oven to 350°F (175°C). Grease and flour a 9x5-inch loaf pan, or line with parchment paper.
- Step 2 In a large bowl, whisk together the flour, baking soda, salt, cinnamon, and nutmeg. Set aside.
- Step 3 In a separate medium bowl, mash the ripe bananas thoroughly. Stir in the cooled cooked quinoa.
- Step 4 Add the granulated sugar, brown sugar, vegetable oil (or melted butter), eggs, and vanilla extract to the banana-quinoa mixture. Whisk until well combined.
- Step 5 Pour the wet ingredients into the dry ingredients. Stir gently with a spatula just until combined and no dry streaks of flour remain. Be careful not to overmix.
- Step 6 Pour the batter evenly into the prepared loaf pan.
- Step 7 Bake for 50-60 minutes, or until a wooden skewer or toothpick inserted into the center comes out clean or with a few moist crumbs attached.
- Step 8 Remove the bread from the oven and let it cool in the pan for 10-15 minutes before transferring it to a wire rack to cool completely. Slice and serve once fully cooled for the best texture.
