
Fluffy Chocolate Drizzle Biscuits: Your New Favorite Easy Treat!
Oh, biscuits! They conjure up images of cozy mornings and grandma’s kitchen, don’t they? For me, it’s a nostalgic trip back to chilly autumn Sundays, where the scent of baking butter and flour filled our home. My grandmother, bless her heart, had the simplest biscuit recipe, yielding the most tender, cloud-like morsels you could imagine. Fast forward a few years, and I found myself craving that classic comfort, but with a little extra something, a touch of modern indulgence. That’s when this incredible Biscuit Recipe with Chocolate Drizzle was born – a true game-changer for anyone looking for an easy dessert or a delightful sweet snack.
This isn’t just any biscuit recipe; it’s a tried-and-true family favorite that has been tested and perfected to bring you the best of both worlds: the melt-in-your-mouth tenderness of a classic biscuit paired with the irresistible sweetness of a shimmering chocolate drizzle. It’s the kind of recipe that makes you feel like a baking wizard, yet it’s wonderfully straightforward, making it perfect for both novice and experienced bakers. Get ready to fall in love with your new go-to comfort food.
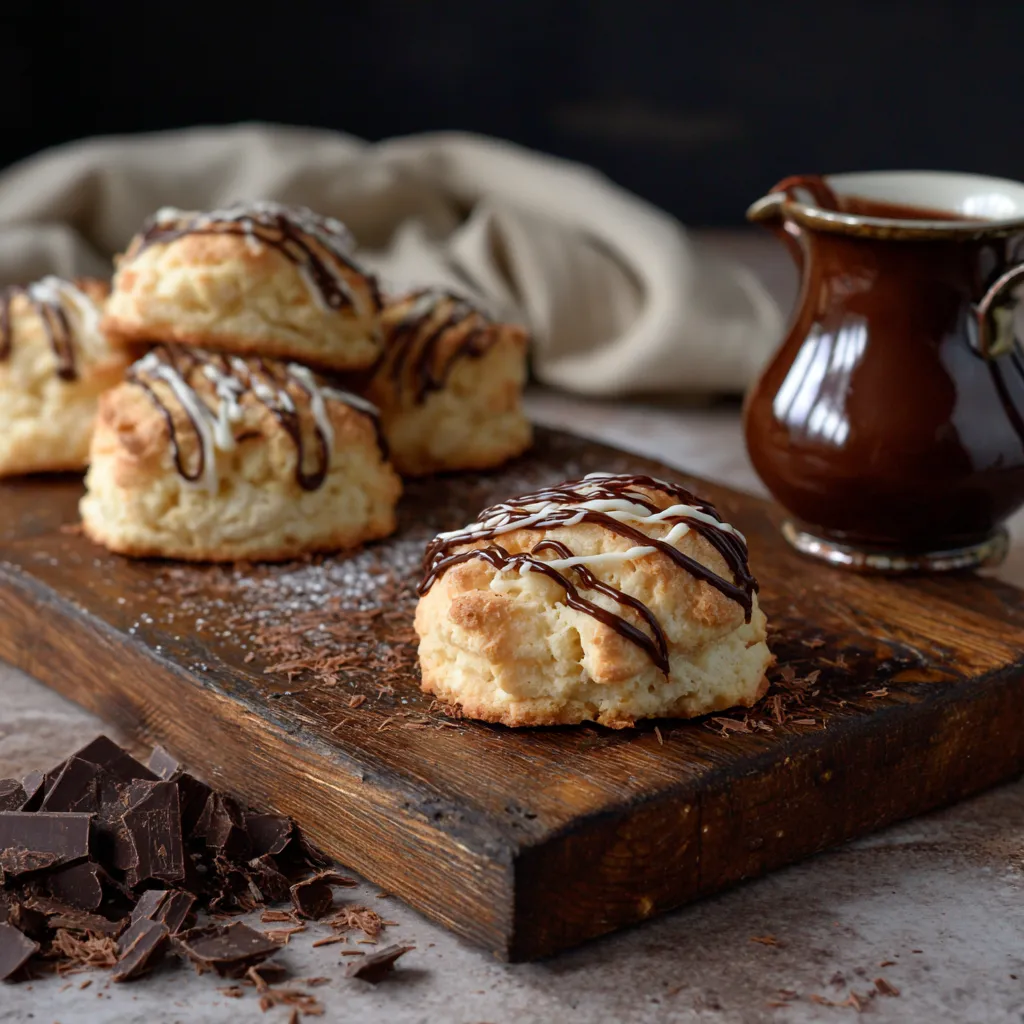
Imagine biting into a warm, flaky biscuit, its subtle sweetness perfectly complemented by a rich, dark chocolate ribbon. Whether you’re serving them up for breakfast, an afternoon pick-me-up, or a simple dessert, these chocolate drizzle biscuits are guaranteed to bring smiles. They’re quick, they’re simple, and they’re utterly delicious – a little piece of edible joy, ready in no time!
Why You’ll Love This Recipe
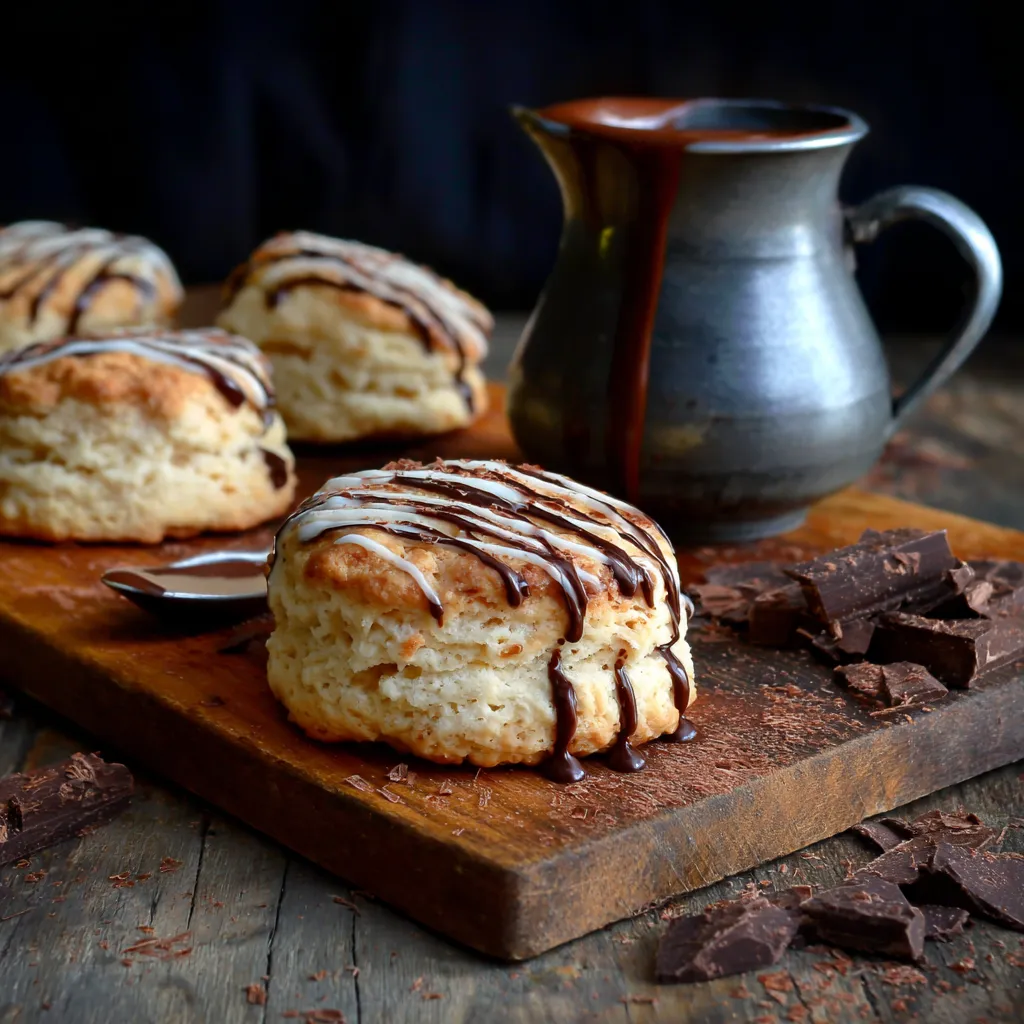
❤️ Unbelievably Fluffy & Tender: These biscuits are a marvel of texture! Thanks to a few simple techniques, they bake up incredibly light and tender on the inside, with that perfect golden crispness on the outside. Every bite is pure bliss.
❤️ Simple, Accessible Ingredients: You likely have most, if not all, of these pantry staples already! Flour, butter, sugar, milk, and chocolate are all you need to create something truly magical. No fancy items required!
❤️ Versatile for Any Occasion: While they shine as a quick and elegant dessert, these chocolate drizzle biscuits are also fantastic for breakfast, brunch, or even an elevated afternoon tea. They pair wonderfully with a cup of coffee or a glass of cold milk.
❤️ Quick & Easy to Make: From start to finish, you can have a batch of these delectable biscuits ready in under 40 minutes. It’s the ideal recipe when you’re craving something sweet but are short on time. Perfect for impromptu gatherings or a sudden sweet tooth attack!
❤️ Irresistible Chocolate Goodness: Who can resist a luscious chocolate drizzle? It adds a sophisticated sweetness and a beautiful visual appeal that elevates these simple biscuits into something truly special. The balance of sweet biscuit and rich chocolate is divine.
❤️ Kid-Friendly & Family-Approved: This recipe is a huge hit with kids and adults alike! The fun of drizzling chocolate makes it a great activity for little helpers, and everyone will be clamoring for seconds. It’s a guaranteed crowd-pleaser for your family table.
❤️ Perfect for Gifting: Baked goods make the best gifts! Package these up nicely, and you have a thoughtful, homemade present for friends, neighbors, or teachers. They’ll appreciate the effort and the delicious result.
❤️ Customizable to Your Taste: Whether you prefer dark, milk, or white chocolate for your drizzle, or want to add a hint of spice, this recipe is a fantastic canvas for your culinary creativity. Make it uniquely yours!
What You Need
You only need a few simple pantry staples for this recipe! We’re talking about basic ingredients that come together to create something truly extraordinary. Check the full printable recipe card below for detailed measurements and a complete list.
Expert Tips for Perfect Biscuits
💡 Keep Everything Cold: This is arguably the most crucial tip for flaky biscuits! Ensure your butter is ice-cold and even consider chilling your flour and mixing bowl for 10-15 minutes before you start. Cold ingredients prevent the butter from melting too quickly, creating steam in the oven for those beautiful layers.
💡 Don’t Overmix the Dough: Gentle hands are key here! Overmixing develops the gluten in the flour, leading to tough, dense biscuits. Mix just until the ingredients are combined and no dry streaks of flour remain. A slightly shaggy dough is perfectly fine, even preferred!
💡 Use Grated or Cubed Butter: For even distribution and better flakiness, use very cold butter cut into small cubes or, even better, grate it using a box grater. This creates tiny pockets of butter throughout the dough that will steam and lift the biscuit layers as they bake.
💡 The Folding Technique for Layers: After gently bringing the dough together, lightly flatten it into a rectangle. Fold it into thirds (like a letter), rotate, and repeat this process 2-3 times. This simple laminating technique creates incredible, distinct layers without requiring complex pastry skills.
💡 Don’t Twist the Cutter: When cutting your biscuits, press straight down firmly and lift straight up. Twisting the biscuit cutter seals the edges, which can prevent the biscuits from rising as high and creating those lovely, separated layers.
💡 Brush with Milk or Egg Wash: For a beautiful golden-brown top, lightly brush the tops of your unbaked biscuits with a little milk or an egg wash (egg beaten with a splash of water) before baking. This also helps them achieve that irresistible sheen.
💡 Watch Your Baking Time: Ovens can vary! Start checking your biscuits a few minutes before the recommended bake time. They are done when they are golden brown on top and bottom, and sound hollow when tapped. Overbaking can lead to dry biscuits.
💡 Perfecting the Chocolate Drizzle: For a smooth, shiny drizzle, use high-quality chocolate chips or a chopped chocolate bar. Melt it gently, either in a double boiler or in short bursts in the microwave, stirring until completely smooth. You can thin it slightly with a tiny bit of coconut oil or vegetable oil if needed, but avoid adding too much liquid.
💡 Cool Slightly Before Drizzling: Allow the biscuits to cool for at least 5-10 minutes on a wire rack before drizzling. This helps the chocolate set nicely without completely melting or running off the warm biscuit.
Variations & Substitutions
This recipe is wonderfully adaptable! Feel free to get creative and make it your own:
- Gluten-Free: Substitute the all-purpose flour with a 1:1 gluten-free baking flour blend that contains xanthan gum.
- Dairy-Free: Use a plant-based milk (like almond or oat milk) and a high-quality vegan butter substitute. Ensure your chocolate chips are also dairy-free.
- Citrus Zest: Add 1-2 teaspoons of orange or lemon zest to the dry ingredients for a bright, fragrant twist that pairs beautifully with chocolate.
- Spice It Up: A pinch of cinnamon or nutmeg in the biscuit dough adds a warm, cozy flavor.
- Different Chocolate: Instead of semi-sweet, try white chocolate, milk chocolate, or even dark chocolate for the drizzle. You can also mix in mini chocolate chips directly into the biscuit dough!
- Add Nuts: Fold in a handful of chopped pecans or walnuts into the dough for extra texture and flavor.
- Maple Glaze: If chocolate isn’t your jam, try a simple maple glaze (powdered sugar, maple syrup, and a splash of milk) instead of the chocolate drizzle.
Storage & Freezing
- Countertop: Store cooled, chocolate-drizzled biscuits in an airtight container at room temperature for up to 2-3 days. The chocolate drizzle will firm up, but the biscuits will remain tender.
- Freezing Baked Biscuits: For longer storage, freeze baked biscuits (undrizzled or with chocolate set) in a single layer on a baking sheet until solid. Then transfer them to a freezer-safe bag or container for up to 1 month. Thaw at room temperature or reheat gently in the oven.
- Freezing Unbaked Biscuits: You can also freeze cut, unbaked biscuits! Arrange them on a parchment-lined baking sheet and freeze until solid. Transfer to a freezer bag and bake from frozen, adding a few extra minutes to the baking time, without thawing. This is perfect for fresh, warm biscuits any time!
FAQ
Q: Why are my biscuits tough?
A: The most common culprit is overmixing the dough. Too much kneading or stirring develops the gluten, making the biscuits chewy rather than tender. Handle the dough as little as possible.
Q: Can I make these biscuits ahead of time?
A: Yes! You can prepare the dough, cut the biscuits, and then refrigerate them for up to 24 hours before baking. For longer storage, freeze them unbaked as described in the storage section.
Q: How do I get flaky layers in my biscuits?
A: Flaky layers come from using very cold butter cut into small pieces and not overworking the dough. The steam from the melting butter creates pockets, resulting in those desirable layers. The folding technique also greatly helps.
There you have it! This Biscuit Recipe with Chocolate Drizzle is more than just a recipe; it’s an invitation to create warmth, comfort, and a little bit of magic in your own kitchen. Whether you’re a seasoned baker or just starting out, you’ll find joy in making (and eating!) these beautiful, flaky, chocolate-kissed biscuits. So go ahead, grab your apron, and let the baking begin!
Don’t forget to Pin this recipe for later so you can whip up these delightful treats whenever the craving strikes!
Fluffy Chocolate Drizzle Biscuits: Easy Recipe & Expert Tips
Ingredients
- 2 cups all-purpose flour
- 1/4 cup granulated sugar
- 1 tbsp baking powder
- 1/2 tsp salt
- 1/2 cup (1 stick) unsalted butter, very cold and grated or cubed
- 3/4 cup milk, cold (plus 1-2 tbsp for brushing)
- 1/2 cup semi-sweet chocolate chips (for drizzle)
Instructions
- Step 1 Preheat oven to 425°F (220°C). Line a baking sheet with parchment paper.
- Step 2 In a large bowl, whisk together flour, sugar, baking powder, and salt.
- Step 3 Add the cold butter to the dry ingredients. Using your fingers or a pastry blender, cut in the butter until the mixture resembles coarse crumbs with some pea-sized pieces of butter remaining.
- Step 4 Pour in the cold milk and mix with a spoon or your hands just until combined and a shaggy dough forms. Do not overmix.
- Step 5 Turn the dough out onto a lightly floured surface. Gently pat it into a 1-inch thick rectangle. Fold the dough into thirds (like a letter), rotate, and gently pat down again. Repeat this folding process 2-3 times to create layers.
- Step 6 Pat the dough to about 3/4-inch thickness. Using a 2.5-inch biscuit cutter, cut out biscuits, pressing straight down without twisting. Rework scraps gently and cut any remaining biscuits.
- Step 7 Place biscuits on the prepared baking sheet. Lightly brush the tops with a little milk.
- Step 8 Bake for 12-15 minutes, or until golden brown on top and bottom.
- Step 9 While biscuits cool slightly, melt chocolate chips in a microwave-safe bowl in 30-second intervals, stirring until smooth. Alternatively, use a double boiler.
- Step 10 Once biscuits have cooled for 5-10 minutes on a wire rack, drizzle generously with melted chocolate. Let the chocolate set for a few minutes before serving.
