
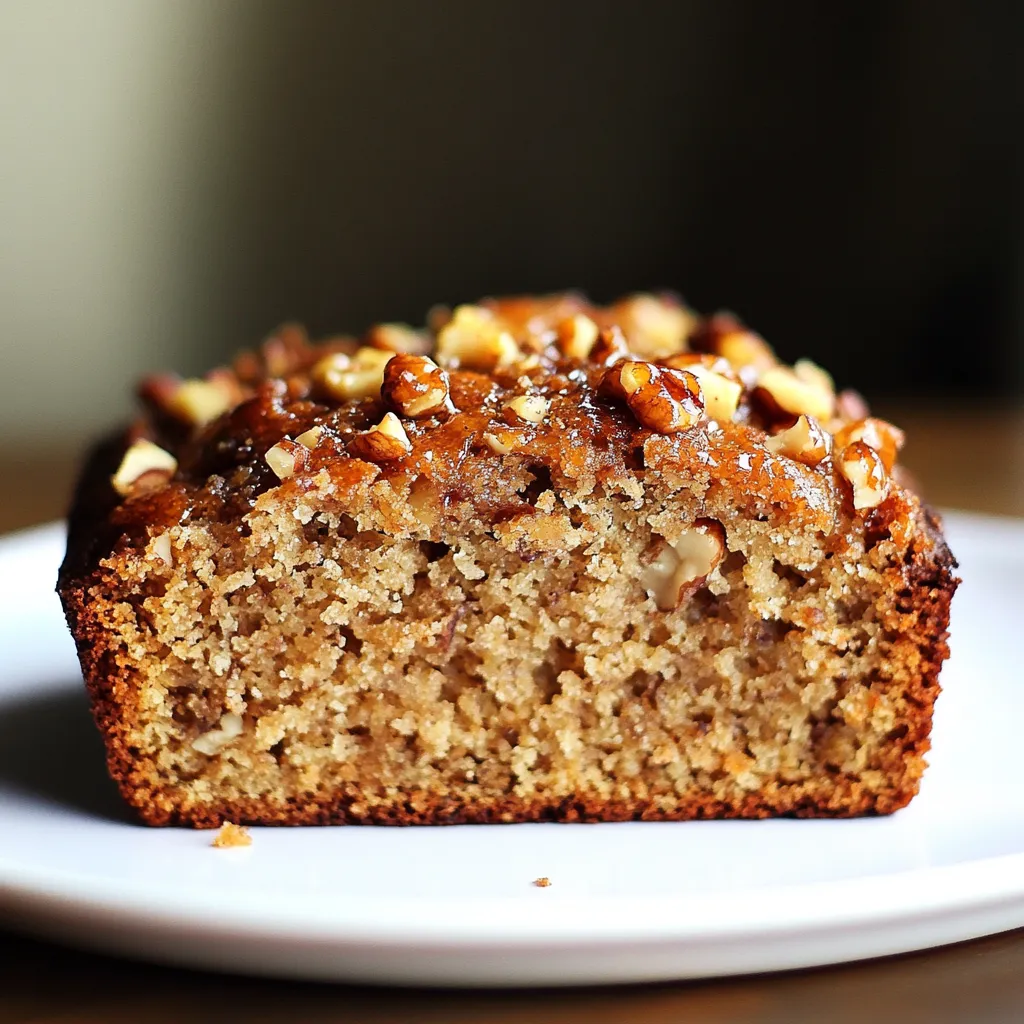
The BEST Banana Walnut Bread with Maple Crunch (A Family Favorite!)
There’s nothing quite like the comforting aroma of freshly baked banana bread wafting through the house on a lazy weekend morning. For me, the scent instantly transports me back to my grandmother’s kitchen, where a warm slice of something sweet was always waiting. This isn’t just any banana bread though; this is the Banana Walnut Bread with Maple Crunch, a recipe perfected over countless rainy afternoons and cherished family gatherings.
It’s a tried-and-true recipe, a true comfort food masterpiece that has earned its spot as a staple in our home. With its moist, tender crumb, crunchy walnuts, and an irresistible, shimmering maple crunch topping, it’s a sweet treat that truly stands out. You absolutely need this easy baking gem in your life – trust me, your taste buds will thank you!
Whether you’re looking for a delightful breakfast, an afternoon pick-me-up, or a dessert that everyone will rave about, this recipe delivers every single time. It’s simple to make, incredibly satisfying, and perfect for sharing (or keeping all to yourself – no judgment here!). Let’s get baking!
Why You’ll Love This Recipe
❤️ Here’s why this Banana Walnut Bread with Maple Crunch will become your new favorite:
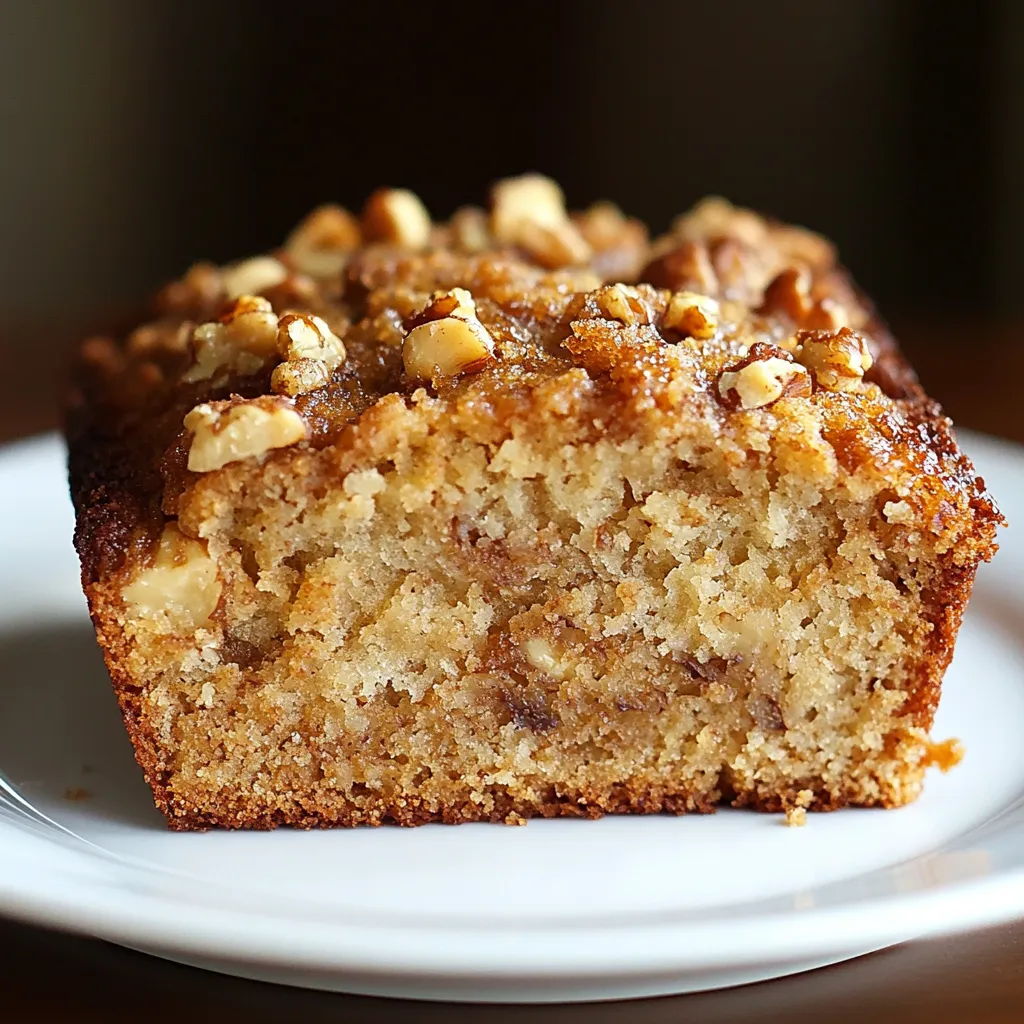
- Unbeatable Flavor Profile: It strikes the perfect balance between sweet, nutty, and subtly spiced. The natural sweetness of ripe bananas melds beautifully with earthy walnuts, crowned by that unique maple crunch. It’s a symphony of flavors in every bite!
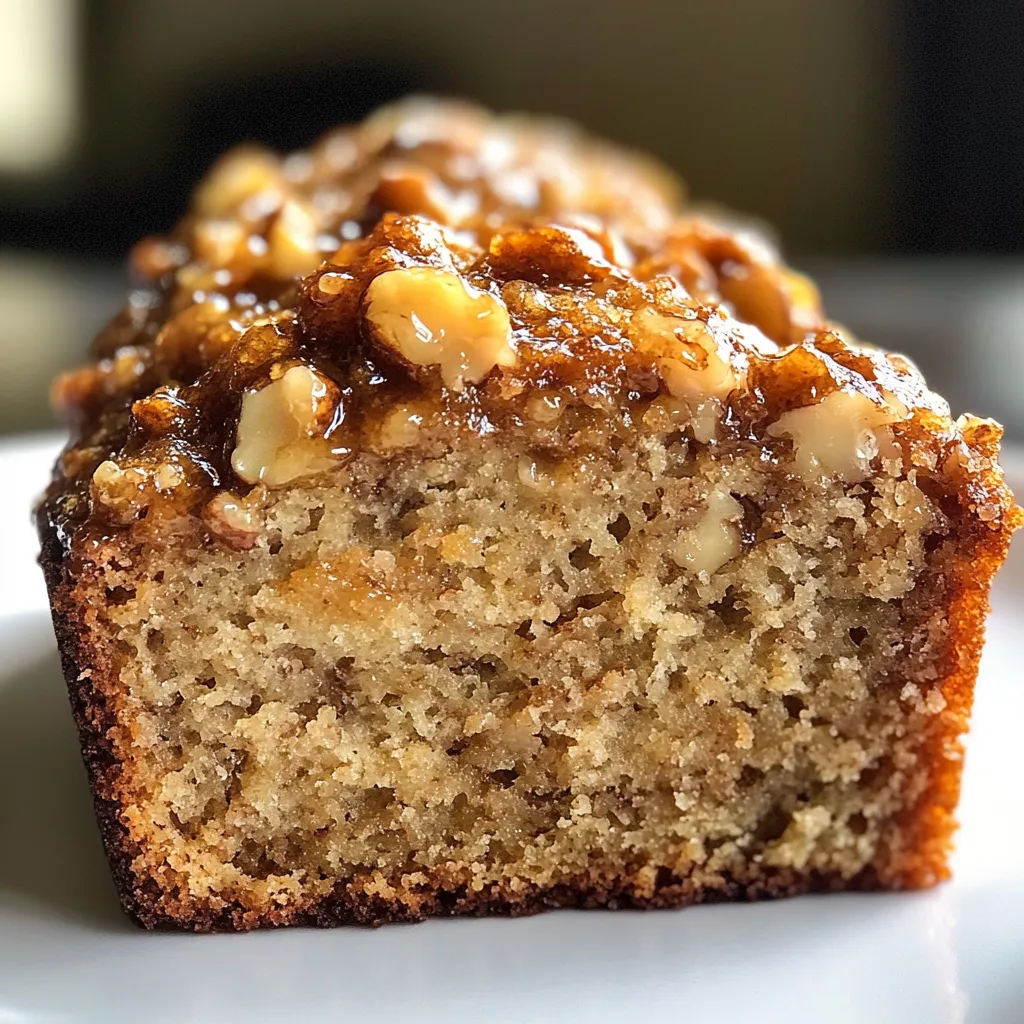
- Irresistible Texture: Prepare for a bread that’s incredibly moist and tender on the inside, providing that melt-in-your-mouth experience. This contrasts wonderfully with the satisfying crunch of toasted walnuts and the delightful, almost candy-like texture of the maple topping, adding a playful element.
- Effortlessly Easy to Make: Don’t let the gourmet sound fool you – this recipe is surprisingly straightforward, even for beginner bakers. With simple pantry ingredients and clear instructions, you’ll have a showstopper loaf ready with minimal fuss.
- That Maple Crunch! This isn’t just plain banana bread. The maple crunch topping is a game-changer, adding an extra layer of sweetness and a truly unique textural element that elevates the entire loaf from great to absolutely extraordinary. It caramelizes beautifully, creating a golden, shimmering crust.
- Versatile & Crowd-Pleasing: Perfect for breakfast with a cup of coffee, a delightful afternoon snack, or even a comforting dessert. It’s a guaranteed hit at potlucks, brunches, or simply as a comforting treat for your family.
What You Need
You only need a few simple pantry staples for this recipe! Most likely, you already have ripe bananas and the basic baking ingredients on hand. Check the full printable recipe card below for detailed measurements and a complete list.
Expert Tips for Perfect Banana Walnut Bread
💡 Achieving bakery-quality banana bread at home is easier than you think with these expert tips:
- Embrace Overripe Bananas: This is arguably the most crucial tip! The browner and spottier your bananas, the sweeter and more flavorful your bread will be. As bananas ripen, their starches convert to sugars, intensifying their natural sweetness and making them incredibly moist.
- Don’t Overmix the Batter: Once you add the dry ingredients to the wet, mix just until everything is combined. Overmixing develops the gluten in the flour, leading to a tough, dense bread rather than a light, tender crumb. A few lumps are perfectly fine!
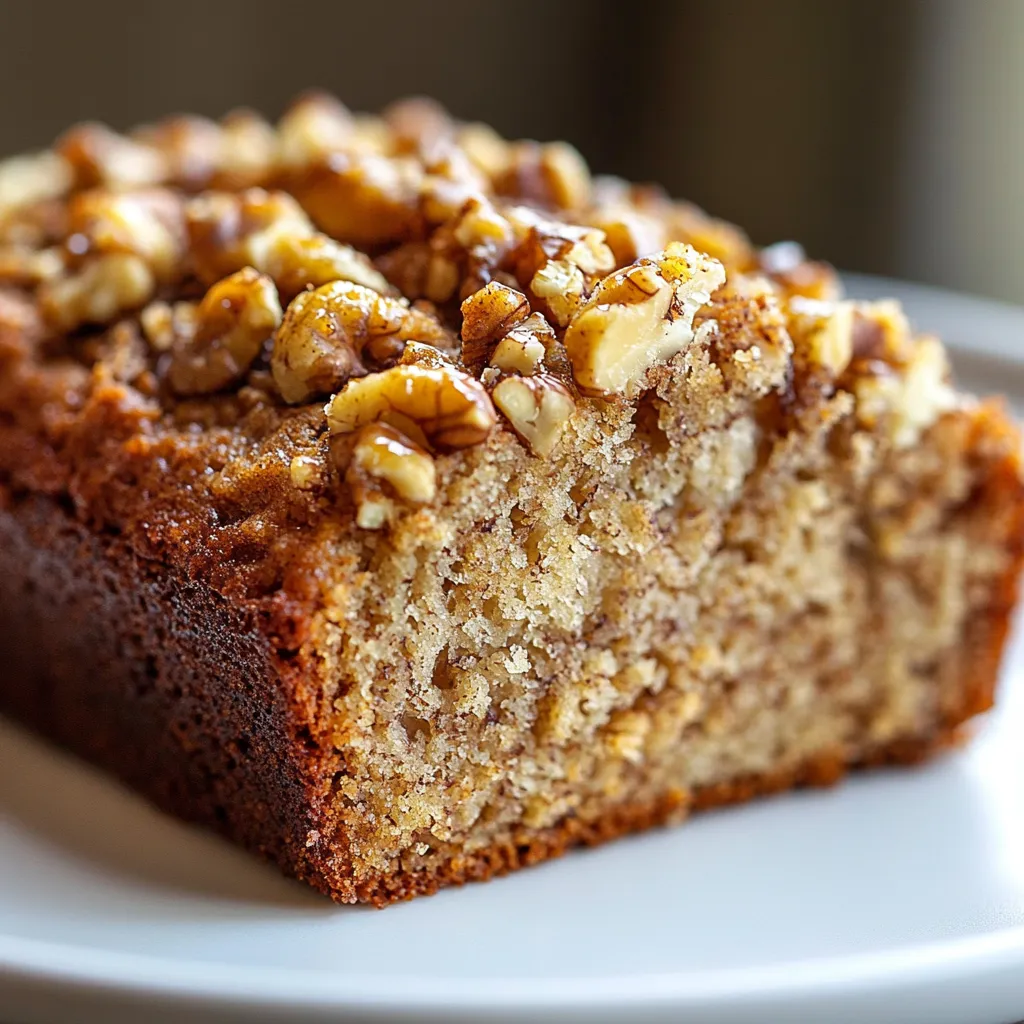
- Toast Your Walnuts: For an extra layer of flavor and crunch, lightly toast your walnuts before adding them to the batter. Spread them on a baking sheet and bake at 350°F (175°C) for 5-7 minutes, or until fragrant. Let them cool completely.
- The Secret to the Maple Crunch: For that perfect, golden, shimmery maple crunch topping, gently sprinkle the mixture evenly over the top of the batter before baking. As it bakes, the sugar and butter will melt and caramelize, creating that signature crust. If it browns too quickly, tent loosely with foil.
- Check for Doneness Accurately: A wooden skewer or toothpick inserted into the center of the loaf should come out with moist crumbs attached, but not wet batter. If it’s completely clean, your bread might be slightly overbaked.
- Cooling is Key: Allow the banana bread to cool in the loaf pan for at least 10-15 minutes before attempting to remove it. This allows the loaf to set up and prevents it from falling apart. Then, transfer it to a wire rack to cool completely.
Variations & Substitutions
This Banana Walnut Bread with Maple Crunch is fantastic as is, but it’s also incredibly versatile! Feel free to get creative and adapt it to your taste or dietary needs:
- Gluten-Free: Easily make this GF by substituting regular all-purpose flour with a 1:1 gluten-free baking flour blend (ensure it contains xanthan gum).
- Dairy-Free: Swap out the butter for a plant-based butter alternative or coconut oil. For the milk, use almond milk, soy milk, or oat milk.
- Nut-Free: If walnuts aren’t an option, simply omit them! You could add a sprinkle of rolled oats for a different texture, or pumpkin seeds.
- Chocolate Lovers Unite: Fold in 1/2 to 1 cup of chocolate chips (dark, semi-sweet, or milk chocolate) with the walnuts for an extra indulgent treat.
- Spice It Up: Enhance the warm flavors by adding 1/2 teaspoon of ground nutmeg or a pinch of ground cloves along with the cinnamon.
Storage & Freezing
Keep your delicious Banana Walnut Bread with Maple Crunch fresh and enjoyable for longer with these storage tips:
- Room Temperature: Store the loaf tightly wrapped in plastic wrap or in an airtight container at room temperature for up to 3-4 days. The maple crunch might soften slightly.
- Refrigerator: For extended freshness, especially in warmer climates, you can refrigerate the bread for up to a week.
- Freezing: This bread freezes beautifully! Once completely cooled, wrap the entire loaf tightly in plastic wrap, then a layer of aluminum foil. It will last for up to 3 months in the freezer.
- Thawing: To thaw, simply unwrap and let it come to room temperature on the counter for a few hours. For a warm treat, gently reheat individual slices in the microwave or a toaster oven.
FAQ
Q: Can I use unripe bananas for banana bread?
A: While you technically can, it’s highly recommended to use very ripe, spotty brown bananas. Unripe bananas have less sugar and a starchier texture, which means your bread won’t be as sweet, moist, or flavorful. Ripe bananas are the secret to truly delicious banana bread!
Q: My banana bread turned out dry. What went wrong?
A: A dry loaf is usually a sign of overbaking or using too much flour. Make sure to measure your flour correctly (spoon and level, don’t scoop directly from the bag). Also, keep an eye on your oven and check for doneness using the toothpick test slightly before the suggested bake time, as oven temperatures can vary.
Q: How can I prevent the walnuts from sinking to the bottom?
A: A common trick is to toss your chopped walnuts with a tablespoon of flour before folding them into the batter. This light coating helps them suspend more evenly throughout the mixture, preventing them from sinking during baking.
Q: Can I reduce the amount of sugar in the recipe?
A: You can certainly try! Since ripe bananas add a lot of natural sweetness, you could reduce the granulated sugar by 1/4 cup without drastically altering the texture. However, the sugar also contributes to moisture and browning, so don’t cut too much or you might compromise the final result. The maple crunch, by its nature, contains sugar and is crucial for its texture.
There you have it! This Banana Walnut Bread with Maple Crunch isn’t just a recipe; it’s an experience, a little piece of comfort baked with love. I truly hope you enjoy making and sharing this delightful loaf as much as my family and I do. Don’t forget to tag me on social media if you make it – I absolutely love seeing your creations!
Happy baking, friends! Pin this incredible recipe for later so you can always come back to your new favorite banana bread.
Best Banana Walnut Bread with Maple Crunch (Easy Recipe!)
Ingredients
- 2 cups all-purpose flour
- 1 teaspoon baking soda
- 1/2 teaspoon ground cinnamon
- 1/4 teaspoon salt
- 1/2 cup (1 stick) unsalted butter, softened
- 1/2 cup granulated sugar
- 1/2 cup packed light brown sugar
- 2 large eggs, room temperature
- 1 teaspoon vanilla extract
- 4 very ripe medium bananas, mashed (about 1.5 cups)
- 1/4 cup milk (any kind), room temperature
- 1 cup chopped walnuts, toasted (optional)
- FOR THE MAPLE CRUNCH TOPPING:
- 2 tablespoons unsalted butter, melted
- 2 tablespoons pure maple syrup
- 1/4 cup packed light brown sugar
- 1/4 cup all-purpose flour
- 1/2 teaspoon ground cinnamon
Instructions
- Step 1 Preheat oven to 350°F (175°C). Grease and flour a 9x5 inch loaf pan, or line with parchment paper.
- Step 2 In a medium bowl, whisk together flour, baking soda, cinnamon, and salt. Set aside.
- Step 3 In a large bowl, cream together softened butter, granulated sugar, and brown sugar until light and fluffy.
- Step 4 Beat in eggs one at a time, then stir in vanilla extract.
- Step 5 Add the mashed bananas and milk to the wet ingredients and mix until just combined.
- Step 6 Gradually add the dry ingredients to the wet ingredients, mixing only until just combined and a few lumps remain. Do not overmix. Fold in the chopped walnuts (if using).
- Step 7 Pour the batter into the prepared loaf pan.
- Step 8 Prepare Maple Crunch: In a small bowl, combine melted butter, maple syrup, brown sugar, and flour. Mix until crumbly. Sprinkle evenly over the top of the batter in the loaf pan.
- Step 9 Bake for 55-65 minutes, or until a wooden skewer inserted into the center comes out with moist crumbs (not wet batter). If the topping browns too quickly, tent loosely with foil.
- Step 10 Let cool in the pan for 10-15 minutes before transferring to a wire rack to cool completely. Slice and serve!
