

Best Ever Sloppy Joes with Bell Peppers & Onions
There are certain smells that just transport you straight back to childhood, and for me, that’s the sweet, tangy aroma of Sloppy Joes simmering on the stove.
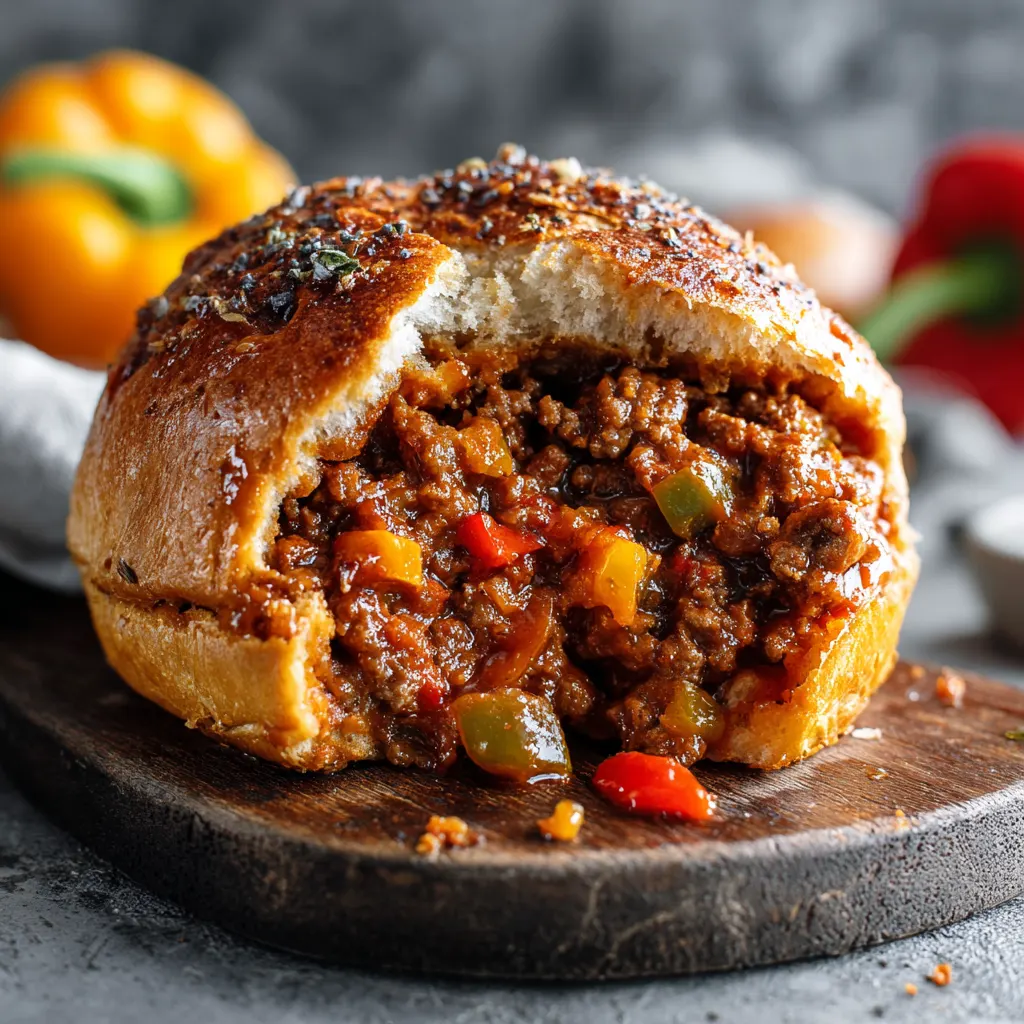
I first started making this recipe for our busy Monday nights. But honestly, the moment I added fresh, diced bell peppers and sweet onions, this classic dish leveled up completely! It turned a simple sandwich into a hearty, flavorful meal.
This recipe for Sloppy Joes with Bell Peppers & Onions is now a guaranteed hit, offering that essential nostalgic comfort food feel while sneaking in a little extra veggie goodness. It’s truly the easiest dinner you can make!
Why You’ll Love This Recipe
❤️ Here’s why this recipe will become your new family favorite:
- Hidden Veggies: The bell peppers and onions add amazing texture, nutrients, and depth of flavor without overpowering the classic Sloppy Joe taste.
- One-Pan Wonder: Everything cooks right in one skillet, making clean-up incredibly fast and easy.
- Ready in 40 Minutes: This recipe is perfect for those busy weeknights when you need dinner on the table quickly.
- Kid-Approved: It’s a guaranteed hit with even the pickiest eaters!
What You Need
You only need a few simple pantry staples for this recipe! We use lean ground beef, fresh bell peppers and onions, and a handful of common sauce ingredients like ketchup, mustard, and brown sugar.
Check the full printable recipe card below for detailed measurements and specific ingredient notes.

Expert Tips for Perfect Sloppy Joes
💡 Follow these simple tips to make sure your Sloppy Joes turn out savory and sensational every time:
- Drain the Fat: After browning your ground beef, it is crucial to drain off any excess grease. This prevents the final mixture from becoming watery or oily.
- Dice Finely: For the best results, dice the bell peppers and onions small. This ensures they soften fully and integrate seamlessly into the meat mixture.
- Don’t Skip the Simmer: The 15-minute simmer time allows the sauce to thicken beautifully and lets all the flavors meld together. It’s essential!
- Toast Your Buns: Lightly butter and toast the hamburger buns before serving. This adds great texture and prevents the bread from getting soggy.
Variations & Substitutions
Want to switch things up? Sloppy Joes are wonderfully versatile! Here are a few ways to customize this easy dinner:
- Make it Spicy: Add a dash of hot sauce, or include a finely diced jalapeño when sautéing the vegetables.
- Keto/Low-Carb: Serve the filling in lettuce wraps, over steamed cauliflower rice, or alongside sliced cucumbers instead of on a bun.
- Go Vegetarian: Substitute the ground beef with brown or green lentils, or use a plant-based meat alternative.
- Try Different Meat: Ground turkey or ground chicken works perfectly well here. Just ensure you still drain any residual fat.
Storage & Freezing
This is a great meal prep recipe because the filling stores beautifully! You can easily double the batch for lunches throughout the week.
Storage: Store the cooled Sloppy Joe filling in an airtight container in the refrigerator for up to 4 days. Reheat gently on the stovetop or in the microwave.
Freezing: The filling freezes exceptionally well! Transfer the cooled mixture to a freezer-safe bag or container and freeze for up to 3 months. Thaw overnight in the refrigerator before reheating.

FAQ
What kind of bell pepper works best?
While green bell peppers are traditional, I prefer red, yellow, or orange bell peppers. They offer a sweeter flavor that balances the tanginess of the sauce perfectly.
Can I make this ahead of time?
Absolutely! Sloppy Joe filling actually tastes better the next day after the flavors have had a chance to fully develop. Make the filling completely and store it, reheating it right before serving.
Why are my Sloppy Joes too thin?
If your mixture is too thin, it is usually because you didn’t simmer it long enough, or you didn’t drain enough fat/liquid from the meat. To fix it, just let it simmer uncovered for an extra 5 to 10 minutes until it reaches your desired consistency.
If you love classic comfort food that is quick and easy, this recipe is a must-try. Whip up a batch tonight and watch it disappear!
Happy cooking, friends! Don’t forget to Pin this easy weeknight recipe for later!
