
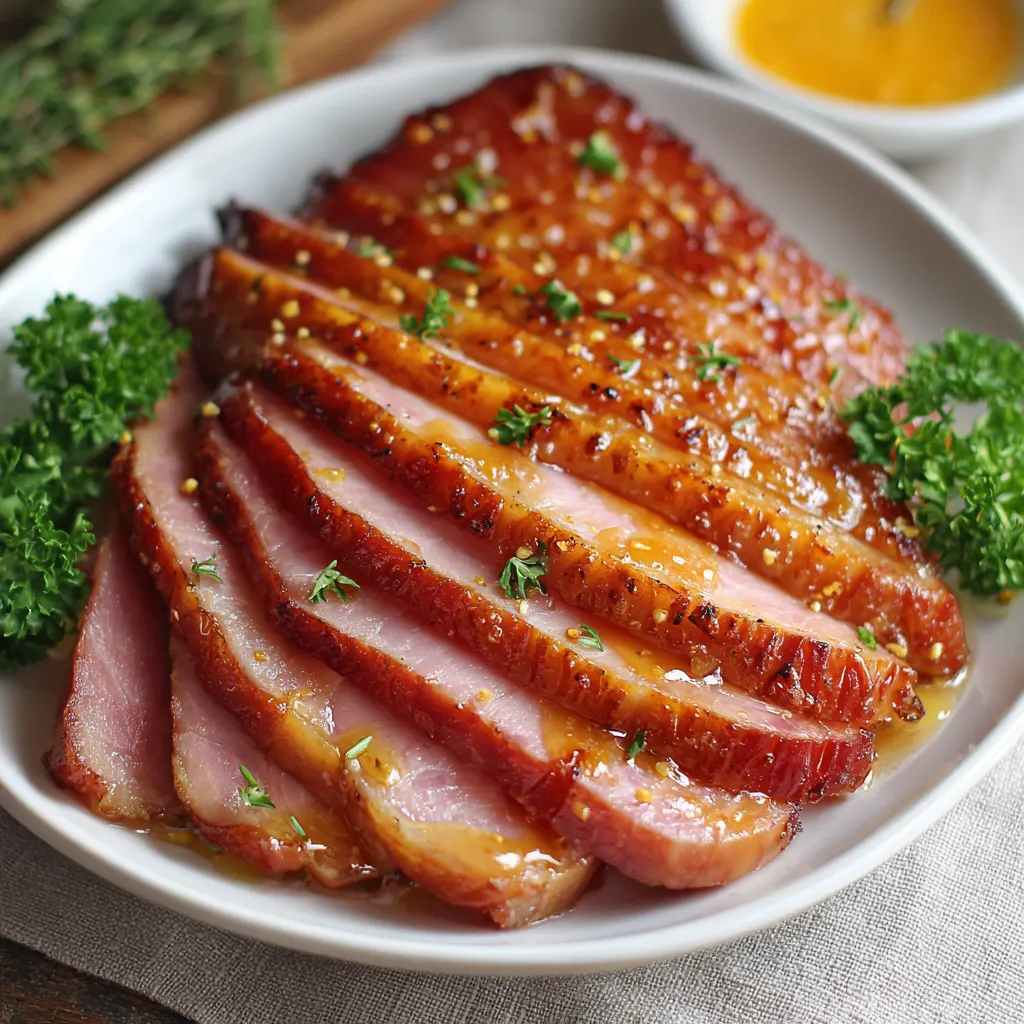
The Ultimate Glazed Baked Honey Ham Slices
There is nothing quite like the aroma of honey and warm spices wafting through the kitchen to make a house feel like a home. While a whole bone-in ham is often the centerpiece of holiday feasts, baked honey ham slices offer a practical, flavor-packed alternative for smaller gatherings, weeknight dinners, or those who simply want to master the perfect balance of sweet and savory without the intimidation of a fifteen-pound roast. By cooking the ham in individual slices, you maximize the surface area for the glaze to caramelize, ensuring every single bite is infused with that signature sticky-sweet honey finish.
Ingredients You’ll Need
-
1.5 to 2 lbs Ham Slices: Look for center-cut steaks or thick-cut deli slices (about ½ inch thick).
-
½ cup Honey: Use a high-quality clover or wildflower honey for the best floral sweetness.
-
¼ cup Brown Sugar: Packed light or dark brown sugar adds a deep, molasses-like undertone.
-
2 tbsp Dijon Mustard: Adds a necessary tang to cut through the richness of the meat.
-
1 tbsp Apple Cider Vinegar: Provides acidity to balance the sugar.
-
½ tsp Ground Cinnamon: For warmth and that classic holiday aroma.
-
¼ tsp Ground Cloves: A little goes a long way in adding earthy depth.
-
1 tbsp Butter, melted: Helps the glaze emulsify and creates a glossy finish.
-
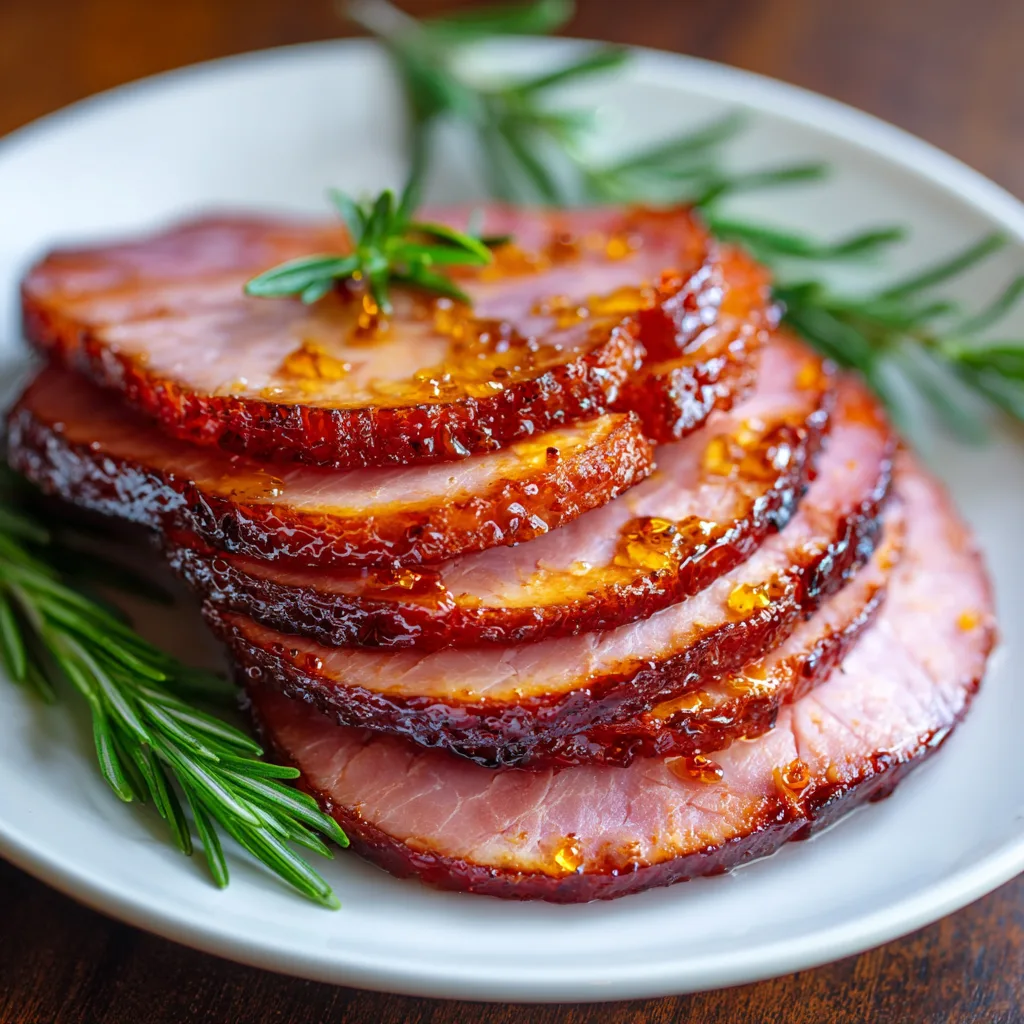
Fresh Parsley or Rosemary: For garnish.
Step-by-Step Instructions
-
Preheat and Prep: Preheat your oven to 350°F (175°C). Lightly grease a large baking dish or rimmed baking sheet with non-stick spray or a small amount of butter.
-
Arrange the Ham: Pat the ham slices dry with a paper towel to ensure the glaze sticks. Lay them in a single layer in the prepared baking dish. If the slices are very large, you can cut them into smaller portions.
-
Whisk the Glaze: In a small mixing bowl, combine the honey, brown sugar, Dijon mustard, apple cider vinegar, cinnamon, cloves, and melted butter. Whisk until the sugar has mostly dissolved and the mixture is smooth.
-
Apply the First Layer: Use a pastry brush to generously coat the top of each ham slice with about half of the honey mixture.
-
Initial Bake: Place the dish in the oven and bake for 10 to 12 minutes. This allows the ham to heat through and the first layer of glaze to set.
-
Flip and Glaze: Carefully remove the dish from the oven. Flip each slice over and brush the remaining glaze onto the second side.
-
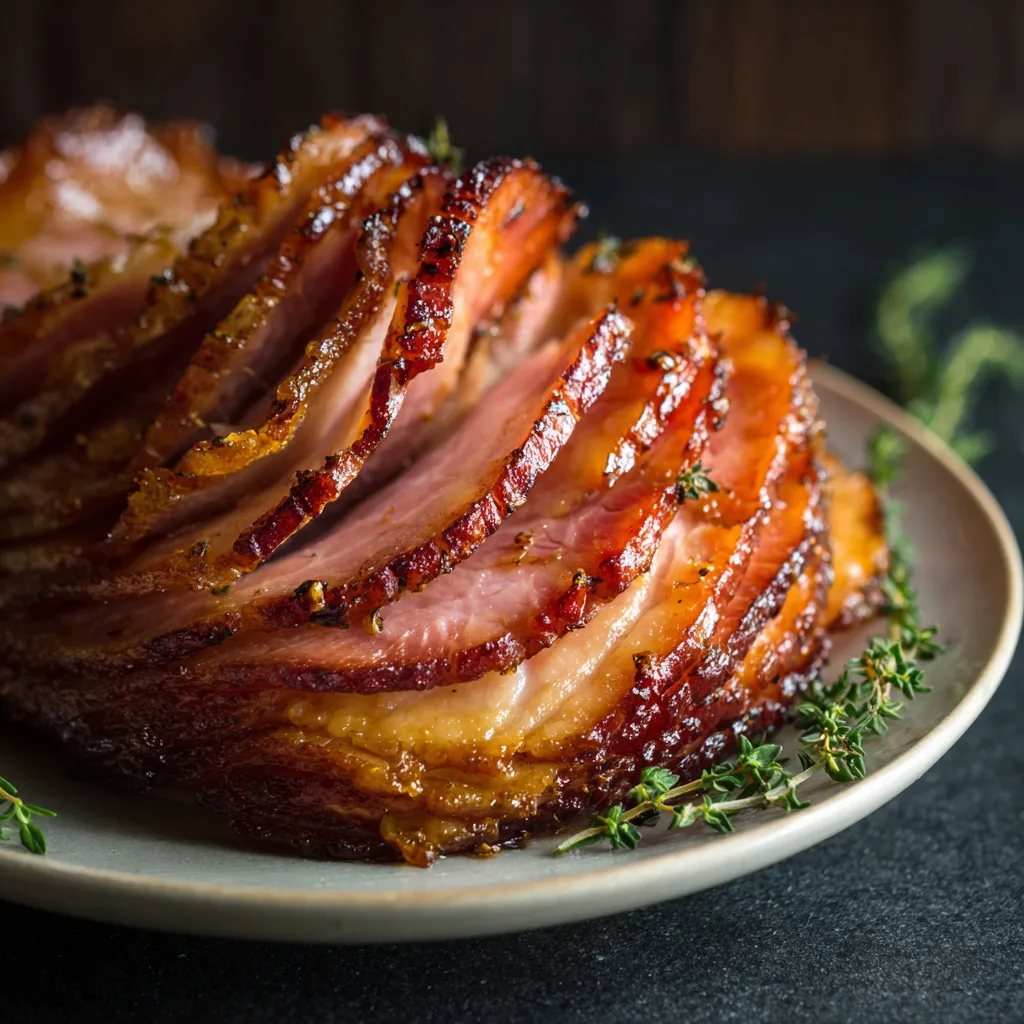
Caramelize: Return the ham to the oven for another 10 to 15 minutes. For an extra-crispy, charred edge, turn on the broiler for the last 2 minutes of cooking, watching closely to prevent burning.
-
Rest and Serve: Remove from the oven and let the ham rest for 5 minutes. The glaze will thicken as it cools slightly. Garnish with fresh herbs and serve immediately.
Selecting the Best Cut for Baking
The success of this dish begins at the butcher counter or the grocery aisle. When shopping for ham slices, the “center-cut” is the gold standard. These slices are taken from the middle of the ham, offering a consistent texture and a good ratio of meat to fat. If you prefer a leaner option, look for “ham steaks,” which are usually boneless and very easy to portion.
Thickness is another critical factor. Aim for slices that are at least half an inch thick. Anything thinner risks drying out under the high heat of the oven, while anything much thicker may require a longer cooking time that could lead to the glaze burning before the center is hot. If you are using leftover slices from a whole spiral-cut ham, keep in mind that they are often thinner; reduce your baking time accordingly to preserve the moisture of the meat.
The Science of the Perfect Honey Glaze
A great honey glaze is a study in culinary balance. While honey is the star of the show, providing both sweetness and a viscous texture that clings to the meat, it requires supporting ingredients to truly shine. The inclusion of brown sugar is vital because it contains molasses, which undergoes the Maillard reaction more intensely than honey alone, resulting in those sought-after dark, caramelized edges.
Acid is the “secret ingredient” that elevates a standard glaze to a professional level. The Dijon mustard and apple cider vinegar work together to provide a sharp contrast to the sugar. This prevents the dish from feeling cloying and helps to cut through the natural saltiness of the cured pork. Finally, the warm spices—cinnamon and cloves—provide a nostalgic flavor profile that complements the smokiness of the ham, creating a multi-dimensional taste experience.
Creative Serving Suggestions and Pairings
Baked honey ham slices are incredibly versatile, making them suitable for any meal of the day. For a traditional dinner, pair them with creamy mashed potatoes or a decadent stovetop mac and cheese. The saltiness of the ham is also beautifully offset by roasted root vegetables like carrots or parsnips, which share the honey-glaze theme.
If you are serving these for brunch, try placing a slice over a toasted English muffin with a poached egg for a “Honey-Glazed Benedict.” For a lighter lunch, the slices can be julienned and tossed into a fresh spinach salad with pecans, goat cheese, and a balsamic vinaigrette. No matter how you serve them, the key is to spoon any extra glaze from the bottom of the baking dish over the meat just before it hits the table, ensuring maximum flavor in every bite.
Storage and Reheating Tips
One of the best things about honey-glazed ham is that it tastes just as good—if not better—the next day. If you find yourself with leftovers, store them in an airtight container in the refrigerator for up to four days. To maintain the texture, avoid the microwave if possible, as it can make the ham rubbery.
Instead, reheat the slices in a skillet over medium-low heat with a splash of water or apple juice to create a bit of steam. This will loosen the glaze and keep the meat tender. Alternatively, you can wrap the slices in aluminum foil and pop them back into a 300°F oven until warmed through. Leftover ham slices also freeze exceptionally well; simply wrap them tightly in plastic wrap and then foil, and they will stay fresh for up to two months, ready for a quick and delicious future meal.
